Today’s technique is one the easiest that exists. It is so simple that this will be a very short post.
It is a great technque to use when you have black and white Designer Series Paper. It is so easy, a small child could do it.
Take a look!

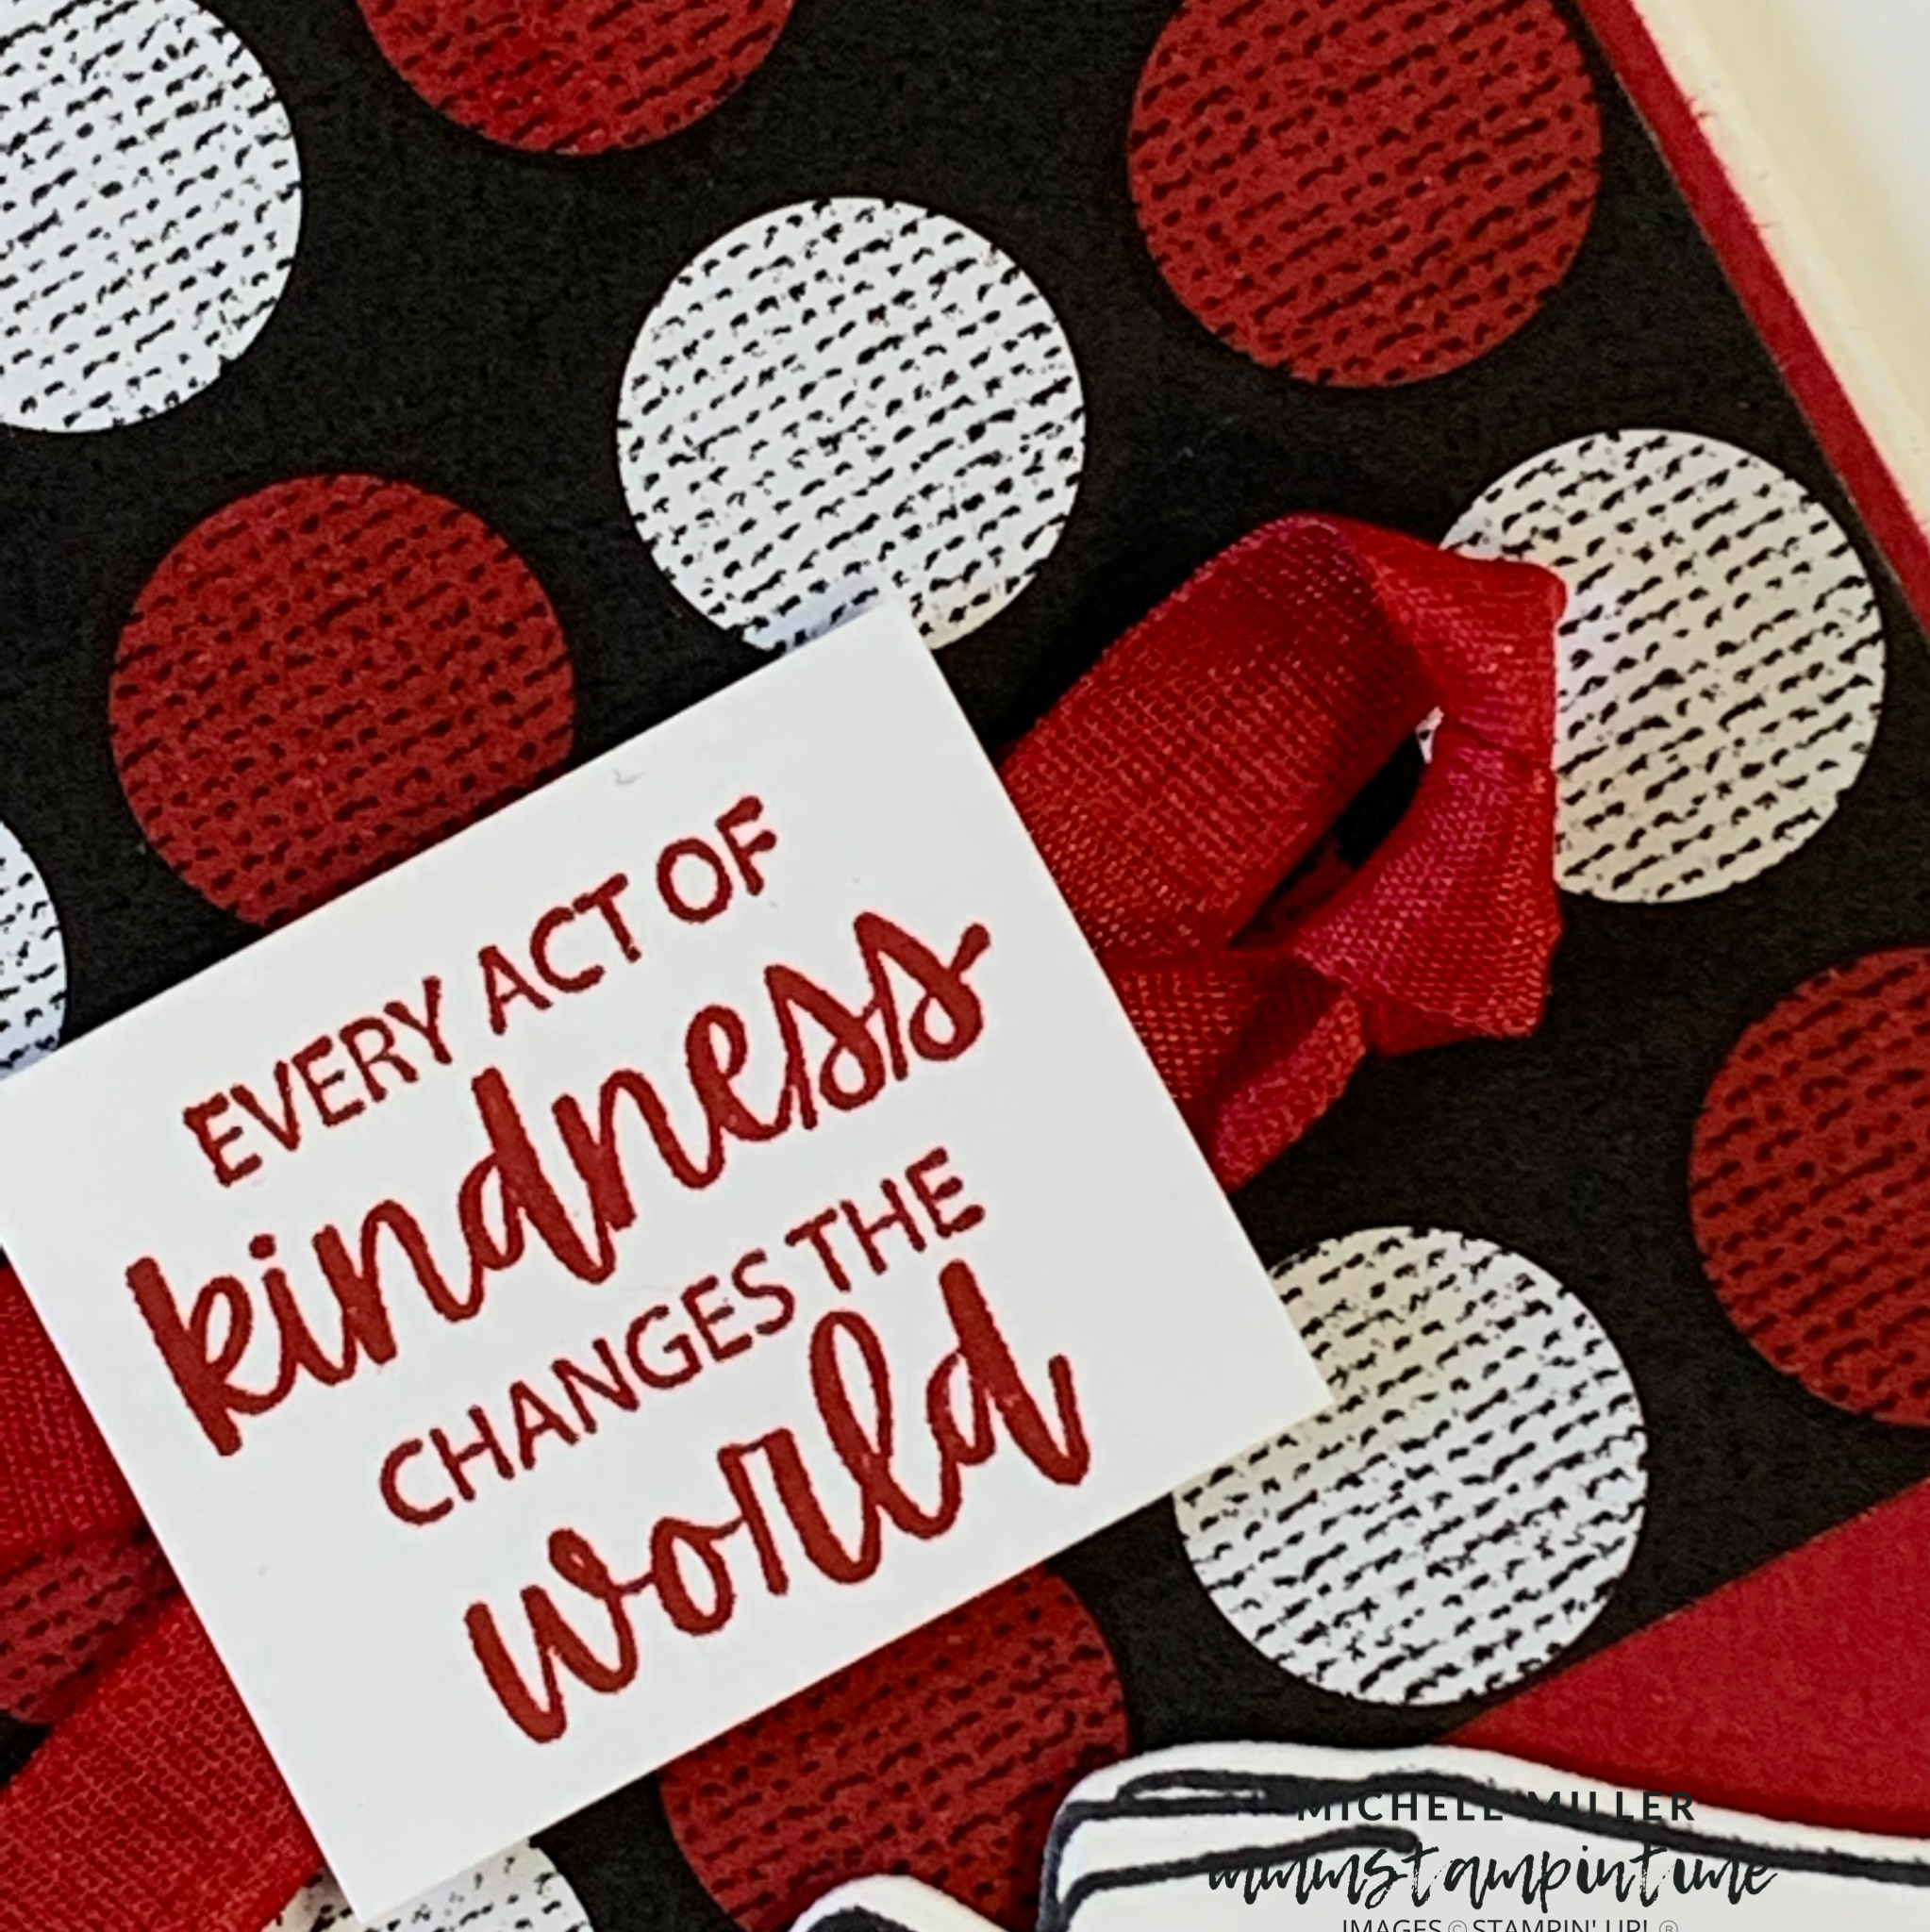
This is black and white piece of All Together DSP had alternate spots coloured in using a Dark Real Red Stampin’ Blend. I did say it was easy.
The DSP was cut into two pieces – a 5 spot by 5 spot and a 1 spot by 5 spot. These were then adhered to a Real Red layer that was then added to the card base.
By colouring some of the white spots, the DSP takes on a completely different appearance.

The heart hands were stamped and cut. Then I popped Stampin’ Dimensionals behind the hands and added it to the card front.
I tied a loose single knot in a length of Real Red Faux Linen Ribbon and secured it under the sentiment panel. After dimensionals were placed on the back of the sentiment, I added it to the card.

I might try and focus on different colouring techniques over the next few weeks. What do you think?
Tmorrow is the day I share challenge and blog hop projects.
Until then, happy stamping.

If you live in Australia, you can order any of the products I used to make this card by going to my online store. Just click on any of the images below.

") | | ") | ||
 |  | |||
 |  |  |  | |
 |  |  |  |
")
")
 Designer Series Paper")
 Faux Linen Ribbon")
 Cardstock")


