Today I want to share the latest that’s happening from Stampin’ Up!© and me.
The 2022 January to June Mini Catalogue is now LIVE! I have linked an online PDF version of this catalogue on the sidebar for you to have a peek at. It is filled with amazing new products.
Here is where to shop this month – https://www.stampinup.com.au?hostcode=F2BUZNVA

That also means it is time for Sale-a-bration. From January 4 to February 28, you can earn free products from the Sale-a-bration brochure with each $90 spent.

And, that is not all that is on offer. If you join during the two months of Sale-a-bration, you can also choose two additional, current stamp sets.If you live in Australia, I look forward to talking to you about the benefits of joining Stampin’ Up! and my team.

I want to share some new product videos, created by Stampin’ Up!, to inspire you. Simply click on the images to see the video.
FLOWERING FIELDS
NEW HORIZONS
HEART & HOME
For my NEW project today I am going to use a pair of new 3D Embossing Folders with the Sweet Talk Suite products I have featuring this week.


After preparing the Highland Heather cardbase, I adhered a piece of the striped DSP along its righthand side. As I did this, I positioned the hearts that were cut from the DSP and Granny Apple Green cardstock using the Sweet Hearts Dies.
I really like the DSP with the smaller candy hearts. It is perfect for die cutting the heart shapes for this card.
The piece of Whilte Vellum was embossed using the Stripes folder from the Stripes & Splatters 3D Embossing Folders.

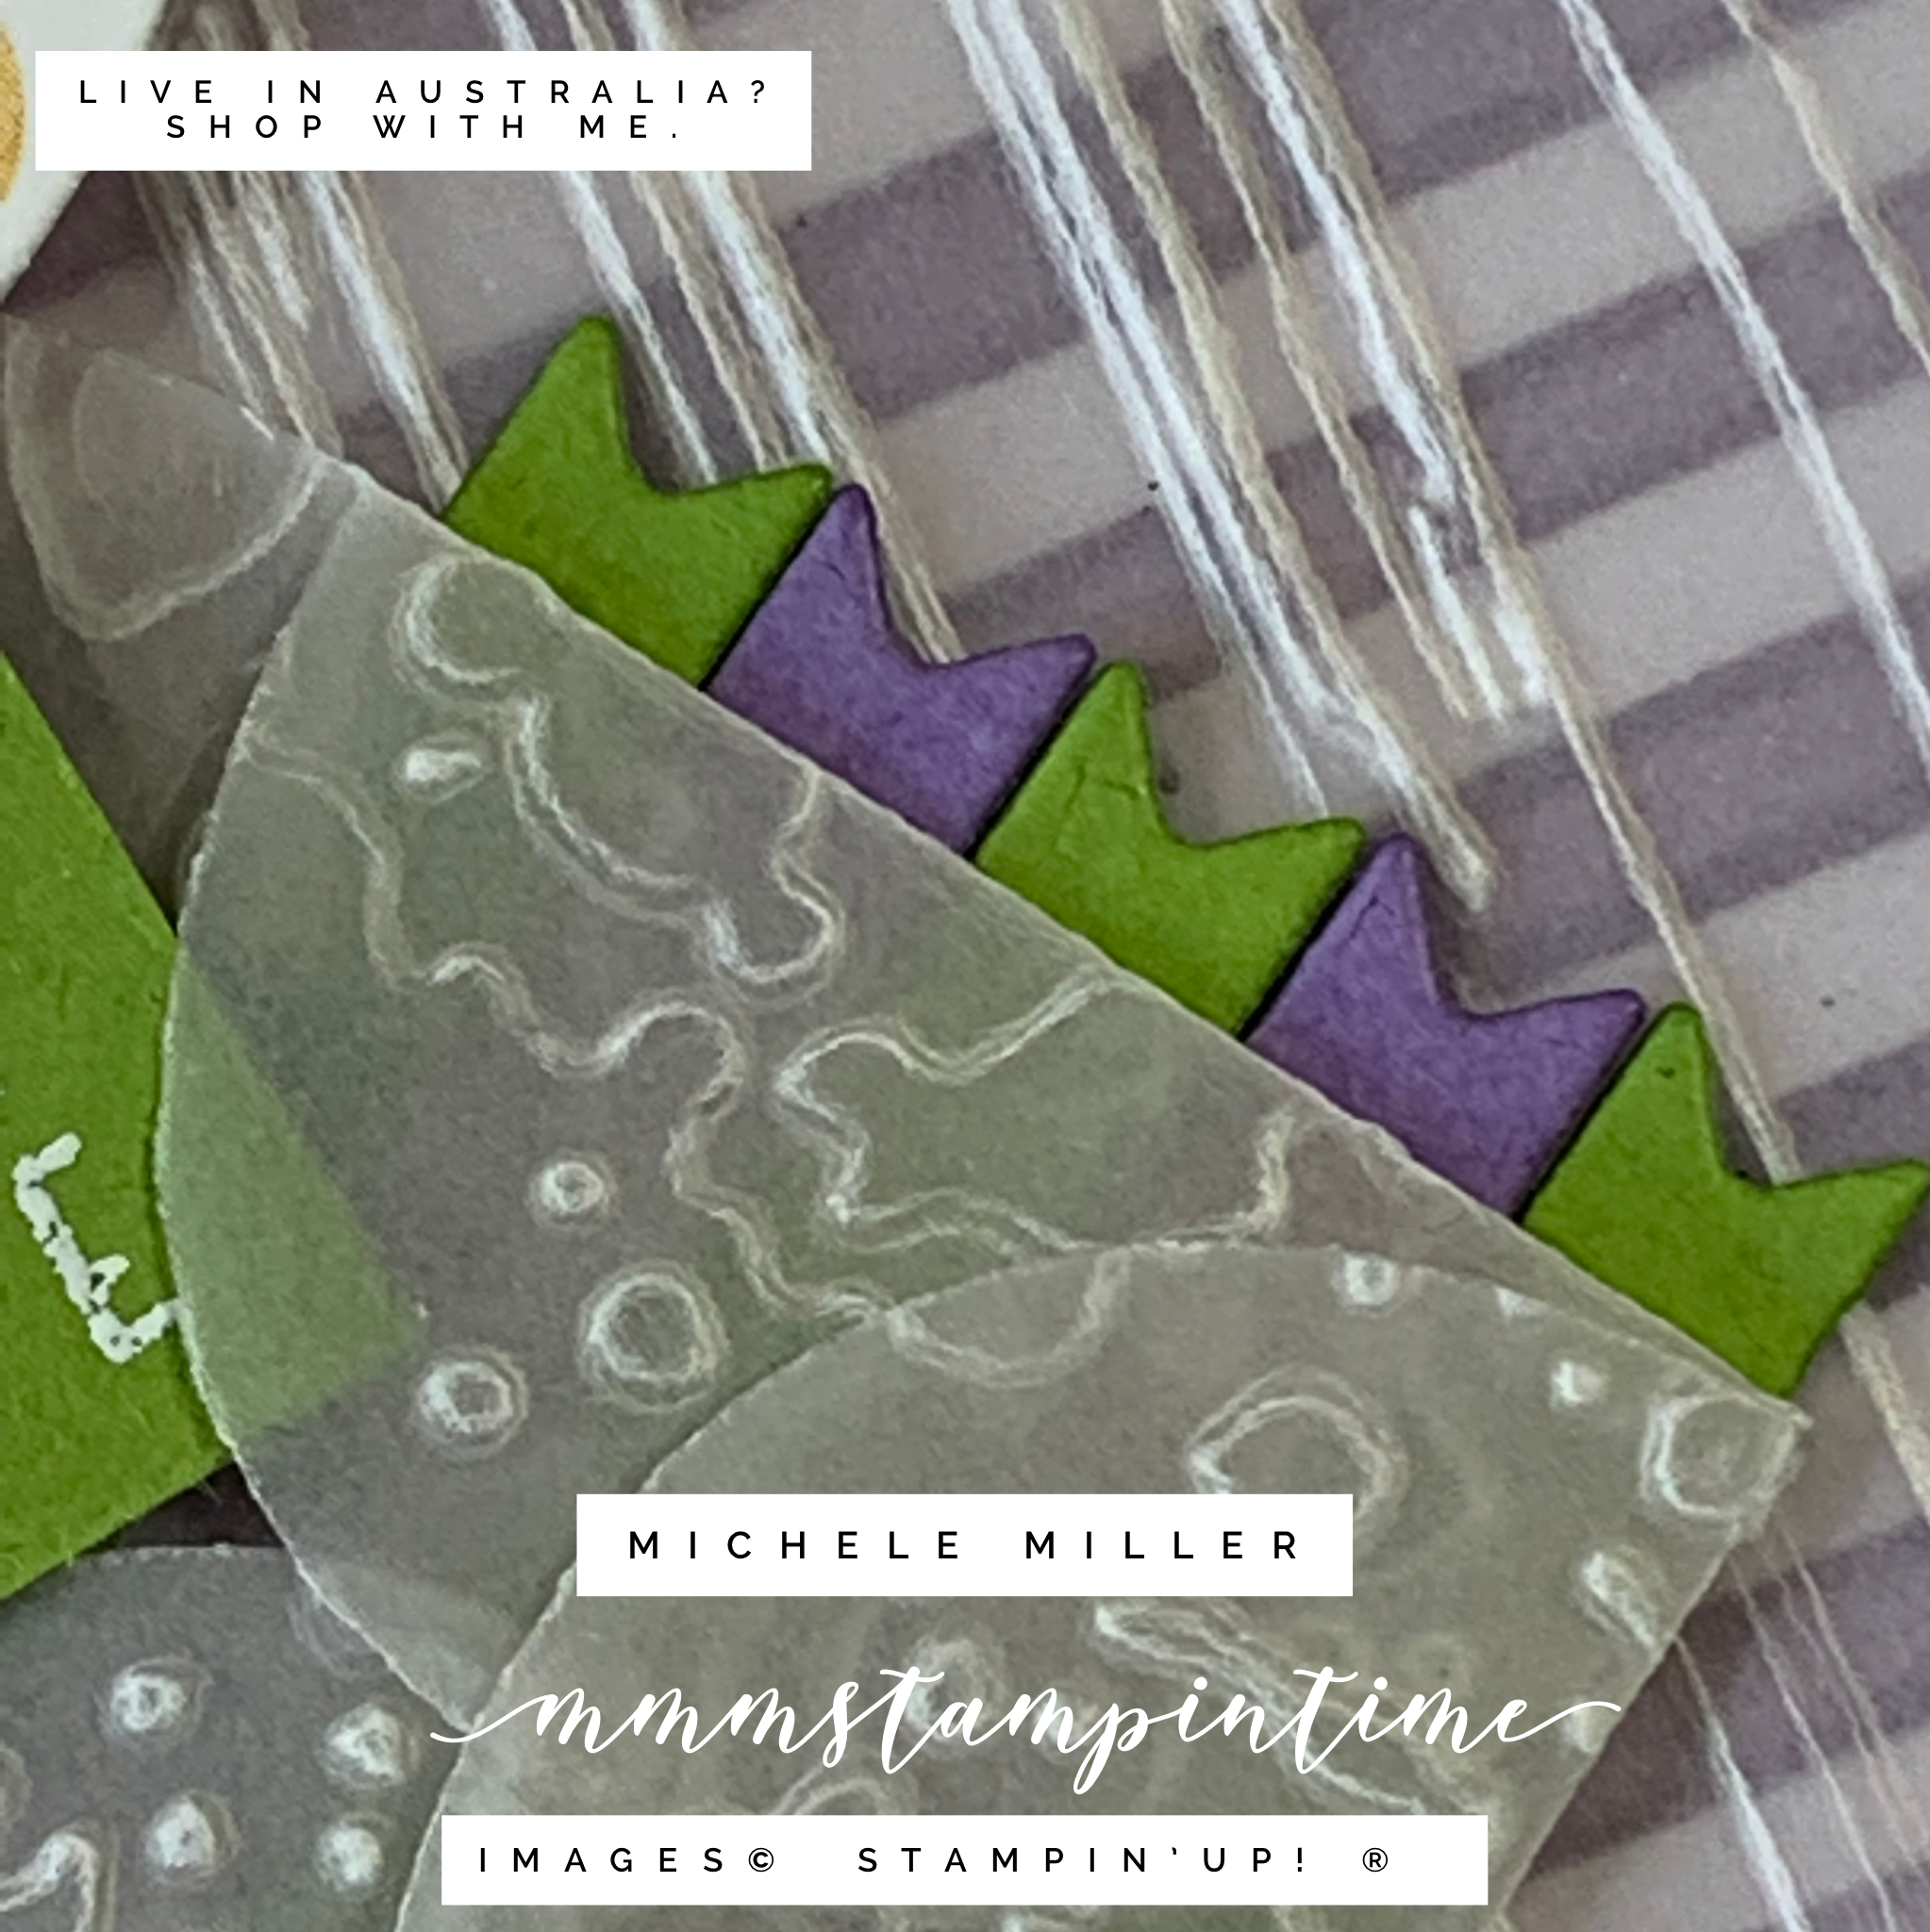
Another smaller piece of vellum was cut into the envelope shape before being passed through the Mini Stampin’ Cut & Emboss Machine using the Splatters folder. The envelope was assembled using one Mini Glue Dot to hold it in place. The tiny banner die was used to card the five pieces of cardstock before they were placed on the card front using Stampin’ Seal +. The envelope was then adhered over the top of the banners.
The sentiment was stamped and heat embossed. An extra heart was attached to the back of the greeting. This message was placed just inside the envelope and secired with Stampin’ Dimensionals.

I placed Granny Apple Green hearts on the card insert and envelope.

I also added some Polished Dots to the front of the card.

I hope that you have enjoyed today’s What’s New on Wednesday. Tomorrow is all about 3D projects.
Until then, happy stamping.

If you live in Australia, you can order any of the products I used to make this card by going to my online store. Just click on any of the images below.
Product List


