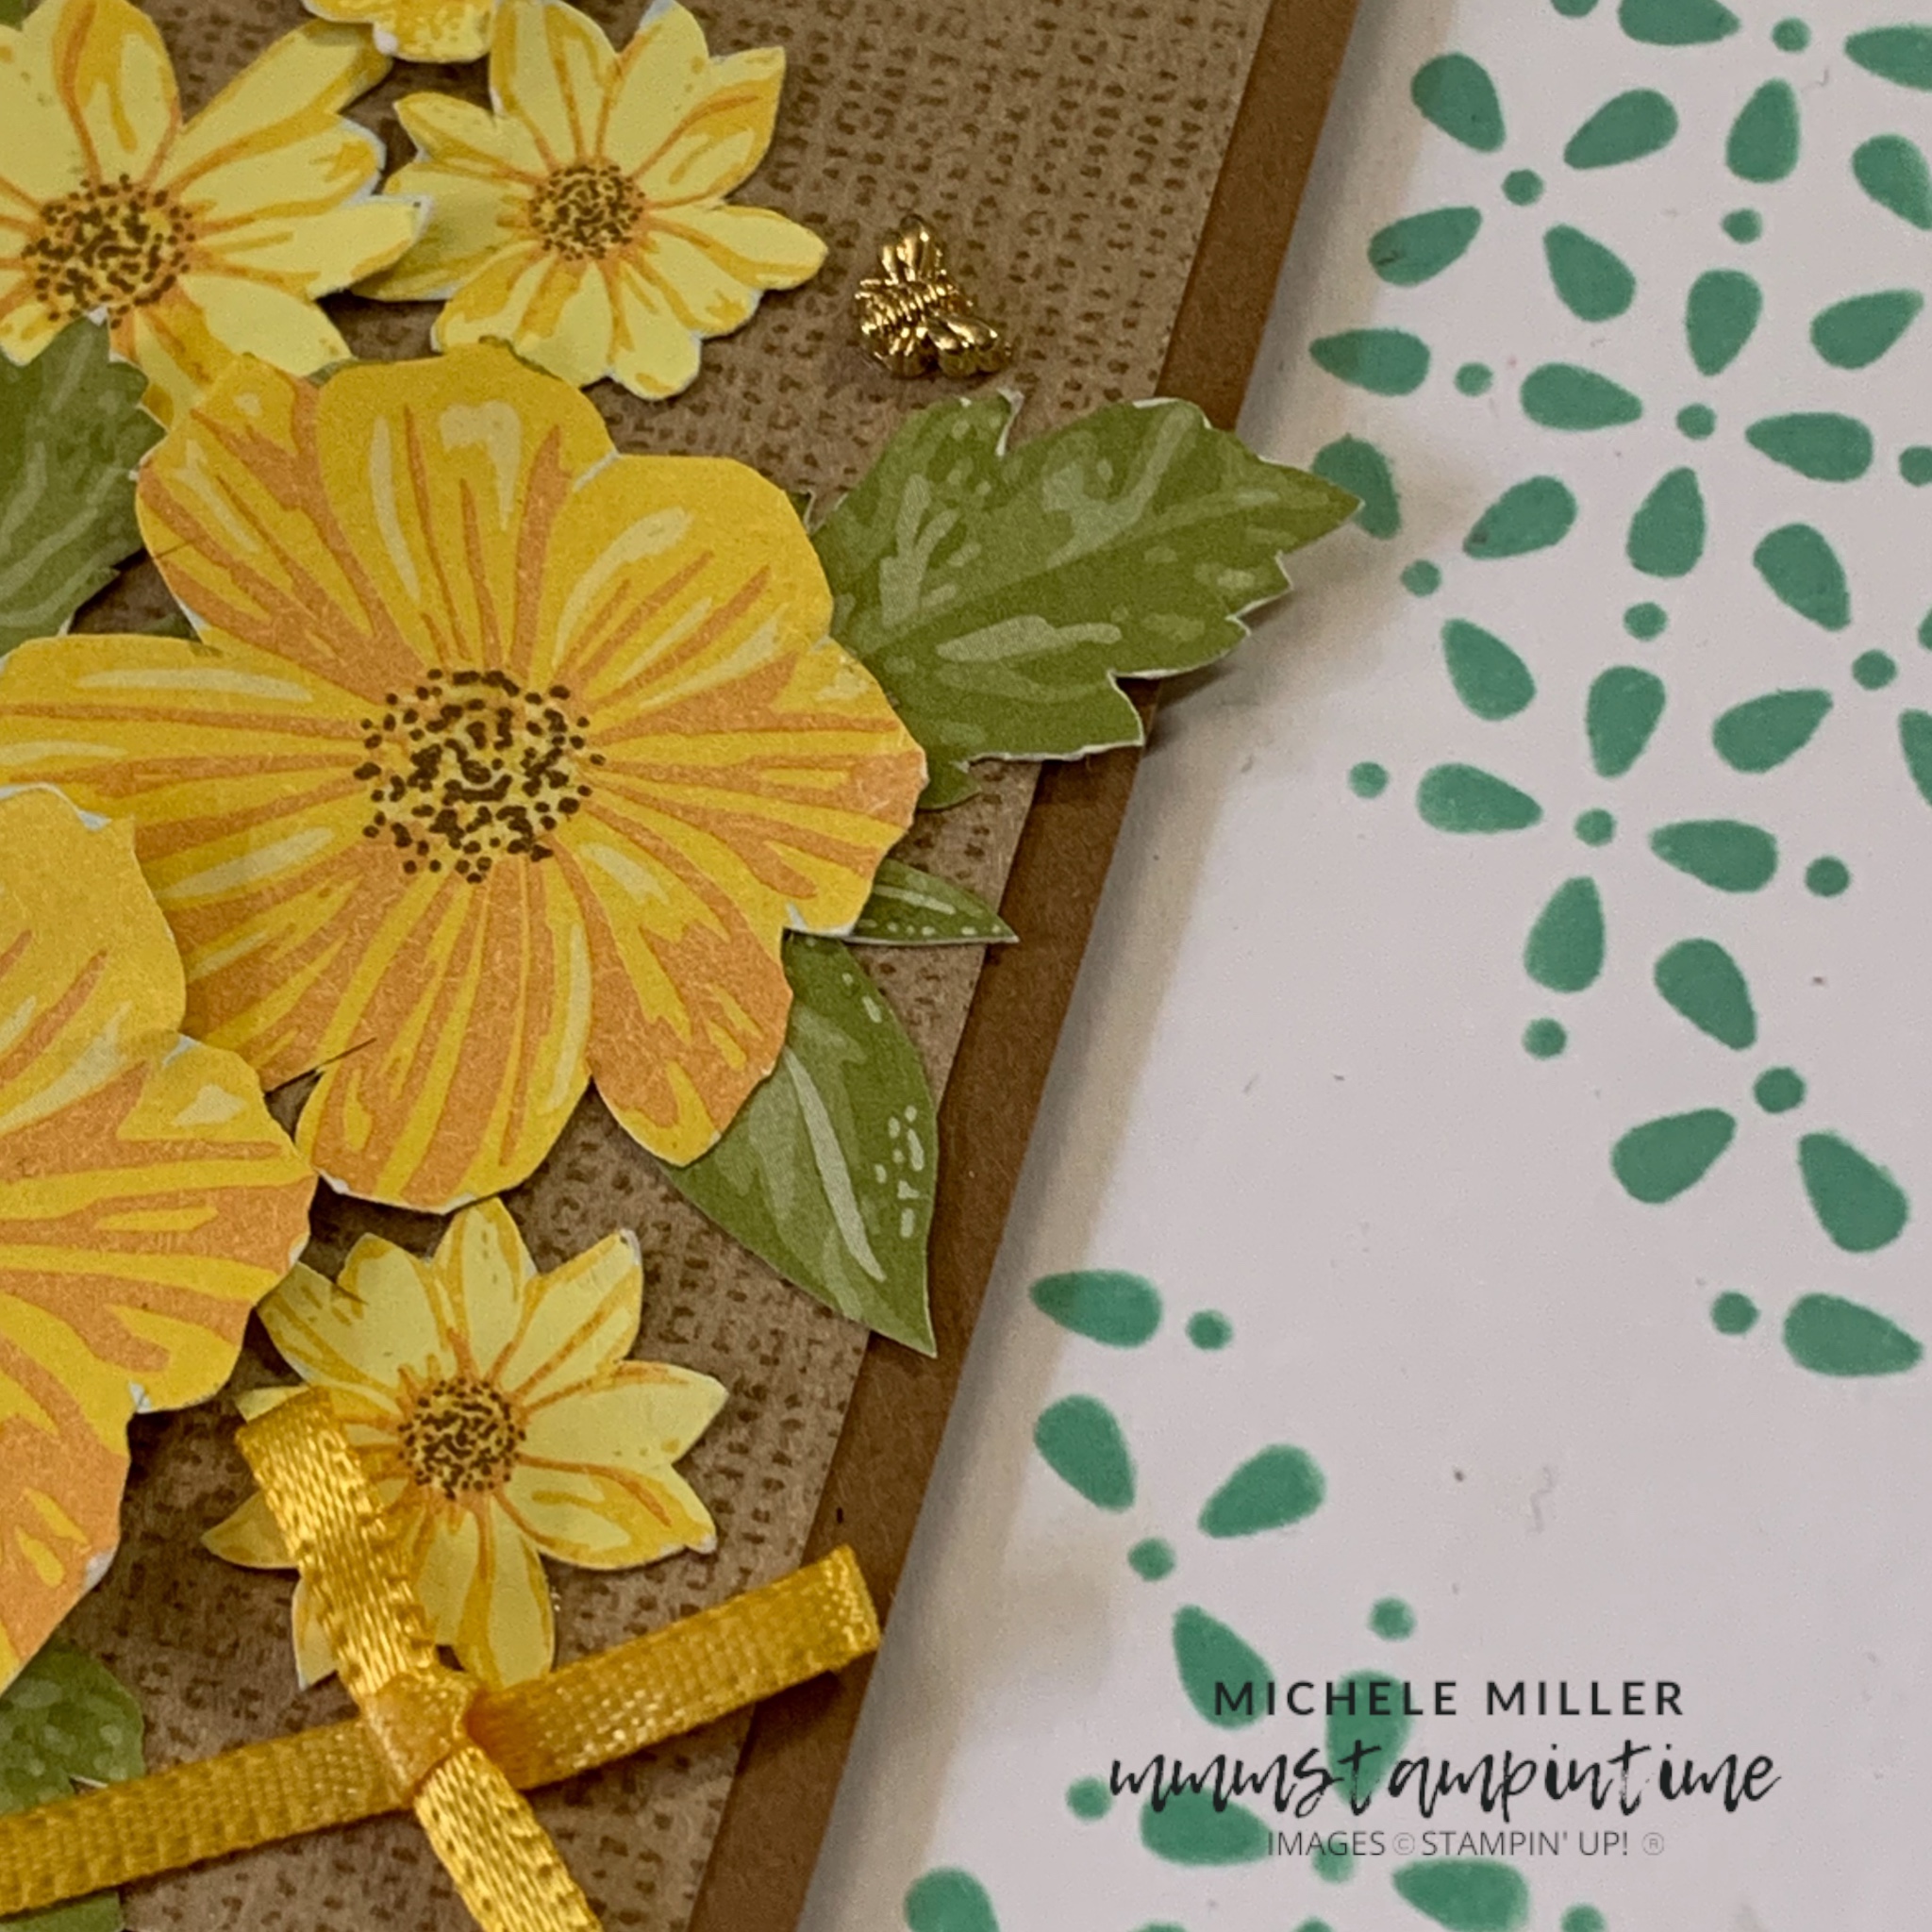
For my project today I used one of the dies from the Delightful Wishes Bundle and created a stencil so that I could ‘stamp’ the design on the card front.

TIP: After die cutting the stencil, I positioned it on the Basic White panel and secured it with some Post-it Labeling and Cover-up Tape. THis helps to keep the stencil in place while applying the Pool Party ink with the Blending Brush.
For this card front, I used the mask three times on the card front panel and on the card insert and baco of the envelope.

After colouring the stencil design on the card front panel I measured up the area for the Pecan Pie and Designer Series Paper panel.
The panels were cut and glued together before being positioned in place with Stampin’ Dimensionals.
I took my Paper Snips and fussy cut several flowers and leaves and decorated the Pecan Pie panel.

The ‘wishing’ sentiment was first stamped onto Basic White card before I cut around it using the coordinating die. The white card had a piece of Adhesive Sheet attached.
I took a piece of Pecan Pie card, with Adhesive Sheet, and die cut another ‘wishing’ outline. The white was layered onto the Pecan Pie and then attached to the card front.
The second part of the greetinf was stamped and then die cut.
TIP: It is easy to shorten, or lengthen, many of the label dies by partially cutting and then repositioning the die. For this greeting, I shortened the length of the stamped words.
To finish this card, I adhered soe of the Tiny Bee Trinkets to the Pecan Pie panel.
Tomorrow I have a card that has minimal stamping but lots of die cutting.
Until then, happy stamping.

If you live in Australia, you can order any of the products I used to make this card by going to my online store. Just click on any of the images below.
Product List


