I designed this 3D project so that I could die cut and adhere Garden Green leafy frames on each side of the box.
The box is a tall square measuring 5 1/4″ x 4″.

The pieces of Garden Green card had Adhesive Sheets attached before I die cut the leafy frame.
After preparing the base I added the frames and finished forming the box.
For the lid, I used the large outline die and cut a panel. Then I recut and shortened that panel by carefully moving the die and letting it ‘lock’ into place by matching up the small die cut holes. This created a great square die cut panel for the lid.
I cut a small hole in the lid and threaded a looped, knotted length of Night of Navy & Gold Glitter Ribbon through the hole.

The knotted end of the ribbon was secured in place with a die cut circle of Night of Navy card, Tear & Tape and Stampin’ Dimensionals.
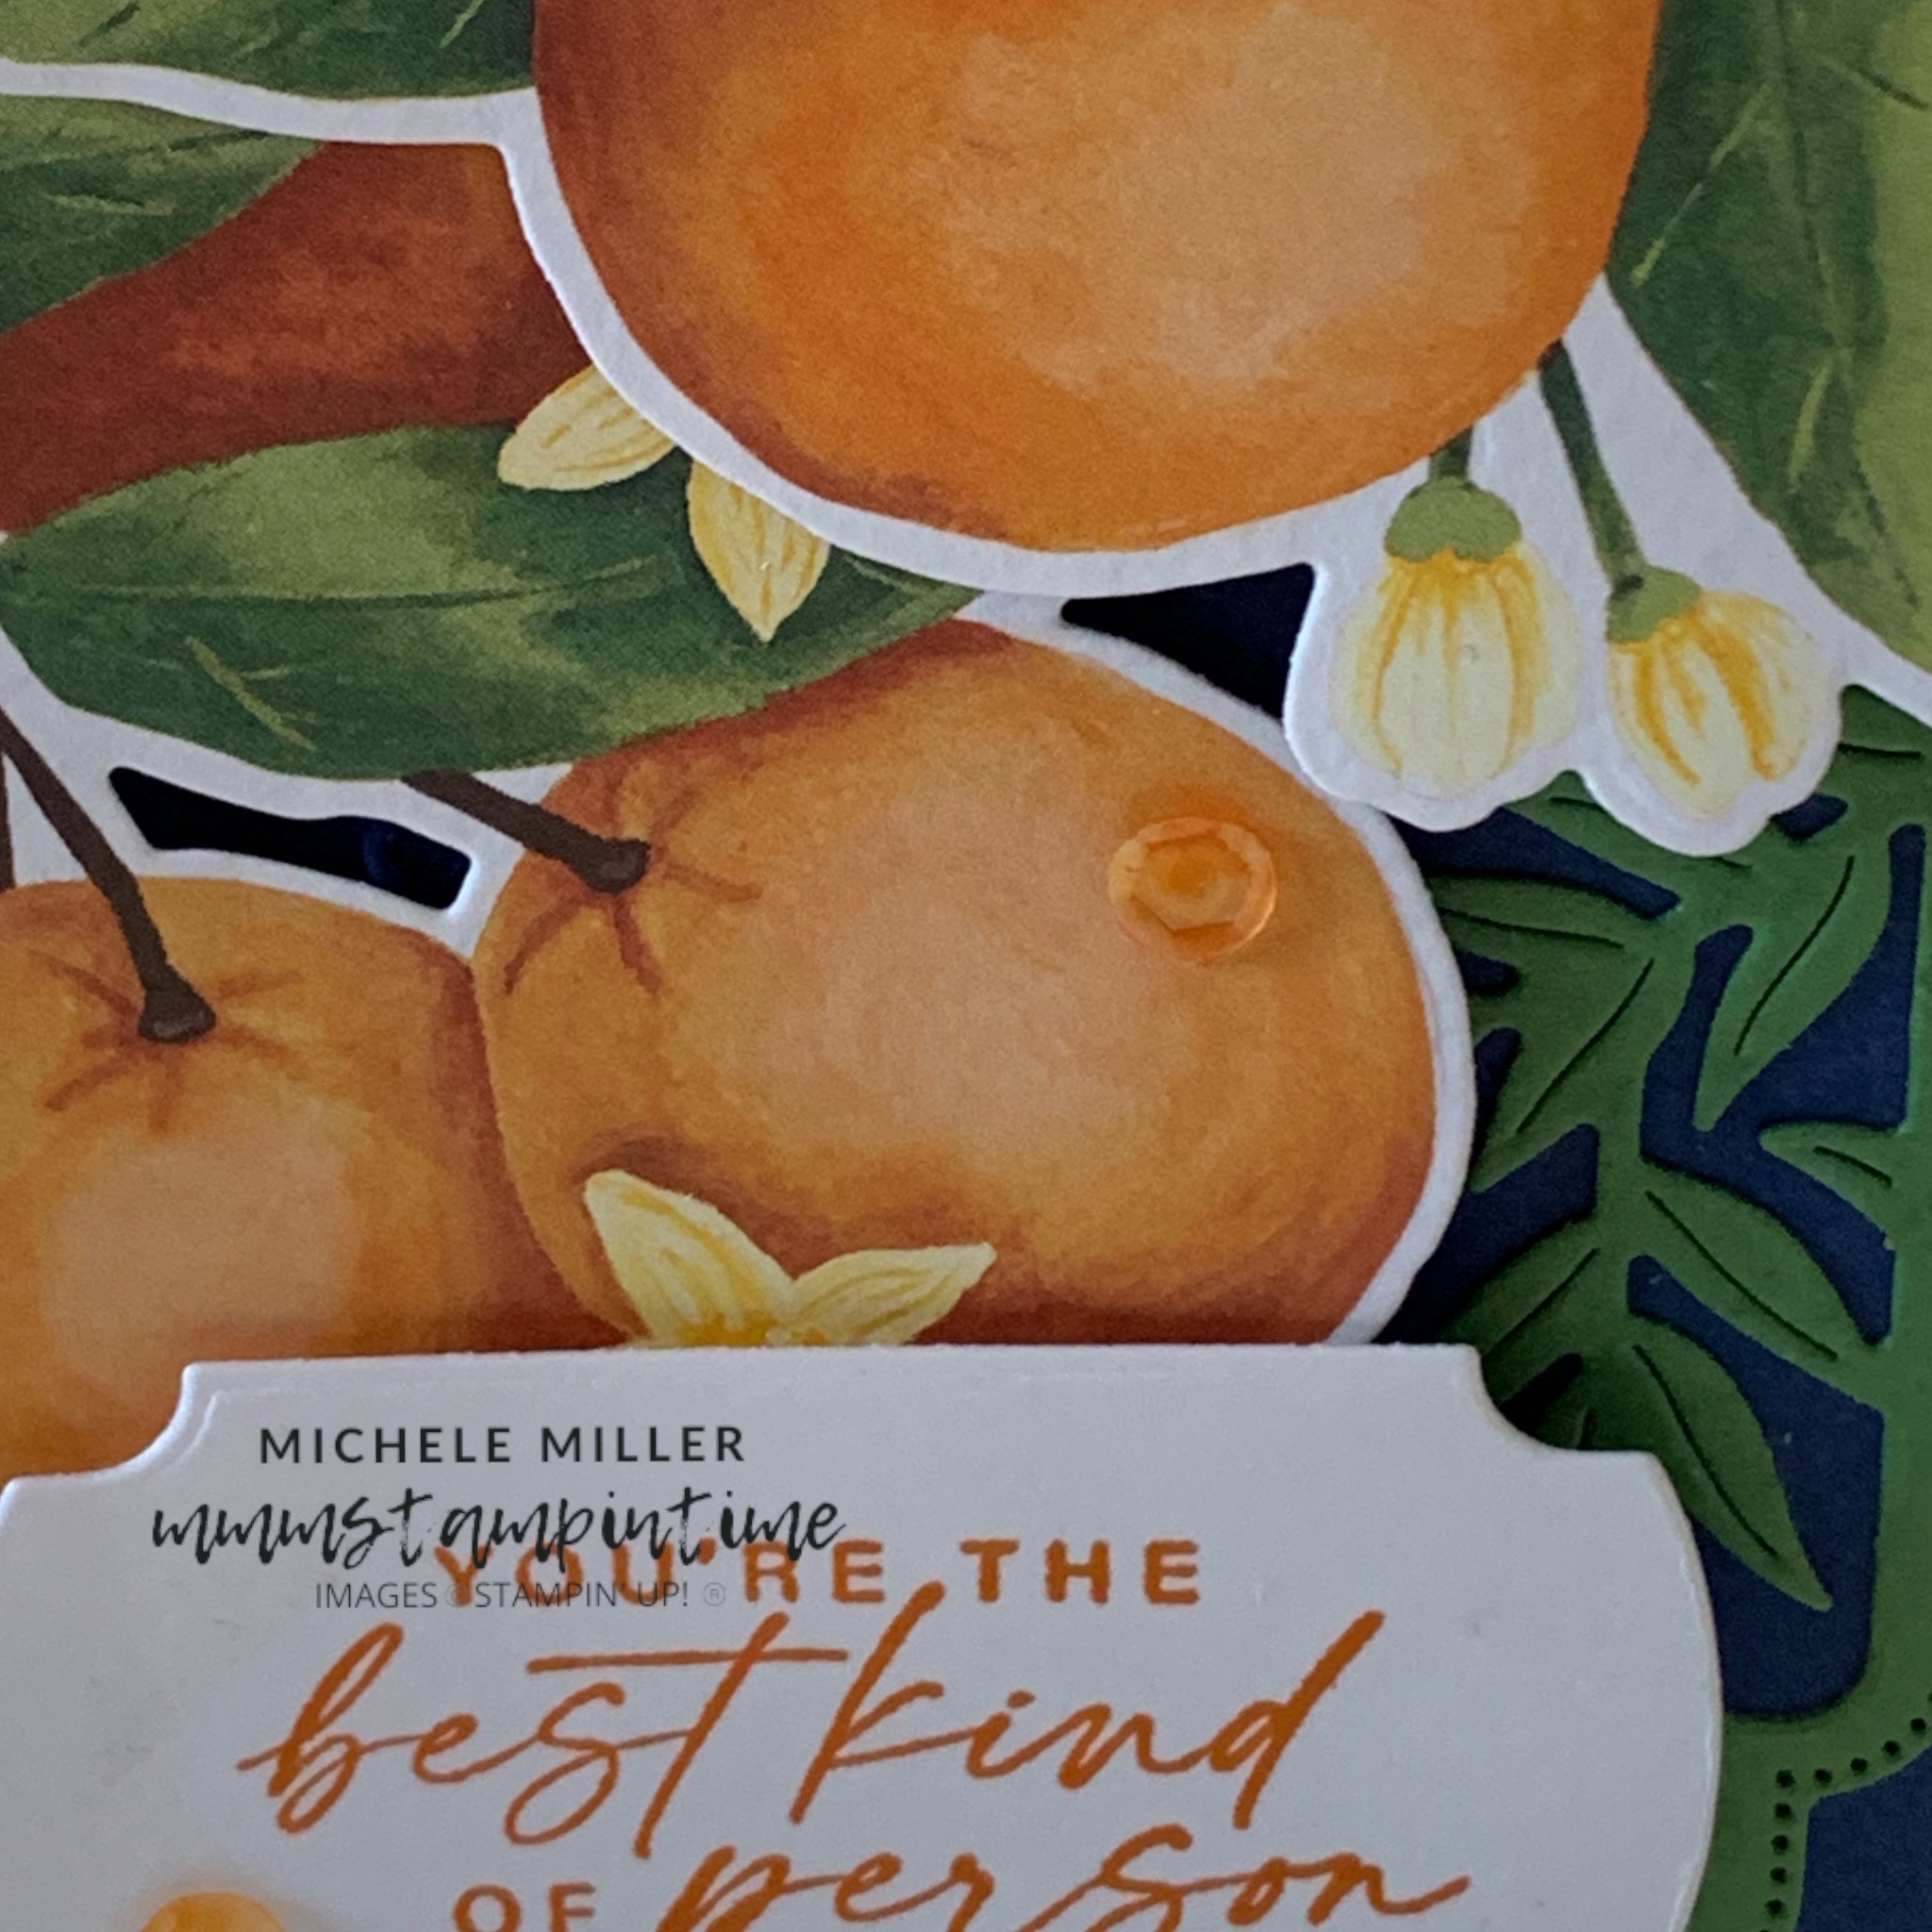
The front and top of the box were adorned with die cut orange images from one of the Designer Series Paper sheet. They were all attached using Stampin’ Dimensionals. On the lid, the orange die cut had a hole that was perfect for the ribbon to be threaded through it before being secured in place.

The front of the gift box had a stamped and Labeled with Love die cut greeting attached with dimensionals.
Finally, I coloured some of the white sequins from the Adhesive-backed Sequins Trio with Dark Pumpkin Pie Stampin’ Blend Pen.

I am hoping to find some lemon or orange flavoured biscotti to pop into the gift box.
Join me tomorrow for a Fun Fold Card.
Until then, happy stamping.

If you live in Australia, you can order any of the products I used to make this card by going to my online store. Just click on any of the images below.
Product List


