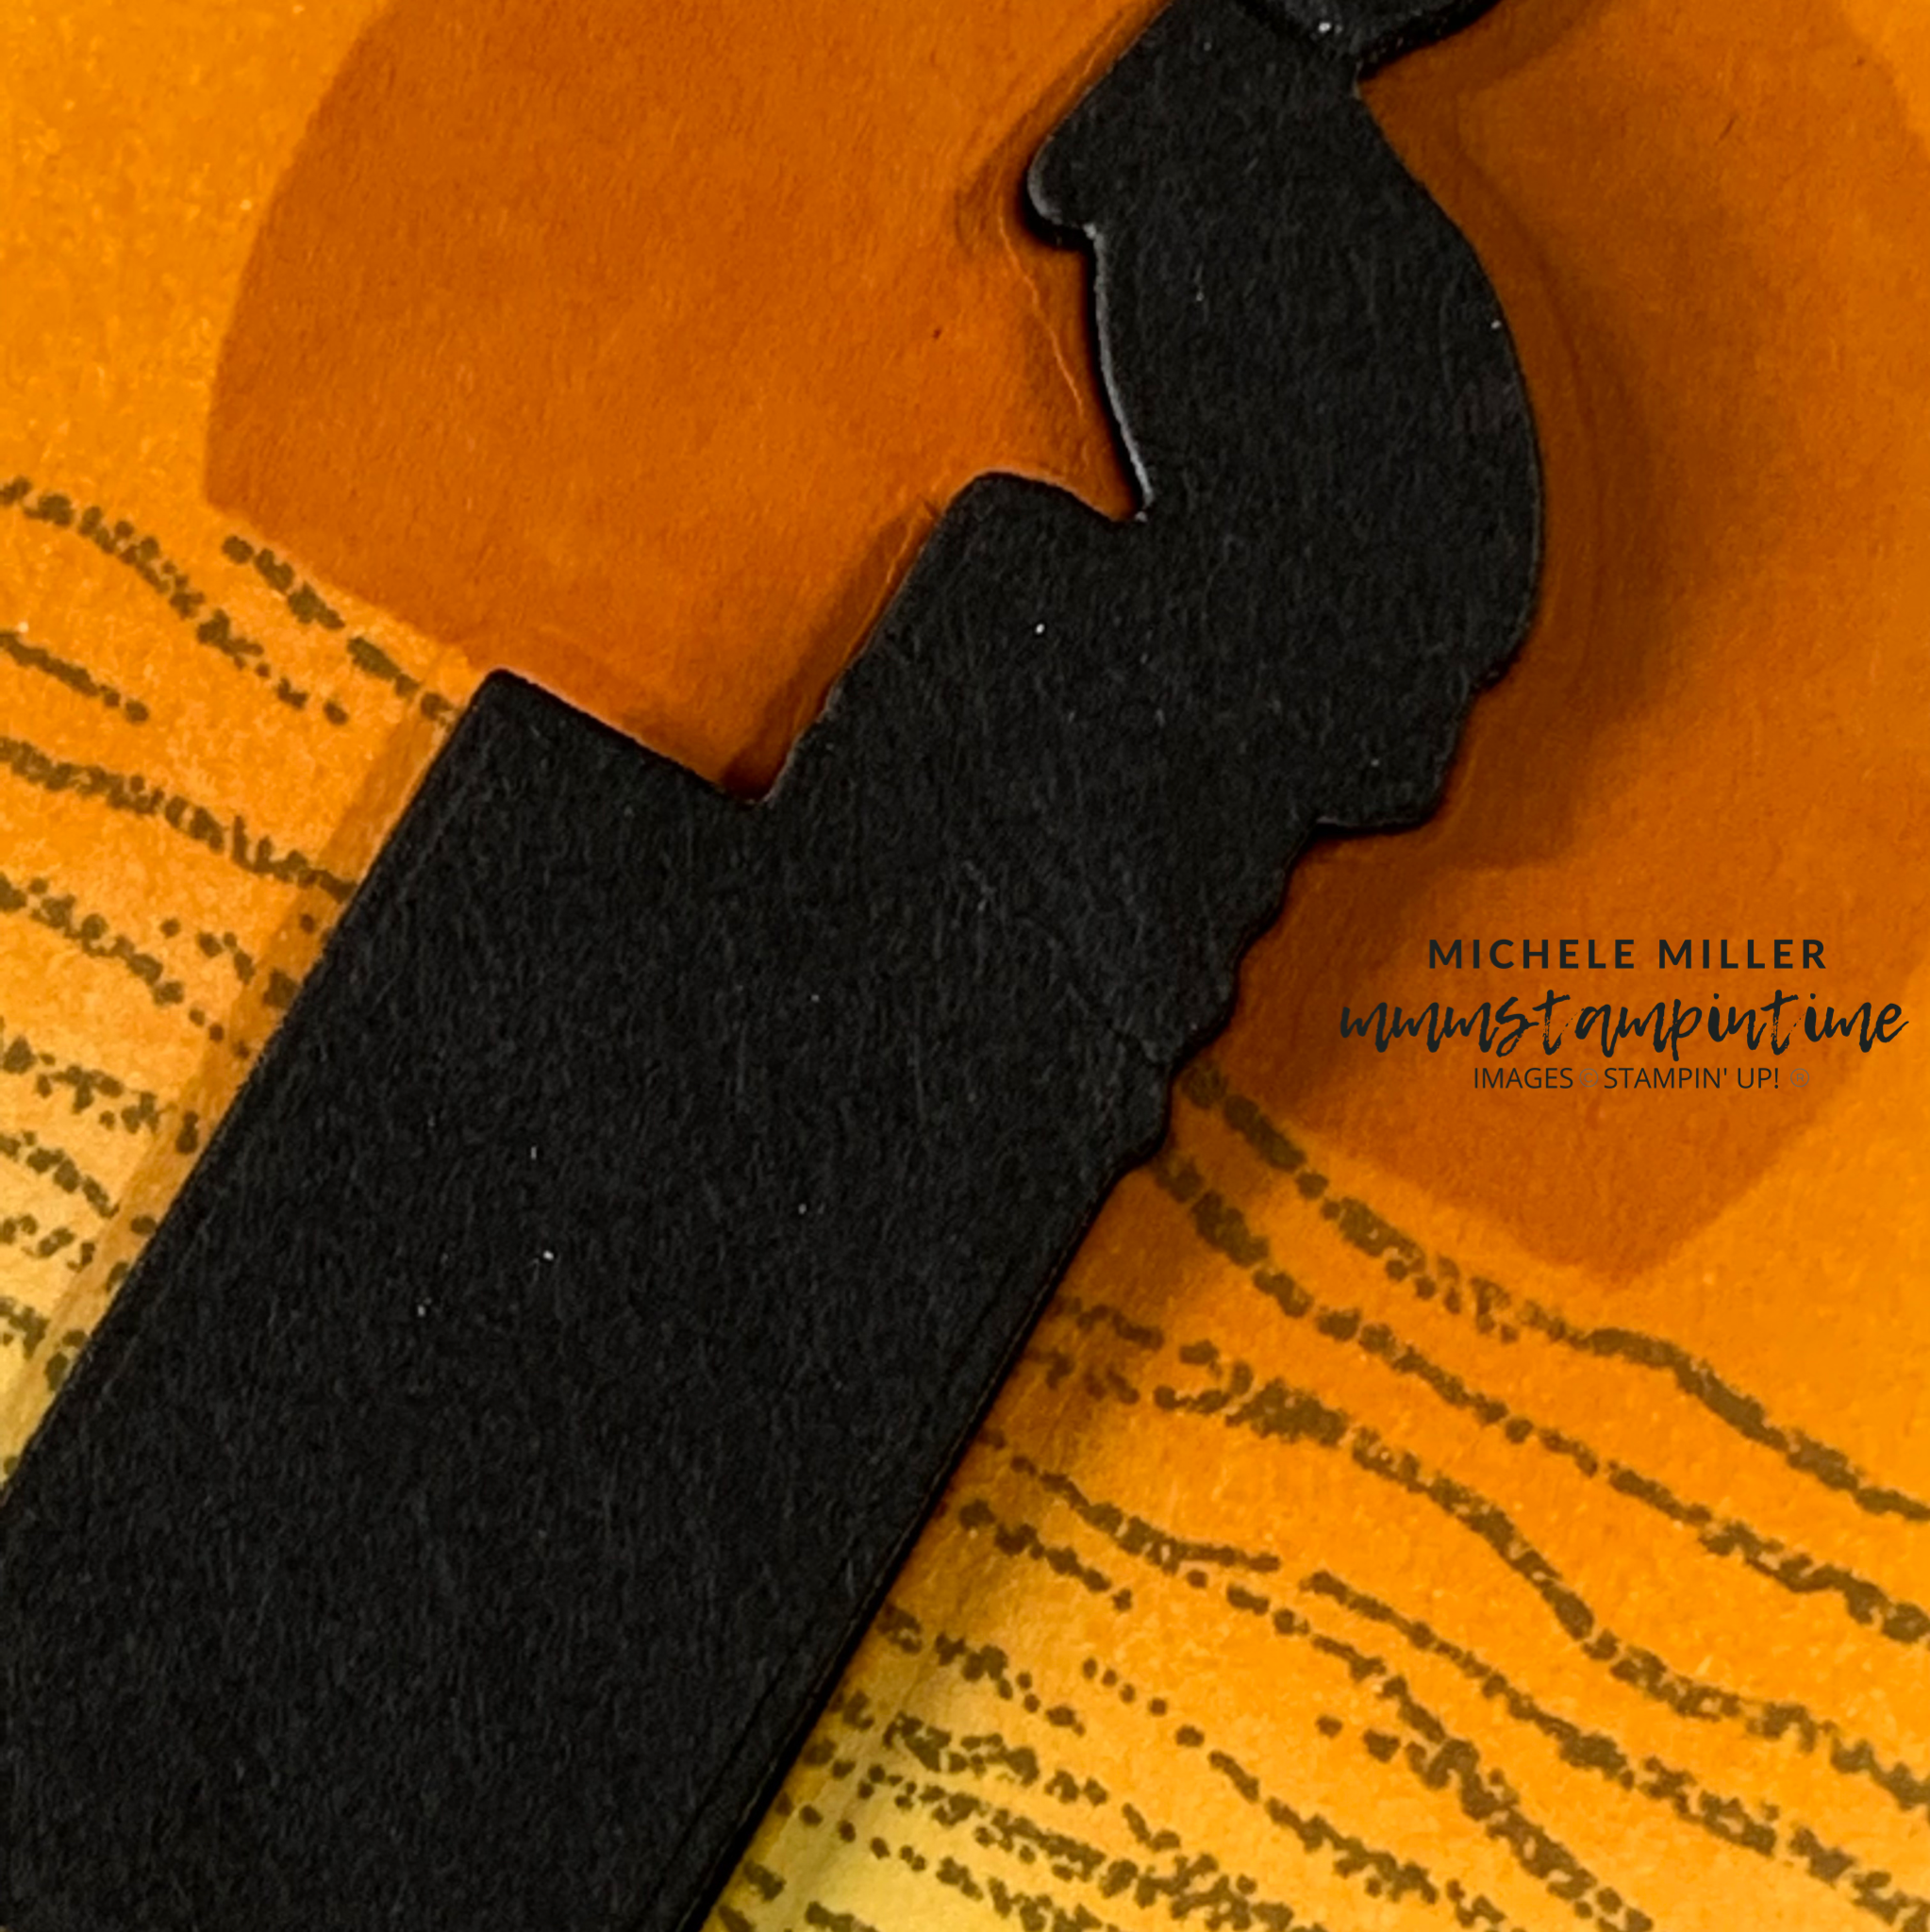
Masking is such a versatile technique in card making. For this card I used one of the circles, from the Layering Circles Dies, to create the setting sun and then to cover the orb to colour the sky.

The first step was to use the Gentle Waves Stamp, with Smoky SLate ink, to create the waterway for the pylons to emerge from.
I used a large piece of masking paper to cut a circle from the centre. The circle was put to one side and I used the placed the remaining piece where I wanted the sun to set. To make the sun set below the horizon, I placed a strip of Post It tape along the top of the stamped waves.
Using a Blending Brush, I coloured the sun with Pumpkin Pie ink. I removed the masking paper and trimmed the circle mask to match the shape of the setting sun.
To create the sky for the sunset I used Blending Brushes and Mango Melody, Crushed Curry and Bumblebee inks to build the colour.

The Waves Dies were used to cut the pelicon and pylon outline. I added Black Stampin’ Diemnsionals to the back and positioned the die cut piece in front of the sun. Then I added Mango Melody ink below the pylon to cast a shadow (perhaps it should be a dark gray).
I wrapped a length of black twine, from the Baker’s Twine Essential Pack, several times around the stamped layer and tied a bow.

The stamped layer was adhered to the card front.
I cut two more pelican and pylon pieces from Basic Black cardstock and added them to the card insert and envelope.
I haven’t decided on a sentiment yet, but what I choose will go inside the card. What do you think?
BONUS TECHNIQUE TODAY
I made many samples for a recent product presentation and this is a bonus technique card that I am happy to share with you.
After die cutting several of the two waves shapes, from the Waves Dies, I kept the “off cuts”. I used two different containers – one for each of the wave shapes. This made it so much easier to find the matching paper pieces when I went to fill in the wave oultine.

For this slimline card, I adhered a white wave outline and then filled the spaces (paper piecing) with the Coastal Cabana, Pacific Point, Night of Navy and Silver Foil “offcuts” that I had reserved.

For this second slimline card, I adhered a Basic White wave outline to a panel of Basic Black cardstock. For the wave outline I used Adhesive Sheet to secure it to cardstock panel. Then I used the Coastal Cabana, Night of Navy and Pacific Point adhesive backed “offcuts” to fill in the spaces.
These two paper pieced cards also had a dry embossed long layer.
I hope that you enjoy all the techniques I have shared with you today.
Tomorrow I will have another Global Design Project post to share and I also hope to organised enough to have a Freshly Brewed Projects Blog Hop project to share as well.
Until then, happy stamping.

If you live in Australia, you can order any of the products I used to make this card by going to my online store. Just click on any of the images below.
Product List


