Posted on Leave a comment

HAPPY FATHER’S DAY TO ALL THE DADS OUT THERE!

I recently made two Father’s Day cards for my daughter. She asked for one for her dad and one for her partner’s father. And, any mum who makes cards would oblige.

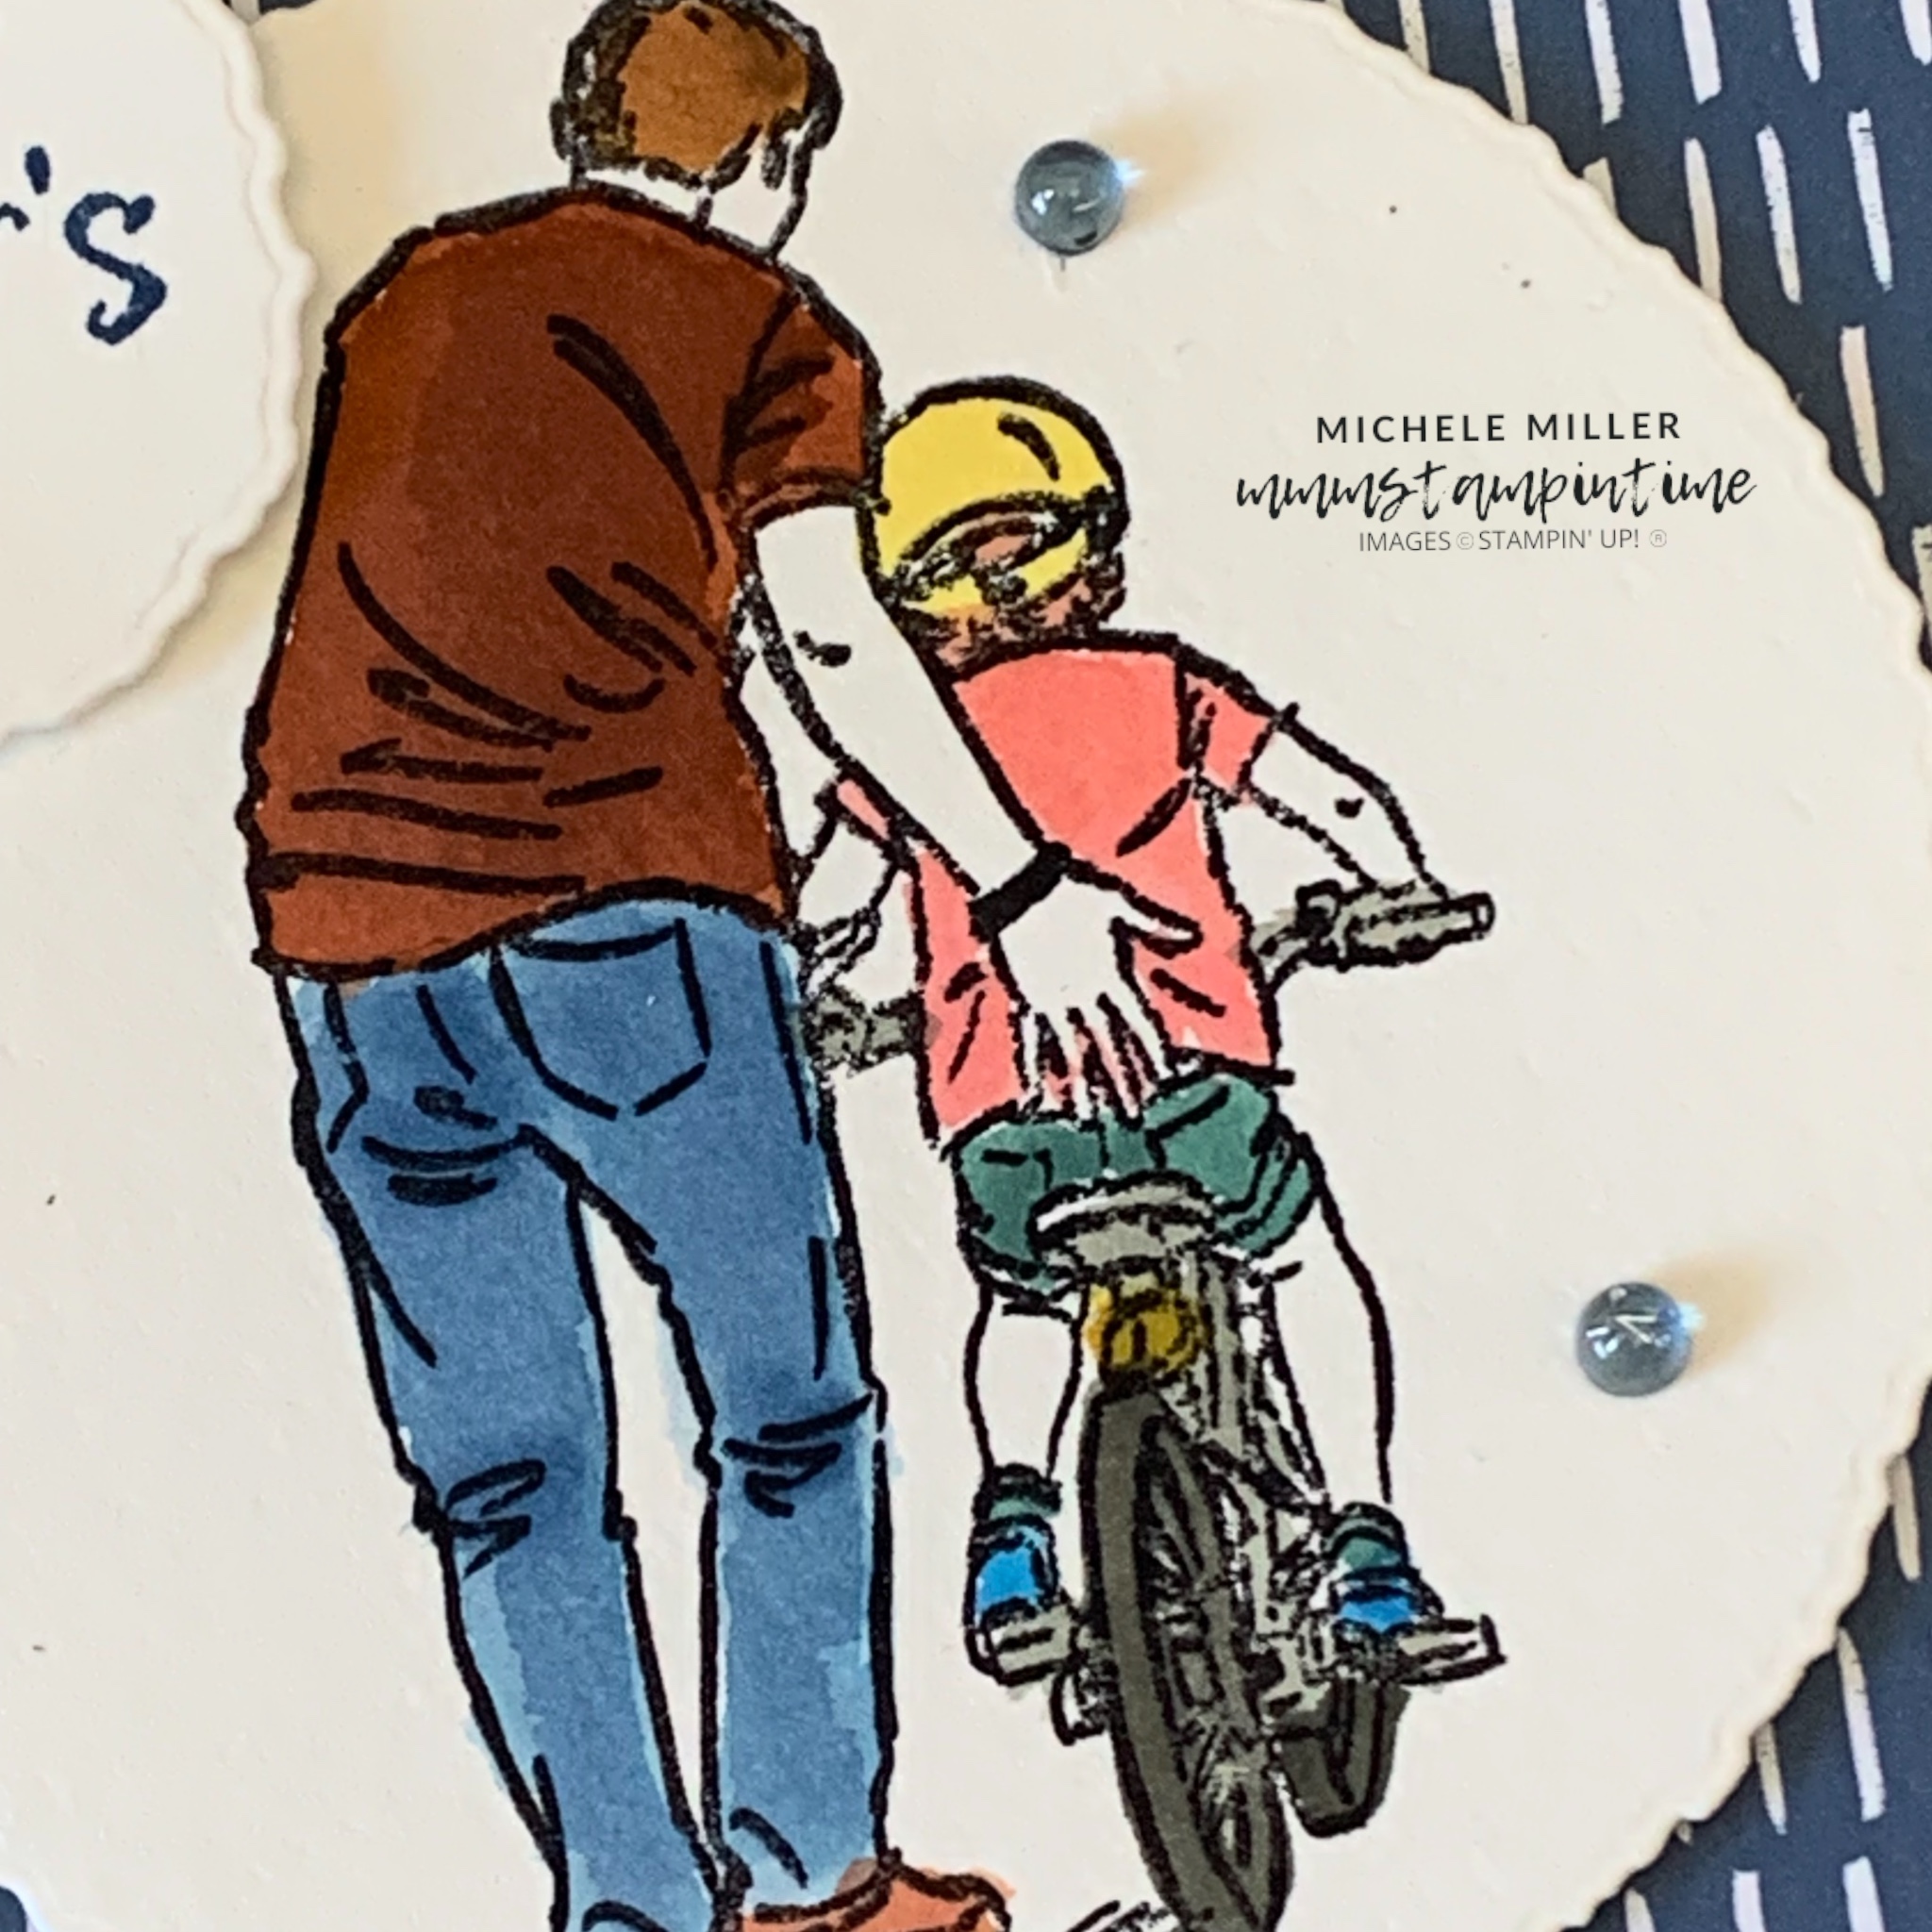
I featured the Beside Me Cling Stamp Set.

As you may have guessed from the image below, the card on the right is for my daughter’s dad and the other for her partner’s dad – nothing like a little gender stereotype colouring.

The image was stamped using StazOn ink on Fluid 100 water colour paper. Then I used lots of colours to water colour the images.

When I was finished I used a Deckled Circle Die to cut around the image.

The Misty Moonlight cardbase had a panel of Misty Moonlight paper from the Neutrals 6″ x 6″ Designer Series Paper.

I used the banner die, from the Time Together Dies set, to cut a Crushed Curry banner to cut and place behind the deckled circle cut image. Then I added Stampin’ Dimensionals behind this piece to position on the card front.

Each card has a Father’s Day greeting, stamped and die cut, to pop up on the card front.

Inside the card, I stamped the sentiment “Beside me all the way.” The back of the envelope has the three birds image stamped on it.

Finally, I added some of the Misty Moonlight Tinsel Gems from the 3 Pack.

I used just a “few” colours to water colour the images. Have I ever said how much I love the range of colours we have in the colour families?

I was so pleased to be asked to make this year’s Father’s Day cards.

I’m not sure what I will be posting over the next week. I am currently working on projects for an upcoming team event day, where I am featuring some new products. It is very exciting because it will be one of the 35 for 35 Stampin’ Up! events.

Until then, happy stamping.

If you live in Australia, you can order any of the products I used to make this card by going to my online store. Just click on any of the images below.

Product List
Paper Snips
[103579]
$19.25
Posted on Leave a comment

GLOBAL DESIGN PROJECT #407 – SEASIDE BAY AND BEAUTY OF THE DEEP

I am really enjoying taking part in the weekly Global Design Project Challenges. This week’s GDP theme challenge is water creatures.

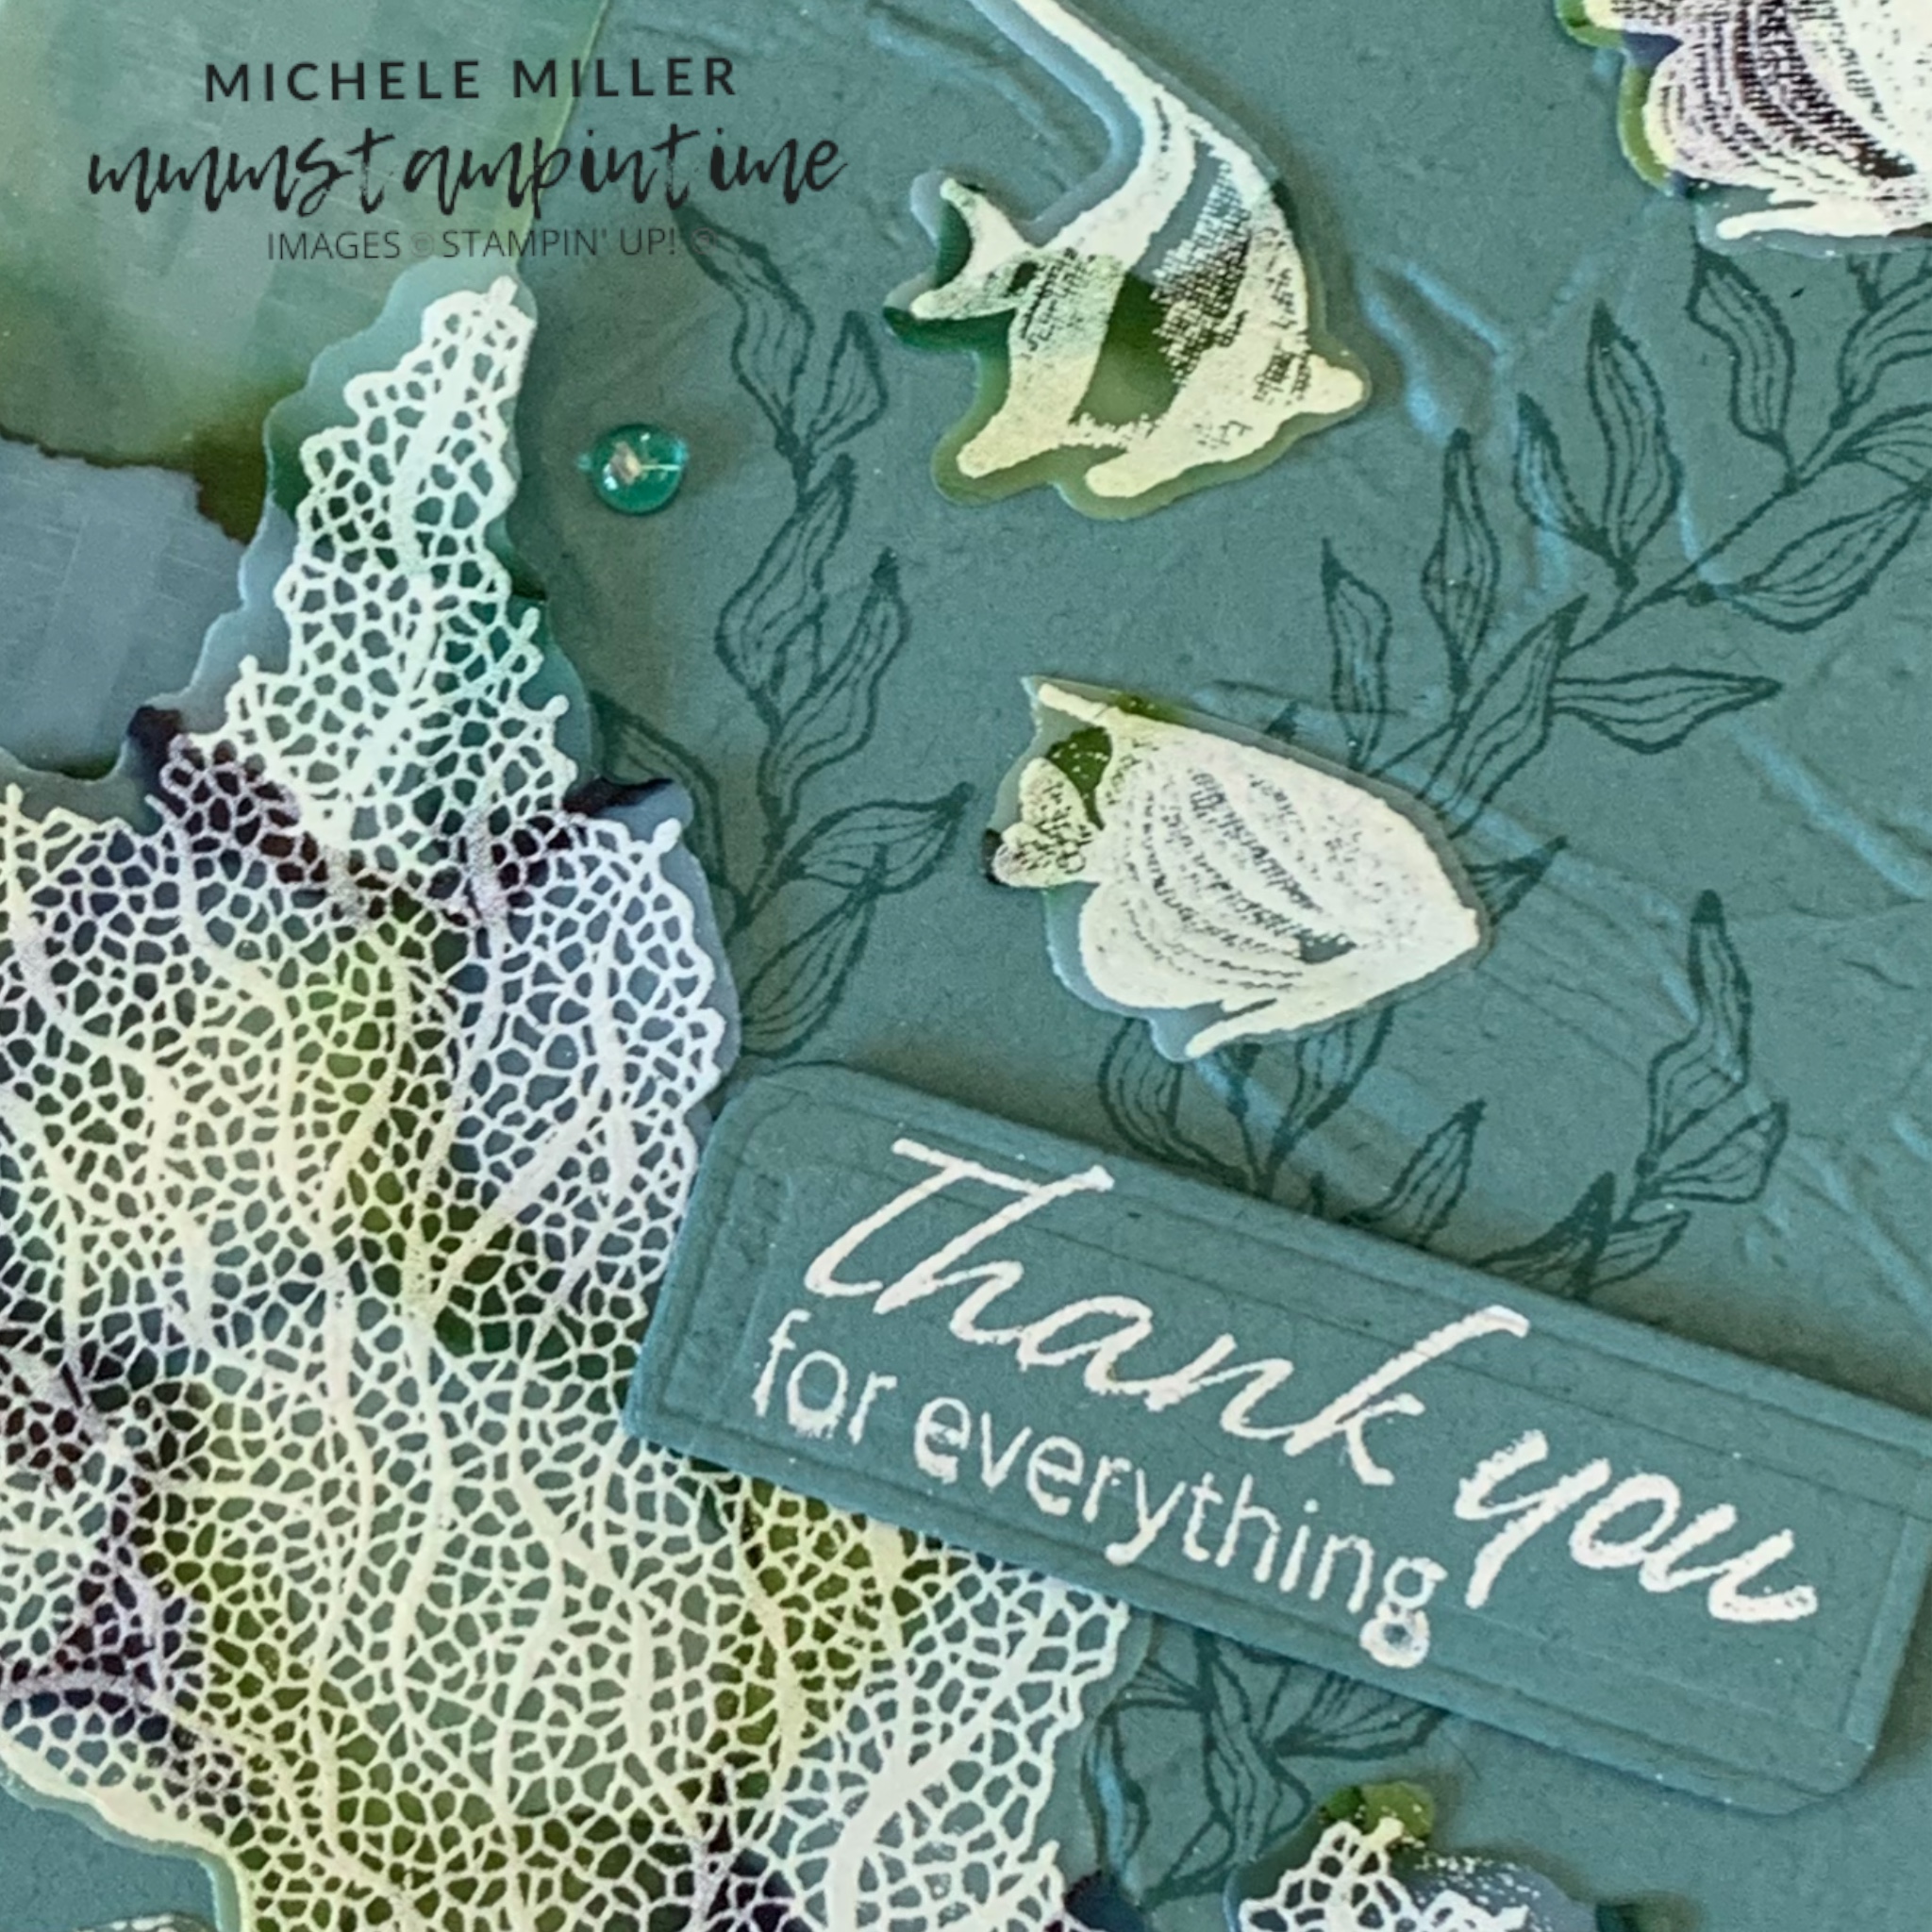
When I saw this challenge I knew which bundles I would be using – Seaside Bay and Beauty of the Deep.

I started with a piece of A4 Vellum paper and Stampin’ Blends in Granny Apple Green, Lost Lagoon and Night of Navy. By spritzing small amounts of isopropyl alcohol I created the watery design that I featured on the card. I also used it to stamp and heat emboss the images I used.

The card base is Lost Lagoon. I stamped the ‘seaweed’ image several times onto a Lost Lagoon panel before embossing it with the Painted Texture 3D Embossing Folder.

The 1″ strip of alcohol ink coloured vellum was attached to this embossed panel.

The white heat embossed images were cut using their coordinating dies from the Seaside Bay Dies and Beauty of the Deep Dies.

These lovely white images were attached to the panel using mini glue dots.

The greeting, from the Seaside Bay Stamp Set, was also stamped using Versamark and white embossing powder.

I used my new dies ready reference cards to find the best one to cut the greeting.

The Wonderful Thoughts Die was the best choice. I was able to reduce the length of the cut by repositioning the die and running it through the Mini Stampin’ Cut & Emboss Machine a second time.

The greeting panel was then positioned on the card front using Stampin’ Dimensionals.

The same ‘seawedd’ image was stamped on the card insert and envelope.

The final touch was to add some Tinsel Gems from the 3 pack.

I am very happy with this card – layout, colour and texture.

Tomorrow I have some Fathers’ Day cards to share with you.

Until then, happy stamping.

If you live in Australia, you can order any of the products I used to make this card by going to my online store. Just click on any of the images below.

Product List
Heat Tool
[129056]
$54.00
Paper Snips
[103579]
$19.25
Posted on Leave a comment

GLOBAL DESIGN PROJECT #406 SKETCH CHALLENGE – TAKE 2

Don’t blink – I have reposted the second card from my earlier post today because to enter more than one project in this week’s #GDP406 Challenge. So I am copying the information from the earlier one.

This week the Global Design Project Team has a great sketch challenge for everyone to try.

Check out their projects at http://www.global-design-project.com/2023/08/global-design-project-406-sketch.html

After all the bold and bright colour of my first card, I wanted to make a toned down card.This time I wanted to feature the some of the products in the All About Autumn Suite Collection.

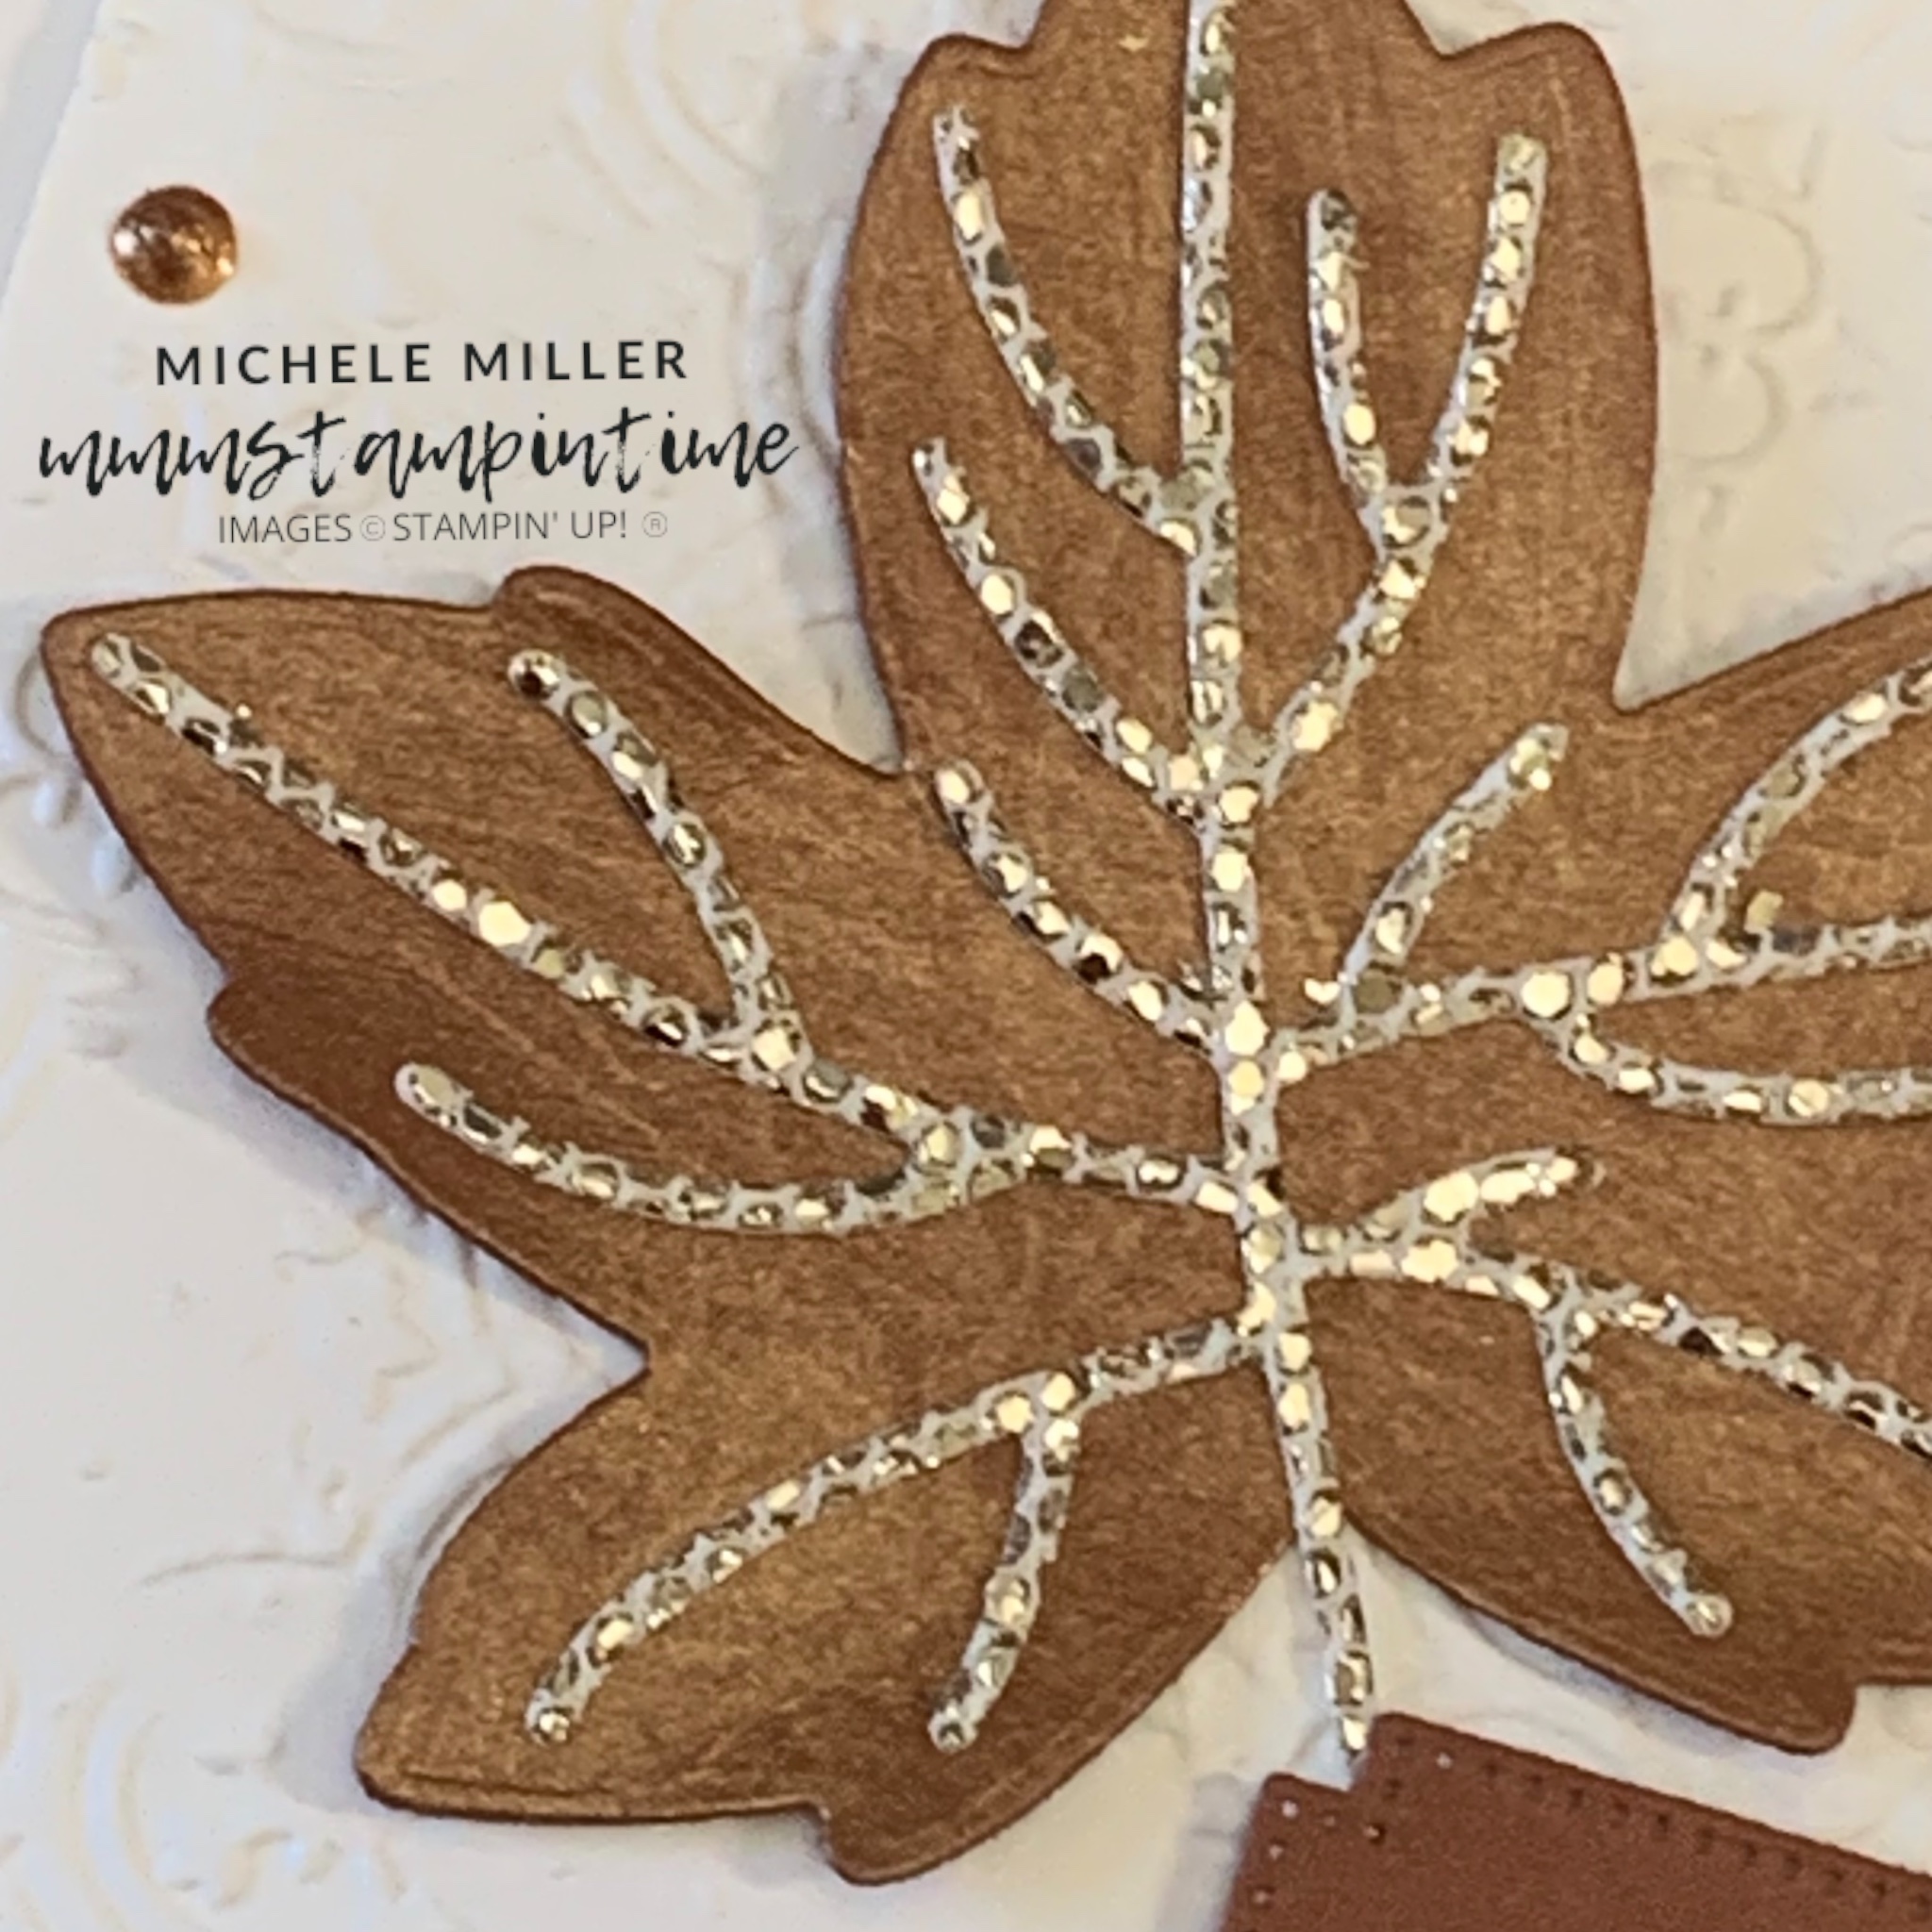
I used the same layout and dimensions for this card. The Copper Clay & Basic White layered panel was adhered to the Basic White card base.

The second Basic White panel was embossed using the stunning new Distressed Tiled 3D Embossing Folder. This was then placed on the card front with Stampin’ Dimensionals.

The leaf was cut using one of dies from the Autumn Leaves Dies. Then I added Metallic Enamel Effects Basics in Copper to the leaf and waited for it to dry.I added some Adhesive Sheet to the back some silver More Dazzle Specialty Paper to cut the leaf ‘veins’. As soon as the enamel was dry I removed the backing from the adhesive sheet and positioned the dazzle piece in place.

The sentiment was stamped using Versamark and white embossing powder before heat setting it.

Finally, I used the enamel to create three small circular embellishments directly on the card front.

One sketch design and two very different cards. Which one do you prefer?

I’m not sure yet what I will have to share with you next but it will certainly involve new products.

Until then, happy stamping.

Because some of the products I have used to make this card are not yet available to customers, I am not able to show them at this time. As soon as product images go live, I will create this section.

If you live in Australia, you can still go to my online store and order existing products while waiting for the new catalogue to go live.