Today’s project features a background ‘paper’ that I created using two of the images from the Notes & Totes Stamp Set.
I used the multiple hibiscus image and the splatters image to create the background panel for this card.
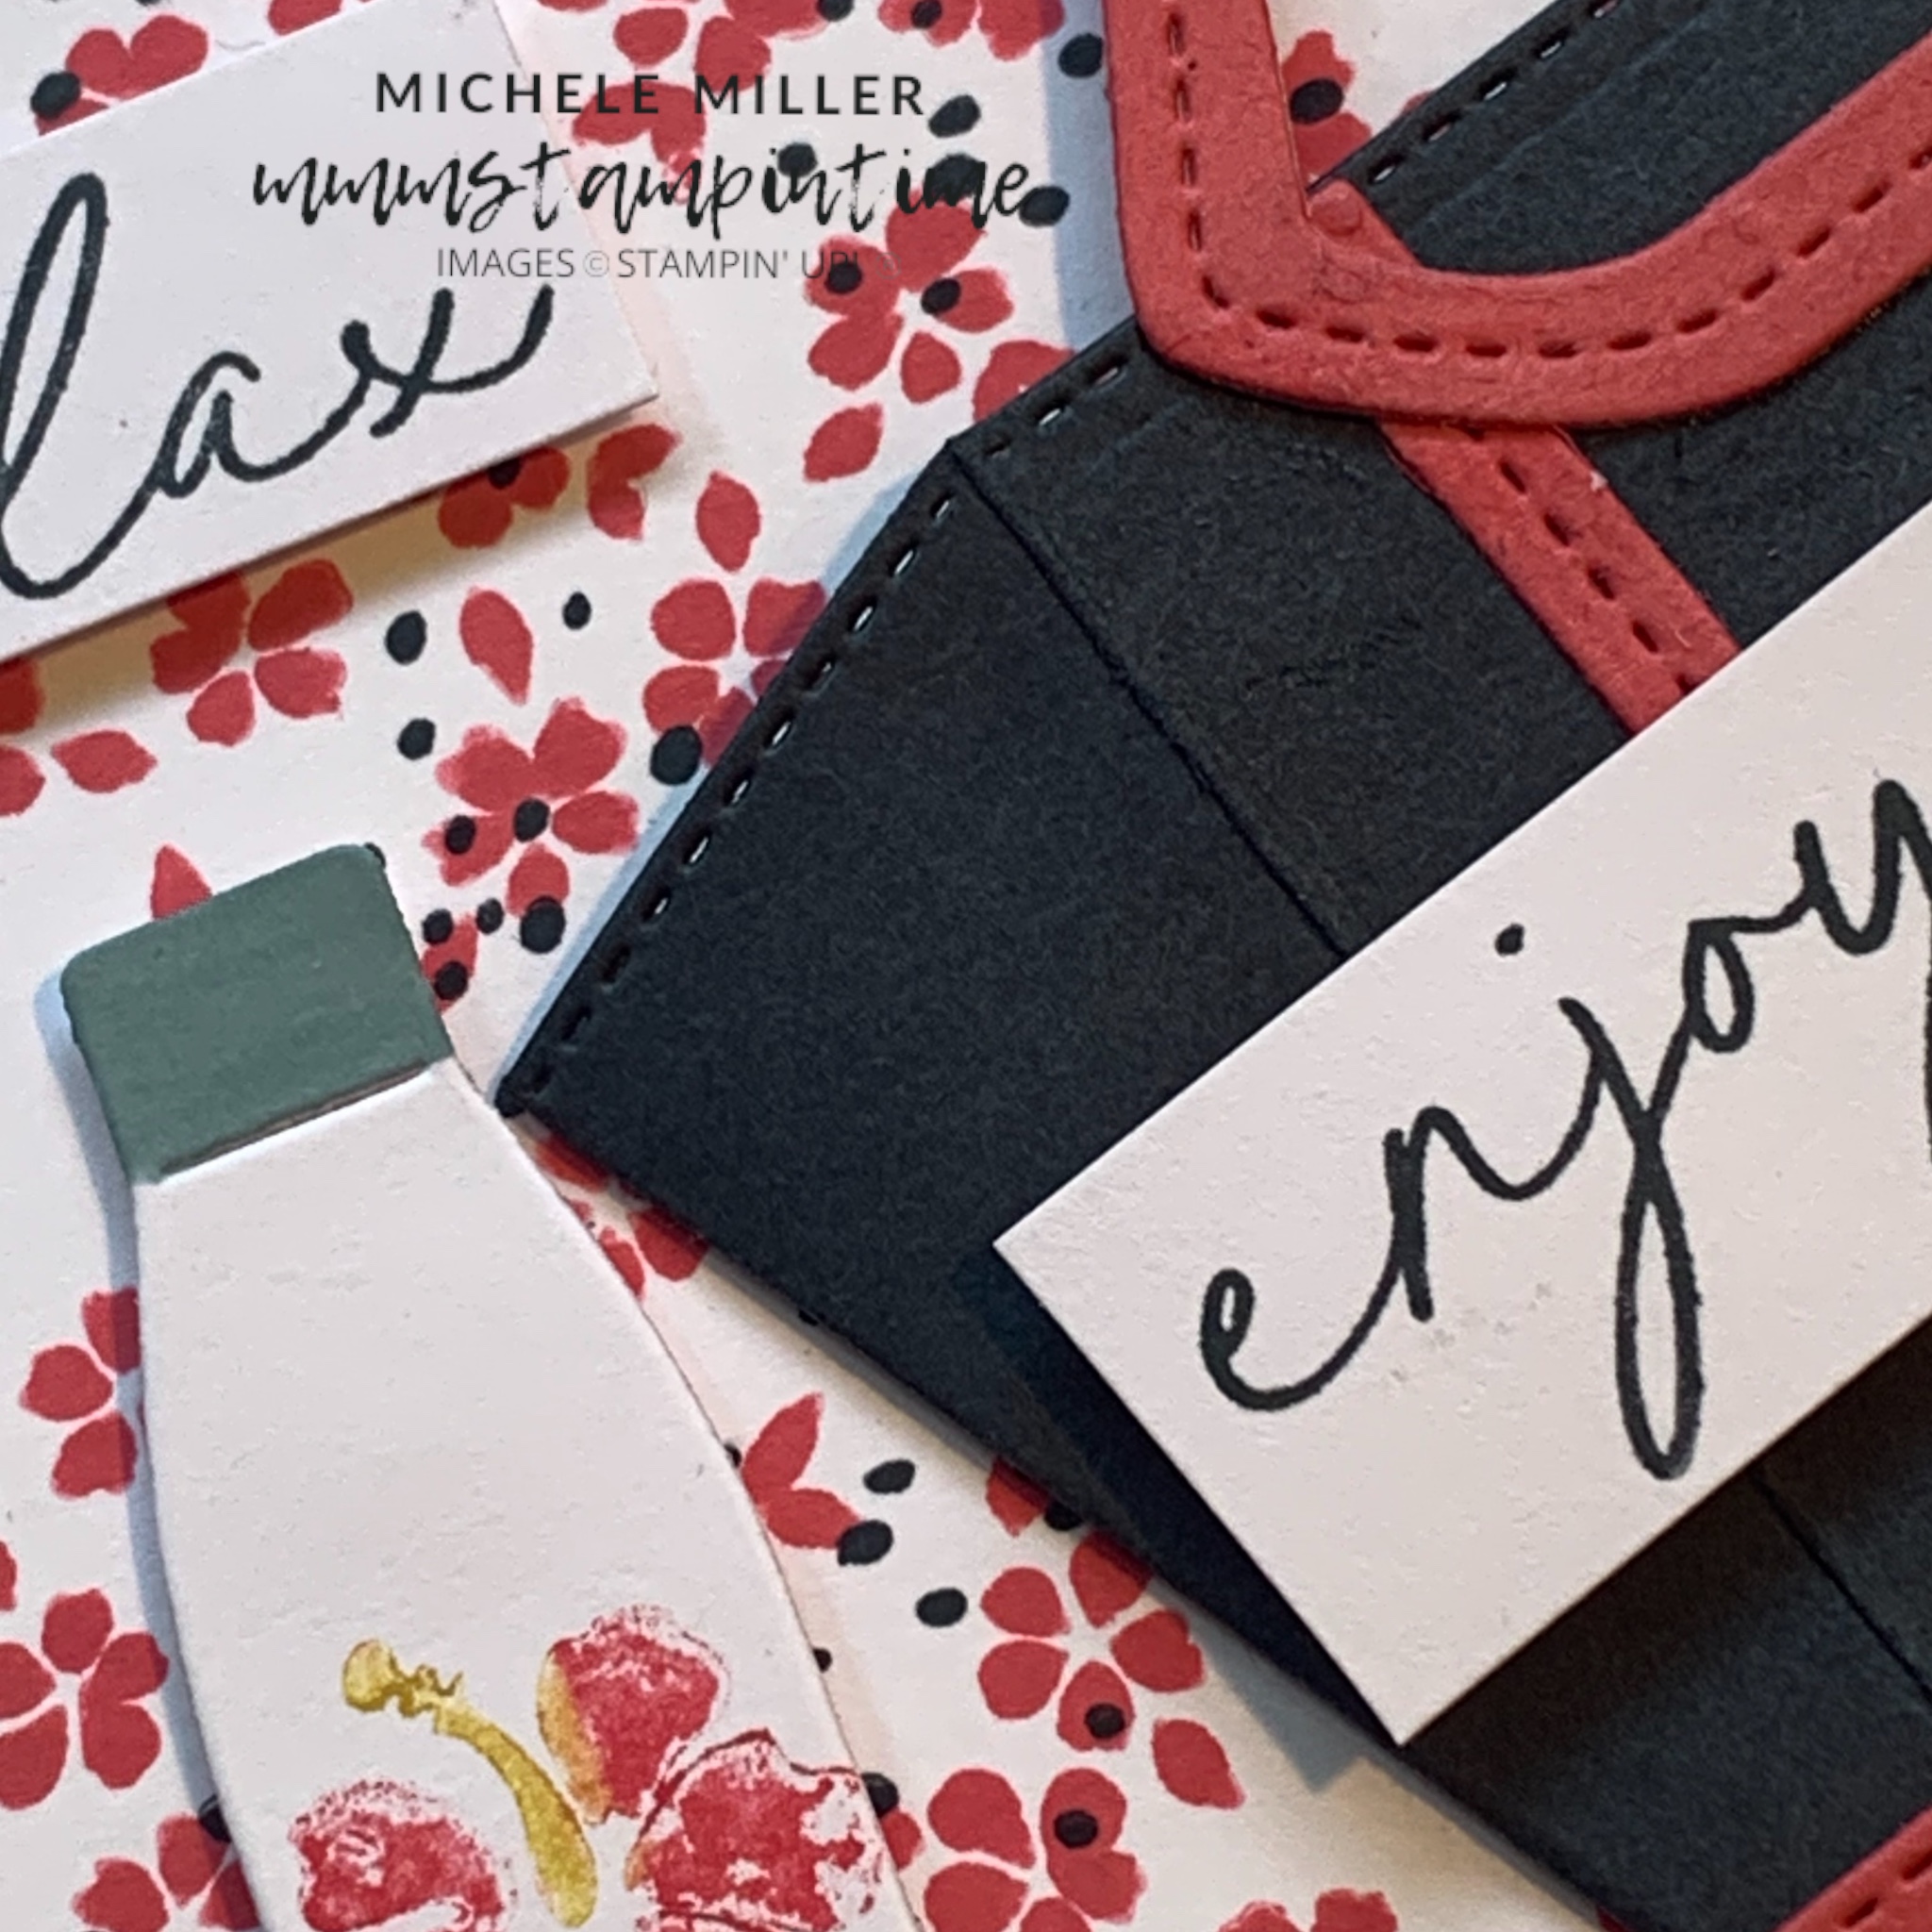
The card base is one of the new 2025-2027 In Colour – Secret Sea. I also used a slightly smaller Strawberry Slush panel.

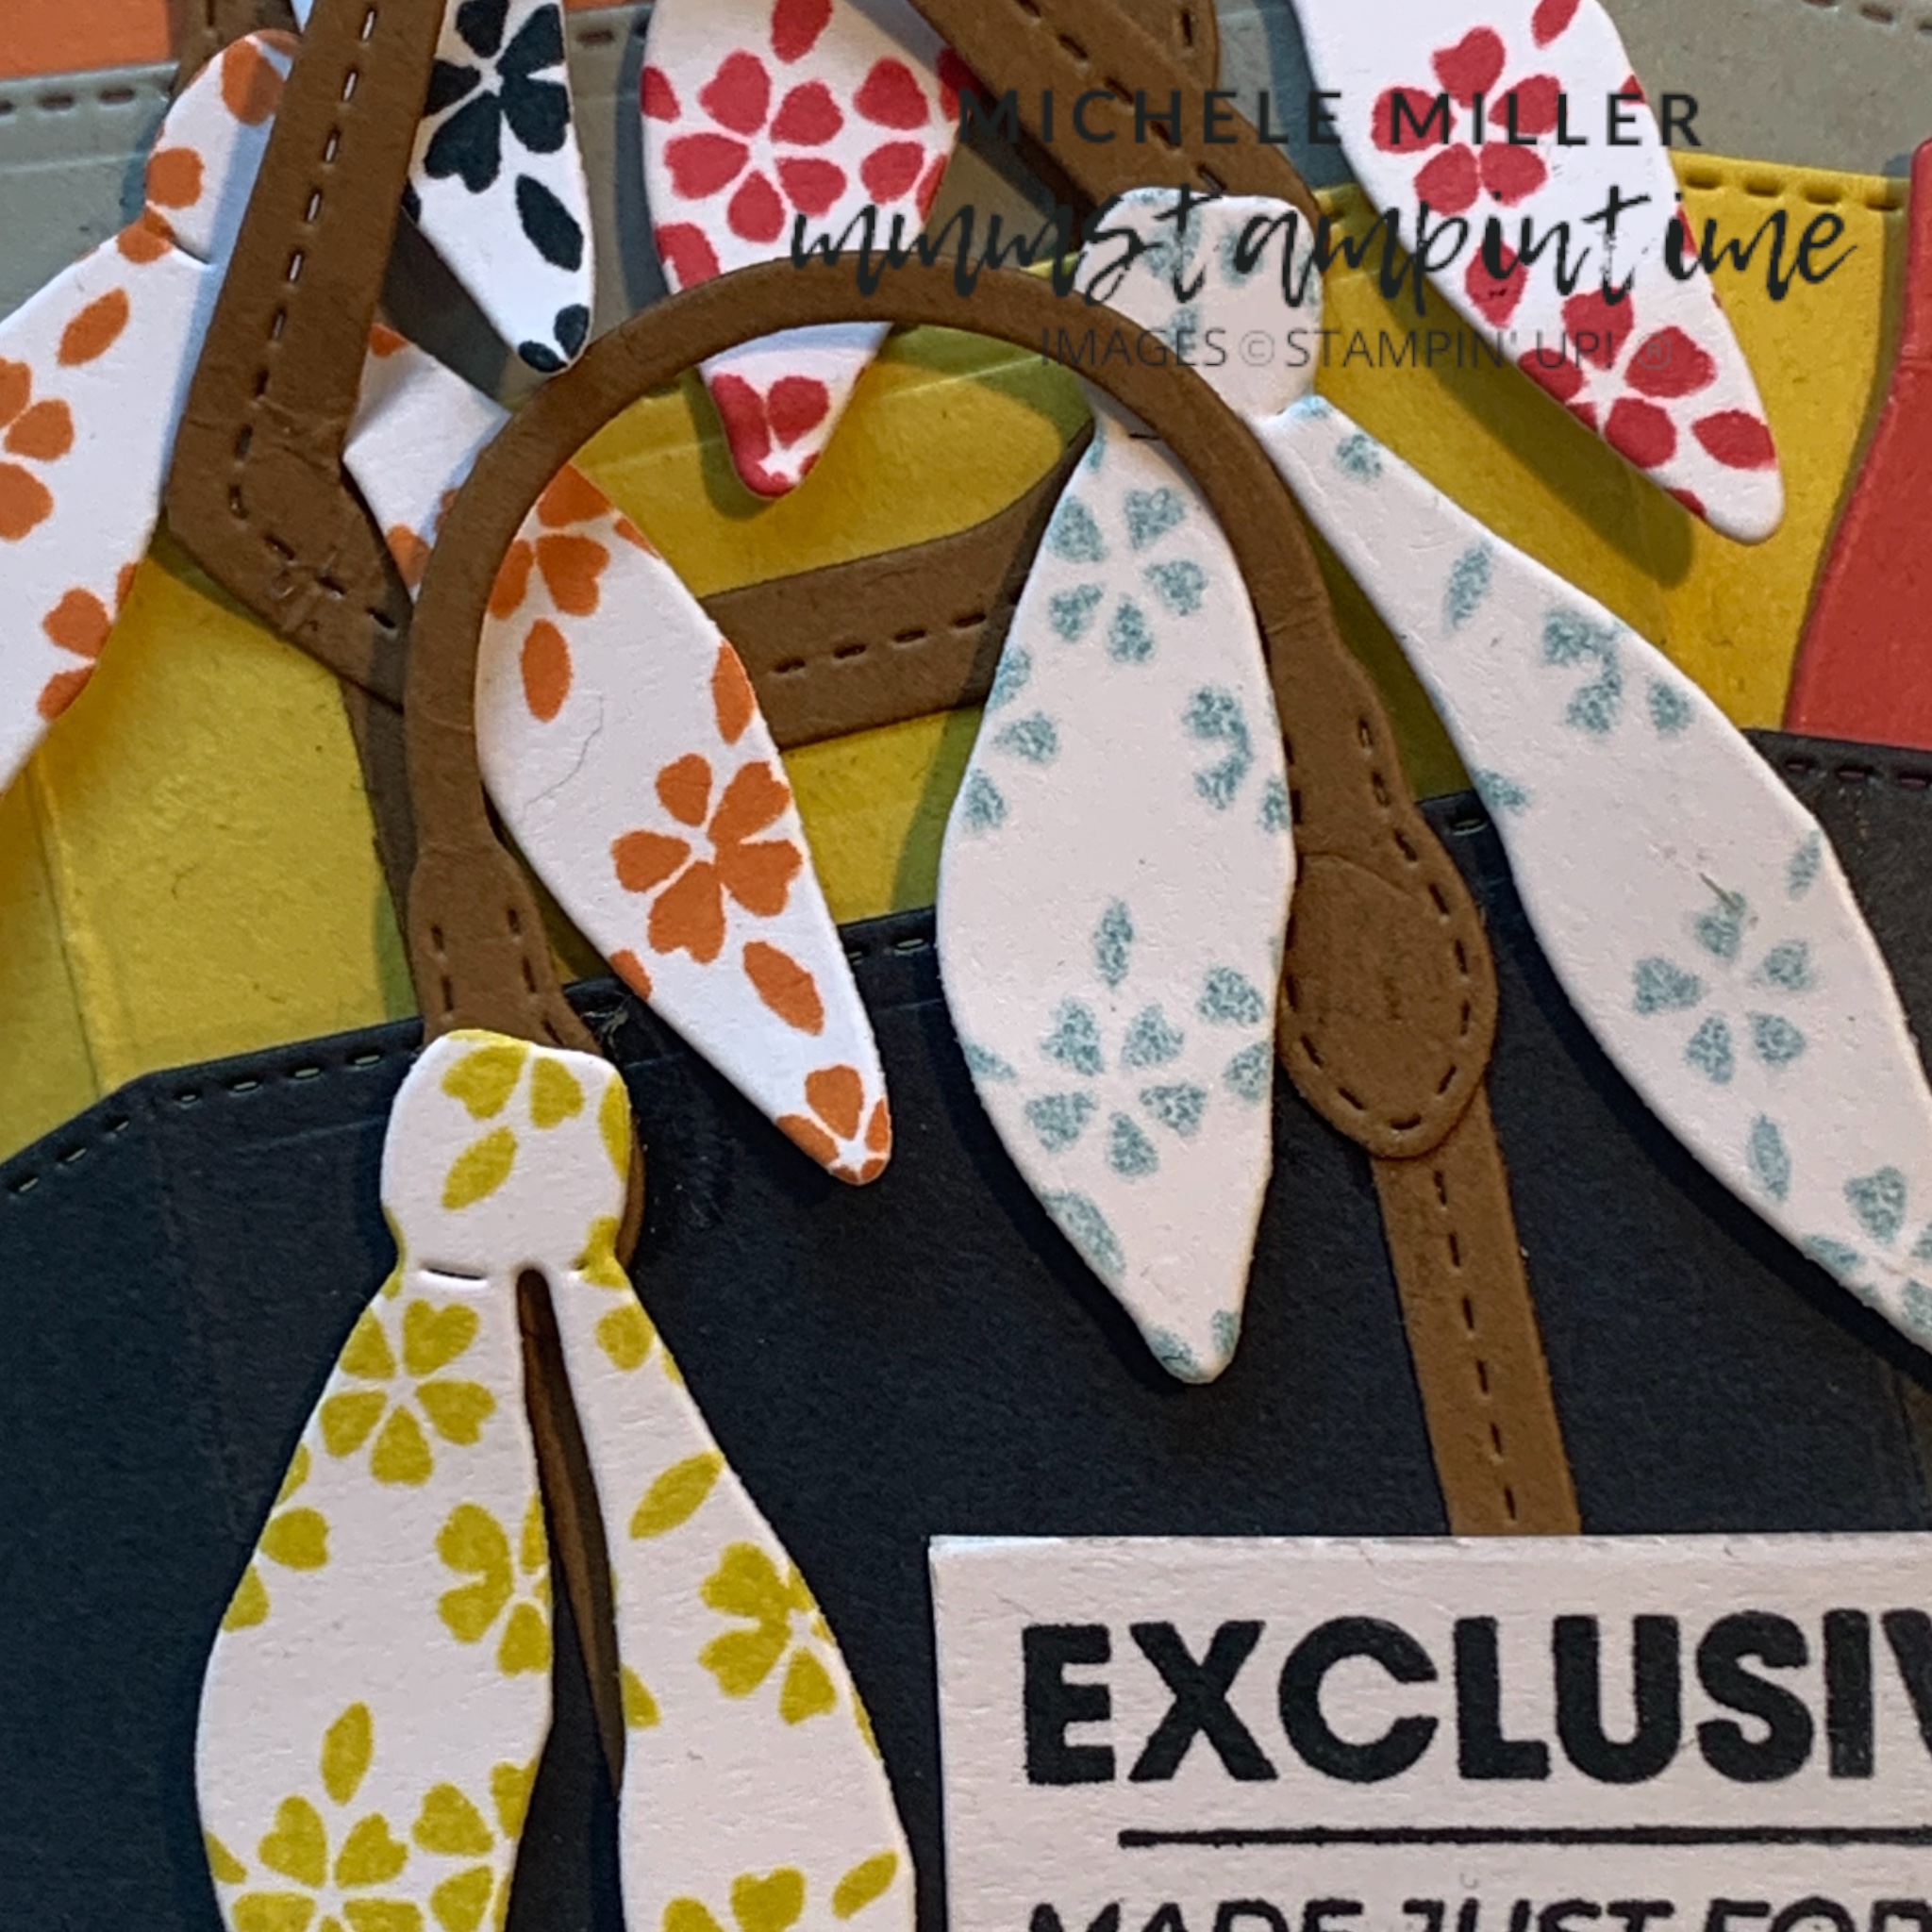
The tote was made using the dies and Secret Sea and Strawberry Slush card.
I cut the water bottle using the coordinating dies and cut the lid from Cloud Cover card.
The small hibiscus image used the direct to stamp colouring technique, with Stampin’ Write Markers.

The same coloured hibiscus image was added to the card insert and back of the envelope.

The sentiments were stamped and cut down to place on the card front.
Finally, I added some 2025-2027 //in Colour Flat Pearls to the front of the card.

Tomorrow I have a Home Decor project to share with you, instead of a 3D project.
Until then, happy stamping and scrapbooking.

If you live in Australia, you can order any of the products I used to make this card by going to my online store. As you read through this post, you will see the products I used for this project. The new items are available from May 5th.