Posted on Leave a comment

THIS MONDAY I HAVE ANOTHER DECOR PIECE RATHER THAN A MEMORY KEEPING PROJECT

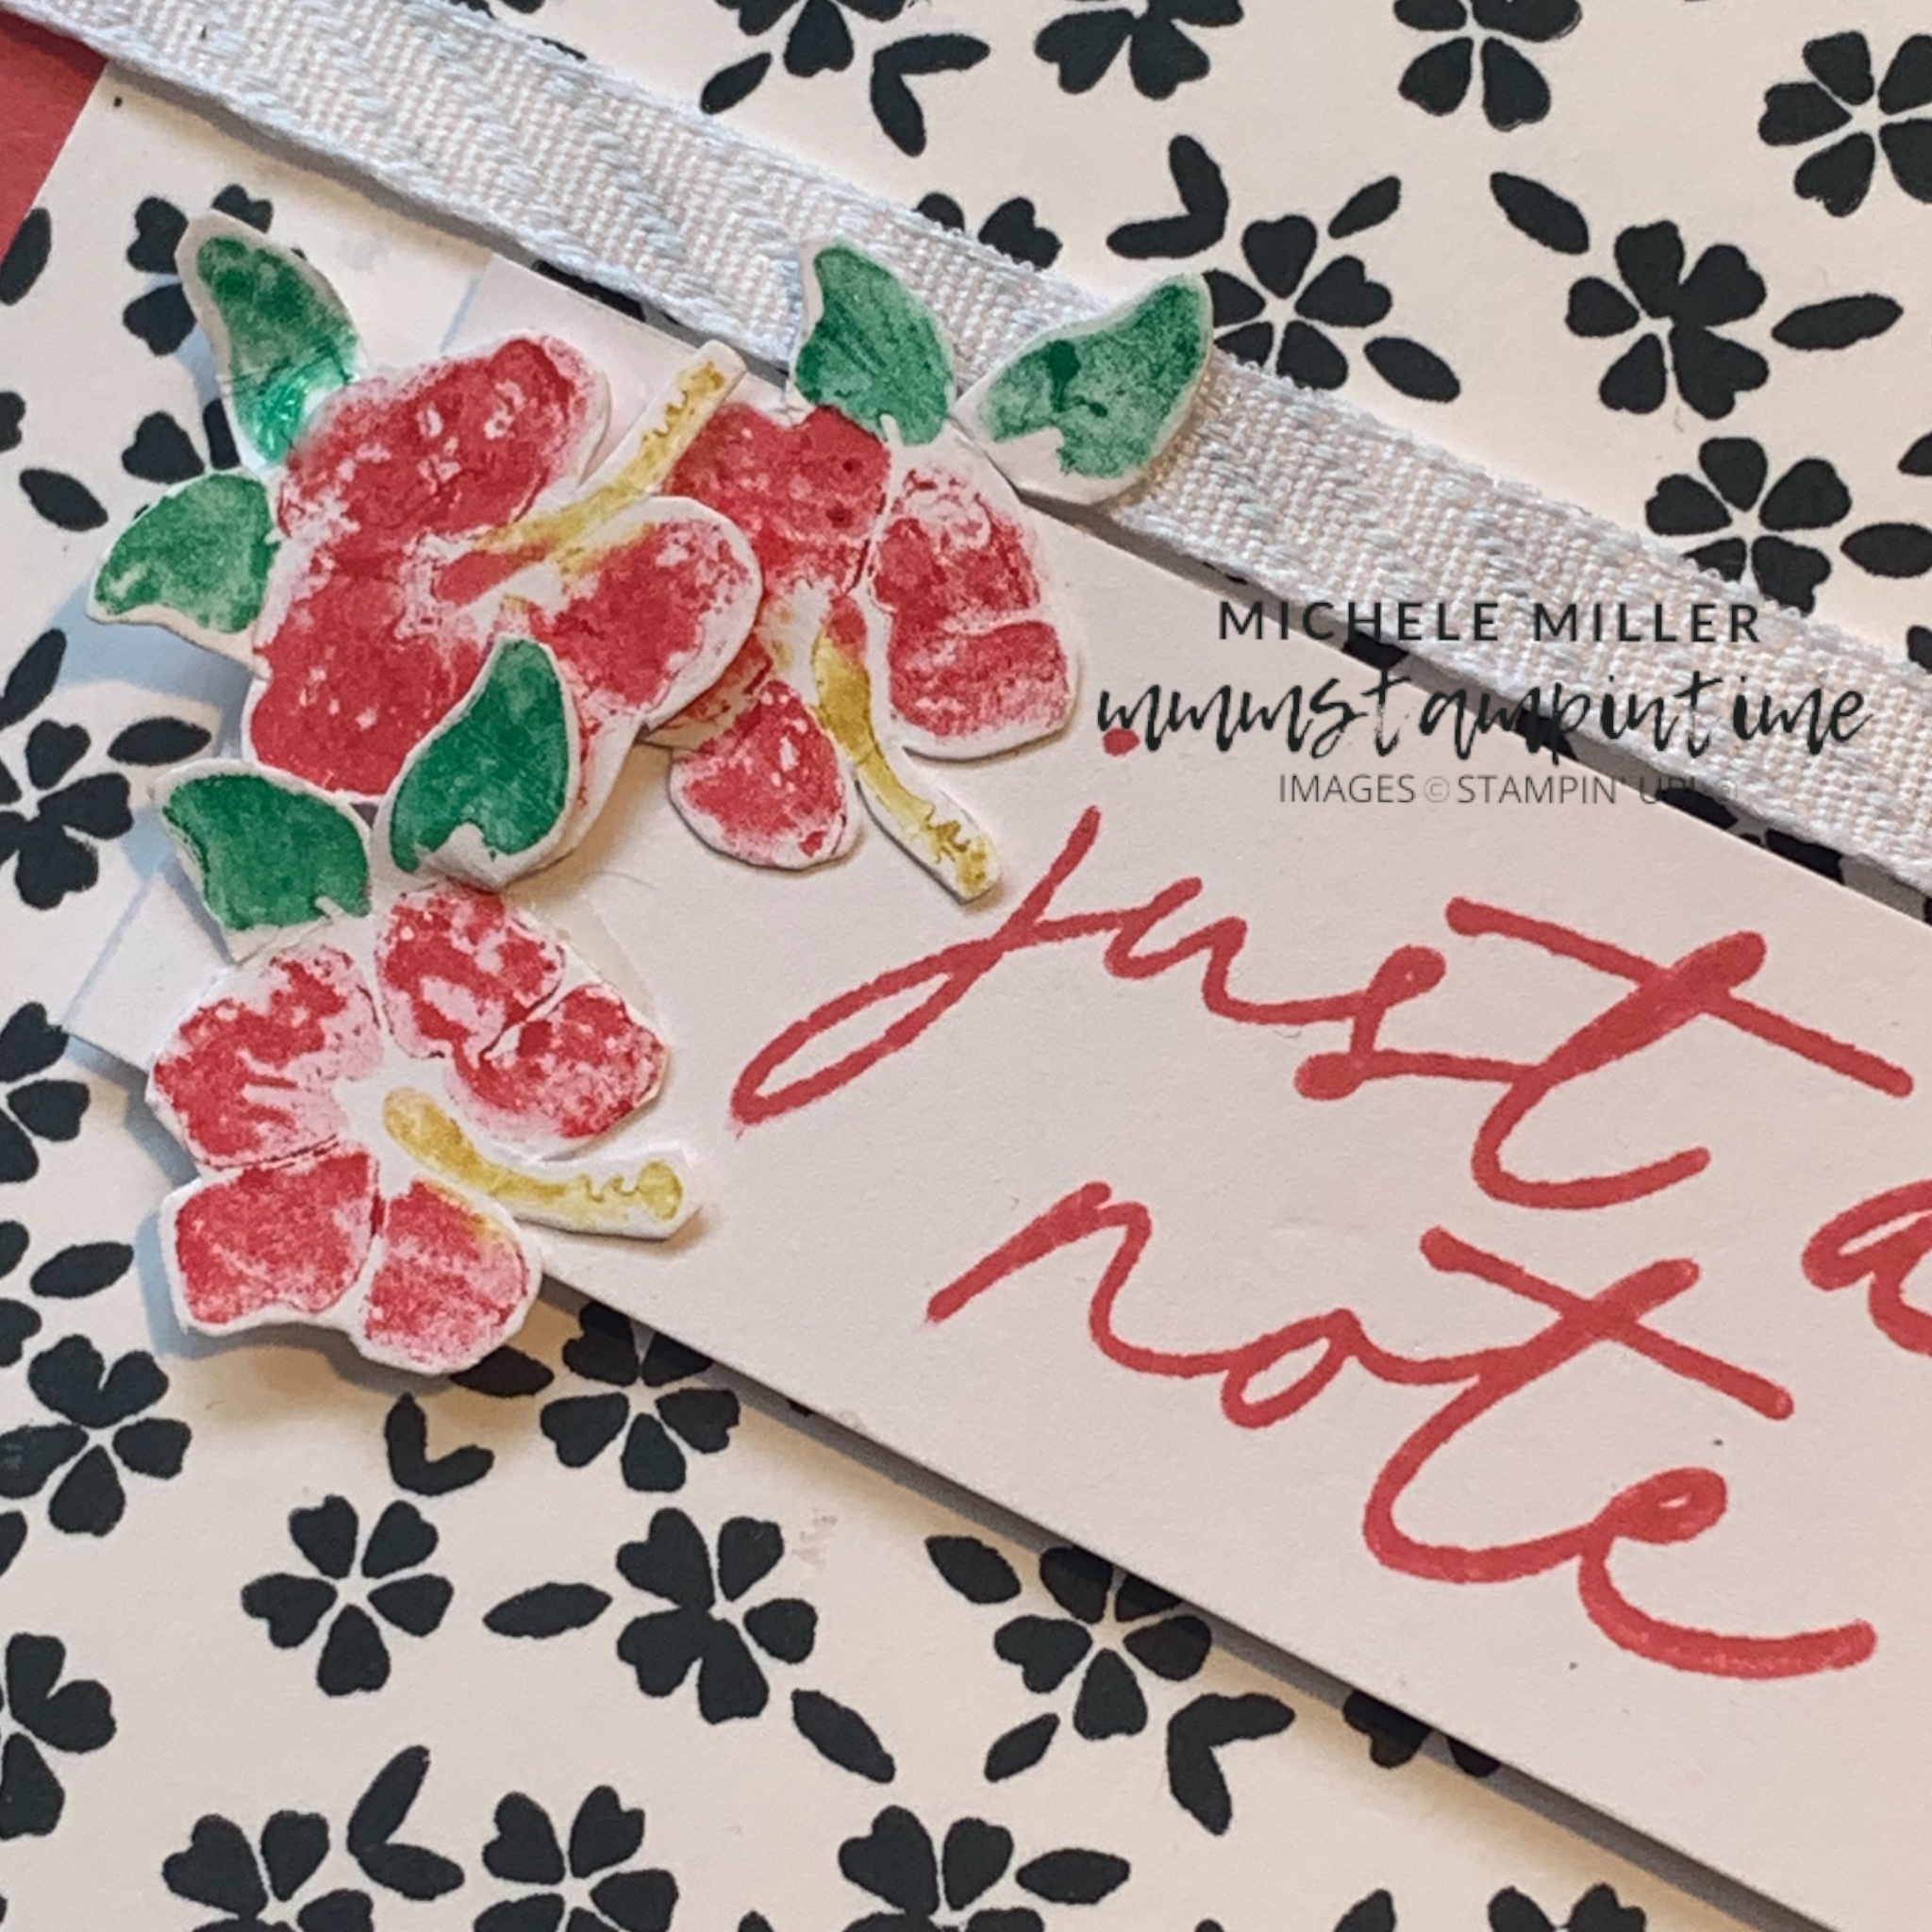
This week I am featuring the Celebratory Sips Suite Collection.

Celebrations are always fun with a drink in hand! That’s why the Celebratory Sips Suite Collection will be a great addition to your crafting supplies, so you can create fun and festive drinks like mixed drinks, dirty sodas, or whatever you like in a unique paper crafting style. Add ink, cardstock, and adhesive to complete your projects.

COLOUR DETAILS
– Colours: Berry Burst, Blackberry Bliss, Bubble Bath, Cloud Cover, Daffodil Delight, Lemon Lime Twist, Old Olive, Peach Pie, Pretty in Pink, Secret Sea, Strawberry Slush, Timid Tiger

This Suite collection includes one of each item listed below.

CHEERS & SIPS PHOTOPOLYMER STAMP SET (10% off)
– 20 photopolymer stamps
– Suggested clear blocks (sold separately): b, d, h

CHEERS & SIPS DIES (10% off)
– 15 dies
– Largest die: 1-1/8″ x 2-1/2″ (2.9 x 6.4 cm)
– Use with a Stampin’ Cut & Emboss Machine (sold separately)
– Compatible with the Mini Stampin’ Cut & Emboss Machine (sold separately)

GLASS & GARDENS EMBOSSING FOLDER
– 2 embossing folders
– 3-3/8″ x 6-1/4″ (8.6 x 15.9 cm)
– Use with a Stampin’ Cut & Emboss Machine (sold separately)
– Compatible with the Mini Stampin’ Cut & Emboss Machine (sold separately)

CELEBRATORY SIPS 12″ X 12″ (30.5 X 30.5 CM) DESIGNER SERIES PAPER
– 12 sheets: 2 each of 6 double-sided designs
– Acid free
– Lignin free

GOLD STRIPED 3/8″ (1 CM) MESH RIBBON
– Width: 3/8″ (1 cm)
– Length:10 yards (9.1 m)

HOLOGRAPHIC RESIN DOTS
– 190 adhesive-backed pieces
– 4 mm, 5 mm, 6 mm

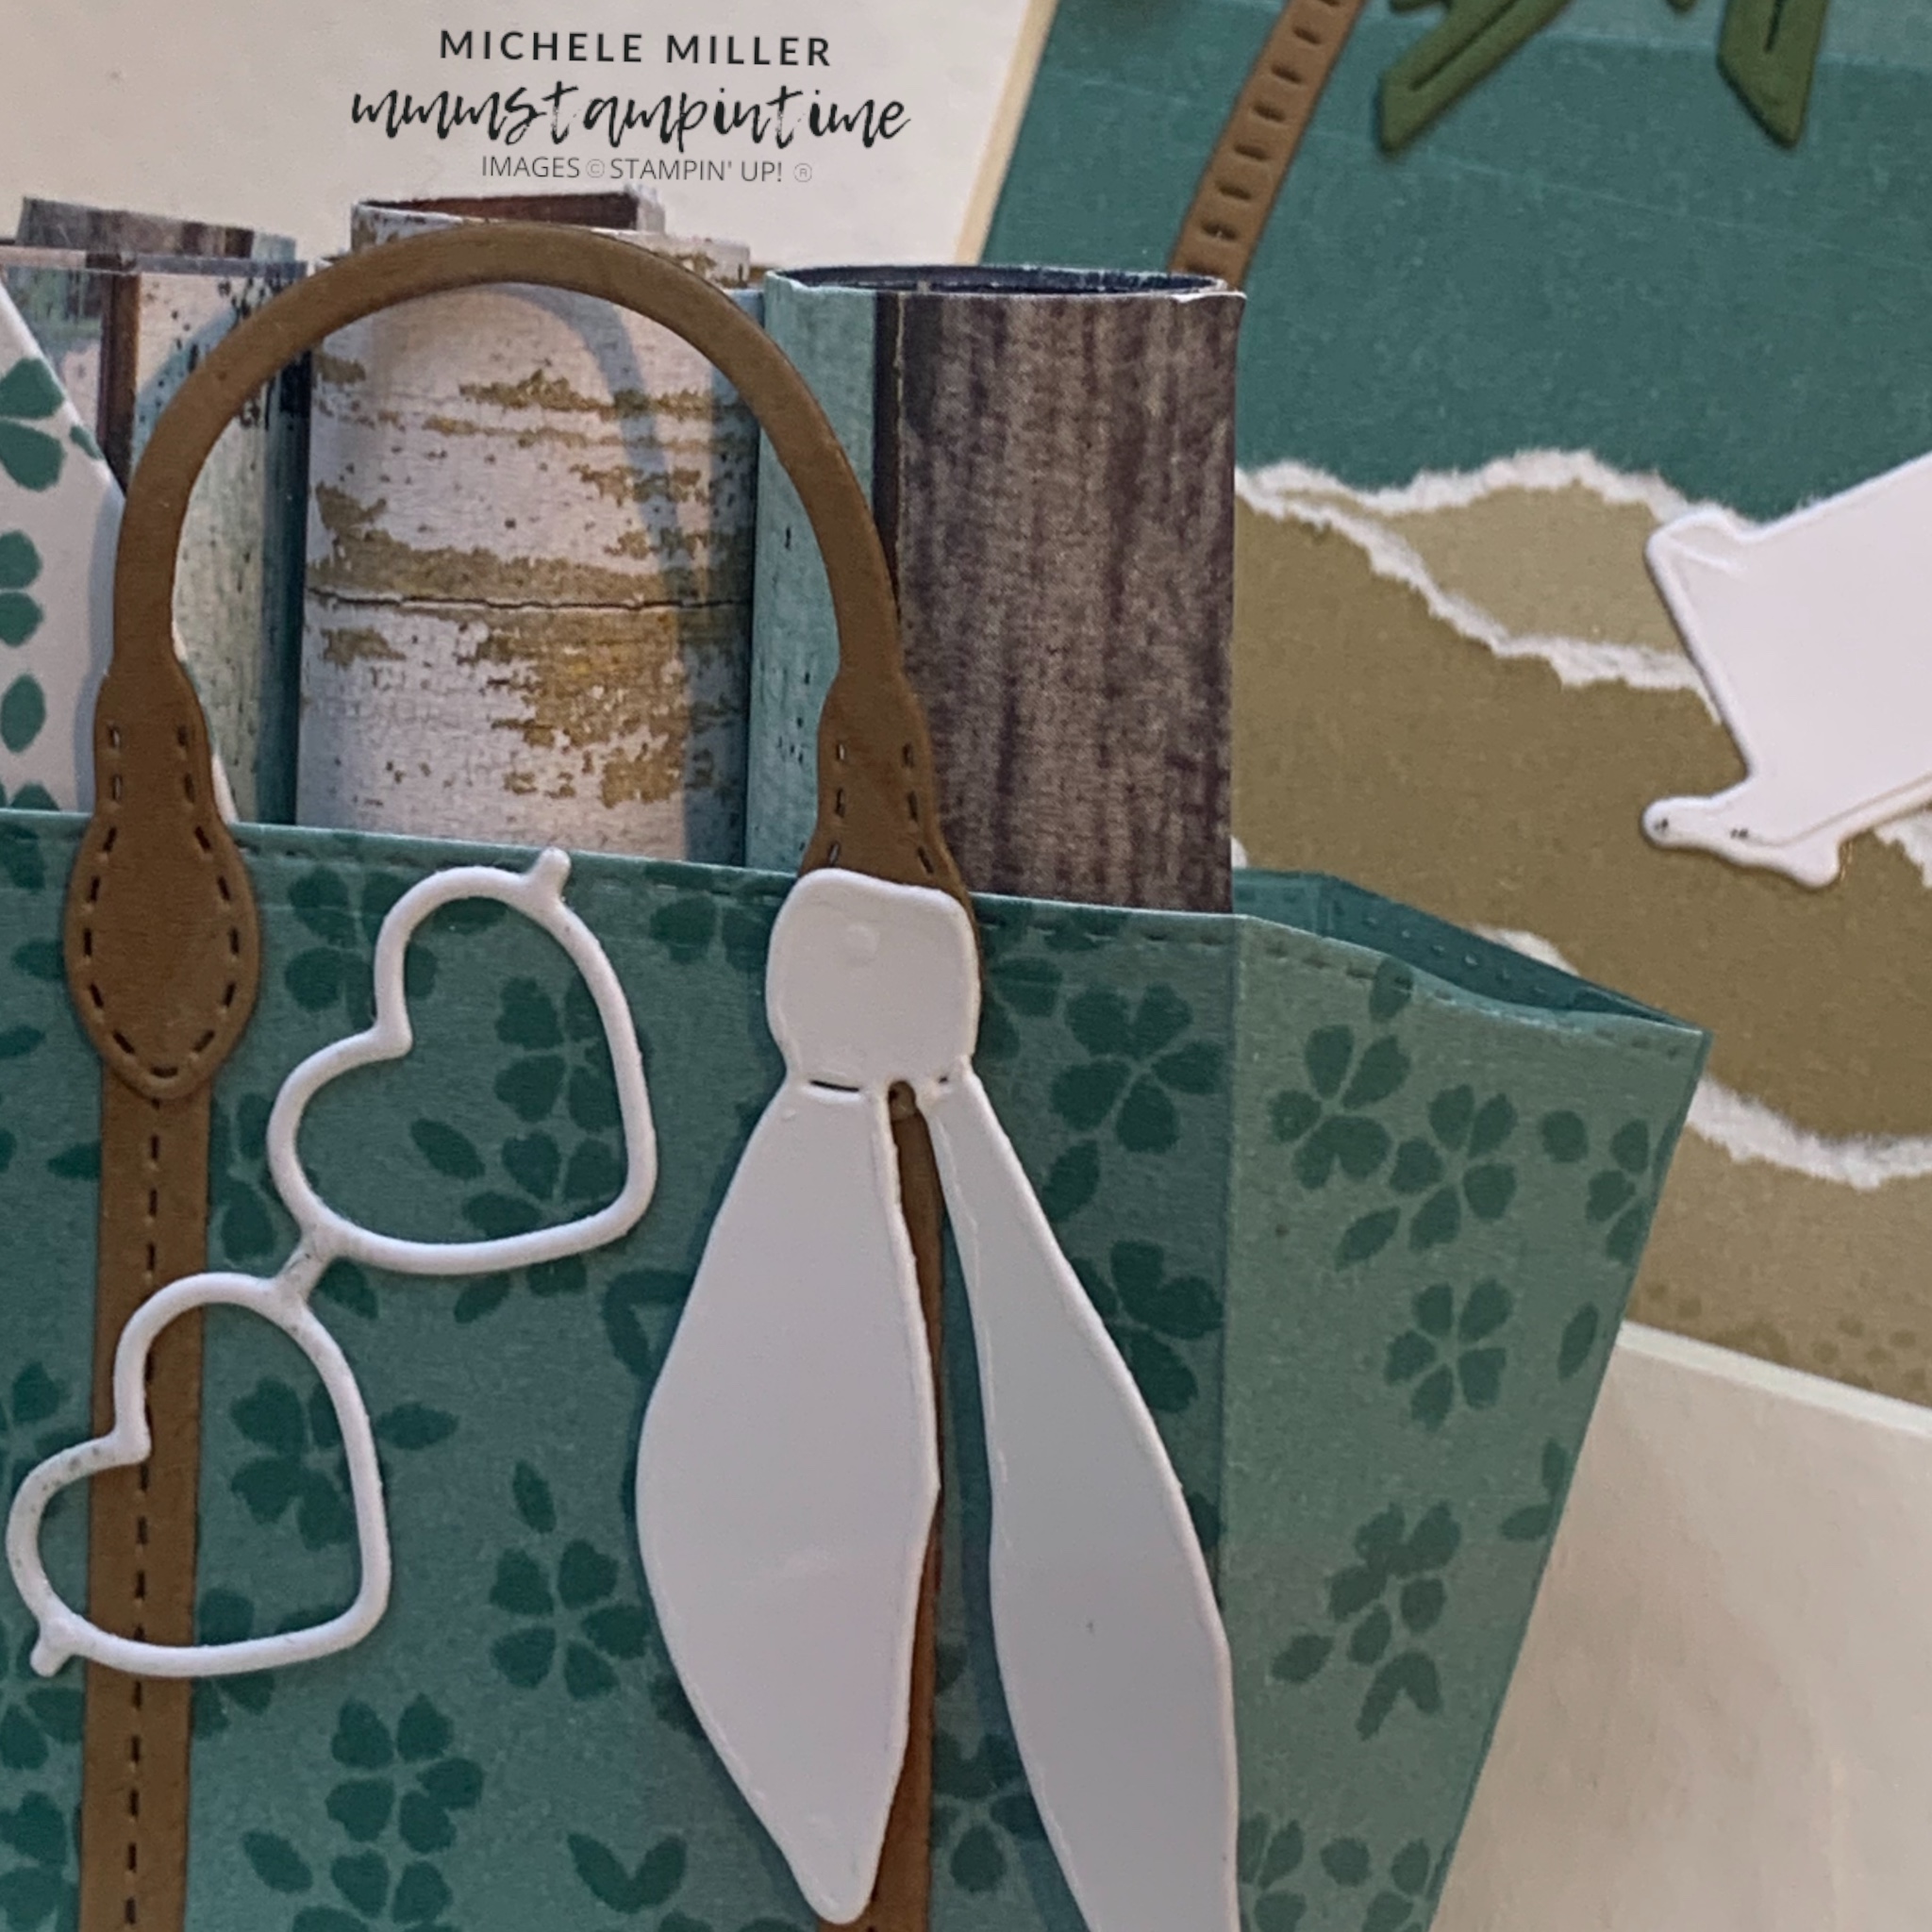
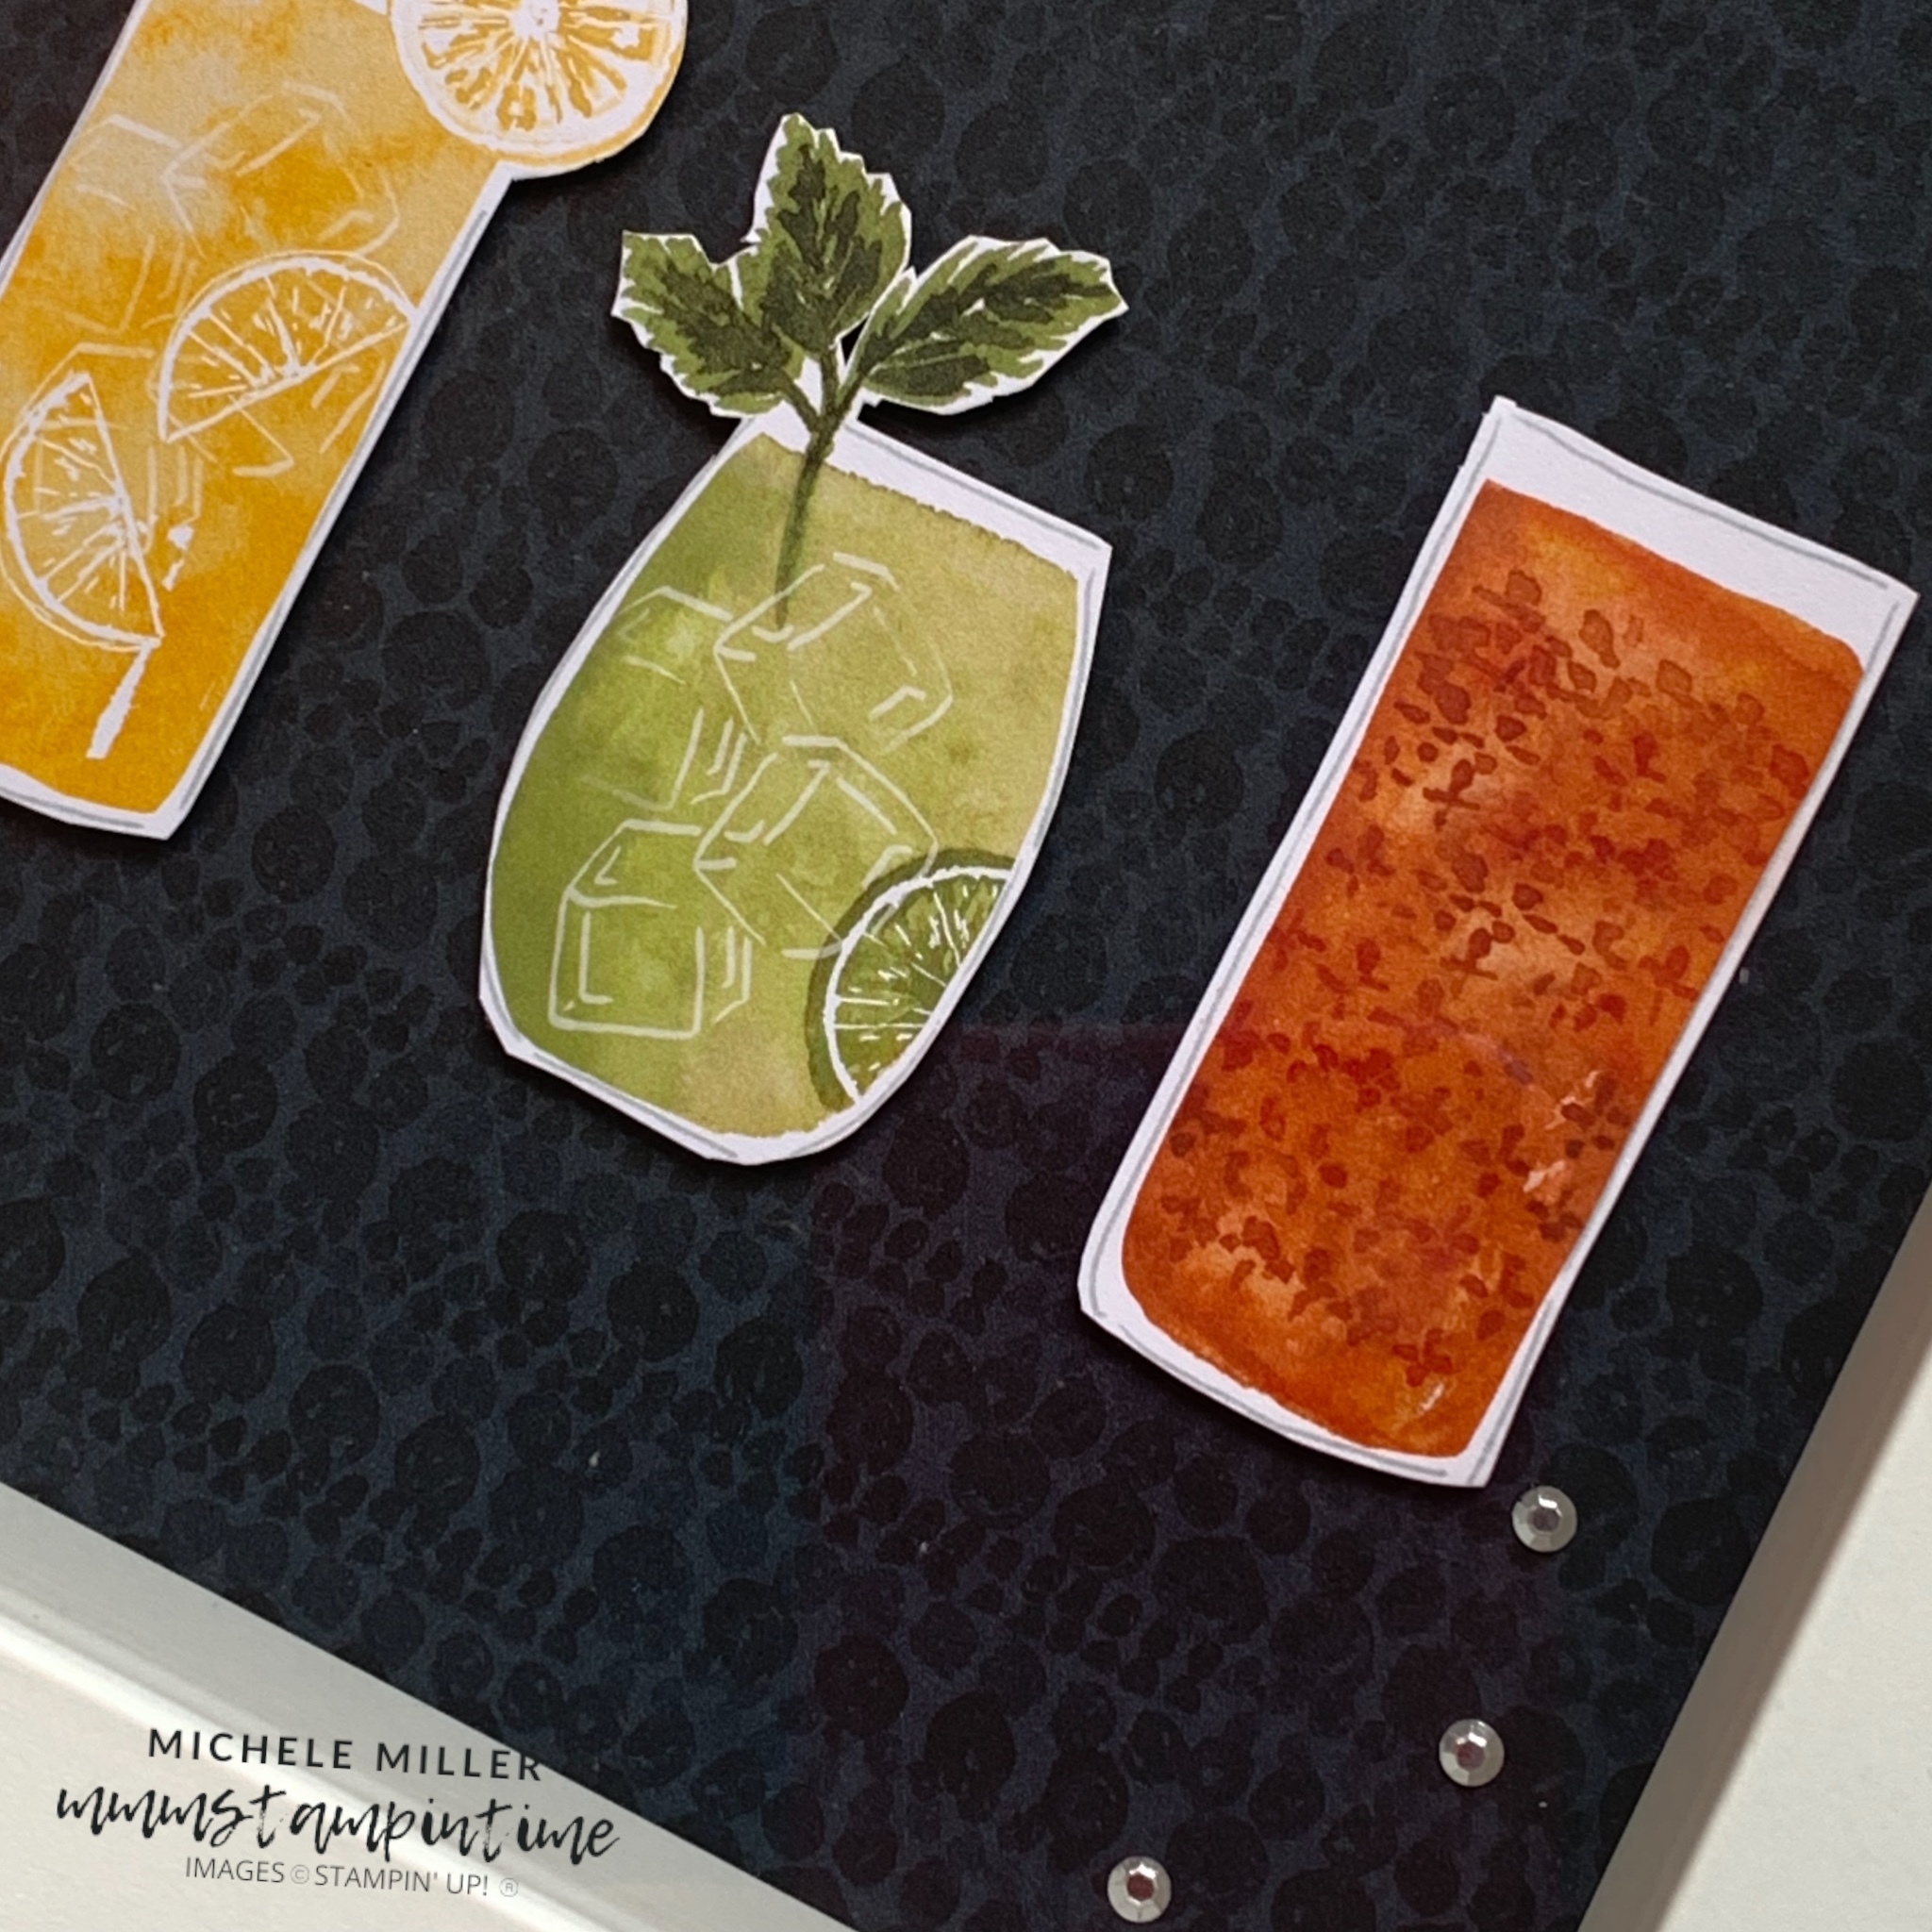
For this project I focused on the amazing Designer Series Paper and did a lot of fussy cutting.

I used one of the Secret Sea DSP deigns as a background for the shadow box decor project.

Then, after fussy cutting these 10 different drinks glasses, I positioned the glasses on the DSP and used Stampin’ Dimensionals to pop them up.

Finally, I added some Metallic Gems to the DSP and assembled the shadow box.

Tomorrow’s technique project is a shaker card – well, actually twoshaker cards.

Until then, happy stamping and scrapbooking.

Posted on Leave a comment

FUN FOLD FRIDAY IS HERE

Today I have a super simple gatefold card to share with you.

The Strawberry Slush card base has an assymetrical opening.

I stamped the small hibiscus image using Secret Sea ink. This stamped panel was adhered to the left hand fold.

Using one of the new punches, from the Hole Punch Assortment pack, I made a hole to thread a length of white ribbon. The ribbon is from the Petal Pink & White 1/4″ Diagonal Trim Combo Pack.

The greeting was stamped and cut to size before placing it on the front panel with dimensionals.

I used Stampin’ Write Markers to colour the individual hibiscus. I stamped the flower three times and then fussy cut each one.

The same greeting was also stamped on the card insert.

I stamped the smaller hibiscus image across the back of the envelope.

The ribbon was then tied in a bow to close the card.

Since I took these photos I added some Strawberry Slush pearls from the 2025-2027 In Colour Flat Pearls pack.

Next week I will feature the Celebratory Sips Suite Collection.

Until then, happy stamping and scrapbooking.

Posted on Leave a comment

THURSDAY IS USUALLY THE DAY I SHARE A 3D PROJECT – HOWEVER TODAY I HAVE A HOME DECOR PROJECT TO SHARE WITH YOU.

Today I have a Home Decor project to share with you. It is very close to being a 3D project because I have used a great shadow box, from Ikea, to frame the project.

All my projects this week feature the Notes & Totes Bundle.

When I saw the elements in the Notes & Totes Bundle, I was immediately drawn too a beachside scene. So, I decided to integrate the Beach Day Bundle into this project.

For this project, I wanted to create a Home Decor item using these products.

My small collection of Ikea shadow frames makes it quick and easy to create projects like this.

I used Crumb Cake and Lost Lagoon 12″x 12″ Two-tone Cardstock for the beach, water and sky background for the beach scene.

The two-tone card stock has a white core, so when you carefully tear the card the white core is exposed.

After creating the beach scene, with the stamped seagulls, I was able to work on the elements in the foreground.

I stamped the small hibiscus image onto a piece of Lost Lagoon card and then, with Pecan Pie trims, created the beach tote for this project.

Then I added the white scarf and sunglasses, hibiscus water bottle and three rolled ‘beach towels’ to the tote.

The final touch was to add some Shades of Green Hexagon embellishments to the card front.

Tomorrrow I have a Fun Fold card to share with you.

Until then, happy stamping and scapbooking.