Posted on Leave a comment

FAREWELL RETIRING IN COLOURS CI#186

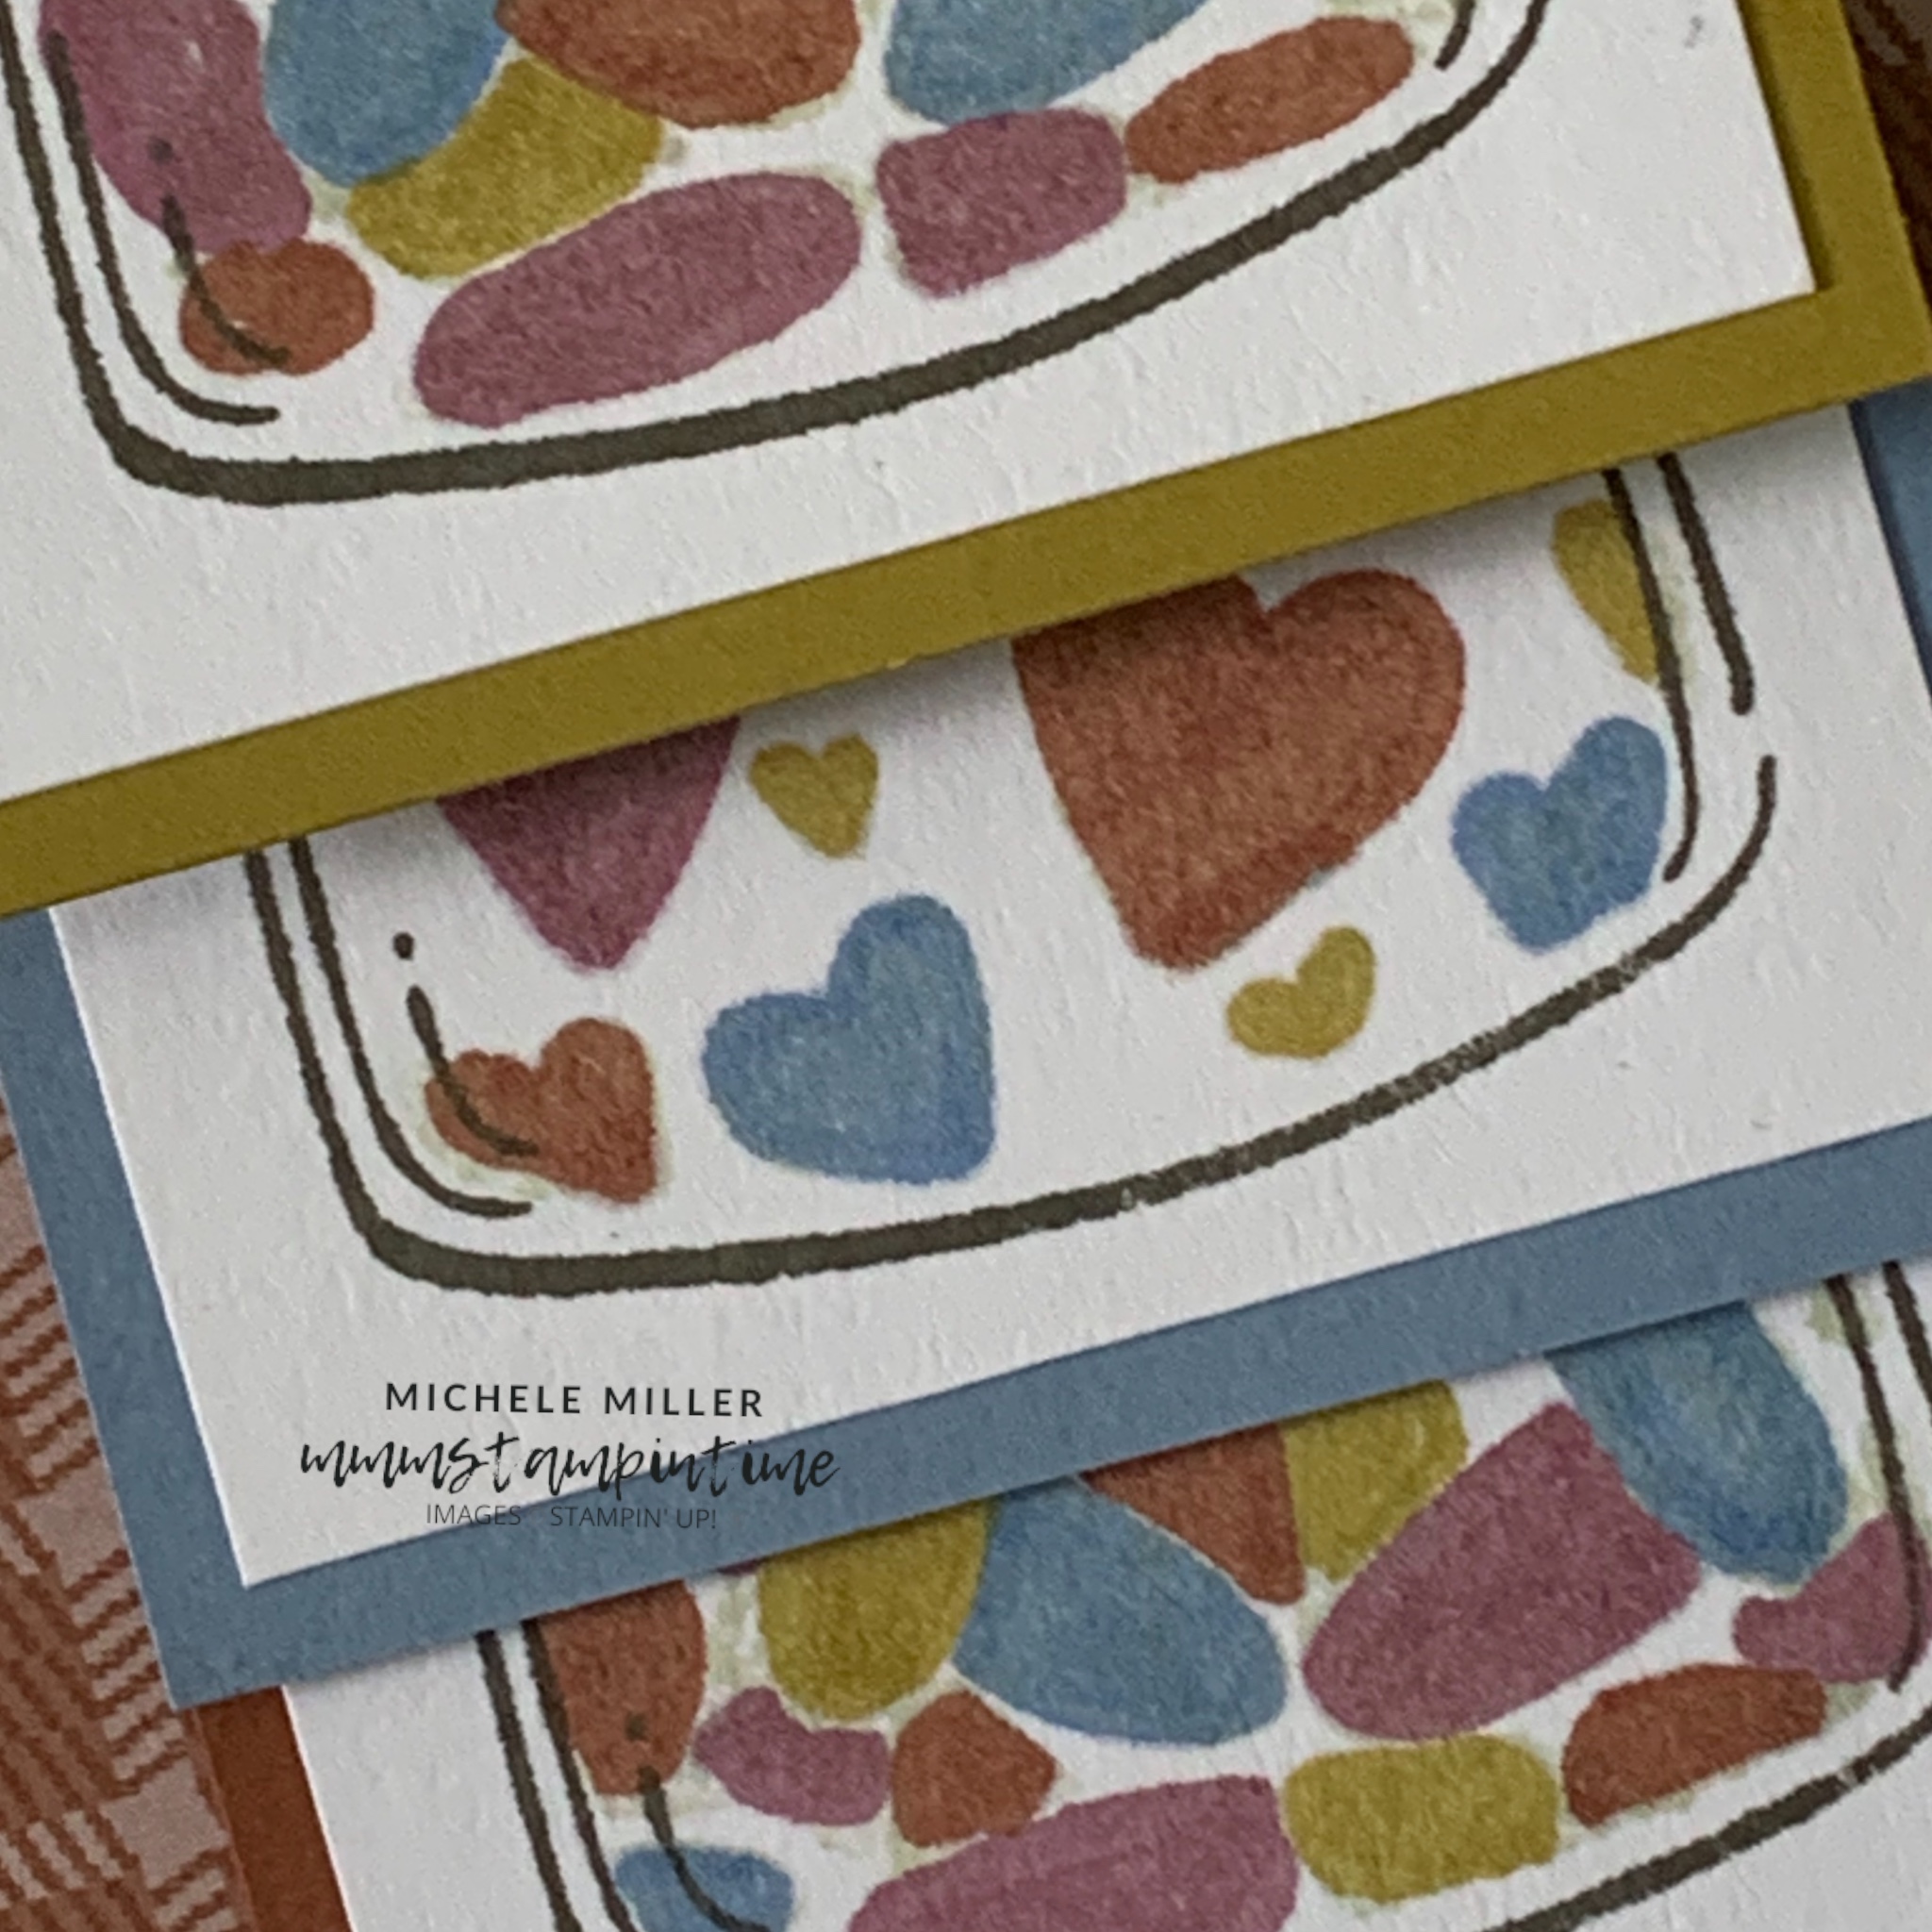
I’m joining in this Colour INKspiration challenge a little late but am pleased to be sharing a waterfall card using all the retiring colours.

For this project I chose the Sweet Jar Bundle as the featured products.

I thought a waterfall card would be a great way to show off the retiring colours as well as a new product bundle.

I found a piece of Copper Clay Designer Series Paper, from the Take to the Sky DSP, to use for this project.

The waterfall panels are slightly larger than the ‘usual’ measurements so that the jars would have a reasonable margin around them.

The jars were stamped with the jelly bean and hearts images. I used stamped off Basic Beige to leave the image shapes. Then I coloured these images using the coordinating Stampin’ Blends.

Each of the stamped and coloured Basic White panels were mounted on a slightly larger panel of the retiring cardstock.

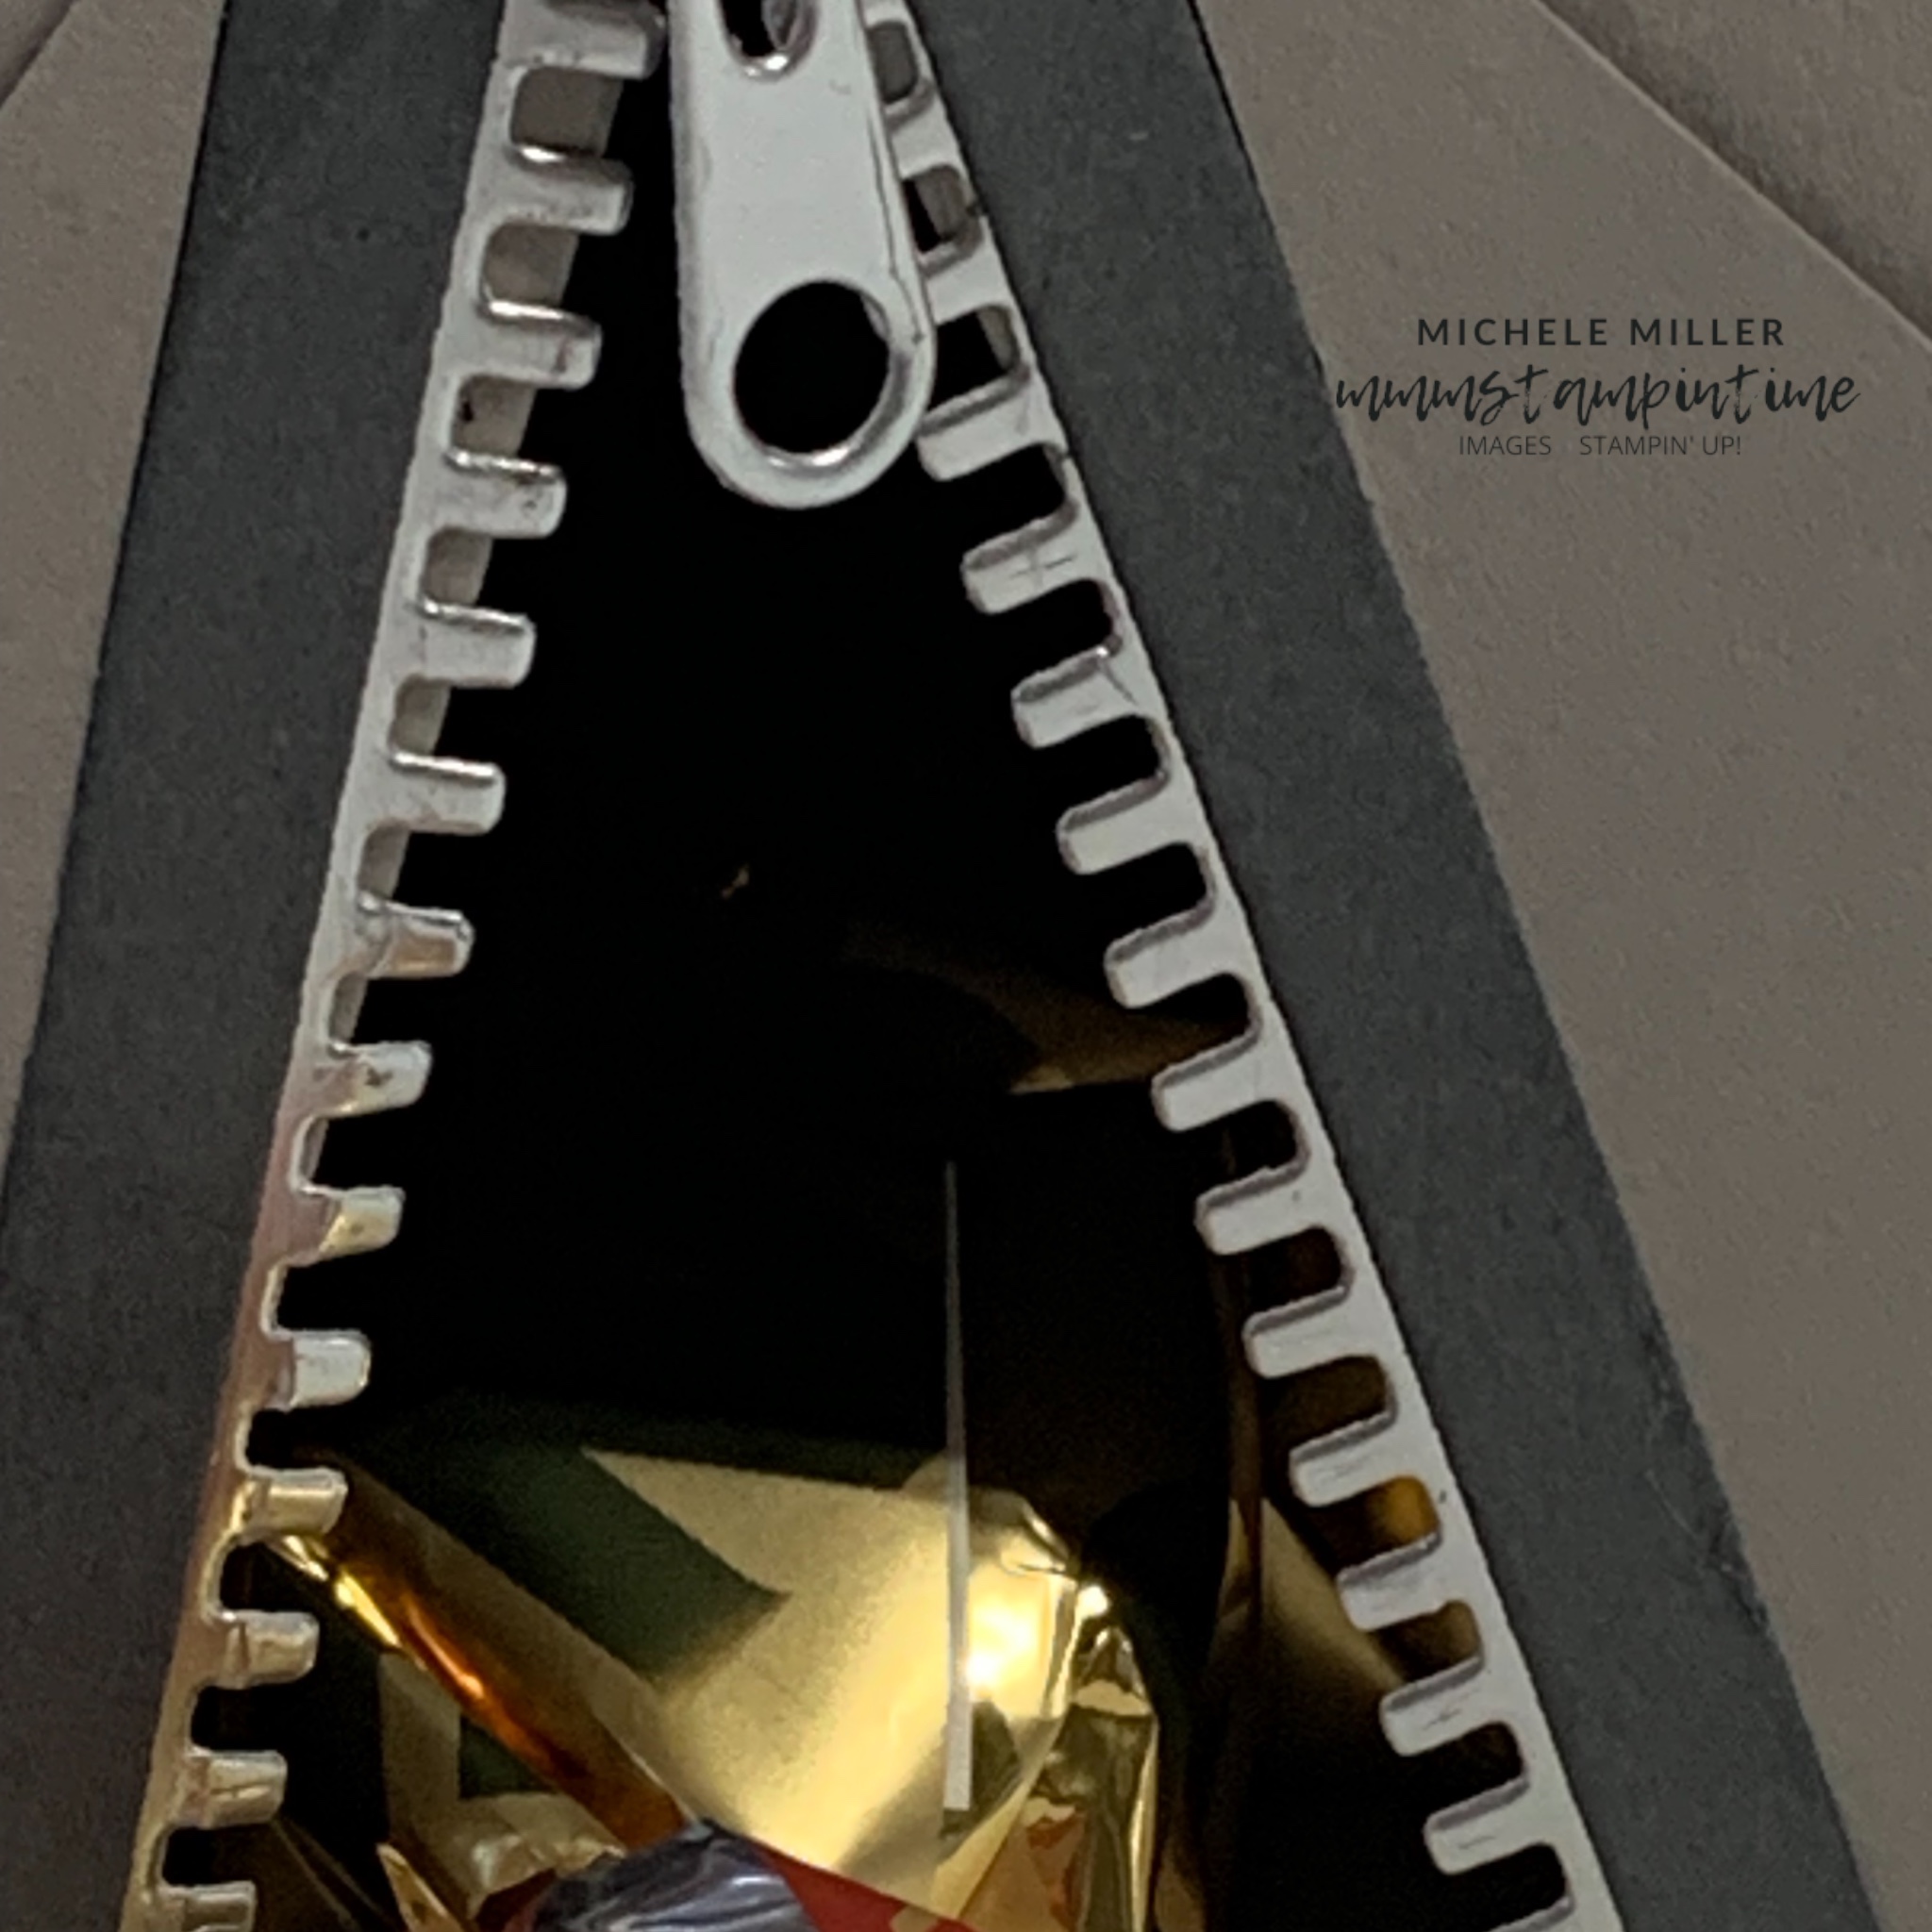
The waterfall mechanism was made from Pebbled Path cardstock.

I added a strip of the same DSP on the card insert and the back of the envelope.

Finally, I punched a small hole in the bottom of the mechanism and looped a length of coloured twine through the hole to assist with pulling the waterfall panels through.

Make sure to head over to our Facebook group and see what the crew has created – https://www.facebook.com/groups/349642308720075

I hope that you also create a project for this challenge and share it in the group.

The next Colour INKspiration Challenge will begin on May 14.

Until then, happy stamping and scrapbooking.

Posted on Leave a comment

THURSDAY IS ALL ABOUT THE 3D PROJECT – TIME TO PITCH YOUR TENT

The project I am sharing today is actually the first project I made for this week’s posts.

When I first saw the All Zipped Up Dies, this is the first idea that came to mind.

I pictured the zipped front of a tent – so, I needed to make a tent!

This is the result.

I created the front of the tent first and then worked on the surrounding structure after that.

I used Basic Gray, Smoky Slate, Silver Foil and Old Olive card.

The tent measures 10 3/4″ long, 6 3/4″ wide and 5″ high. I decided that I could fill it with individually wrapped Toblerone chocolates – a perfect camping treat.

The front, back and sides of the tent were made up of a few card layers to ensure it had stability.

I used the grass die, from the Sending Love Dies, was perfect to use around the base of the tent.

I had thought about using some cut down toothpicks to use as anchors for Linen Thread tent lines – sadly, I couldn’t find my very well hidden toothpicks. Maybe next time.

To be honest, I was vey happy with my 3D construction.

Tomorrow is Friday and I have a Fun Fold card to share with you.

Until then, happy stamping and scrapbooking.

If you live in Australia, you can order any of the products I used to make this card by going to my online store. As you read through this post, you will see the products I used for this project. The new items are available from May 5th.

Posted on Leave a comment

WOW – IT’S WEDNESDAY AGAIN! SO, WHAT’S NEW?

We all love a freebie!

I hope you have your wishlist ready because from today, and for the next two days, you could get your shipping FOR FREE!

Here is what you need to know:

  • All order types qualify for this promotion.
  • Free shipping is for three days only. Orders must be opened and closed between 23 and 25 April.
  • Free shipping automatically applies to your cart after the qualifying amount has been met, which is $65 AUD 

I hope this is a promotion that you will be able to make the most of. I know I will be!

Today’s card is another technique project. This time I am using dry embossing.

For this card I wanted to use up some of the left over card after I cut out the v-shaped zip panels. Each of these pieces interlock together perfectly.

I iinterlocked them and glued them to a background panel to secure them together.

For the interlocked panel and the Crushed Curry background panel, I used the Mini Corrugated 3D Embossing Folder to achieve this wonderful texture.

I wrapped some of the white baker’s twine around the corrugated multicoloured panel and tied it off in a bow.

For this card, I added the Crushed Curry embossed panel to the cardbase and trimmed it at the edges.

Then I added a Basic White panel that was stamped in Blueberry Bushel using the dotted image and had a narrow DSP panel added.

The multicoloured and embossed strip was added using Stampin’ Dimensionals.

The birthday greeting was stamped and trimmed to sit on the card, at an angle.

Both the card insert and back of the envelope had the dots stamped to decorate these areas.

Tomorrow I have a 3D project to share with you.

Until then, happy stamping and scrapbooking.

If you live in Australia, you can order any of the products I used to make this card by going to my online store. As you read through this post, you will see the products I used for this project. The new items are available from May 5th.