We all love a freebie!
I hope you have your wishlist ready because from today, and for the next two days, you could get your shipping FOR FREE!

Here is what you need to know:
- All order types qualify for this promotion.
- Free shipping is for three days only. Orders must be opened and closed between 23 and 25 April.
- Free shipping automatically applies to your cart after the qualifying amount has been met, which is $65 AUD
I hope this is a promotion that you will be able to make the most of. I know I will be!
Today’s card is another technique project. This time I am using dry embossing.
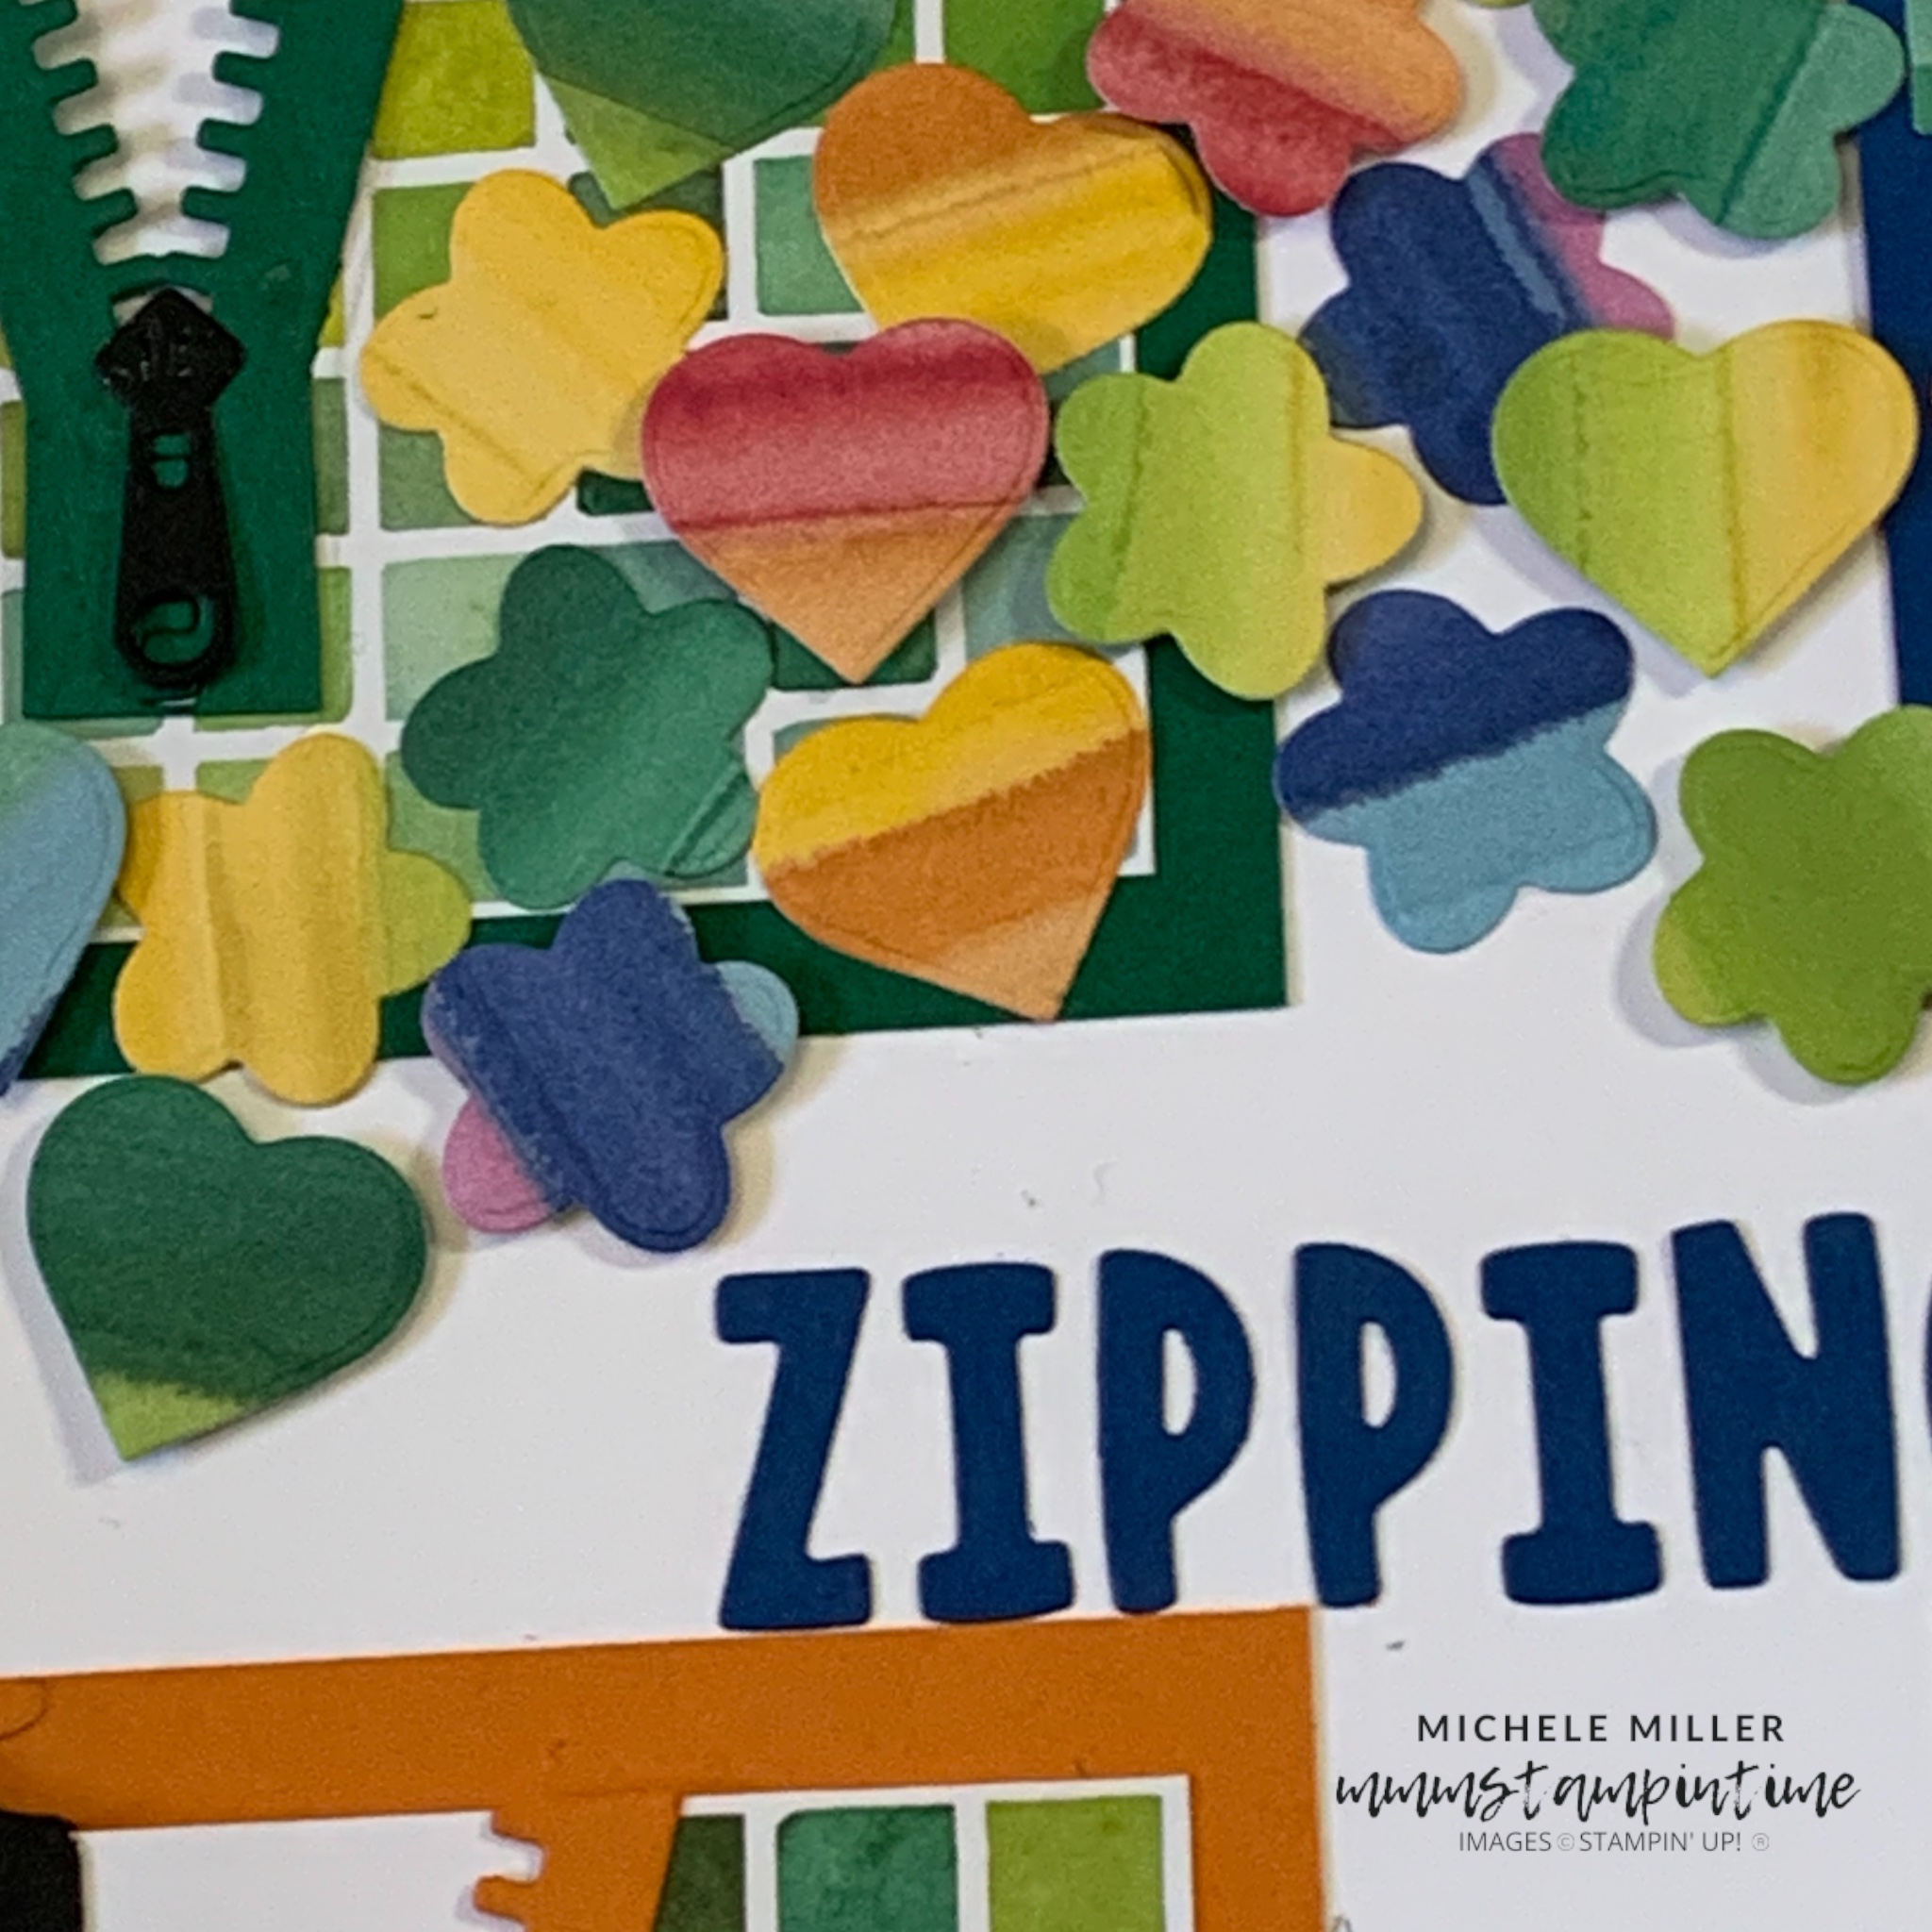
For this card I wanted to use up some of the left over card after I cut out the v-shaped zip panels. Each of these pieces interlock together perfectly.
I iinterlocked them and glued them to a background panel to secure them together.

For the interlocked panel and the Crushed Curry background panel, I used the Mini Corrugated 3D Embossing Folder to achieve this wonderful texture.
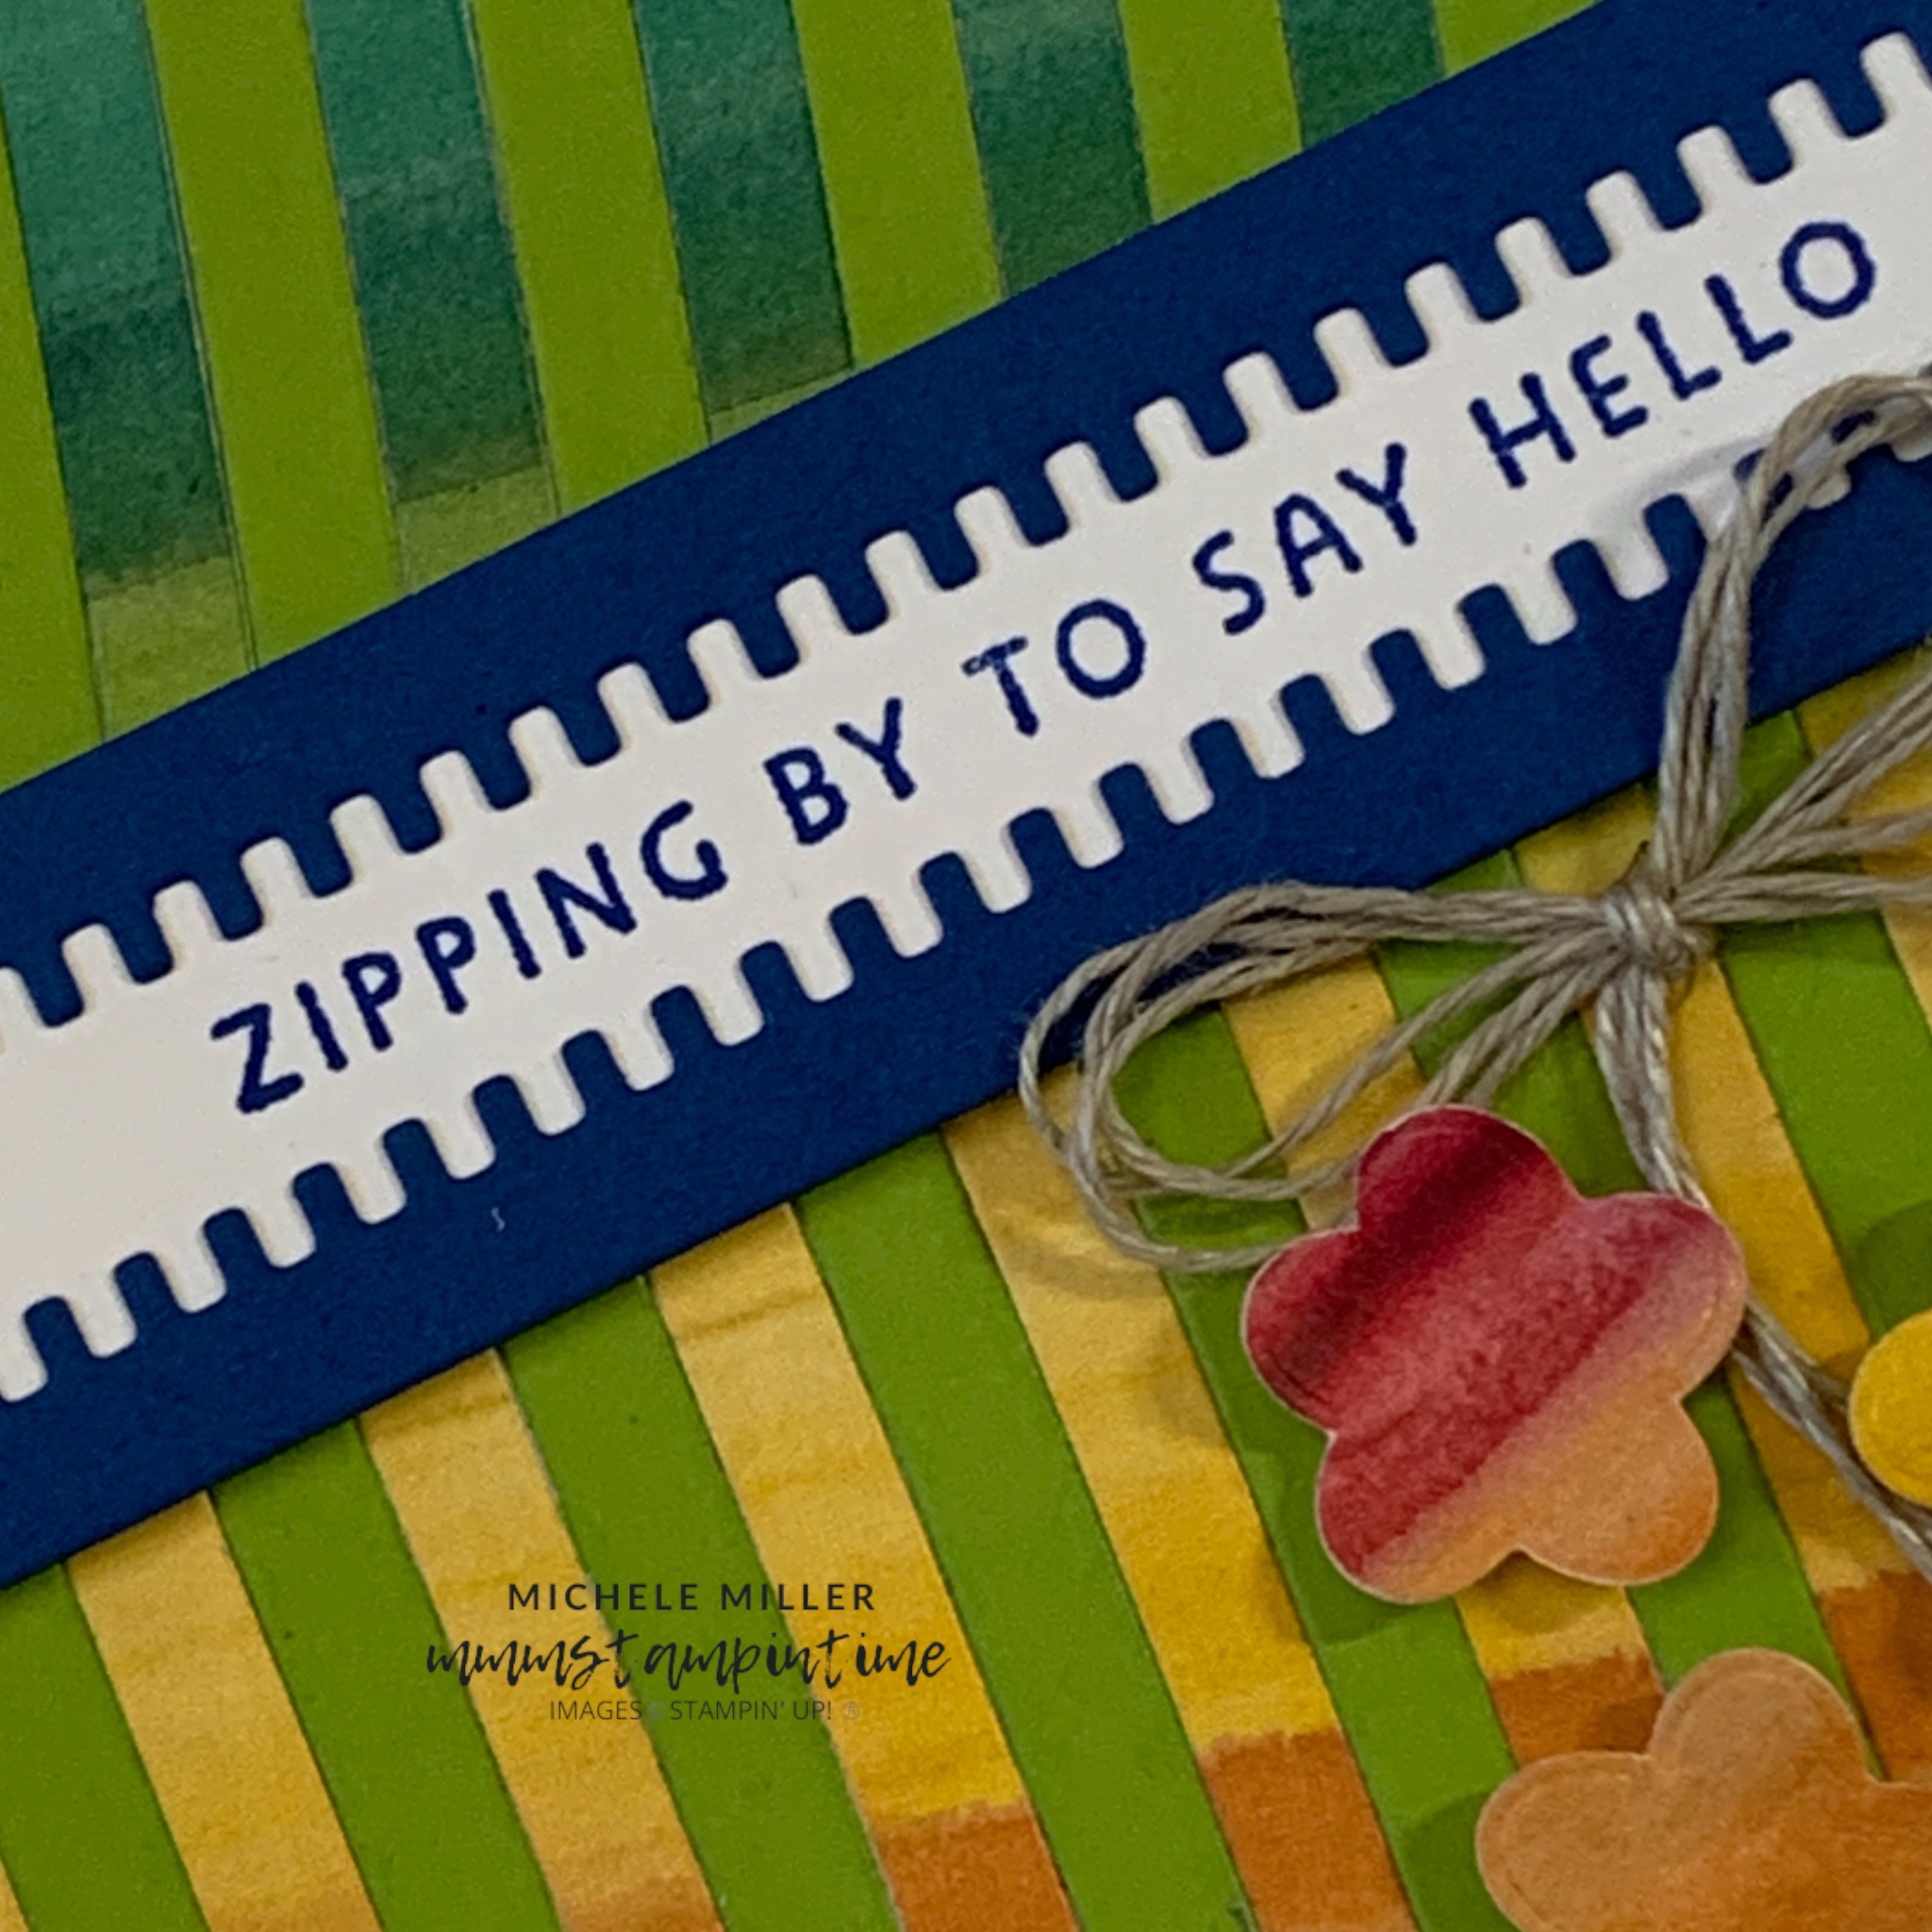
I wrapped some of the white baker’s twine around the corrugated multicoloured panel and tied it off in a bow.

For this card, I added the Crushed Curry embossed panel to the cardbase and trimmed it at the edges.
Then I added a Basic White panel that was stamped in Blueberry Bushel using the dotted image and had a narrow DSP panel added.
The multicoloured and embossed strip was added using Stampin’ Dimensionals.
The birthday greeting was stamped and trimmed to sit on the card, at an angle.
Both the card insert and back of the envelope had the dots stamped to decorate these areas.

Tomorrow I have a 3D project to share with you.
Until then, happy stamping and scrapbooking.

If you live in Australia, you can order any of the products I used to make this card by going to my online store. As you read through this post, you will see the products I used for this project. The new items are available from May 5th.