Posted on Leave a comment

THURSDAY MEANS THAT IT IS TIME FOR A 3D PROJECT

I designed this 3D project so that I could die cut and adhere Garden Green leafy frames on each side of the box.

The box is a tall square measuring 5 1/4″ x 4″.

The pieces of Garden Green card had Adhesive Sheets attached before I die cut the leafy frame.

After preparing the base I added the frames and finished forming the box.

For the lid, I used the large outline die and cut a panel. Then I recut and shortened that panel by carefully moving the die and letting it ‘lock’ into place by matching up the small die cut holes. This created a great square die cut panel for the lid.

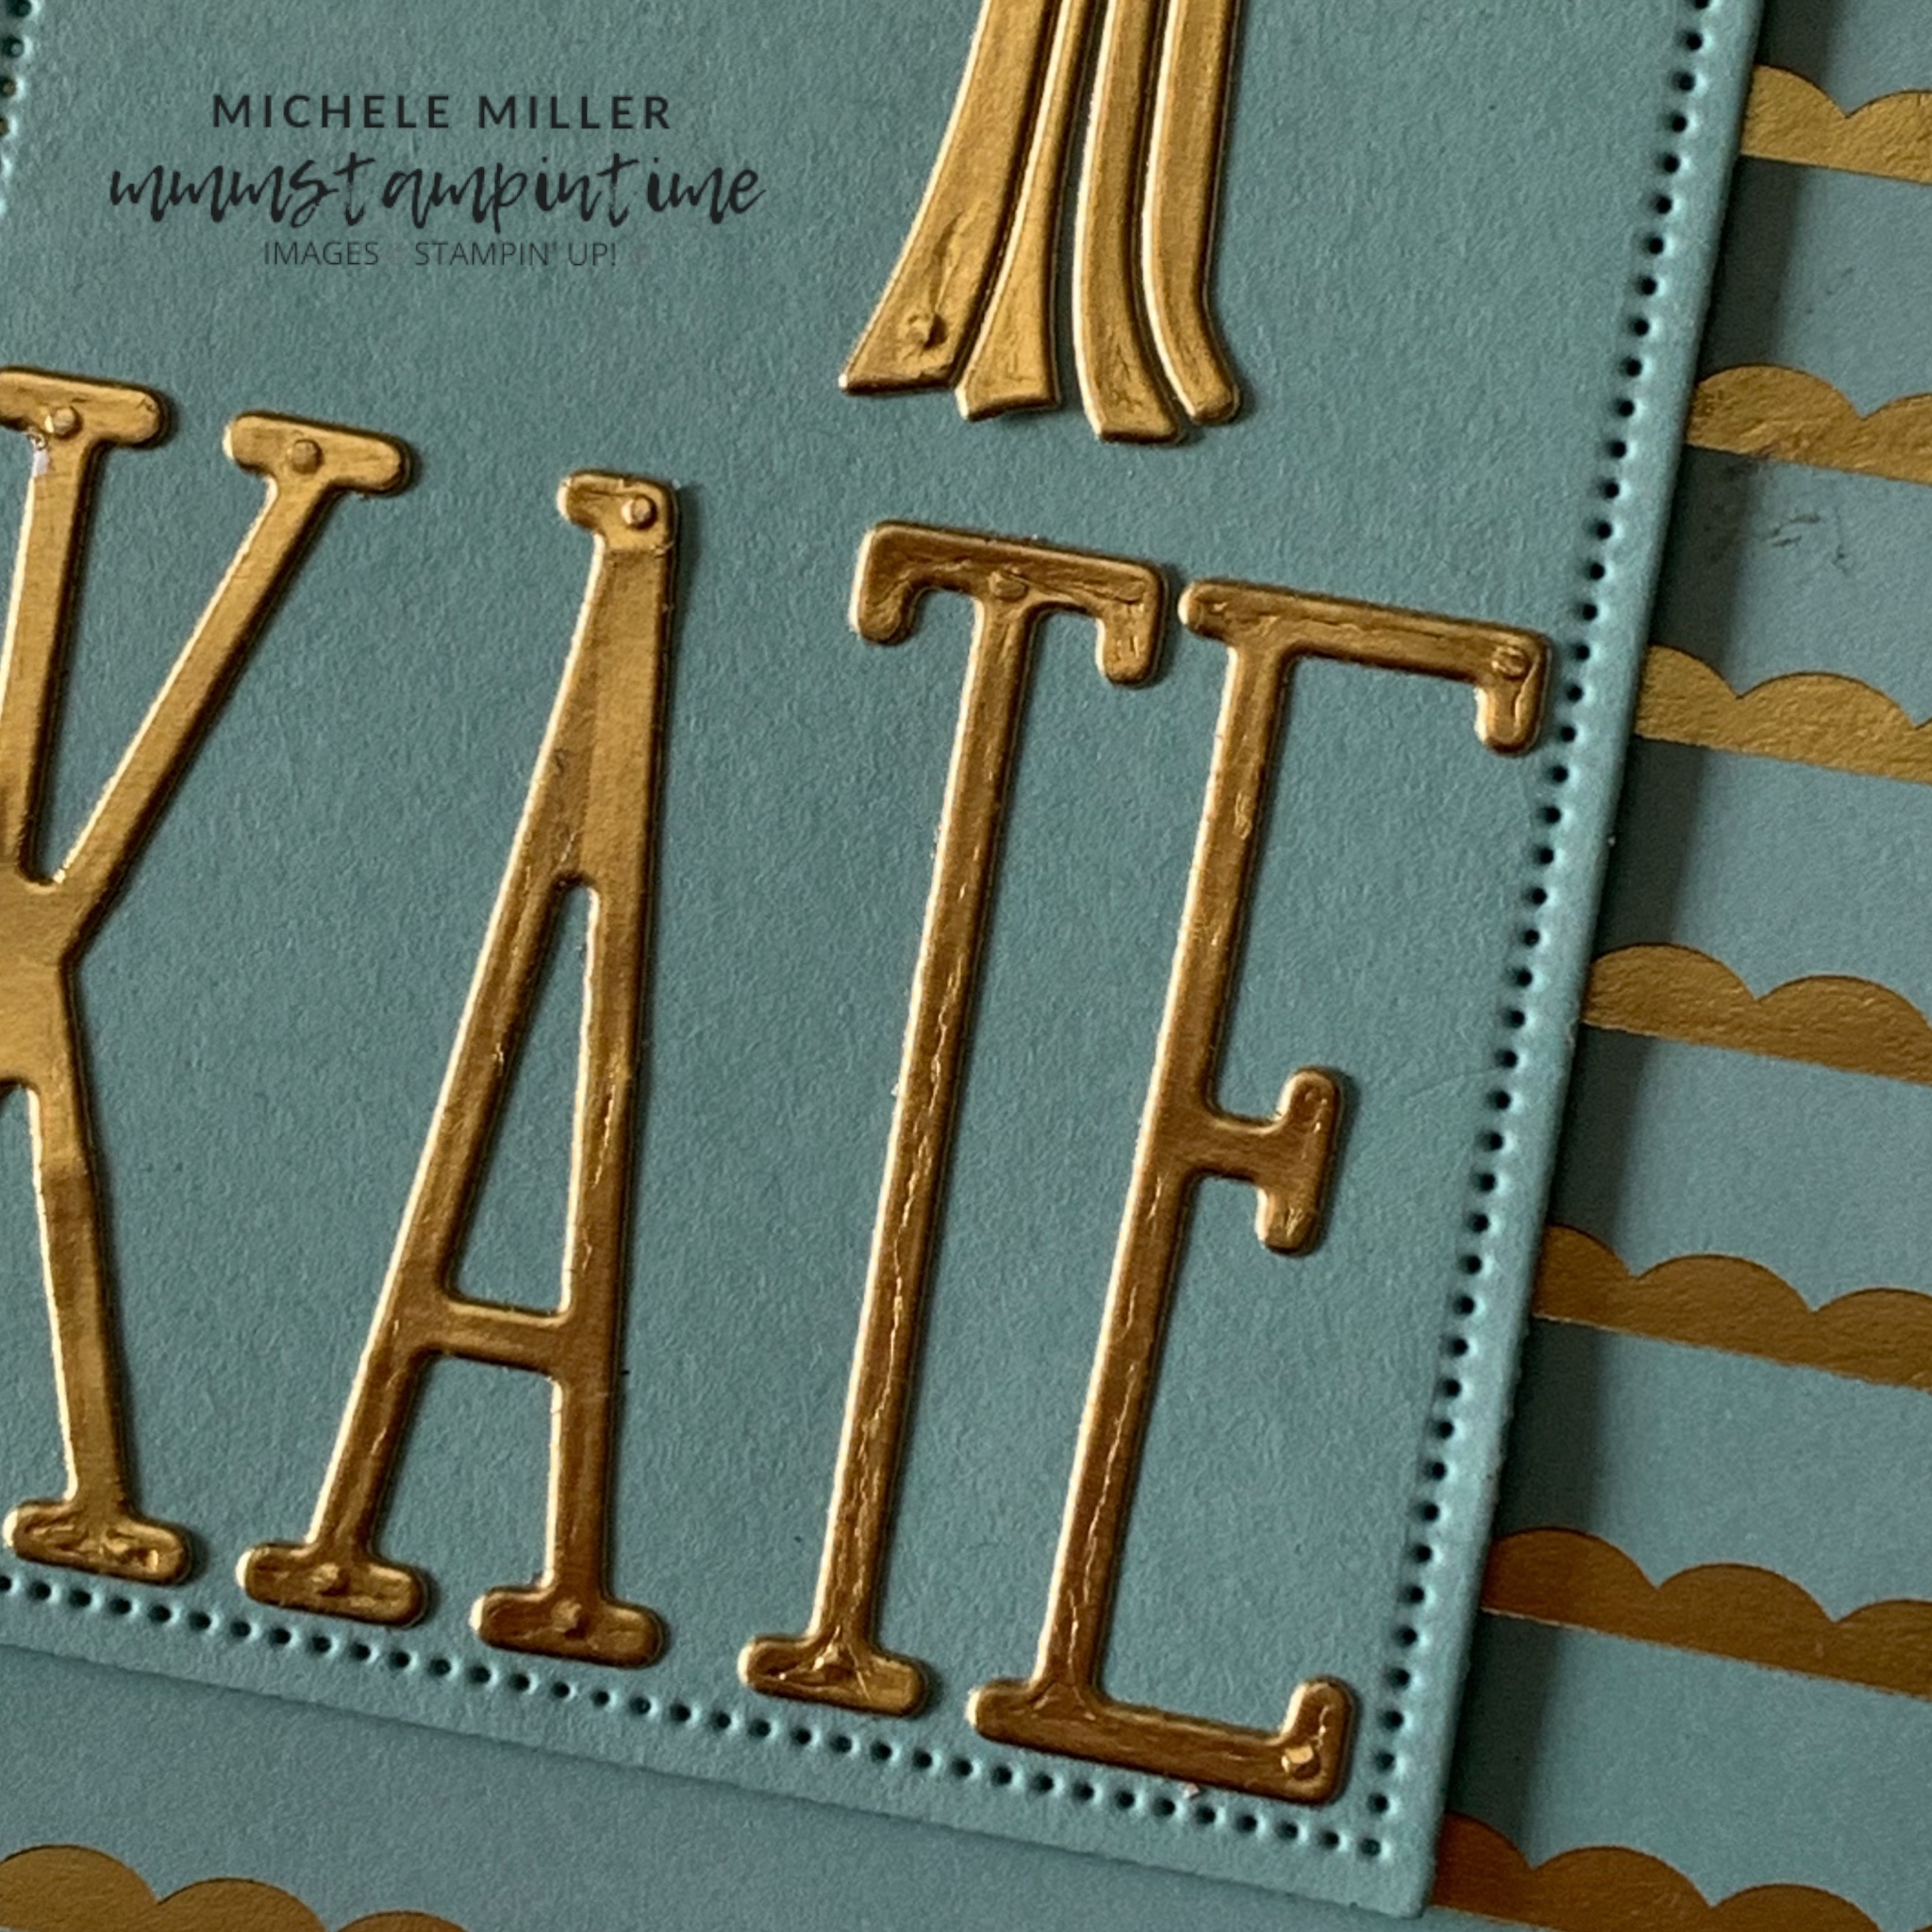
I cut a small hole in the lid and threaded a looped, knotted length of Night of Navy & Gold Glitter Ribbon through the hole.

The knotted end of the ribbon was secured in place with a die cut circle of Night of Navy card, Tear & Tape and Stampin’ Dimensionals.

The front and top of the box were adorned with die cut orange images from one of the Designer Series Paper sheet. They were all attached using Stampin’ Dimensionals. On the lid, the orange die cut had a hole that was perfect for the ribbon to be threaded through it before being secured in place.

The front of the gift box had a stamped and Labeled with Love die cut greeting attached with dimensionals.

Finally, I coloured some of the white sequins from the Adhesive-backed Sequins Trio with Dark Pumpkin Pie Stampin’ Blend Pen.

I am hoping to find some lemon or orange flavoured biscotti to pop into the gift box.

Join me tomorrow for a Fun Fold Card.

Until then, happy stamping.

If you live in Australia, you can order any of the products I used to make this card by going to my online store. Just click on any of the images below.

Product List
Paper Snips
[103579]
$21.00
Posted on Leave a comment

WELL, WHAT’S HAPPENING THIS WEDNESDAY?

A quick update about two new kits that are available from Stampin’ Up!

One is perfect for Halloween and the other is a card kit for Christmas.

I have already made my scary home and it’s lots of fun to put together.

The final measurements of the house are 23cm W x 26cm H x 13cm D.

TIP: Make sure you have a glue gun to put this one together.

If you’re interested in these kits, you can order them through the links below.

Product List

Now, it’s time to share today’s project.

I was inspired by another demonstrator’s project but forgot to write down her name – I am so sorry that I am unable to give her the recognition she deserves.

I’m calling this a ‘Pull Out Card’. I’m hopeful that someone can share the name of this Fun Fold card.

This card starts with half a card base and is a great way to minimise how much cardstock you use.

I adhered a panel of this Mediterranean Blooms DSP to that base.

I took a 12″x 2 7/8″ strip of Thick Basic White card and scored it at 4″ and 8″. Then I folded it to create a Z shape.

The right hand 4″ panel was centred and adhered to the card base. Then a panel of Pumpkin pie card and a slightly smaller panel of DSP were added.

On the front Basic White panel I attached apanel of Pumpkin Pie card measuring 4 3/4″x 3 1/8″. Over this I added a slightly smaller Daffodil Delight layer and a DSP pane that was slightly smaller again – I reduced each of these layers by 1/4″ on each of two sides.

I used the Citrus Blooms Dies to cut one of the single orange image. It was added to the front of the pull out panel with Stampin’ Dimensionals.

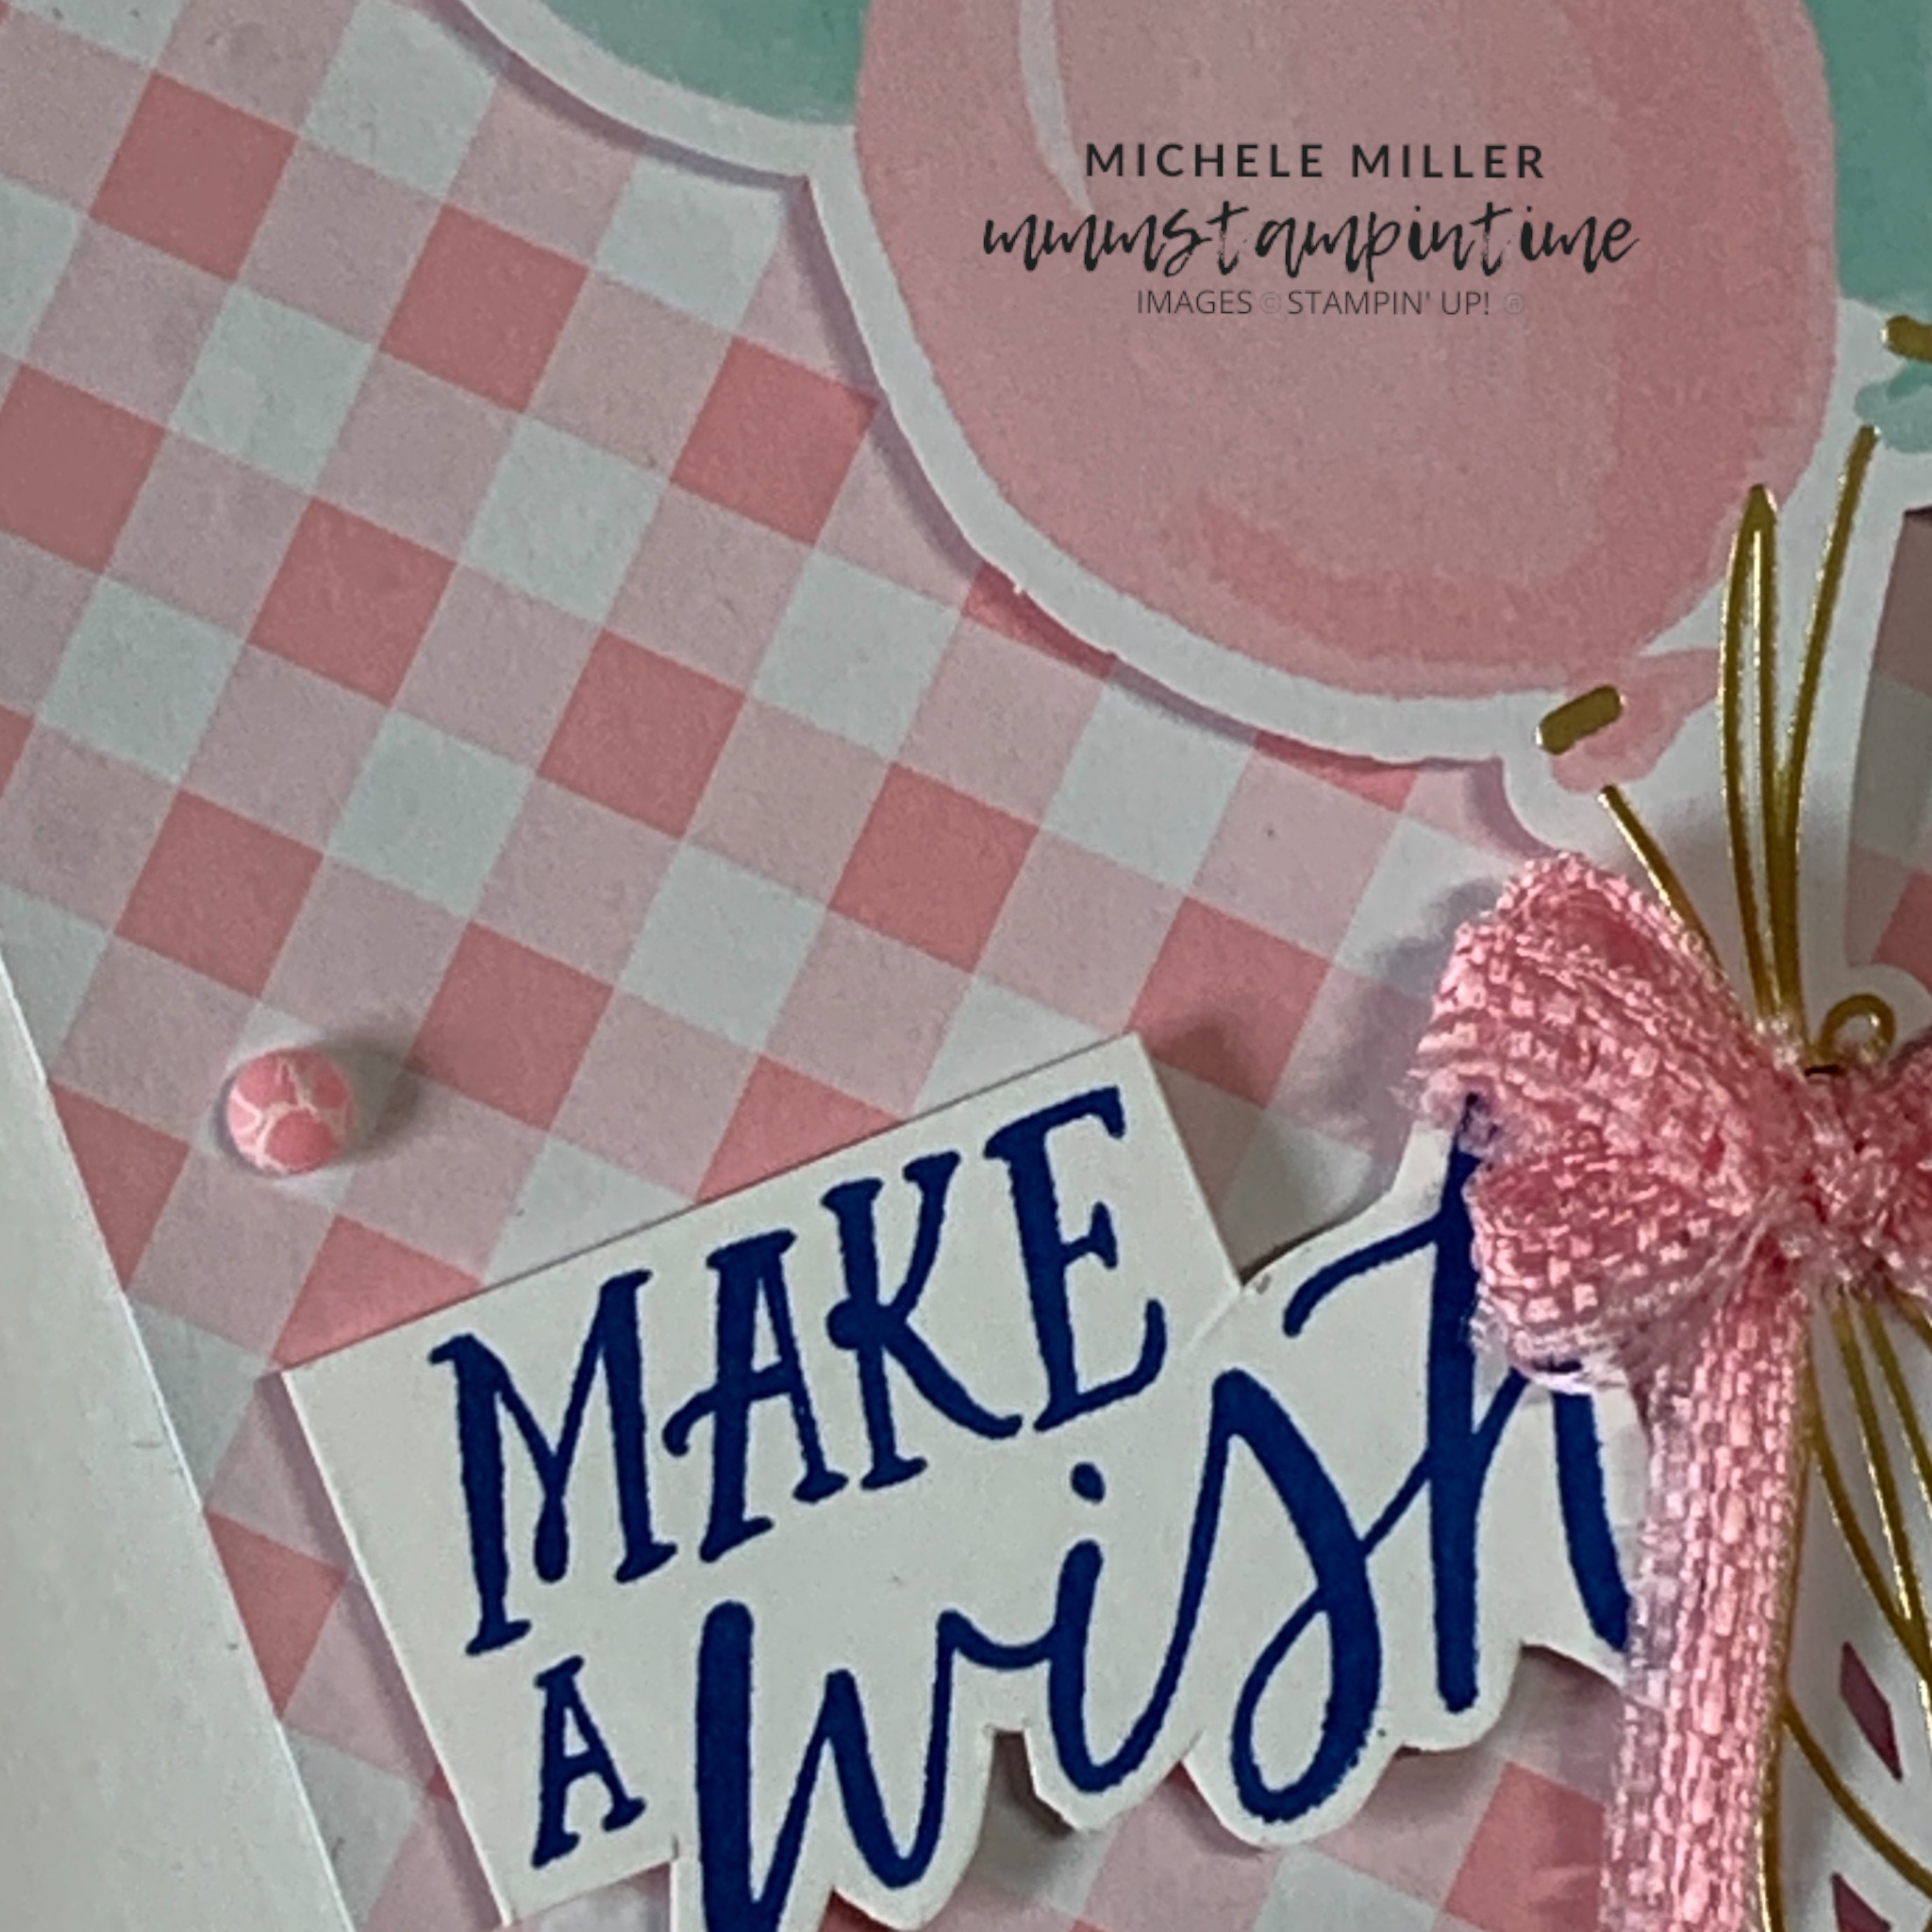
The greeting, from the Citrus Blooms Stamp Set, was stamped with Night of Navy onto Basic White card. I used one of the Nested Essentials Dies to cut it out.

I looped a length of Night of Navy and Gold Glittered Ribbon and attached it to the back of the greeting label. After adding Stampin’ Dimensionals, it was placed alongside, and slightly under, the orange die cut image.

I added Clear Wink of Stella to the orange and then some of the Opal Rounds Assortment gems.

Tomorrow is 3D Thursday and, of course, I have a gift box to share with you.

Until then, happy stamping.

If you live in Australia, you can order any of the products I used to make this card by going to my online store. Just click on any of the images below.

Product List
Paper Snips
[103579]
$21.00
Posted on Leave a comment

TODAY IS TUESDAY AND IT’S TIME FOR SOME TIPS & TECHNIQUES

As the title says, today I have a TIP to share with you.

For my card today I wanted to cut a Garden Green leafy frame and fill it with a cut piece of Designer Series Paper.

My first tip is to use ADHESIVE SHEETS because it makes it so much easier, and less sticky, than using Multipurpose Glue.

The first time I made this card I placed the leafy frame on the Lemon Lolly cardbase. BIG MISTAKE! When I tried to position the DSP piece inside the frame it would not ‘fit’ because the frame had shifted slightly.

Time to start again!

TIP: Place the die cut Designer Series Paper on the card front first. Then position the frame around it.

And, of course, using the Adhesive Sheets makes this so much easier.

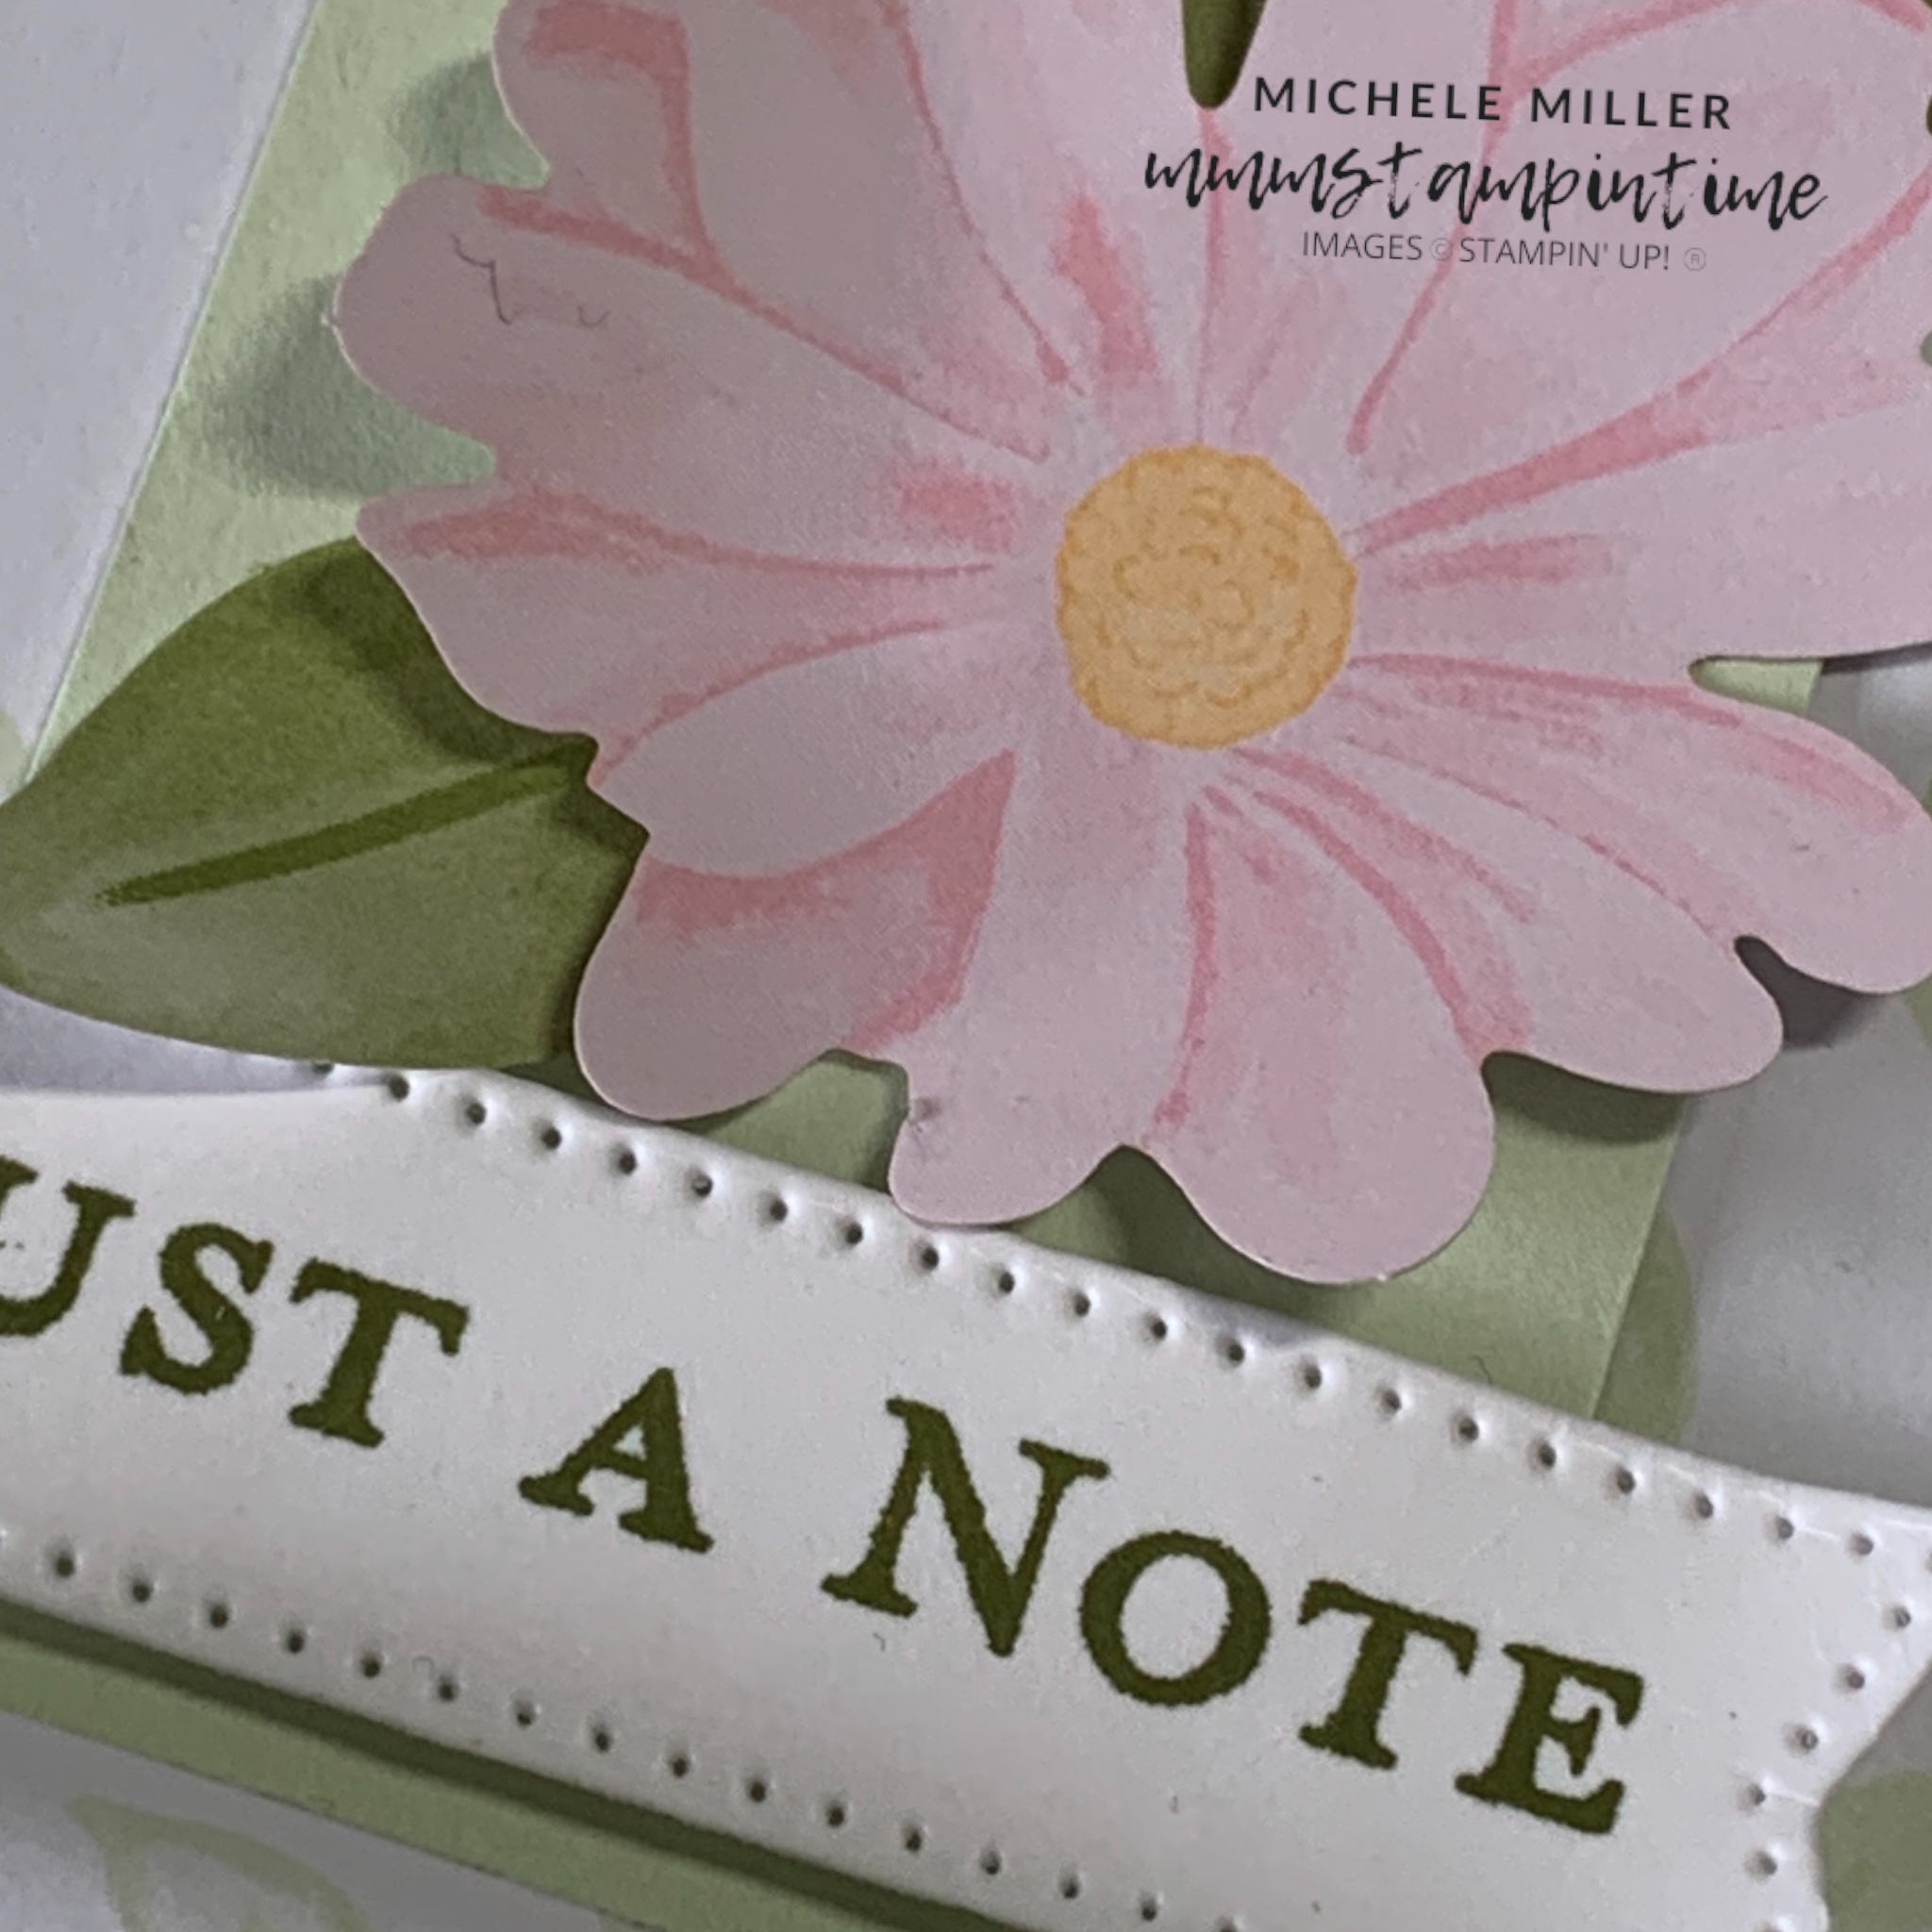
I stamped the sentiment, from the Citrus Blooms stamp set, using Garden Green and then stamped the small diamonds image twice.

The greeting was then cut using one of the banner dies from the Stylish Shapes Dies. I trimmed the left hand end of the banner.

After adding a folded length of white Diagonal Trim, I placed Stampin’ Dimensionals behind the banner and added it to the card front.

I used the same DSP to finish the card insert and envelope. Then I coloured some Adhesive-backed Sequins, from the Trio pack, and finished the card.

I hope today’s tip helps with your future projects.

Drop back tomorrow for a new project.

Until then, happy stamping.

If you live in Australia, you can order any of the products I used to make this card by going to my online store. Just click on any of the images below.

Product List
Paper Snips
[103579]
$21.00