Posted on Leave a comment

THURSDAY MEANS THAT IT IS FOR A 3D PROJECT

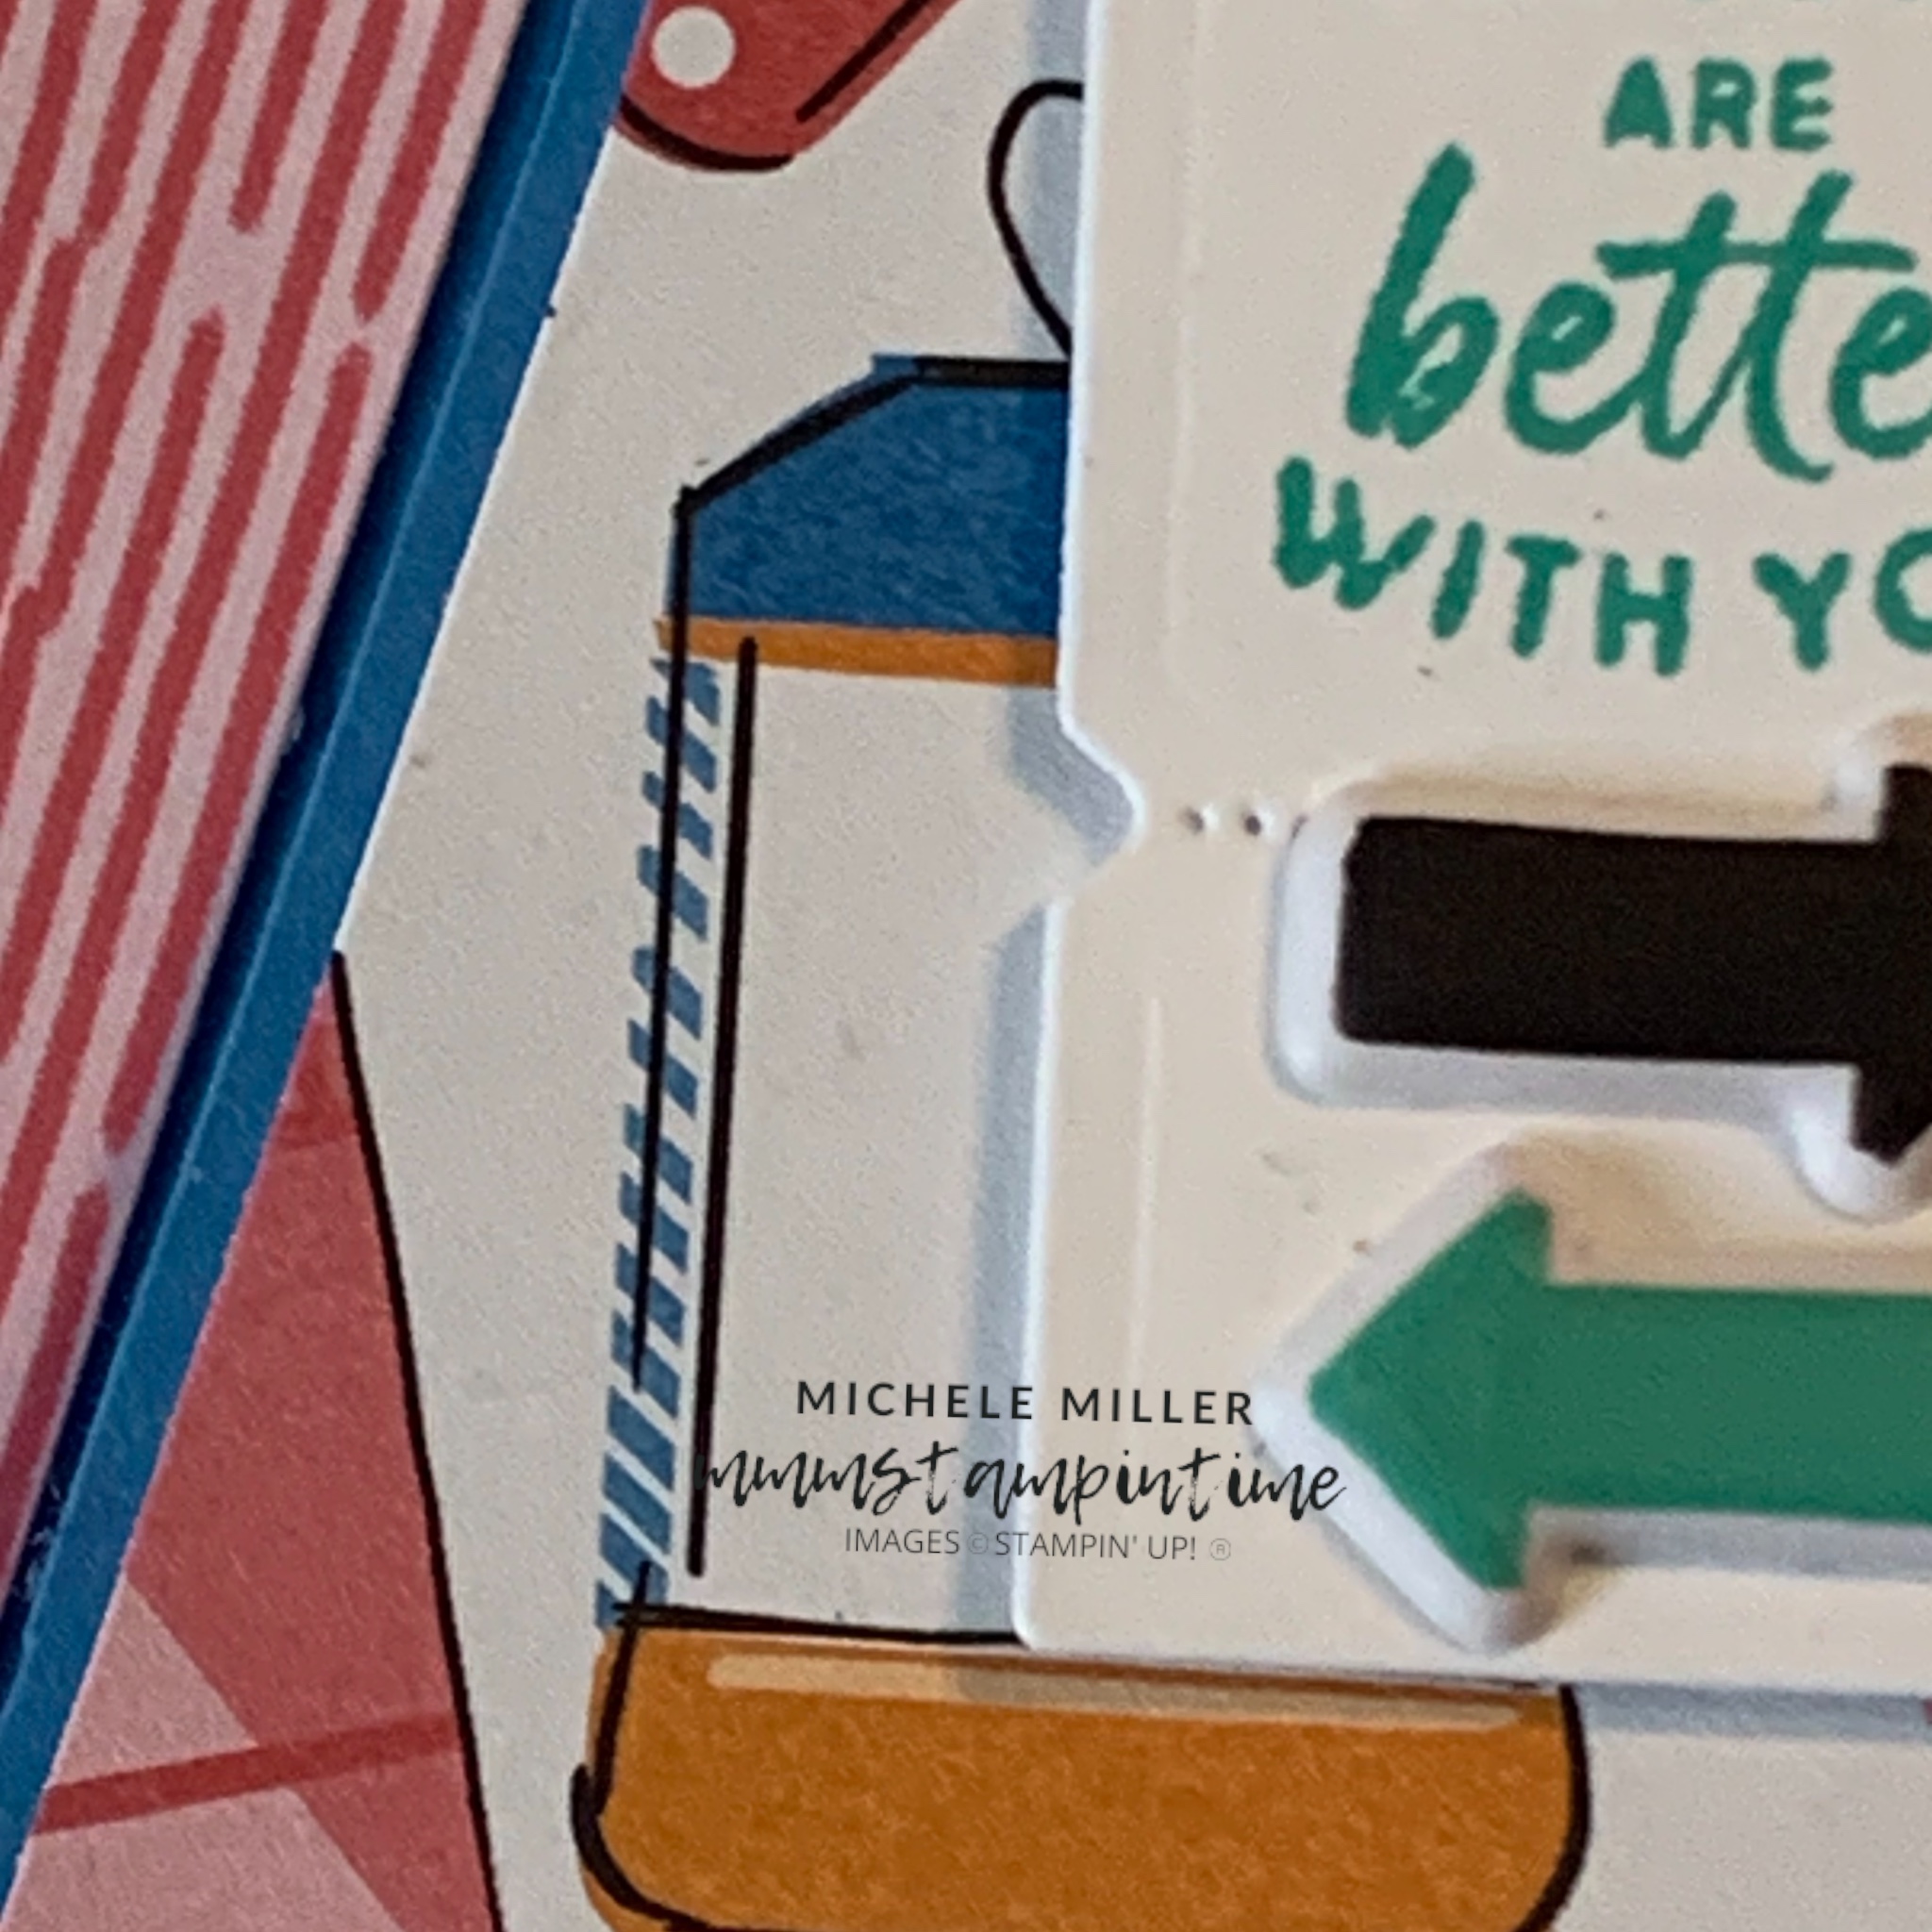
This project started with the ‘always thinking of you’ greeting and a block of Lindt chocolate in a new flavour, Caramelised Hazelnut.

I thought this combination would be perfect for a gift box.

After measuring the block of chocolate I sketched out a template for the box.

I made the box using Garden Green cardstock. Before assembling it, I added panels of the green and white striped paper from the Nests of Winter 12″ x 12″ Designer Series Paper.

After the box was assembled and I popped the block of chocolate inside, I secured a length of Iridescent Striped Trim around it and ties a bow.

I used the two largest circles, from the Stylish Shapes Dies, to cut Garden Green and Basic White circles.

The circles were layered together and then positioned over the ribbon using Stampin’ Dimensionals.

Then I fussy cut a small bird and floral branches and adhered them to the Basic White circle.

The greeting, from the Winterly Trees Stamp Set, was stamped in Garden Green and then die cut using the second larget square, from the stylish Shapes Dies. I repositioned the square die to cut a rectangular shape for the greeting.

Tomorrow I will share a Fun Fold Card with you.

Until then, happy stamping.

If you live in Australia, you can order any of the products I used to make this card by going to my online store. Just click on any of the images below.

Product List
Paper Snips
[103579]
$21.00
Posted on Leave a comment

WELL, WHAT’S HAPPENING THIS WEDNESDAY?

One big announcement for today – FREE SHIPPING today only.

  • Free shipping is for 24 hours only. Orders must be opened and closed on 18 September 2024.
  • Free shipping automatically applies to your cart after the qualifying amount has been met, which is $65 AUD.
  • The additional cost for expedited shipping is not covered by this promotion.

Today I have a super simple card to share with you – some great Designer Series Paper, heat embossing and linen threaf.

After preparing the Gray Granite card base, I cut a panel from the Nests of Winter DSP.

I wrapped lengths of Copper Clay and Bluberry Bushel thread, from the Natural Tones Linen Thread pack, and wrapped them around the DSP panel before tying a bow.

Stampin’ Dimensionals were attached to the back of the DSP before securing it to the card base.

Using Versamark ink, I stamped the bird and greeting onto Copper Clay card and then sprinkled Black Embossing Powder over it. The powder was set using my Heat Tool.

The bird and greeting were then die cut and added to the card front, using Stampin’ Dimensionals.

The card insert and back of the envelope both had some Designer Series Paper adhered to them.

As a final touch, I added some Copper CLay embellishments from the Earth Tones Shimmer Gems pack.

Tomorrow is 3D Thursday and I have a cute block of chocolate gift box for you.

Until then, happy stamping.

If you live in Australia, you can order any of the products I used to make this card by going to my online store. Just click on any of the images below.

Product List
Heat Tool
[129056]
$56.00
Paper Snips
[103579]
$21.00
Posted on Leave a comment

OOPS, I MISSED MY MONDAY POST BUT IT IS TIME TO CATCH UP!

This week I will be featuring projects using the NESTS OF WINTER SUITE COLLECTION.

This is an amzing suite to create with.

My first project is a decor item – a shadow box featuring elements from this collection.

I bought the shadow box frame from Ikea. It measures 14 1/2″ x 14 1/2″.

The space, inside the white matte layer, measures 9 1/4″ x 9 1/4″.

I started by choosing one of the Coastal Cabana papers from the Nests of Winter Designer Series Paper.

After calculating the measurements I needed for the Coastal Cabana and Basic White panels, I cut and embossed them. I used the Birch Wood 3D Embossing Folder to add this wooden texture to the panels.

I added each of these panels to the background paper using Stampin’ Dimensionals.

It was then that I started adding elements to each panel – birds die cut from the Nests of Winter DSP; leaves cut using the Winterly Tree Tops Dies; top and bottom wreaths stamped, coloured and cut using inks and Clear Wink of Stella; a gorgeous Christmas greeting from the Peaceful Season Bundle; a wrapped and tied bow in Pool Party Pompom Ribbon; loads of fussy cut pine cones and floral elements; and lots & lots of Regal Foiled Adhesive-backed Dots.

And, all these elements come together so well in this shadow box decor project.

For the rest of the week I have some great cards to share with you.

Until then, happy stamping.

If you live in Australia, you can order any of the products I used to make this card by going to my online store. Just click on any of the images below.

Product List
Paper Snips
[103579]
$21.00