For those of you who love stamping and beingencouraged to move outside of your comfort zone, then I recommend that you participate in the Colour INKspiration colour challenges. There are two each month and are a great way to get you creating.

I loved the image that inspired the challenge colours for #CI118. Although I must confess that tring work these colours in with my featured products, this week, was a little challenging.

So my card could best be described as “Here Together” meets #CI118. I hope you like it.

I built up the card by starting with a Very Vanilla base with a Basic Black layer. Then I adhered a Garden Green layer under a Basic Gray piece of cardstock. This green and gray combination was then embossed using the Brick & Mortar 3D Embossing Folder.

My next step involved attaching Adhesive Sheet to the back of a piece of Very Vanilla cardstock and die cutting the “You Matter”, from the Here For You Dies. I removed the backing from the adhesive sheet and positioned these words on the card front.
I stamped the “heart hands” on a piece of Very Vanilla cardstock and trimmed it down to the size you see. Then I used my Dark Soft Succulent Stampin’ Blend to colour the heart shape.

Before attaching this sentiment piece to the card front, I punched some White Vellum and Soft Succulent leaves, using the Sprigs Punch. After these leaves were positioned, I added the sentiment panel using Stampin’ Dimensionals.
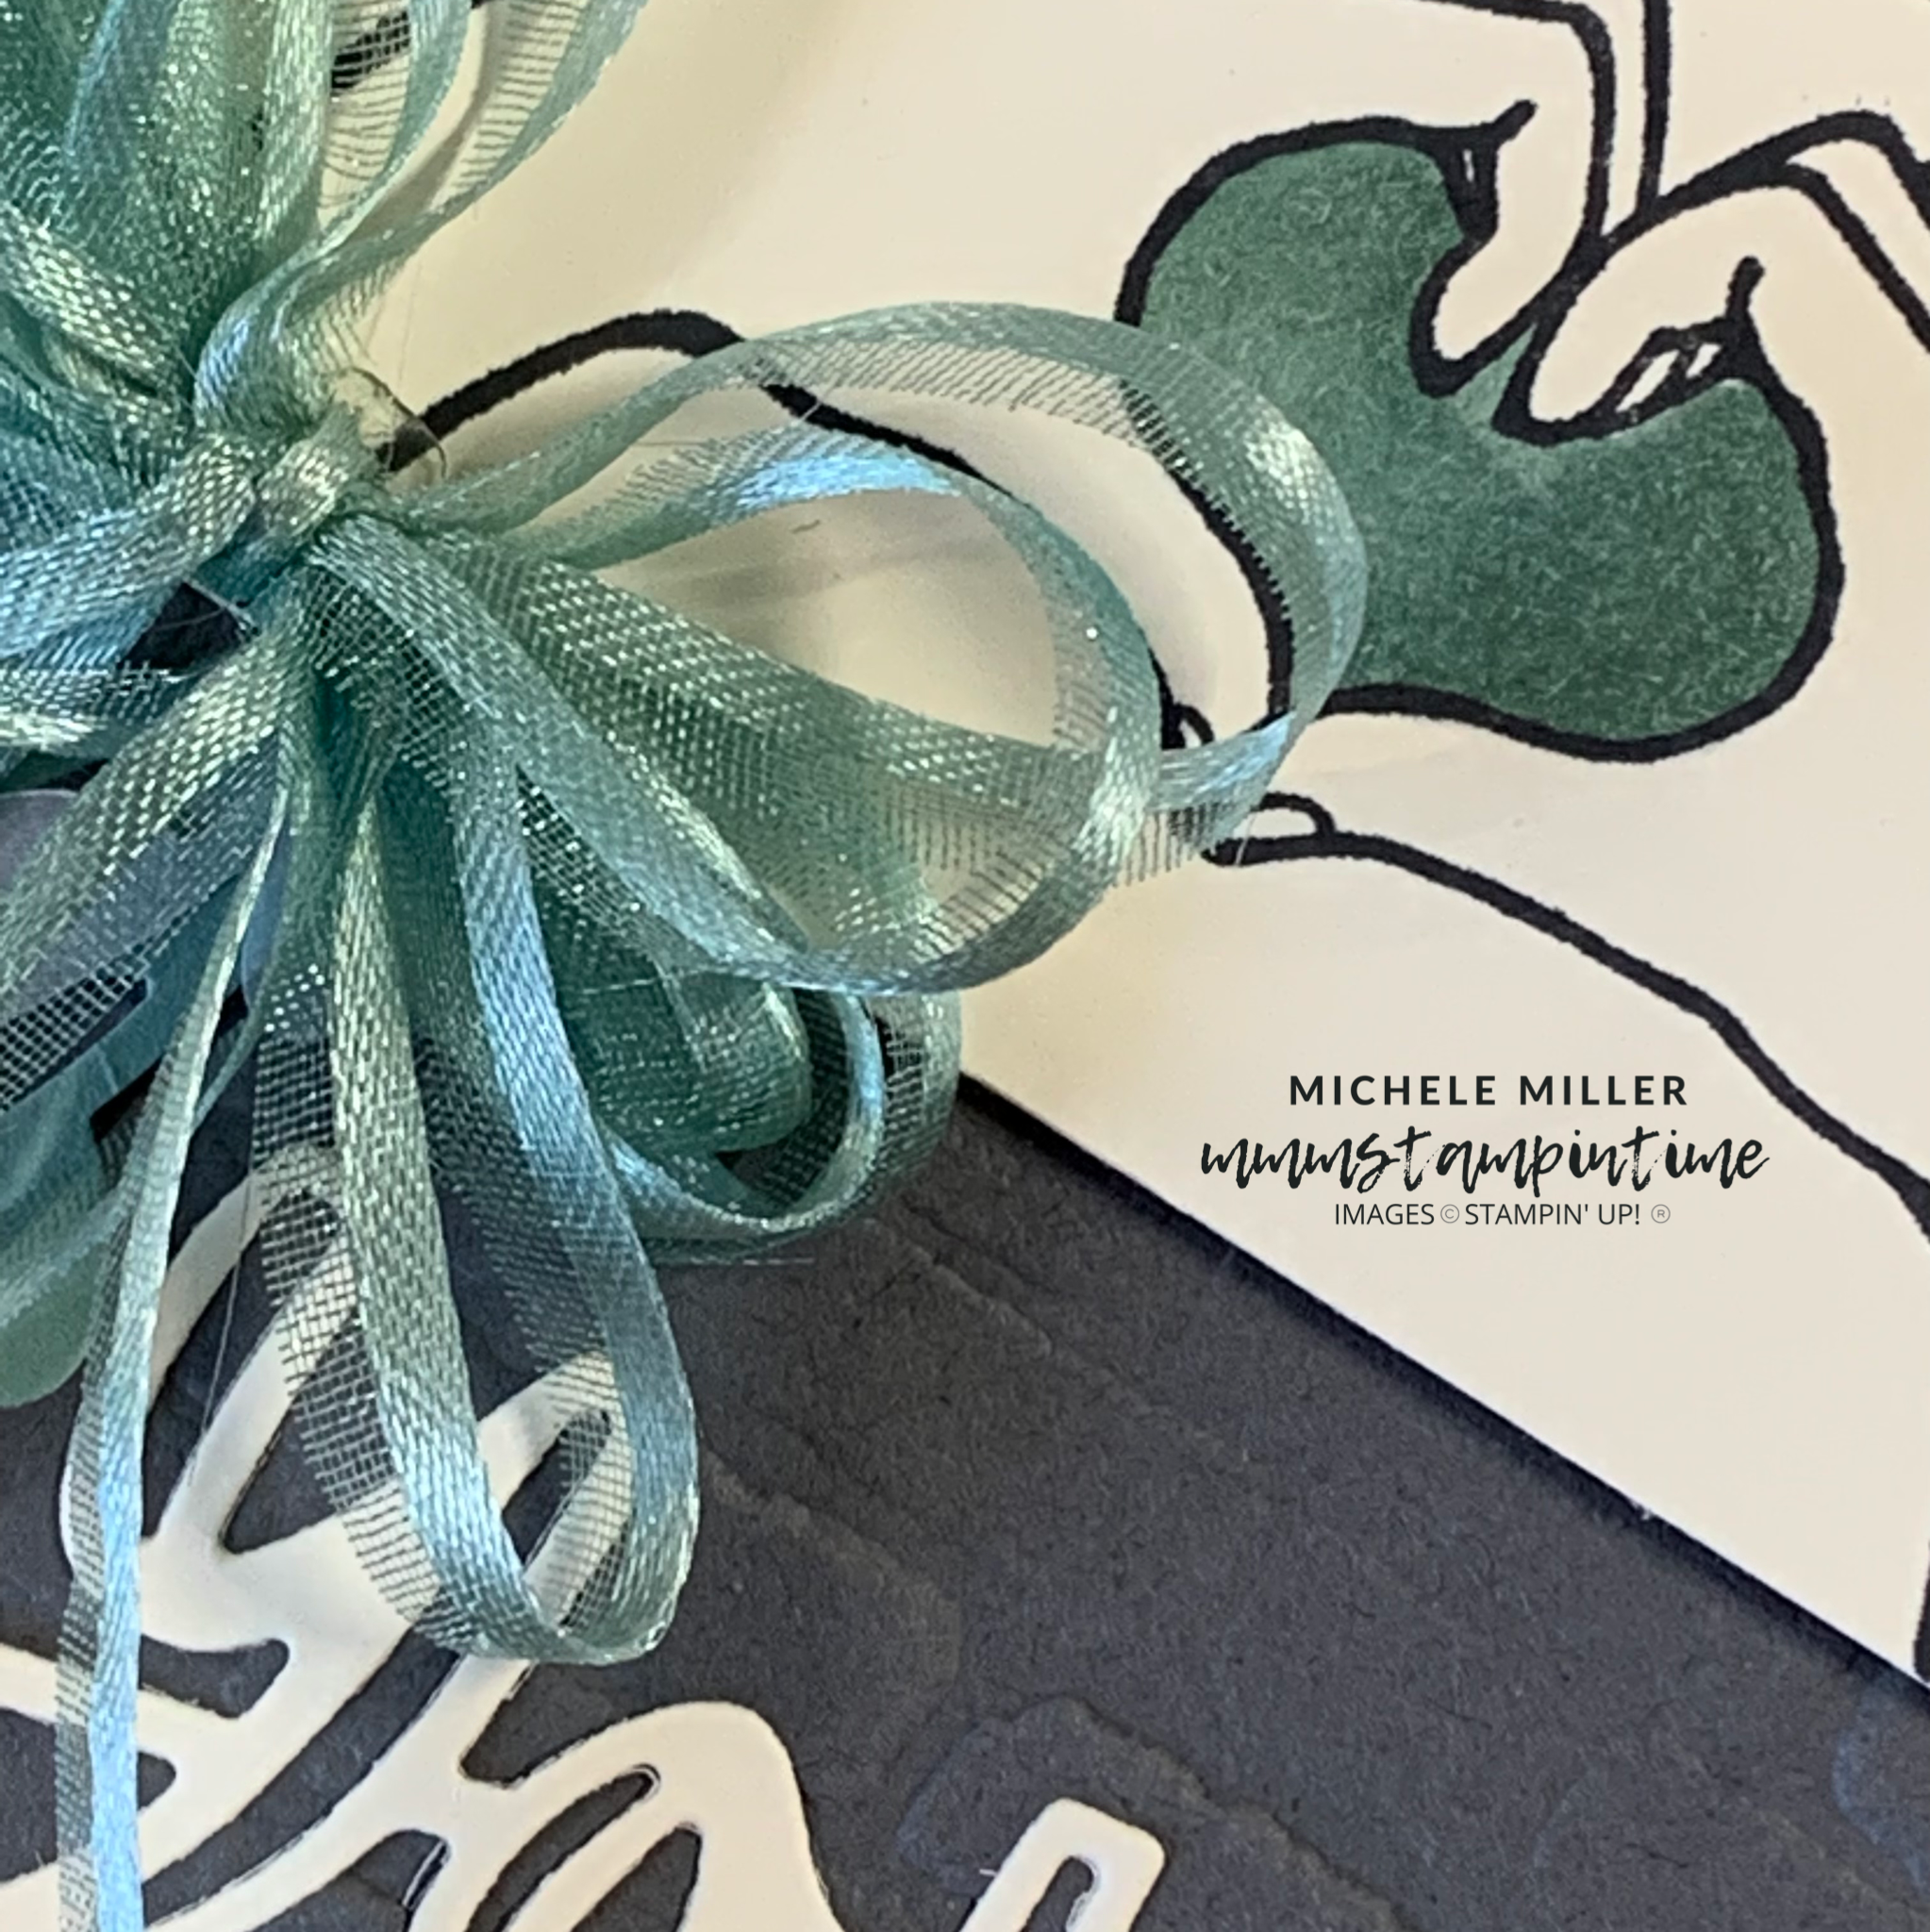
Finally, I tied a #tammybow from a length of Soft Succuent Open Weave Ribbon and secured it in place using a Mini Glue Dot.

By then end of this week I will have 14 projects using the All Together Collection. I still have so much more to learn about the Natural Tones Stampin’ Blends Collection and how they can be used to achieve a wide and rich variety of colour.
One more project to come today – one for the Freshly Brewed Project blog hop.
Until thin, happy stamping.

If you live in Australia, you can order any of the products I used to make this card by going to my online store. Just click on any of the images below.

") | ") |  |  | |
 |  |  |  |  |
 |  |  |  | |
 |  |  |  |  |
")


