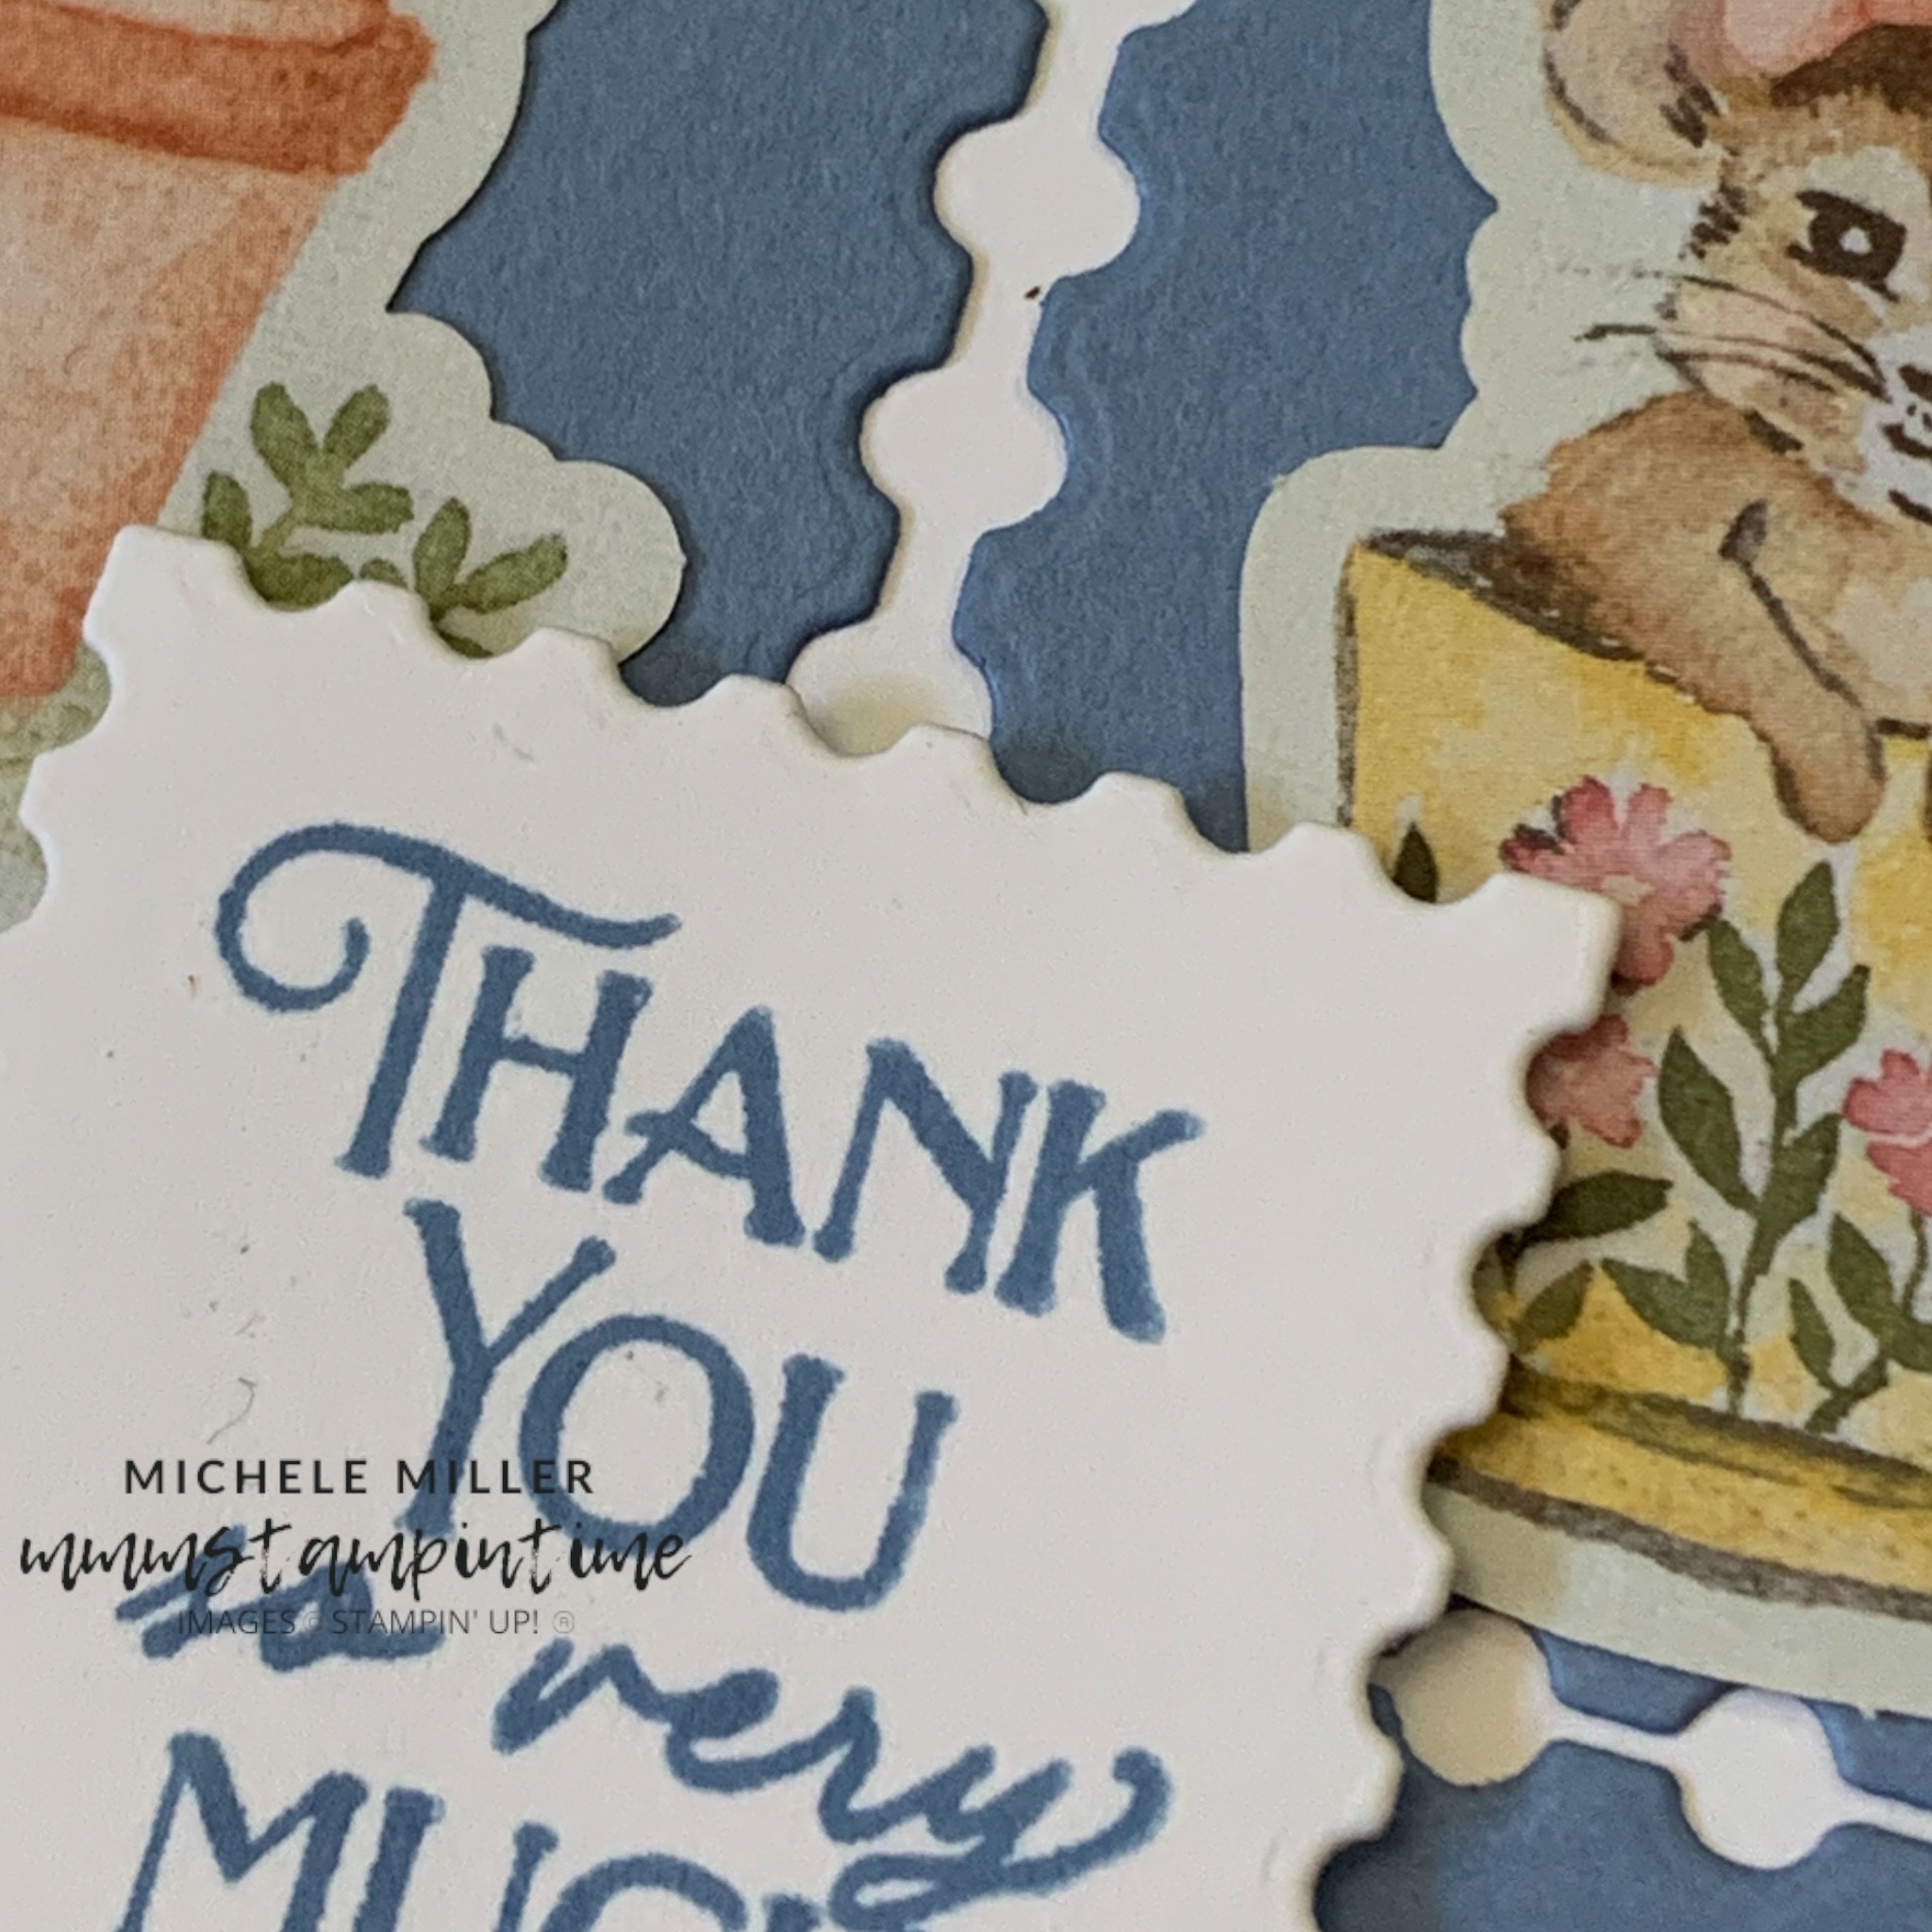
Today’s card features some of the precut images from the images die cut sheets included in the Storybook Moments 12″x 12″ Designer Series Paper pack.
I started with a Basic White card base.
Using the largest square die, from the Perrenial Postage Dies, I cut 6 stamp shapes in Balmy Blue card.

The six stamp shapes were adhered to a panel of Basic White card.
This panel was then added to the front of the card base.
I looked through all of the precut images, from the die cut images sheets, and chose 6 images to attach to the blue die cut shapes.

The greeting, from the Storybook Friends Stamp Set,was stamped on to a scrap of white card using Boho Blue ink. Then it was cut using the smallest square Perennial Postage Die.
This square was attached to the card front using Stampin’ Dimensionals.
I chose two more precut images and added one to the card insert and the second to the back of the envelope.
This was such a super sweet and quick card to create.
It would be great for so many other events, especially a birthday.
Tomorrow I have another card featuring lots of Copper Clay pots.
Until then, happy stamping.

If you live in Australia, you can order any of the products I used to make this card by going to my online store. Just click on any of the images below.


