This week I have featured the Mediterranean Blooms Suite Collection in the projects that I have shared. It is such a lovely collection and, as I mentioned on Monday, it reminded me of Italy.

This suite collection includes the Citrus Blooms Bundle – the stamp set and coordinating dies, Mediterranean Blooms Designer Series Paper, and Opal Rounds Assortment.
The Stamp Set includes 5 images – a single orange branch, a trio of oranges branch, two citrus blooms images and a fabulous geometric diamond image. The set also has four different greetings that combine two different fonts, one cursive and one in blocked capitals.
The die set has 15 dies, ranging from the large block shape and its coordinating leafy insert dies. Then there are the two citrus image dies, four leaf stems and four flowers. The last two dies cut three small flowers each.
My favourite in this Suite Collection is definitely the Mediterranean Blooms Designer Series Paper. This 12″x 12″ DSP is made up of 2 each of 6 double-sided designs – 12 sheets in total. One side of the DSP features the stunning citrus images and the other side has wonderful monochromatic blue designs, many of which resemble tile designs.
Last, but not least, are the Opal Rounds Assortment embellishments in Daffodil Delight, Night of Navy and White.
It was so easy to create this week’s projects because this Suite Collection is, in itself, an inspiration.
Today I have a Fun Fold Card to share. I’m calling it a Pop Up Double Z Card. I invite you to let me know if there is a more accurate name for it.

I will share the elements of the fun fold soon but will start with the front of the card.
The front of the card has three sections – the’base’, the 1 3/4″ vertical righthand panel and the 2″ horizontal panel on the bottom of the card.
Each of these sections, that have a Night of Navy base, have had a slightly smaller panels of Designer Series Paper added.
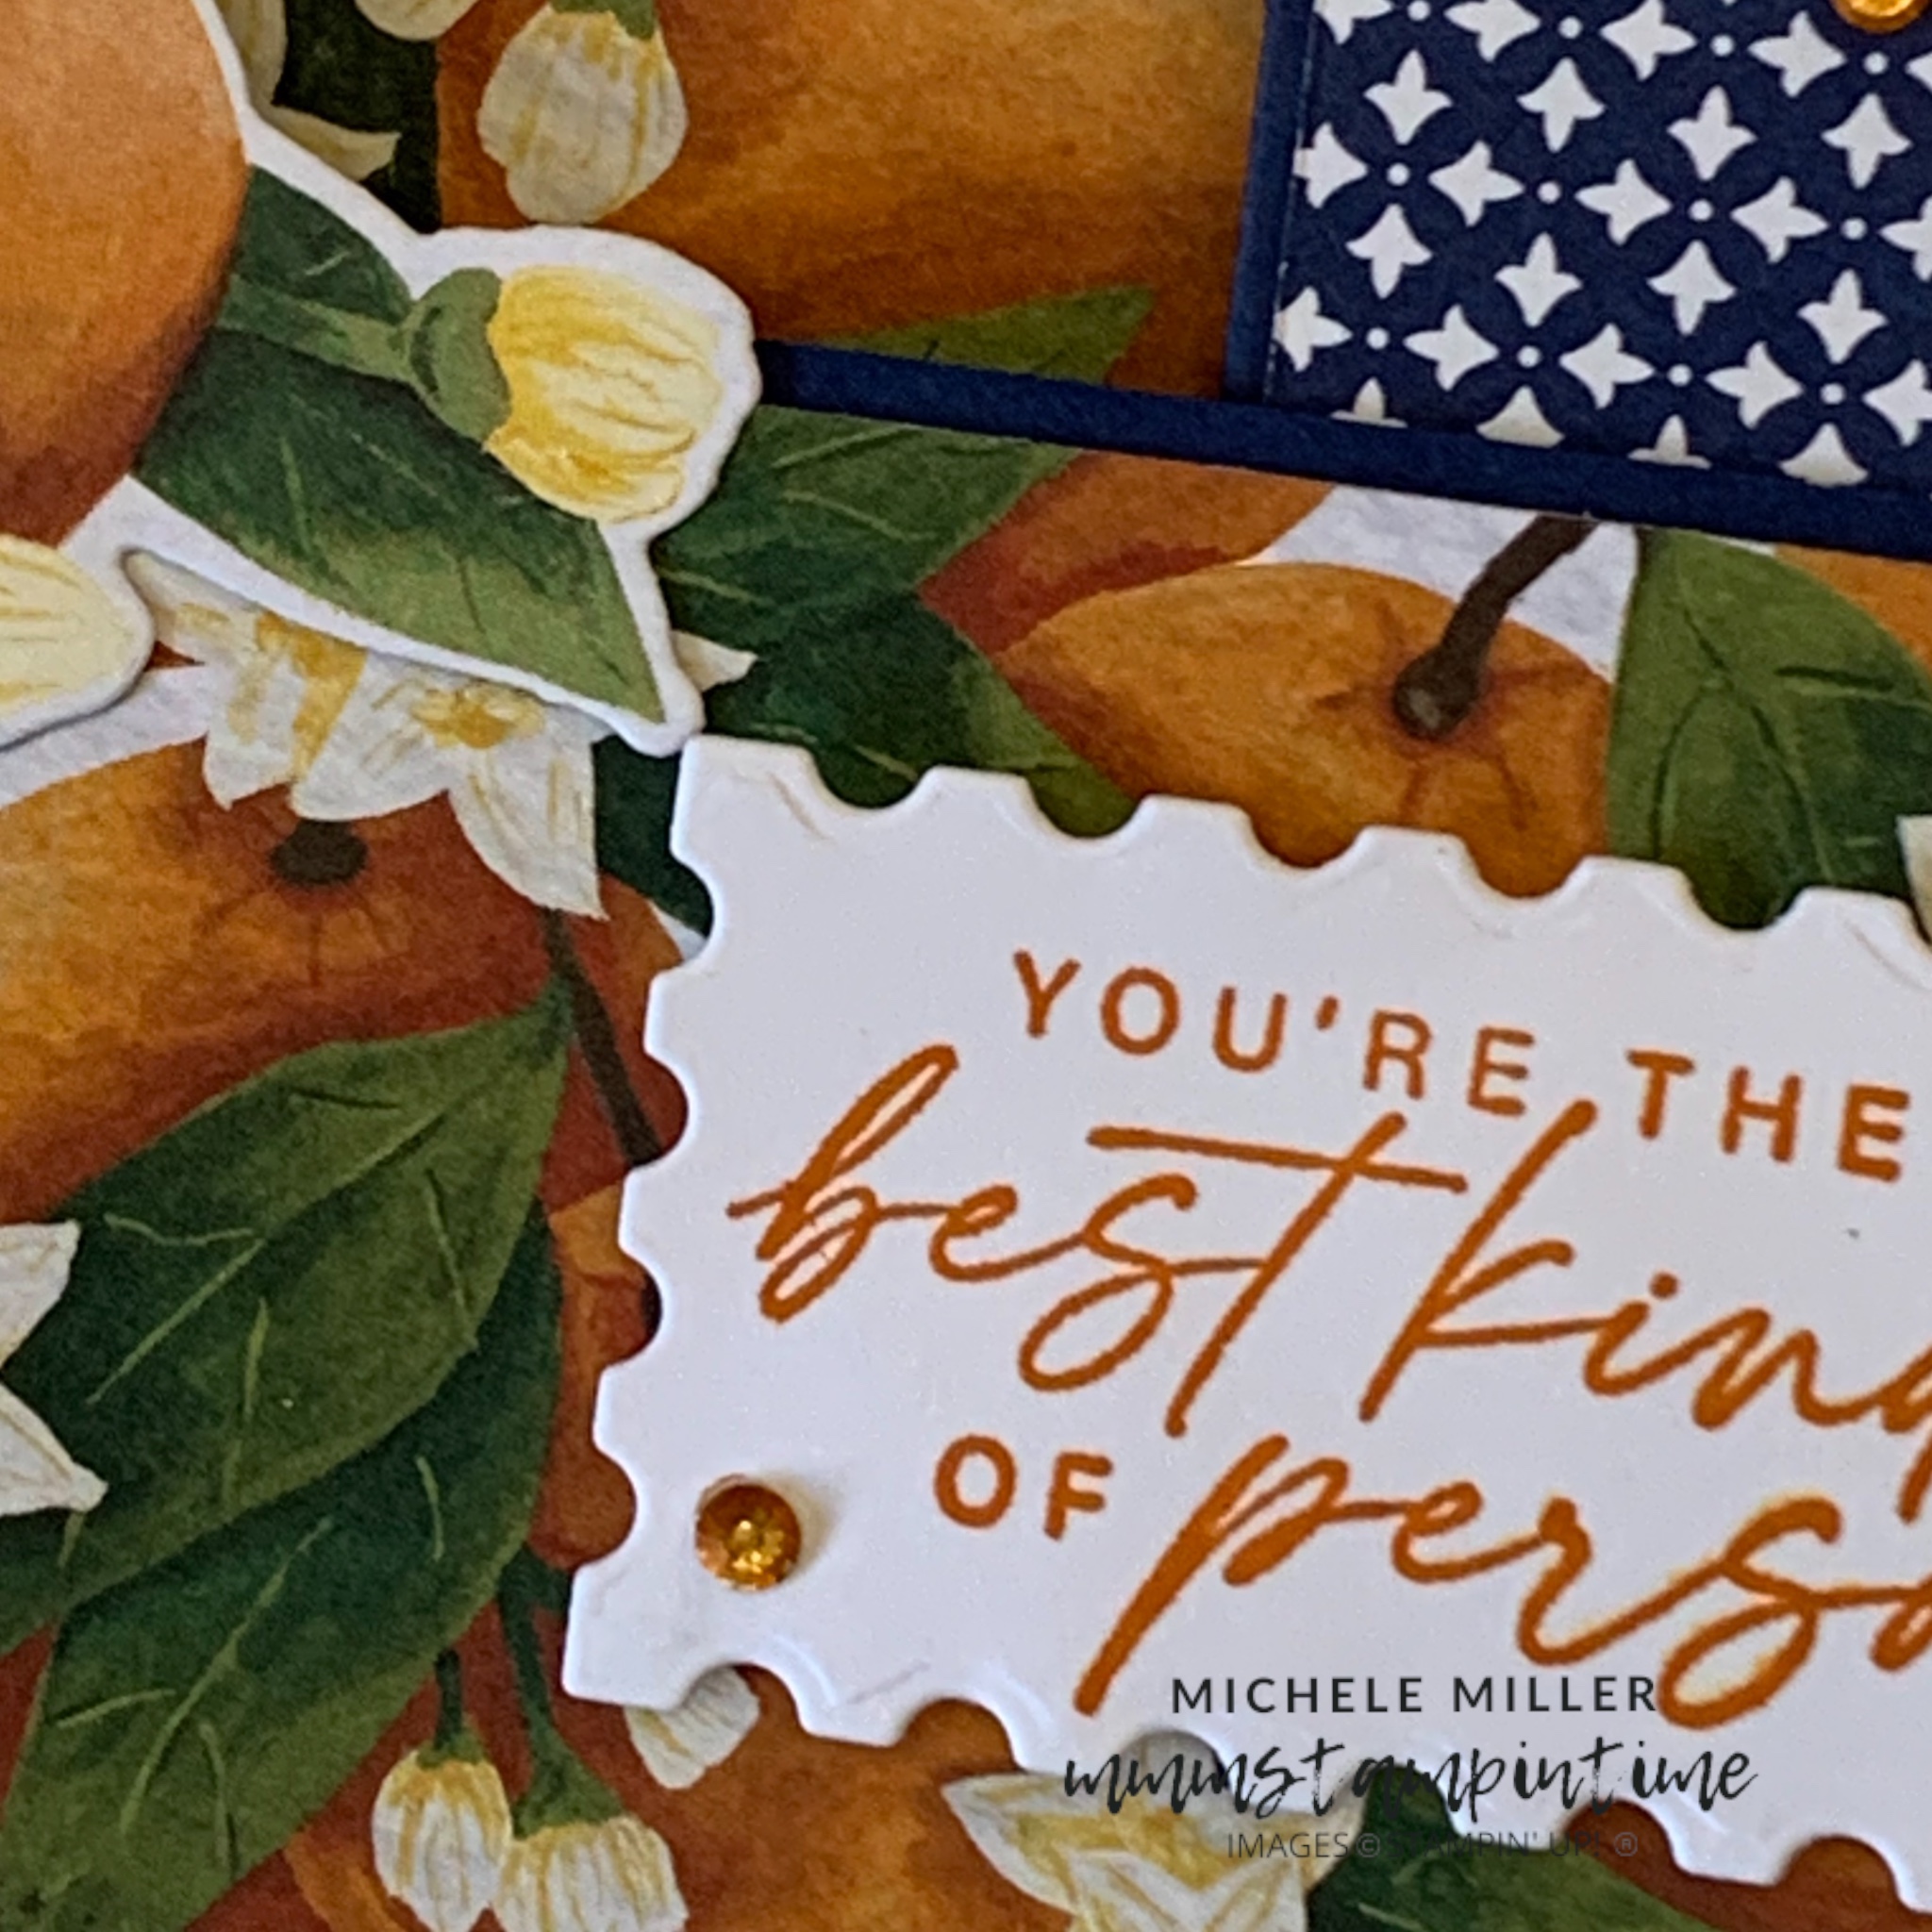
To embellish the card front I adhered a triple orange branch die cut image before adding the greeting.
The greeting was stamped in Pumpkin Pie and cut using one of the Perennai Postage Dies. Stampin’ Dimensionals were added to the back of the die cut greeitng and positioned on the card front.
I coloured some Iridescent Pearl Basic Jewels, using my Dark Pumpkin Pie Stampin’ Blends Pen, and attached them to the card front.
Time to look inside the card –

This image shows what the card looks like when it is slightly opened.

When the card is fully opened you can see all the scored sections and DSP panels.
You can also see the pop up single orange image.
I love the way this DSP works together.

I added a panel of Basic White card to the back of the card and decorated it with a narrow strip of DSP. I used the same DSP to finish the back of the envelope.

The weekend begins tomorrow and I’m sure that I will have something to share.
Until then, happy stamping.

If you live in Australia, you can order any of the products I used to make this card by going to my online store. Just click on any of the images below.

") |  |  | ||
 |  |  | ||
 |  |  |  | |
 |  |
")
 Designer Series Paper")
 Glittered Ribbon")
 Cardstock")


