I was only able to share images of the new Splendid Autumn Suite Collection, from the 2024 September – December Mini Catalogue, from Wednesday of this week. That was when customers were able to start ordering new products.
This Collection is made up of the Autumn Expressions Bundle – a stamp set made up of 9 cling stamp sets and 8 coordinating dies.
The stamp set has three images and 6 greetings. The greetings use two fonts, one smaller upper case block style font and the pther is a larger beautifully cursive font.
The Autumn Expressions Dies include 5 leaf and timber shaped dies and three dies that cut elements that can be used to create a bag. These pieces can also be used to cut frames and panels.
The Designer Series Paper is perfectly named – Splendid Autumn. The colours and designs are truly autumnal.
To complete the collection there are 200 Faux Glass Dots, 75 Woven Golden Leaves, and a roll of Wild Wheat Rustic Striped Ribbon.
For my Fun Fold card today I have used another card template, from page 22 of the Annual Catalogue, and gave it a Fun Fold twist.

The template I used can be found on the second row and is the fifth from the left.

I used a Gard Green panel and attached a piece of DSP. A second piece of the same DSP was trimmed down to be added to panel of Garden Green card. This resembles the ‘spotlighting’ technique.
A small Garden Green card base was cut and folded. I attached the ‘spotlight’ panel to the front of the small card.
Using the largest banner die, from the Stylish Shapes Dies, I cut a Garden Green banner. I scored at approximately 1″ along the righthand side of the banner and adhered this section behind the small card base.
Then I glued the small card to the base panel, aligning the images.

I used a pair of small magnets to create a closure for the banner flap. One magnet was placed on the banner fold using a mini glue dot to secure it.
The corresponding magnet was positioned on the inside left half of the card. Then I adhered two pieces of DSP, the floral design covered the second magnet.
I added a piece of Basic White cardstock inside the small card to provide a place to write a personalised message.

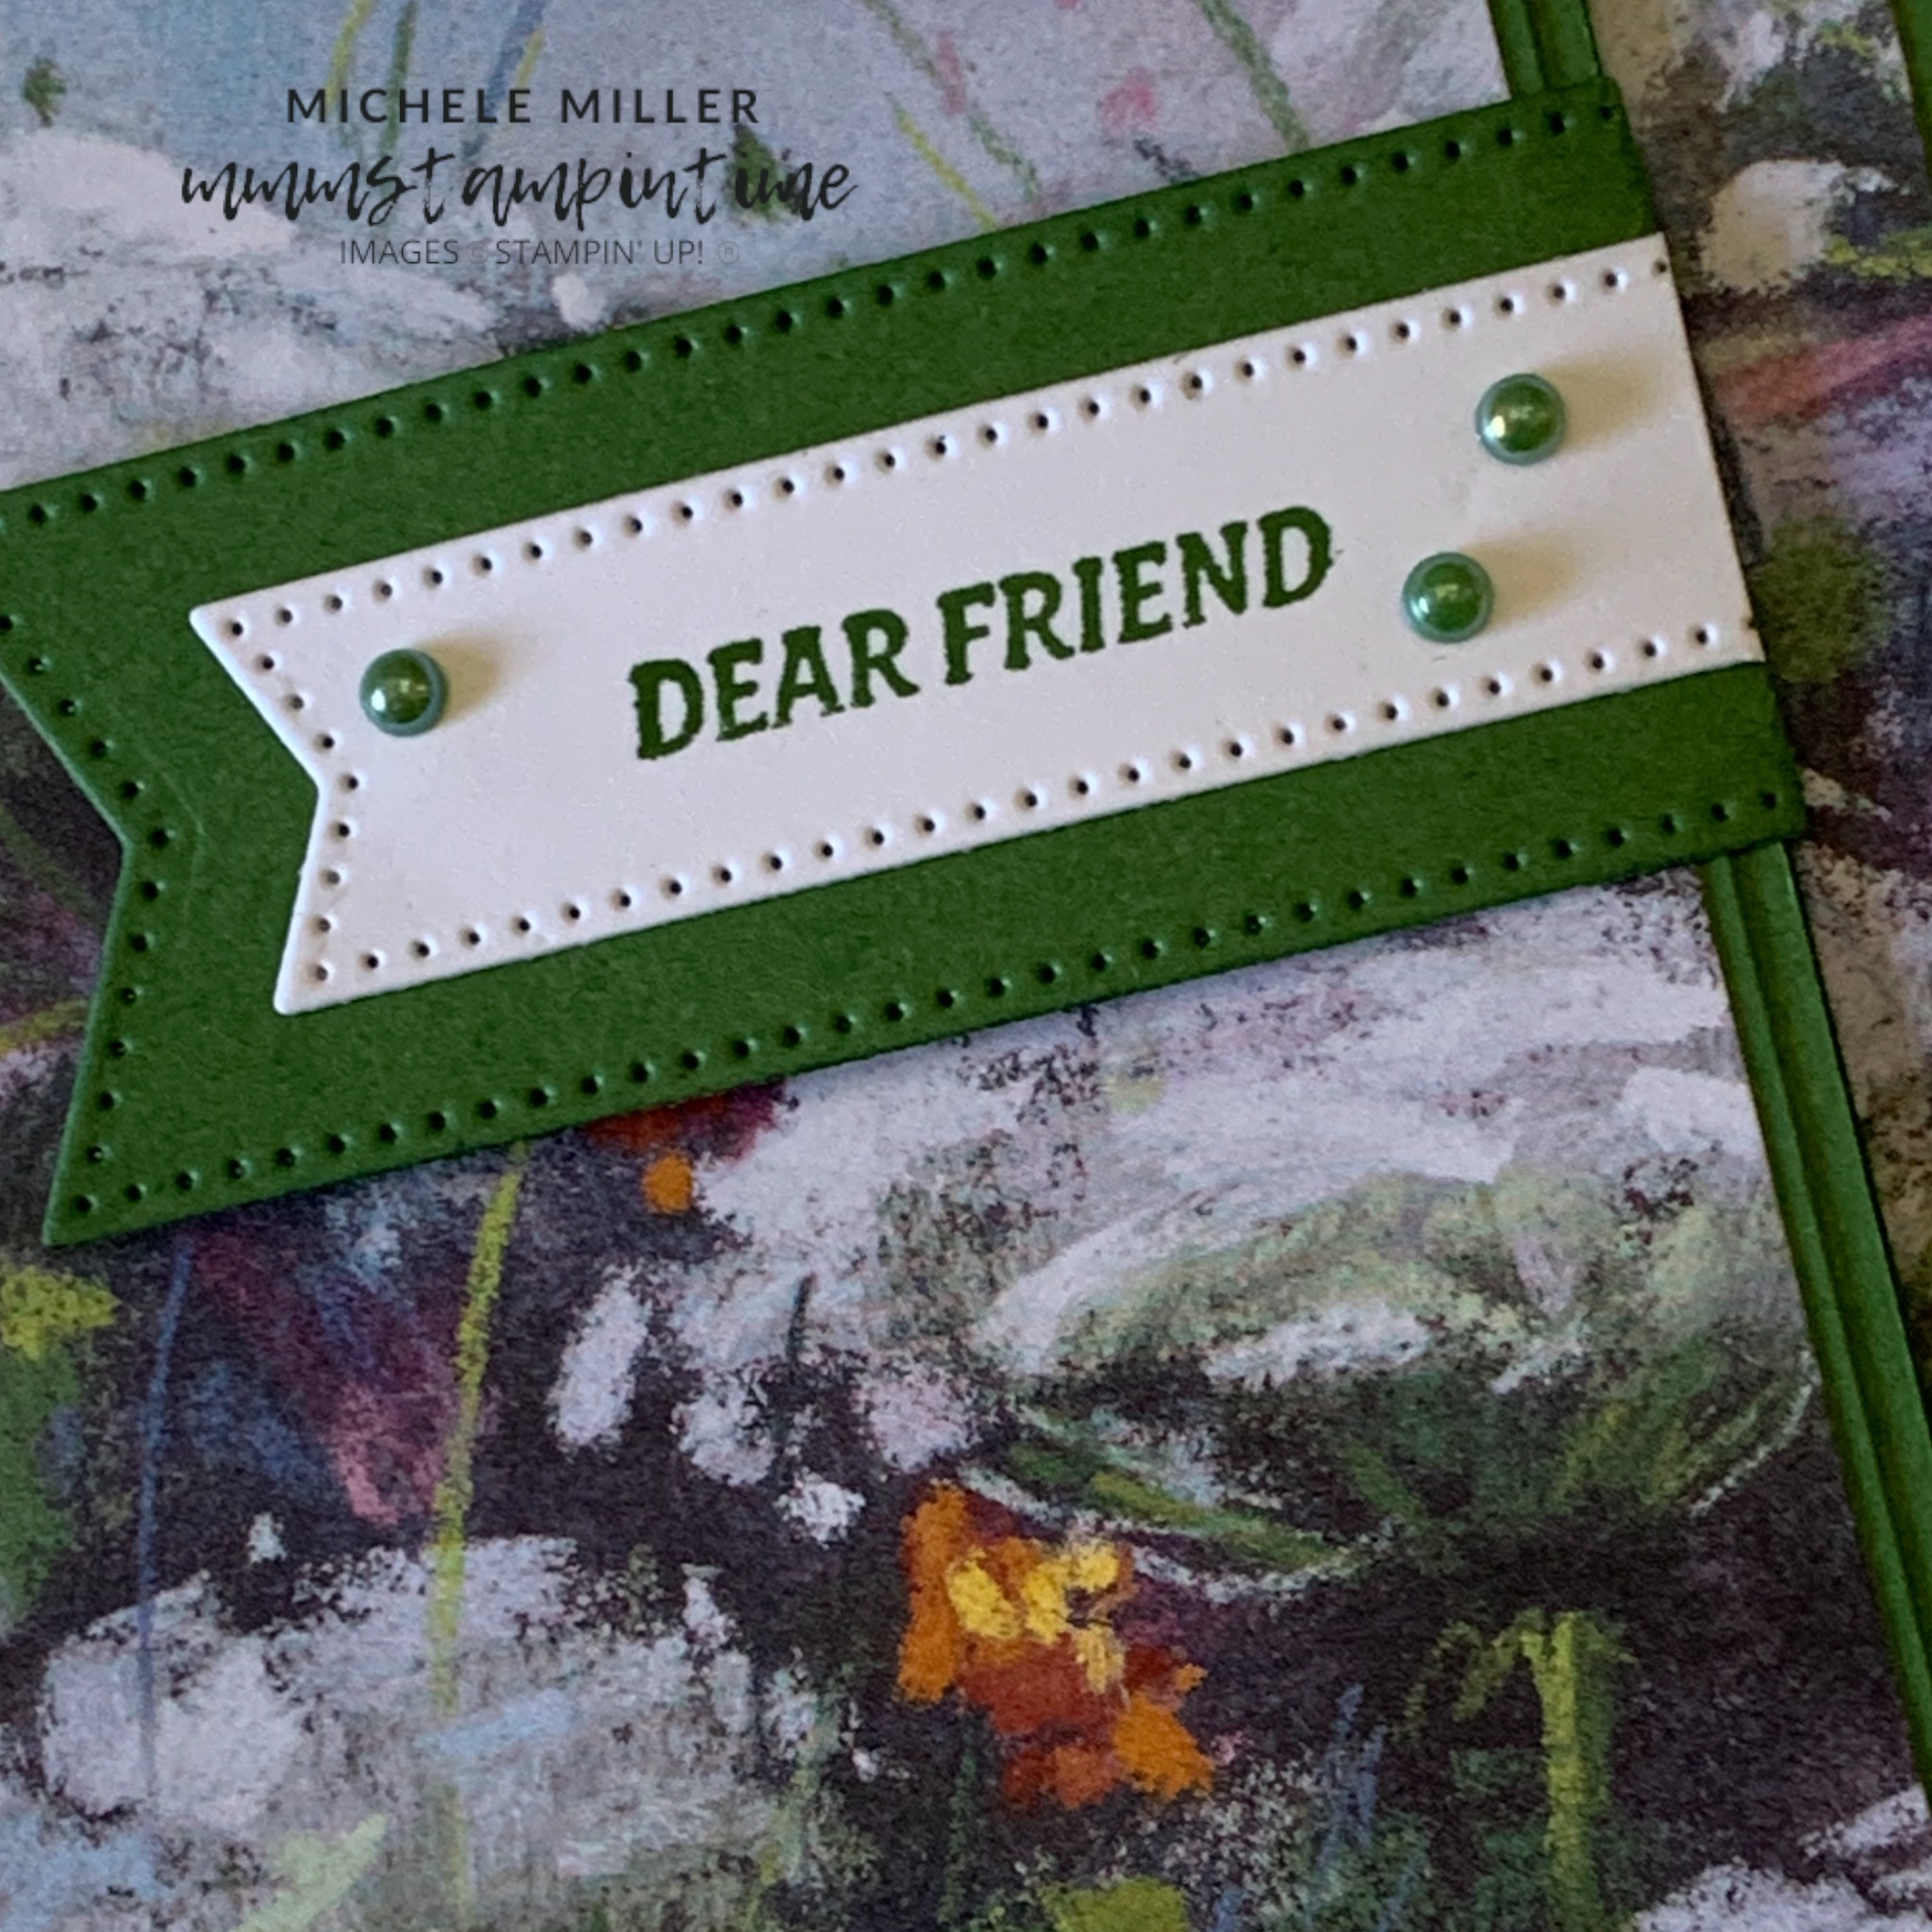
To finish the card, I stamped the greeting on to a small pice of Basic White card and cut it with one of the banner dies from the Stylish Shapes Dies. The right hand end of this banner was trimmed and the greeting panel was added to the Garden Green banner.
The back of the envelope had more of the DSP added. Then I added some of the garden Green gems from the Blooming Pearls pack.

This was a fun card to create.
I’m not yet sure what I have for you tomorrow, but I will have something.
Until then, happy stamping.

If you live in Australia, you can order any of the products I used to make this card by going to my online store. Just click on any of the images below.

 | |||
 |
")
")
")
 Designer Series Paper")
 Rustic Striped Ribbon")
 |  |  |  |  |
 |  |  |  |  |
 |  |


