For today’s mini album I continued to use the Joyful Images and Joyful Sayings Ephemera Packs.
I also used the Gold Dipped Mix & Match Cards & Envelopes – Garden Green, Night of Navy, Real Red and Gold.

To start making the mini album take two of the envelopes and glue the flaps together. Take care to align them accurately.

Trim away 1/16″ from the outer edge of each envelope. This will create pockets for photo inserts.
Repeat this until you have two sets of envelope pocket in each of the three colours.
For the photo inserts cut cardstock to 6″x 4″ in each of the colours. Attach a coordinating tab to the card base – I used the Keeping Tabs Punch to create the tabs. Then I attached slightly smaller pieces of Basic White card to each side of each photo insert.

Take six cards, three in each colour, and fold them in half and burnish them with a bone folder. Glue a colour matching card over each pair of glued flaps. This adds more pages to the album.
In the image below, the page with the Christmas tree is one of the cards that was glued over the joined flaps.

Take the same number of cards and carefully cut them in half. Adhere each half over the envelope pocket – be careful not to use too much glue toward the centre of each page because you want the photo insert to fit inside the pocket.
Take a circle punch andcut a semicircle in the side of the pocket to allow easier access for the photo insert.
Rather than adhering the backs of the envelopes together, I cut a 1″ strip from the folded edge of a number of cards. I used this as a hinge to join envelopes – again giving many more pages to the album.
The image below is an example of two envelopes being joined together with one of the card hinges. Idecided to use the cards because Basic White card was not quite the correct shade of white.

Each of the hinge joins, throughout the album, were decorated to enhance the look of the join.

There are so many elements in the Joyful Images and Joyful Sayings Ephemera Packs that can be used to decorate the album. These pages are perfect for journalling, keeping gift tags and other Christmas memorabilia.

.After joining together all the envelopes and then placing the photo inserts in each pocket the album is ready for a cover and ribbon clsure.
The album has 32 pages and 12 photo inserts.
For the album cover I used a piece of Real Red card 10 3/4″x 6 3/4″ with a spine of 1 1/4″.
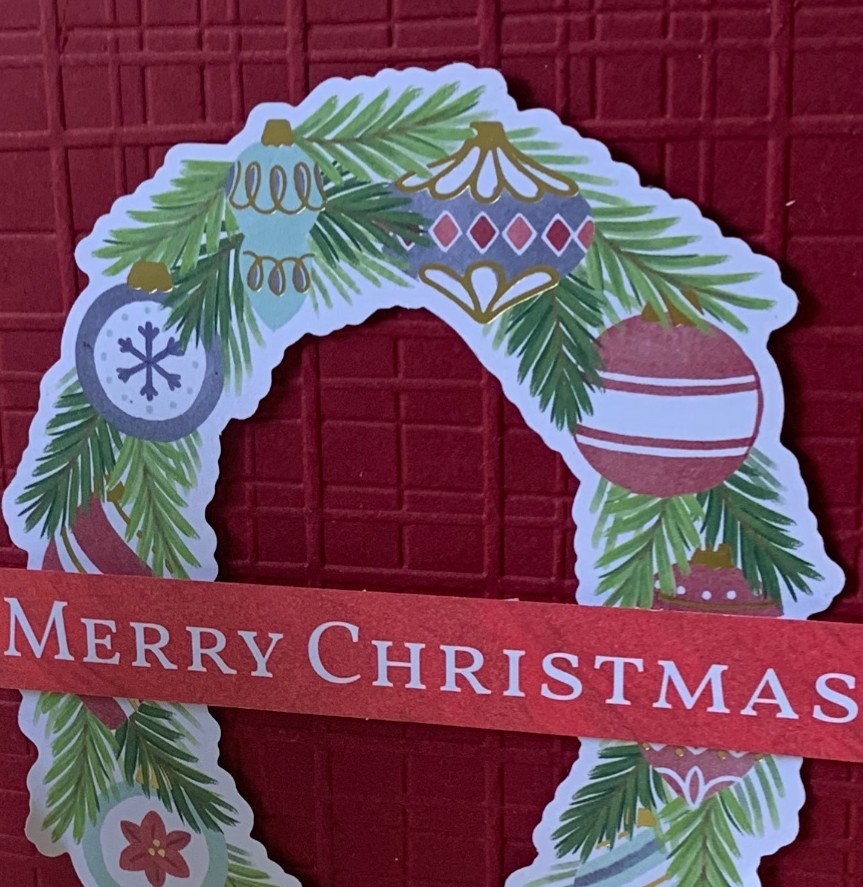
I embossed two pieces of Real Red card, measuring 6 1/2″x 4 1/2″, using the Forever Plaid 3D Embossing Folder.
Before adhering these embossed panels to the front and back of the album cover I wrapped a 32″ length of Night of Navy & Gold Glittered Ribbon around it and tied a bow.

To finish the mini album, I added a wreath from the Joyful Images Ephemera Pack and a greeting from the Joyful Sayings Ephemera Pack. These were both attached to the front of the album with Stampin’ Dimensionals.
From tomorrow I will have some Happy Hibiscus projects to start sharing with you.
Until then, happy stamping.

If you live in Australia, you can order any of the products I used to make this card by going to my online store. Just click on any of the images below.
Product List


