Today I have a Peekaboo Slider Card to share with you.
This is the first time I have made this fun fold card. I did some online research looking at Pinterest, Google images and YouTube. After seeing a couple of different styles, I opted for one that Lisa Curcio demonstrated in 2020. I adjusted her measurements to suit A4 cardstock.
Friday also means that this is the last project using the All Together Collections.

Lisa used a 2″ circle punch that is now retired so I swapped it for the Label Me Lovely Punch.
This card is made up of three separate pieces.
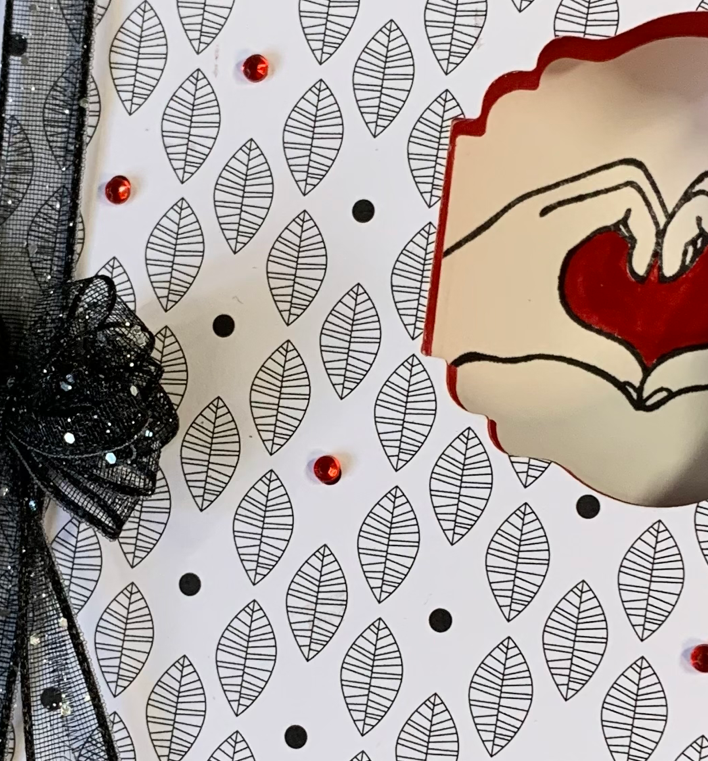
The first Real Red piece measures 8-1/8″x 4-1/8″ and is scored at 2-3/4″. It forms the front of the card and the slider piece that the sentiment is stamped on. A piece of All Together Designer Series Paper was adhered to the front before the top right hand corner was punched out.
The inside Real Red piece measures 8-1/4″x 4-1/8″ and is scored at 4-1/8″.
The back Basic White panel meaures 6″x 4-1/8″ and is scored at 5-3/4″.
The front and both sides of the inside panel are punched in the same place – so that you can see straight through them.

When you open the card, the 2-3/4″ Real Red section from the front panel slides across revealing a stamped sentiment. It was stamped on Basic White cardstock and punched out before being adhered directly in the space from the inside piece.
The inside Real Red piece had a piece of DSP adhered to the left hand half. I also attached a small panel of Basic White cardstock for a personal message to be written.
The leaf design on this DSP is my favourites from this collection. Lots of white space, beautifully shaped leaves, simple line drawing style and lots of black dots.

This view gives you an idea of how the three pieces of cardstock are connected. After all the DSP is adhered and the three identical spaces are punched out, this is how they are joined: the left hand side of the Real Red inside panel is glued along the right hand side front card panel, and then the 1/4″ scored area of the Basic White card back is adhered to the back of the right hand half of the Real Red card insert.
I have project on my list of new video tutorials to make. It should be easier to follow how to assemble the card by watching rather than the scant information above.

I used the Black Glittered Organdy Ribbon to create a #tammybow. A length of the same ribbon was wrapped around the card front and secured inside. The #tammybow was then attached using a Mini Glue Dot.
From tomorrow, I am going to vary my usual routine. I will still keep the daily project themes but will feature a stand alone stamp set from the 2022 January – June Mini Catalogue.
For #simplestamping Saturday and Step It Up Sunday, I will be featuring the Host Stamp Set Mischievous Mice.
Until then, happy stamping.

If you live in Australia, you can order any of the products I used to make this card by going to my online store. Just click on any of the images below.
Product List


