Posted on Leave a comment

TIME FOR A SATURDAY SHARE

My final Nests of Winter project is a Zigzag Fold card.

To create the zigzag card base I took a 12″ x 12″ piece of Early Espresso card and cut it along the diagonal from one 12″ corner across to 3″ on the opposite side.

Then I scored the card at 4″ and 8″.

I was able to use one sheet of the DSP to add three angled panels to both sides of the card.

TIP: When cutting these DSP panels make sure that you cut the angles in opposite directions. Look at the images, above and below, to see what I mean.

For the ‘front’ side of the card I added a piece of Basic White in the centre panel.

I also added the stamped and die cut greeting to the front panel, using Stampin’ Dimensionals.

A second piece of Basic White was added to the back panel for more messages to be written.

The back of the envelope had DSP added to it.

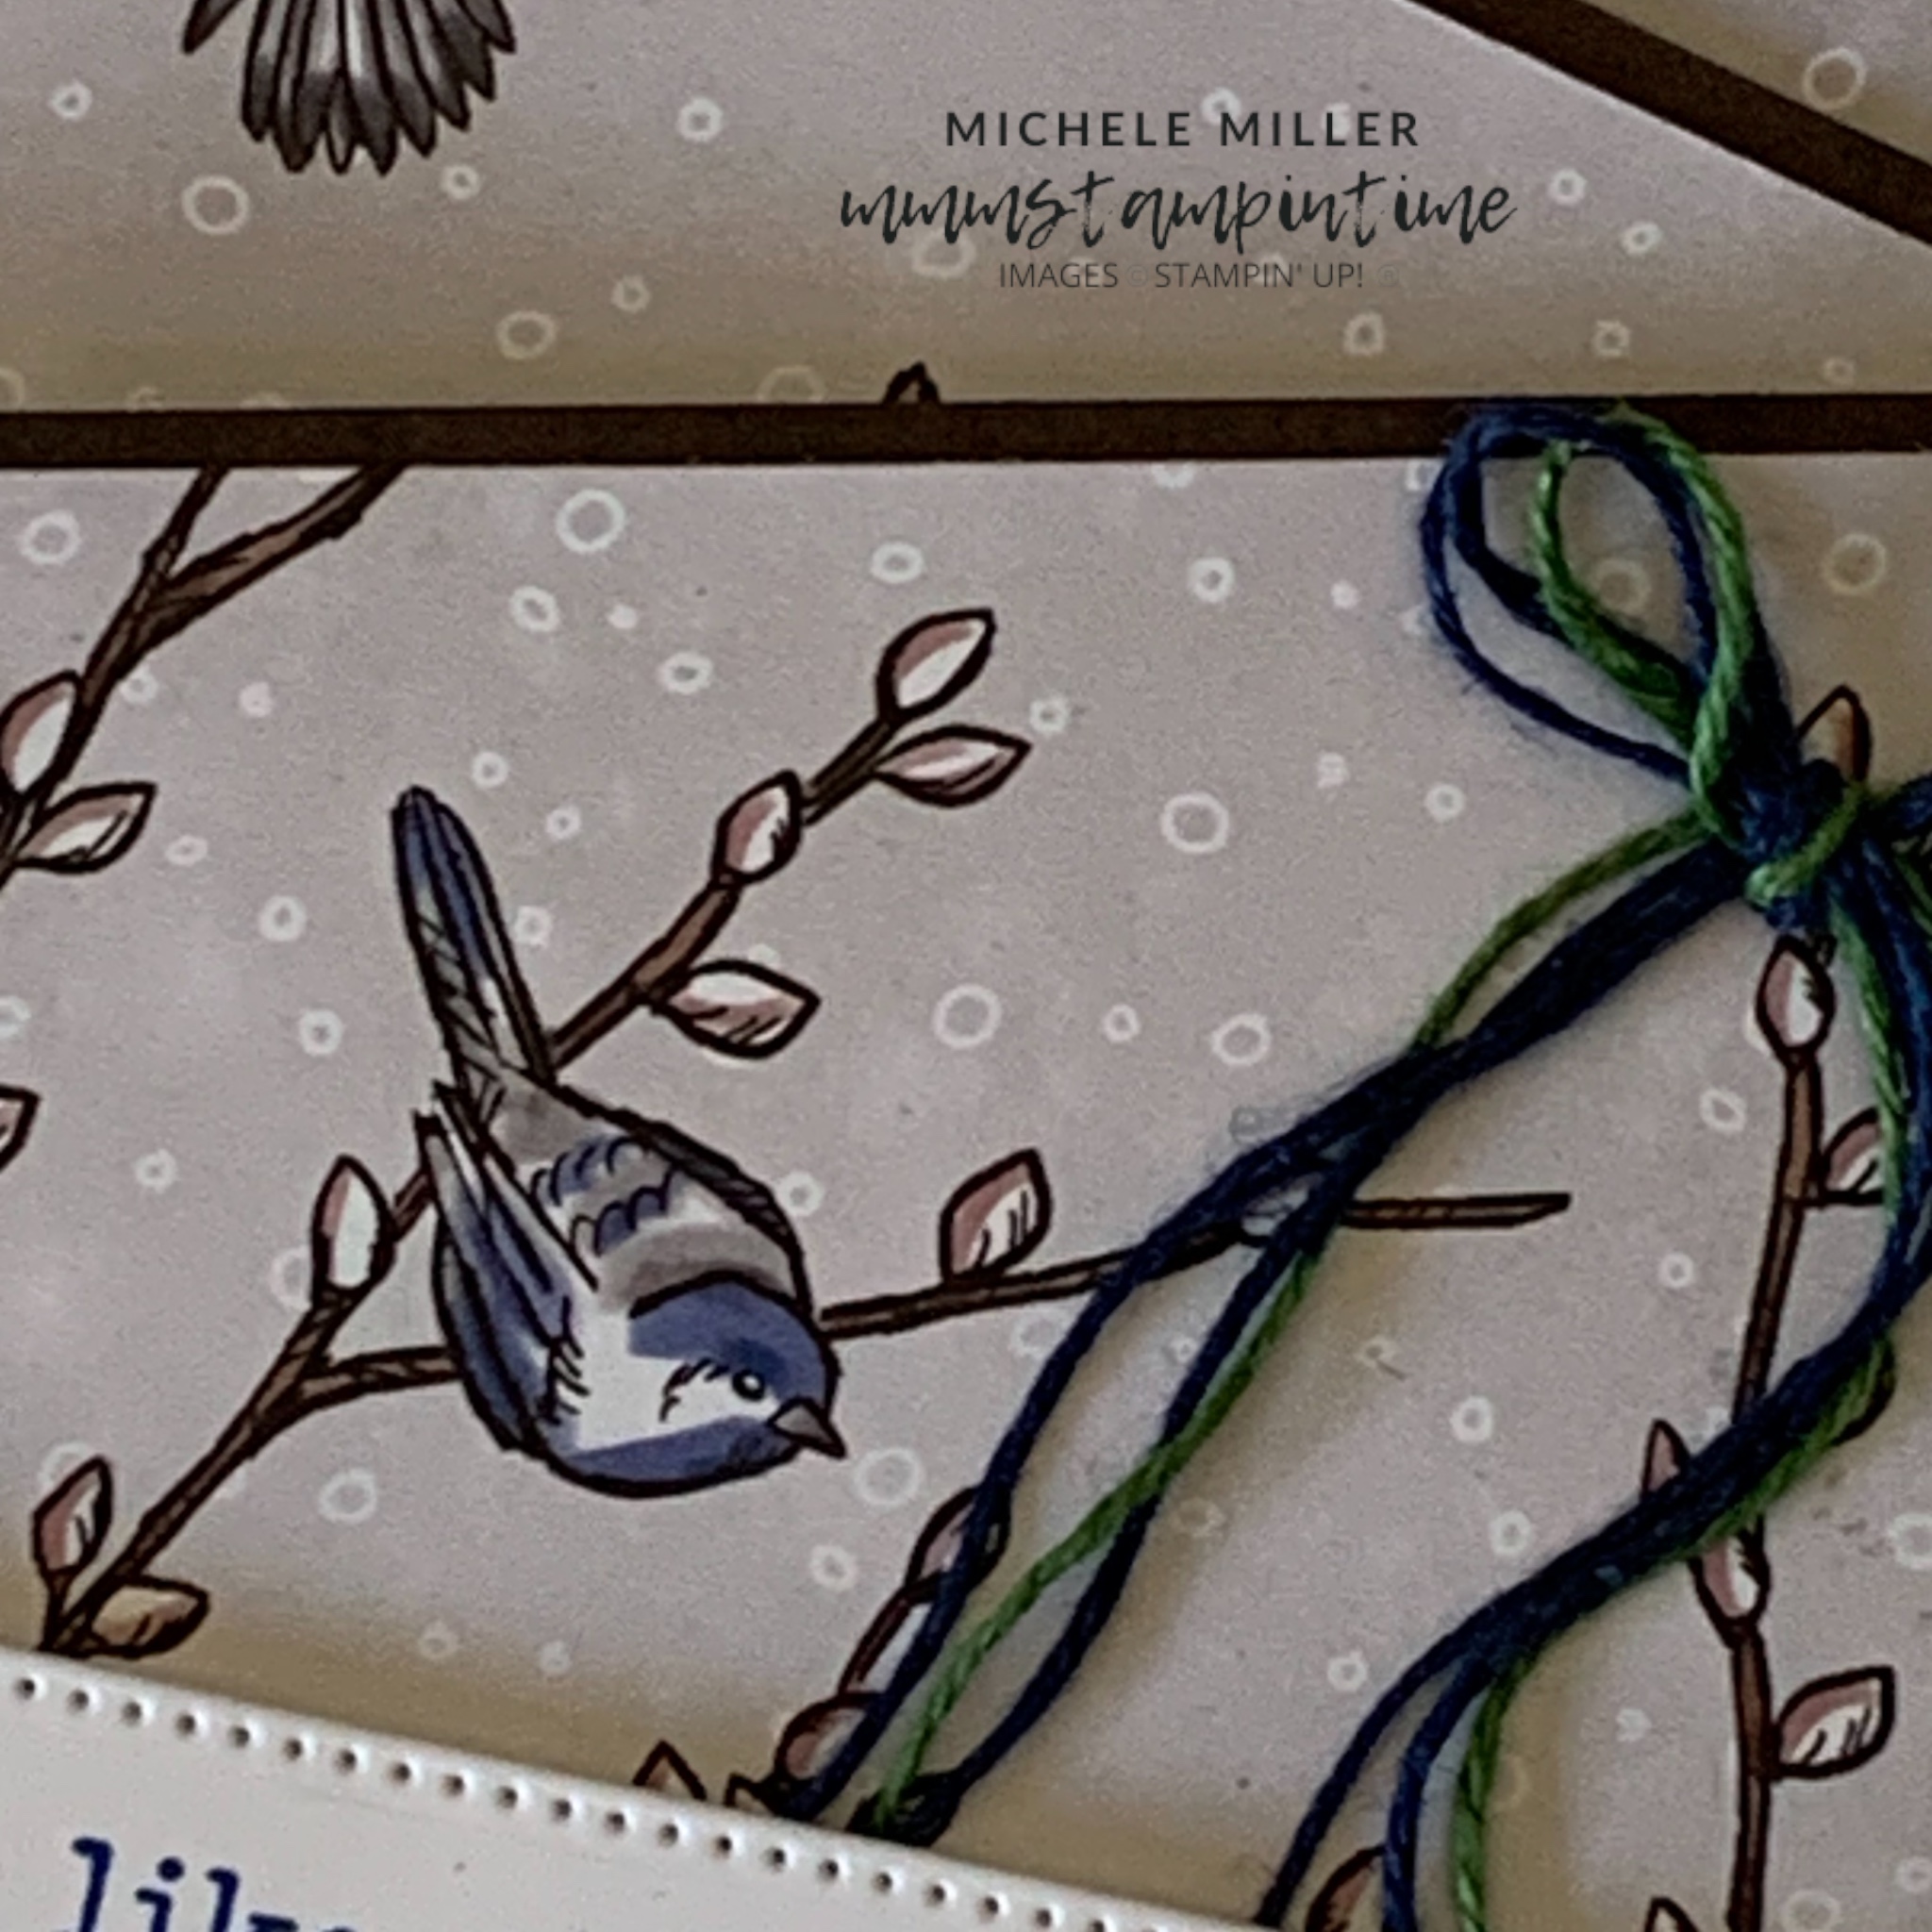
Finally, I added some Blueberry Bushel gems from the Tinsel Gems Four Pack to the front of the card.

i also added a bow made from both Blueberry Bushel adn Garden Green Linen Thread.

Thanks for checking out my projects this week. I’m not sure what next week will bring, yet, but pop by Monday to find out.

Until then, happy stamping.

If you live in Australia, you can order any of the products I used to make this card by going to my online store. Just click on any of the images below.

Product List
Paper Snips
[103579]
$21.00
Posted on Leave a comment

IT’S FRIDAY AND TIME FOR SOME FEATURES AND A FUNFOLD CARD

This week I have featured projects using the NESTS OF WINTER SUITE COLLECTION.

This collection is made up of:

  • Winterly Tree Tops stamp set and dies. The stamp set has four images and three greetings. The dies have 9 pieces ranging from a large border panel to a variety of smaller leaves.
  • Natural Tones Linen Thread in three colours – Bluberry Bushel, Copper Clay and Garden Green.
  • Birch Wood 3D Embossing Folder.
  • Earth Tones Shimmer Gems in four colours – Basic Beige, Copper Clay, Garden Green and Very Vanilla. There are 200 adhesive-bcked gems in total.
  • Nests of Winter 12″ x 12″ Designer Series Paper. There are 2 each of six different, double-sided designs.

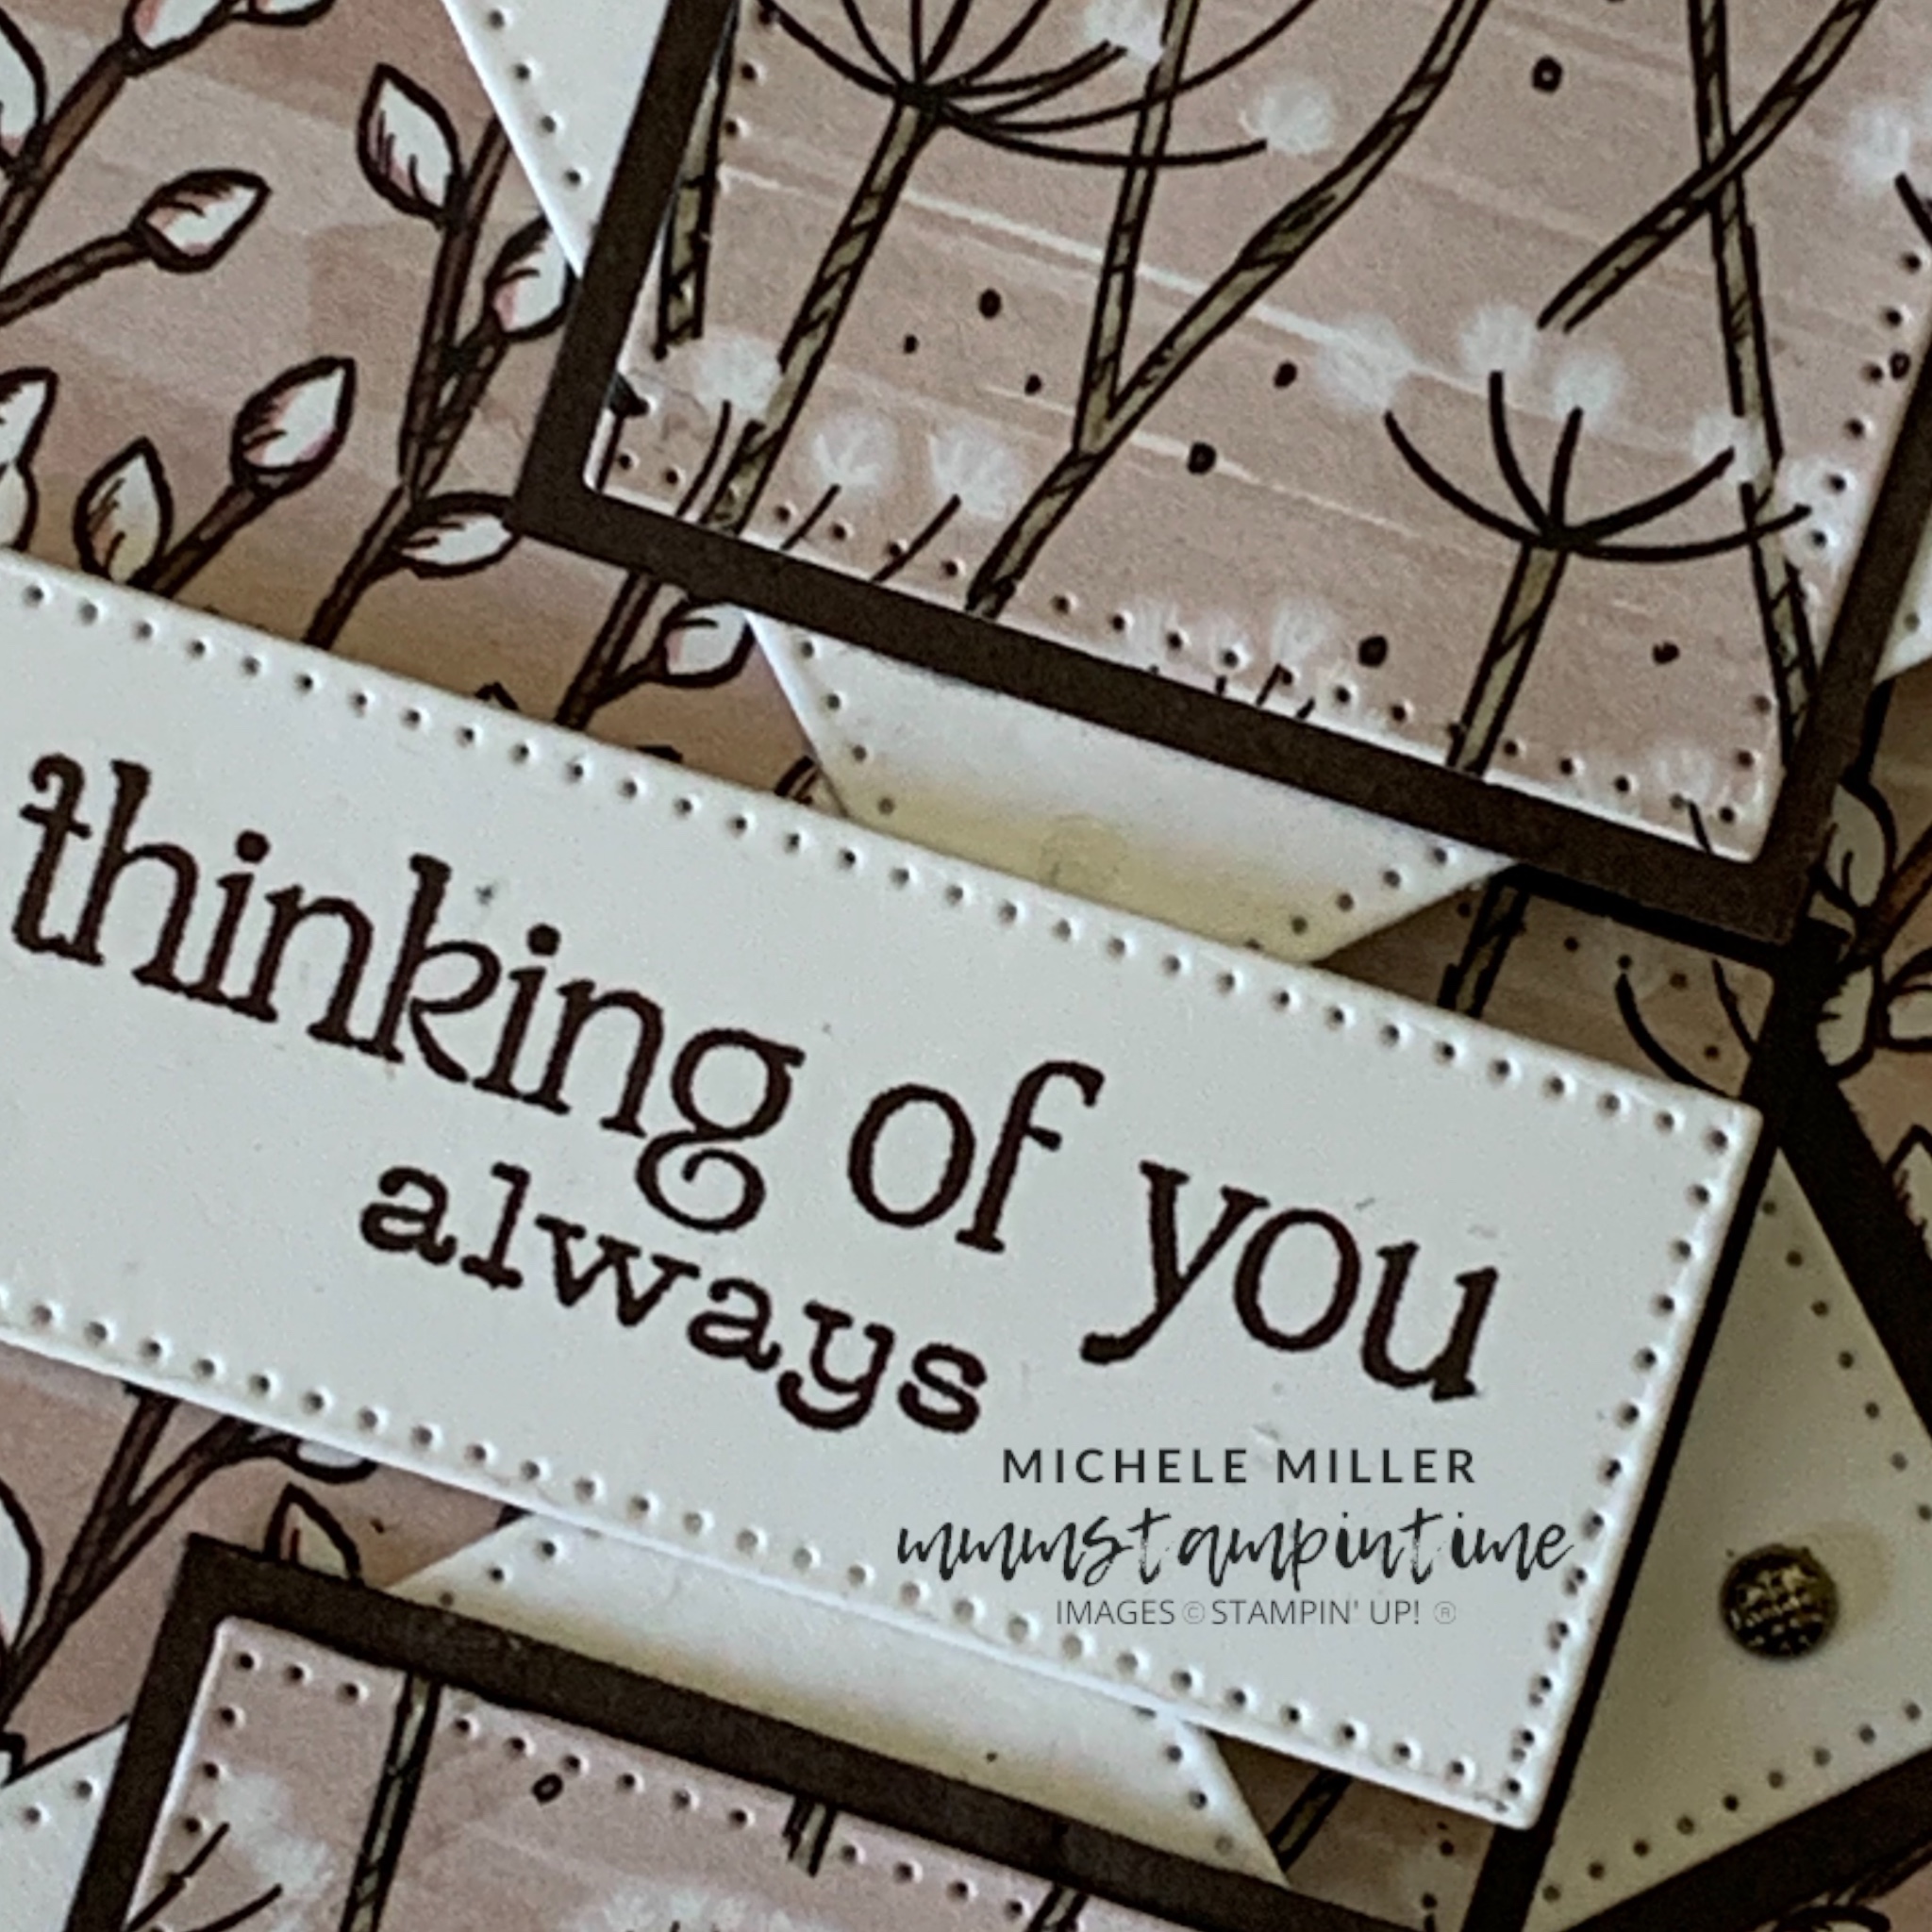
Today’s card is a TRIPLE DIAMOND FUNFOLD CARD.

I started with an Early Espresso cardbase and added panels of the DSP on the two front areas of the card.

Two Basic White panels were attached inside the card.

For the three diamond panels, I cut Basic White squares using the third largest square from the Stylish Shapes Dies.

I used the next smaller square die to cut three pieces from the DSP. These DSP squares were then adhered to a slightly larger square of Early Espresso card.

Using my Grid Paper, I positioned the Early Espresso/DSP diamond onto the Basic White square to create three ‘identical’ panels.

Two of the diamonds were centred and attached to the first of the card folds. The third diamond was aligned with these first two and adhered to the card insert.

The greeting was stamped and then cut using the second largest square die. This square was then recut to create a rectangular greeting panel.

I added DSP to the back of the envelope and finished the card with Adhesive-backed Textured Dots.

Because I missed Monday, I do have an extra card to share with you tomorrow.

Until then, happy stamping.

If you live in Australia, you can order any of the products I used to make this card by going to my online store. Just click on any of the images below.

Product List
Paper Snips
[103579]
$21.00


Posted on Leave a comment

THURSDAY MEANS THAT IT IS FOR A 3D PROJECT

This project started with the ‘always thinking of you’ greeting and a block of Lindt chocolate in a new flavour, Caramelised Hazelnut.

I thought this combination would be perfect for a gift box.

After measuring the block of chocolate I sketched out a template for the box.

I made the box using Garden Green cardstock. Before assembling it, I added panels of the green and white striped paper from the Nests of Winter 12″ x 12″ Designer Series Paper.

After the box was assembled and I popped the block of chocolate inside, I secured a length of Iridescent Striped Trim around it and ties a bow.

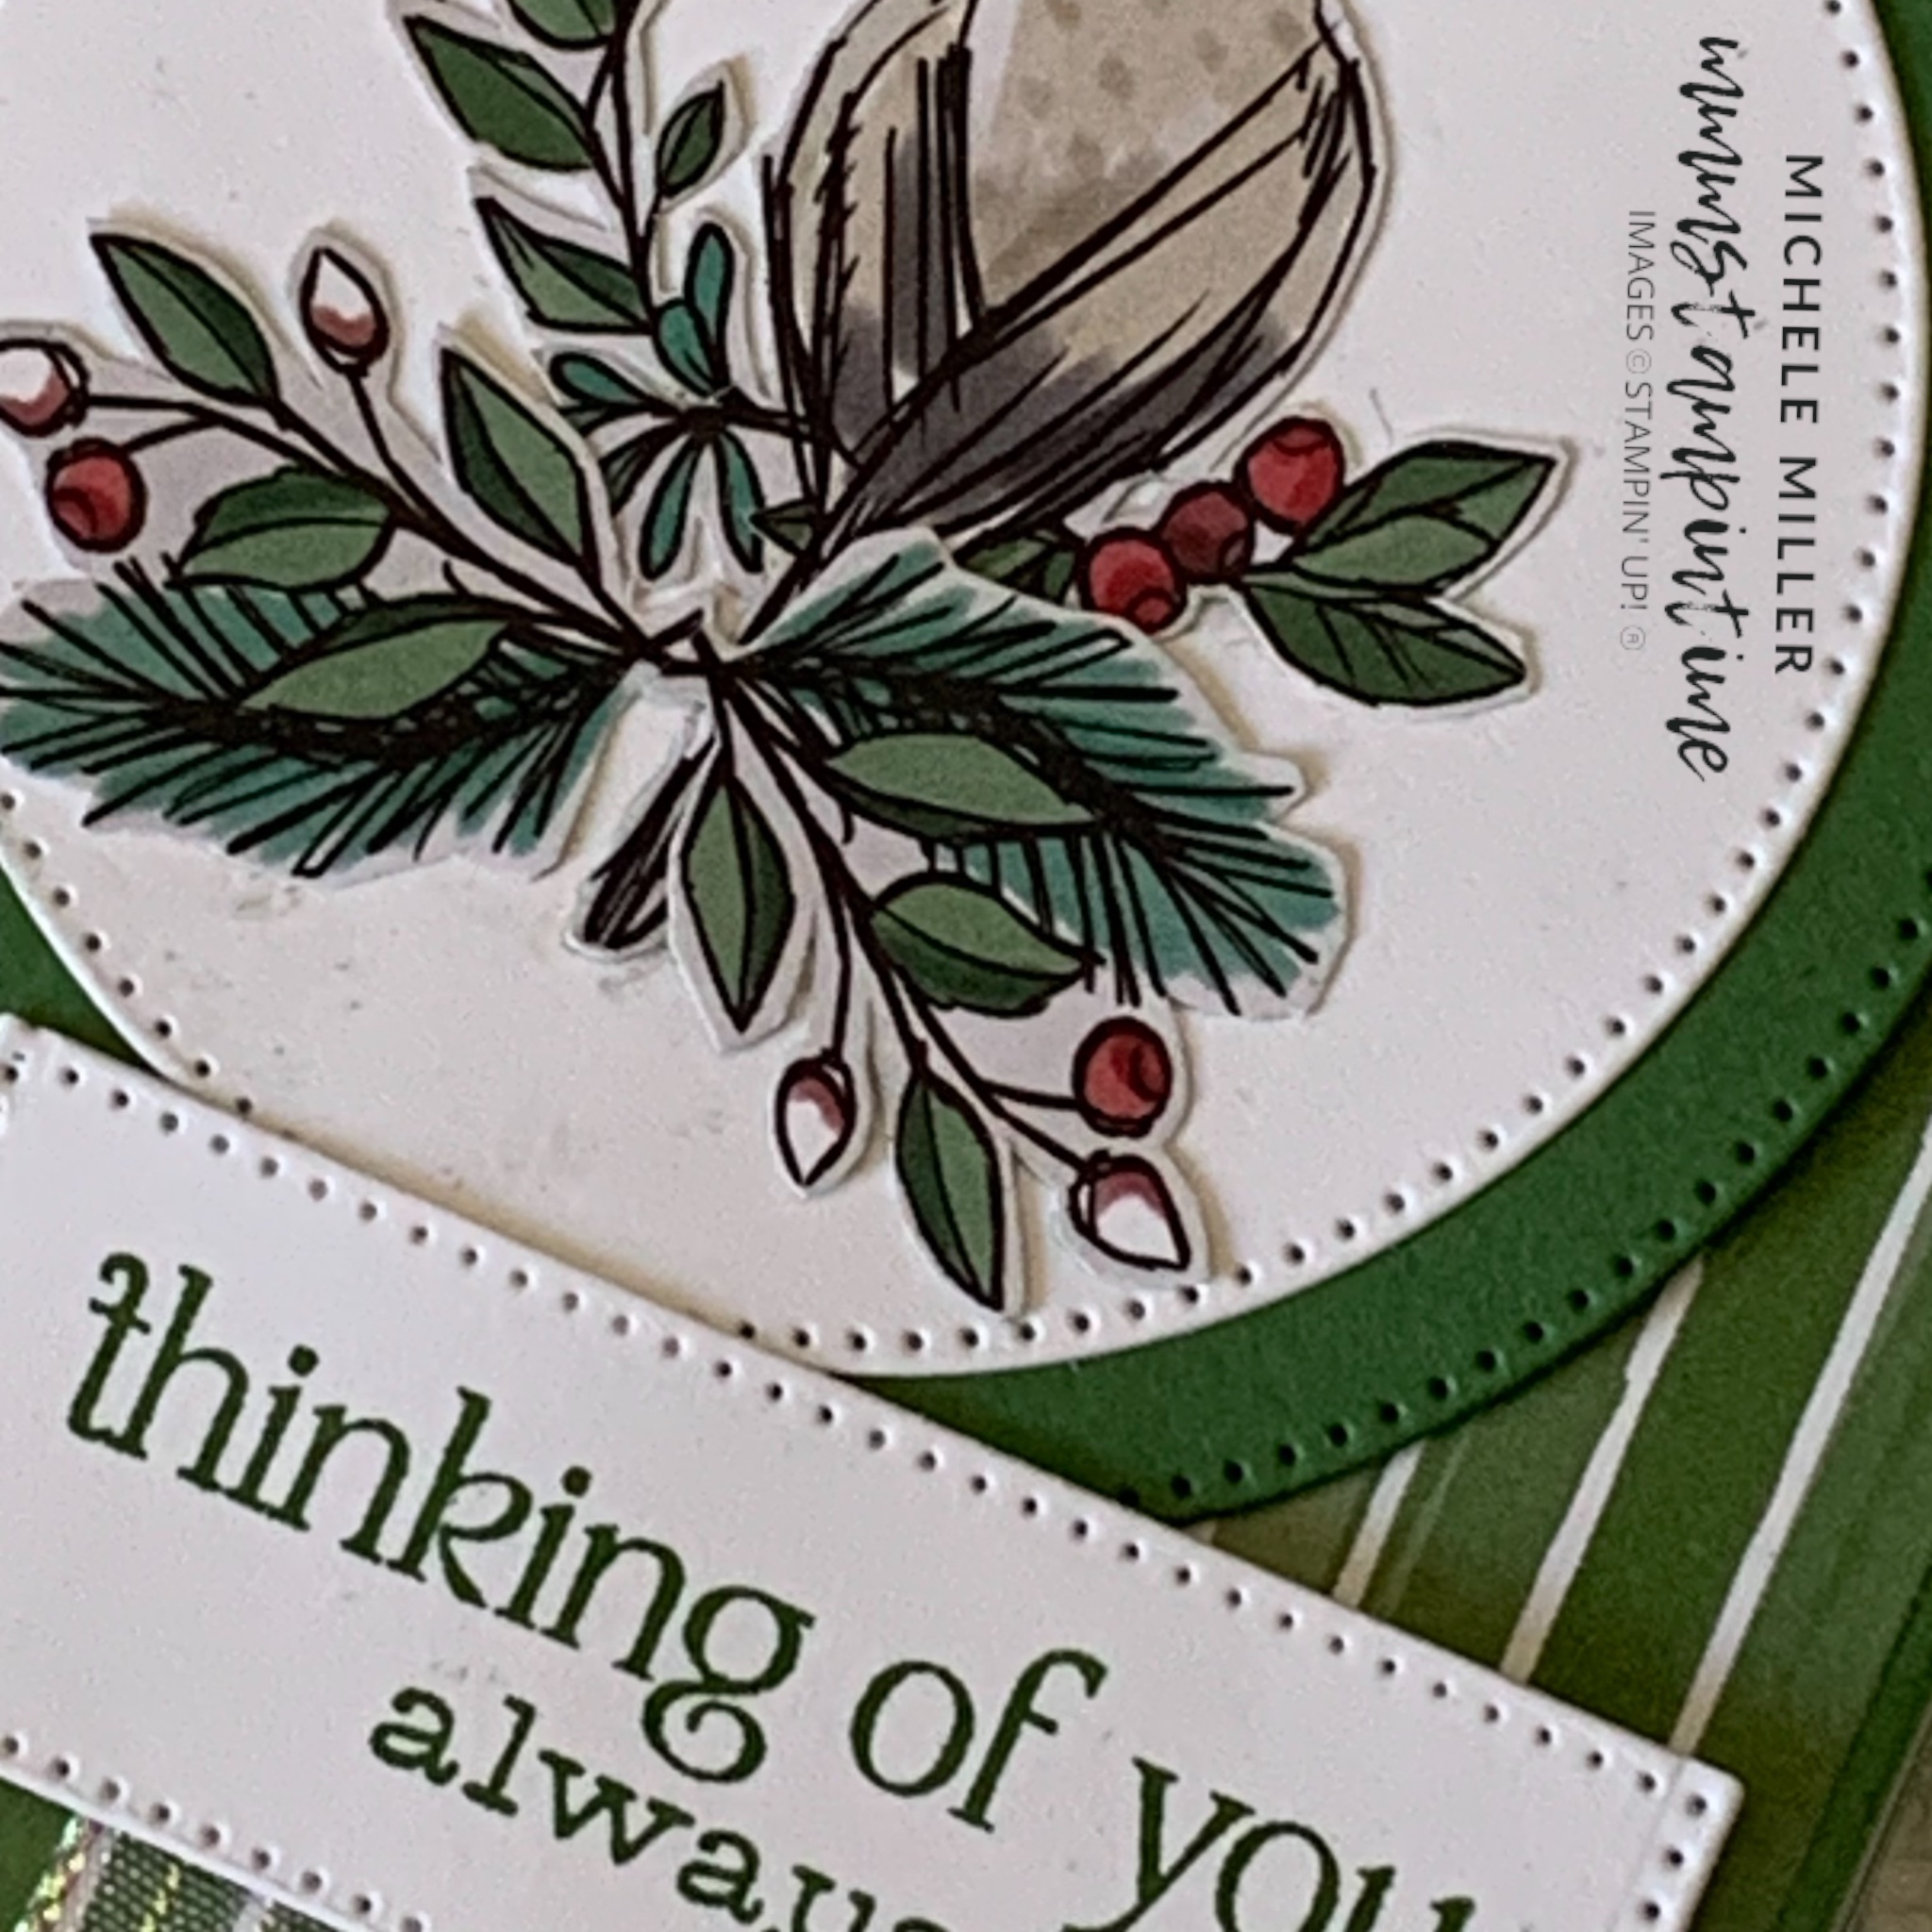
I used the two largest circles, from the Stylish Shapes Dies, to cut Garden Green and Basic White circles.

The circles were layered together and then positioned over the ribbon using Stampin’ Dimensionals.

Then I fussy cut a small bird and floral branches and adhered them to the Basic White circle.

The greeting, from the Winterly Trees Stamp Set, was stamped in Garden Green and then die cut using the second larget square, from the stylish Shapes Dies. I repositioned the square die to cut a rectangular shape for the greeting.

Tomorrow I will share a Fun Fold Card with you.

Until then, happy stamping.

If you live in Australia, you can order any of the products I used to make this card by going to my online store. Just click on any of the images below.

Product List
Paper Snips
[103579]
$21.00