Posted on Leave a comment

IT IS SIMPLY SHOW & TELL THIS SATURDAY

Normally I would be posting some #simplestamping projects today but I still have several cards that I made for a recent presentation featuring the Waves of the Ocean Collection. So today and tomorrow I will share four cards with you.

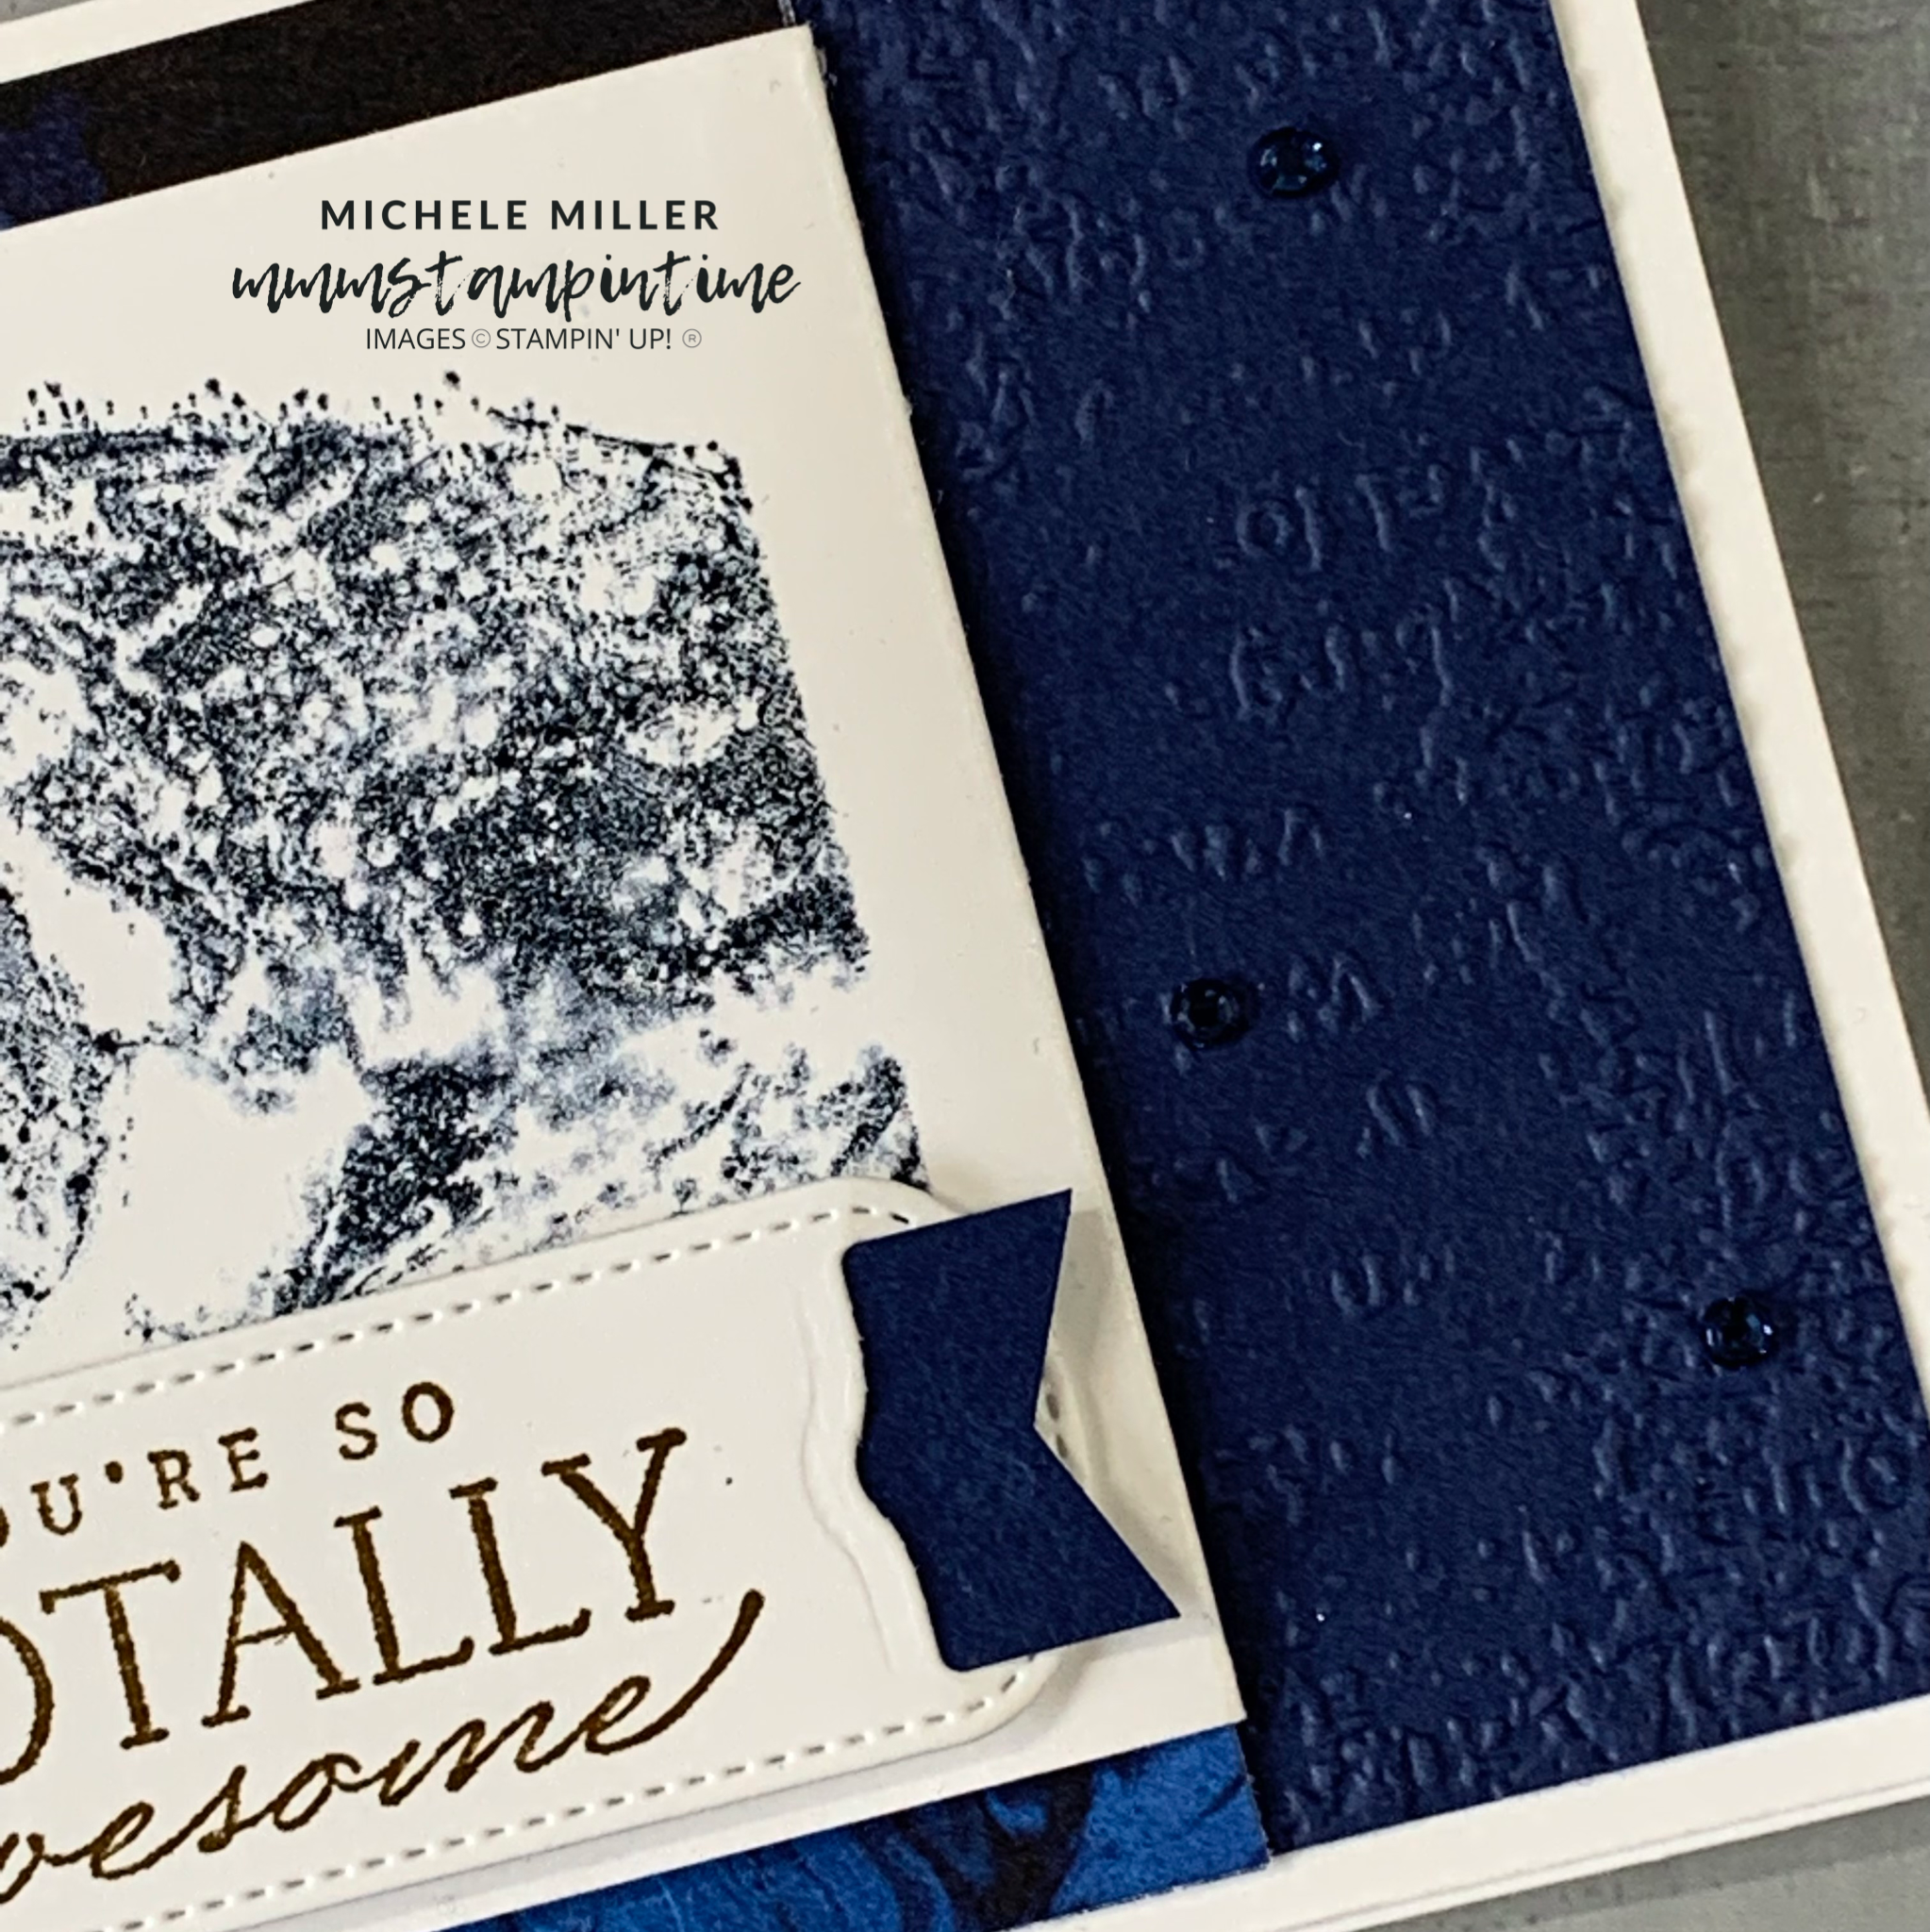
For the first card today I stamped the wave image onto a piece of the Waves of the Ocean 12″x 12″ Designer Series Paper. I used my Stamparatus to do this because it meant that I could add more than one colour to the image. I used Coastal Cabana, Pacific Point and Night of Navy.

I stamped and cut the sentiment banner before using two lengths of Pool Party Sheer Ribbon to thread through the spaces of the banner and tie a double bow. The banner was popped up using Stampin’ Dimensionals.

I used some of the Coastal Cabana Foil Specialty Paper to adhere to the card front before layering the stamped DSP layer up with dimensionals.

The card insert had the wave image stamped using Coastal Cabana ink. The back flap of the envelope had DSP added.

Finally, I added some Rhinestone Waves Basic Jewels to the front of the card.

The second card features a reverse eclipse card.

I cut a piece of one of my alcohol vellum papers to adhere to a Coastal Cabana cardbase.

Then I took a Basic White panel and cut three pelican shapes from it. I coloured a length of Pool Party Sheer Ribbon with the Dark Night of Navy Stampin’ Blend. After threading through the stamped and die cut greeting, I wrapped it around the white panel and tied a bow.

Using Stampin’ Dimensionals, I lifted the white die cut piece up from the coloured vellum.

I cut two of the pelican shapes, from Coastal Cabana Foil Specialty Paper, and added them the card insert and envelope.

The final step was to add some Rhinestone Waves Basic Jewels to the front of the card.

Another two cards that I am so pleased with.

Tomorrow I will have two more to share with you. Until then, happy stamping.

If you live in Australia, you can order any of the products I used to make this card by going to my online store. Just click on any of the images below.

Product List
Waves Dies
[158840]
$60.00
Stamparatus
[148187]
$85.00
Paper Snips
[103579]
$17.00
Posted on Leave a comment

FUN FOLD FRIDAY IS FABULOUS FUN

I have a slimline front flap gift voucher card to share with you today. If there is another name for this fold I would love to know.

I started with a Basic White slimline card base (8-1/2″x 7-1/2″). Then I embossed a piece of Night of Navy cardstock using the Timeworn Type 3D Embossing Folder.

Before adding a piece of the Waves of the Ocean Designer Series Paper over the embossed cardstock, I mirror stamped the large wave image on a 6″x 3-1/4″ Basic White cardstock. To do this I used my Stamparatus and Silicon Craft Sheet. The wave was stamped several times on the craft sheet to make sure that it was well inked. Then the cardstock was placed over the sheet and I stamped the image on the other side of the cardstock.

I scored the stamped cardstock at 5-3/4″ to create the flap to let this white panel open and shut. The 1/4″ piece was adhered to the Night of Navy embossed piece. Before I added the 5-3/4″x 3-1/4″ piece of DSP, I secured a small magnet on top of the embossed panel.

I positioned and secured a second magnet over the first to create a strong closure. Then I stamped and die cut a pelican to conceal the magnet.

The sentiment was stamped in Soft Suede and cut using one of the Waves Dies. I cut a 3/4″ strip of Night of Navy cardstock and used the Banners Pick a Punch to cut a banner end on each side. This was then threaded through the openings of the sentiment layer.

When the flap opens, you will find a 4-1/2″x 2-1/2″ piece of cardstock that was trimmed diagonally to hold a gift card. The magnetic closure makes it more secure so that the gift card stays in place.

Open and close the front flap a few times and you will see the mirror images of the wave.

With the flap closed you can open the card to see a stamped pelican sitting on the pylons and have a space to write your message.

To finish the card I added some Rhinstone Waves Basic Jewels.

I am enjoying this time sharing lots of different projects with the Waves of the Ocean Collection.

Saturday and Sunday are normally my #simplestamping and Step It Up project days but this weekend I will be doing “Show & Tell” instead. I still have lots of projects from my recent Waves of the Ocean presentation.

So until then, happy stamping.

If you live in Australia, you can order any of the products I used to make this card by going to my online store. Just click on any of the images below.

Product List
Waves Dies
[158840]
$60.00
Stamparatus
[148187]
$85.00
Paper Snips
[103579]
$17.00
Posted on Leave a comment

#SIMPLESTAMPING SATURDAY MERGES WITH SUNDAY’S STEP IT UP

It is now Monday morning and time to share some weekend projects.

I would normally share some #simplestamping projects on Saturday and then have some Step It Up Projects on Sunday.

However, I spent Saturday at a Stampin’ Up! Team Training Event with the Paper Angels. My task was to share projects, tips and techniques using the Waves of the Ocean Collection. Then Sunday was time to pack things away and make my weekend projects.

Here are the #simplestamping projects.

This first card is so quick and easy. I used Basic White Note Cards and Envelopes. The wave image and sentiment are part of the Waves of Inspiration Stamp Set. I stamped them using Coastal Cabana ink.

For the second card, I added Pacific Point to the wave stamp by carefully dabbing the ink pad at different areas on the stamp.

As you can see, I am slowly adding a few more elements to each card – colour, layers, adhesives, tools and card. For this card, I added Night of Navy to the stamped image. To apply the colours this time, I used my Stamparatus and Blending Brushes.

The sentiment was stamped and punched using the Timeless Label Punch. I cut a 1/4″ strip of Bermuda Bay, Night of Navy and Pacific Point cardstock and attached them to the back of the punched label. Then I cut these strips at an angle before using Stampin’ Dimensionals to pop the punched shape up on the card front.

For this card, I stamped the wave image, using the same Stamparatus technique and inks, directly on to a piece of Waves of the Ocean 12″x 12″ Designer Series Paper.

The sentiment was stamped on to a piece of Bermuda Bay cardstock and then punched it out. It was popped up on the front of the card using dimensionals.

For this card, I introduced the Blue Foils 12″x 12″ Specialty Paper and the Waves Dies. I used one of the waves dies to create the outline shape. A piece of the DSP was placed under the wave using dimensionals.

The pelican image was coloured using Smoky Slate, Crumb Cake and Soft Suede Stampin’ Write Markers™ directly on the stamp. After it was die cut , I placed it on the front of the card.

The sentiment was stamped and cut before it was added to the card front. Then I took three short lengths of white twine, from the Baker’sTwine Essential Pack, and looped them through end of the tag.

Finally, I added some Pebbles Enamel Shapes to the base of the pylons.

The last card, that has been stepped up, also features the Mother of Pearl 12″x 12″ Specialty Paper. I placed Adhesive Sheets behind the Mother of Pearl paper to make it easier to add to the wave.

The sentiment was stamped, die cut and trimmed on one side. Then Stampin’ Dimensionals were used to pop it up.

The last step was to add some Rhinestone Waves Basic Jewels to the card.

It doesn’t take much to make a variety of cards.

Whoops – I’m not sure why I added the Whisper White Crinkled Seam Binding Ribbon in this photo, I didn’t use it for any of these cards.

A little later today, I will share my Monday project and then we’ll be back on track.

Until then, happy stamping.

If you live in Australia, you can order any of the products I used to make this card by going to my online store. Just click on any of the images below.

Product List
Waves Dies
[158840]
$60.00
Stamparatus
[148187]
$85.00
Paper Snips
[103579]
$17.00