Posted on Leave a comment

3D THURSDAY – HOW TO MAKE A SIMPLE GUSSETED GIFT BAG

For today’s 3D project, I used some of the Waves of the Ocean 12″x 12″ Designer Sereis Paper to make to make two gusseted gift bags.

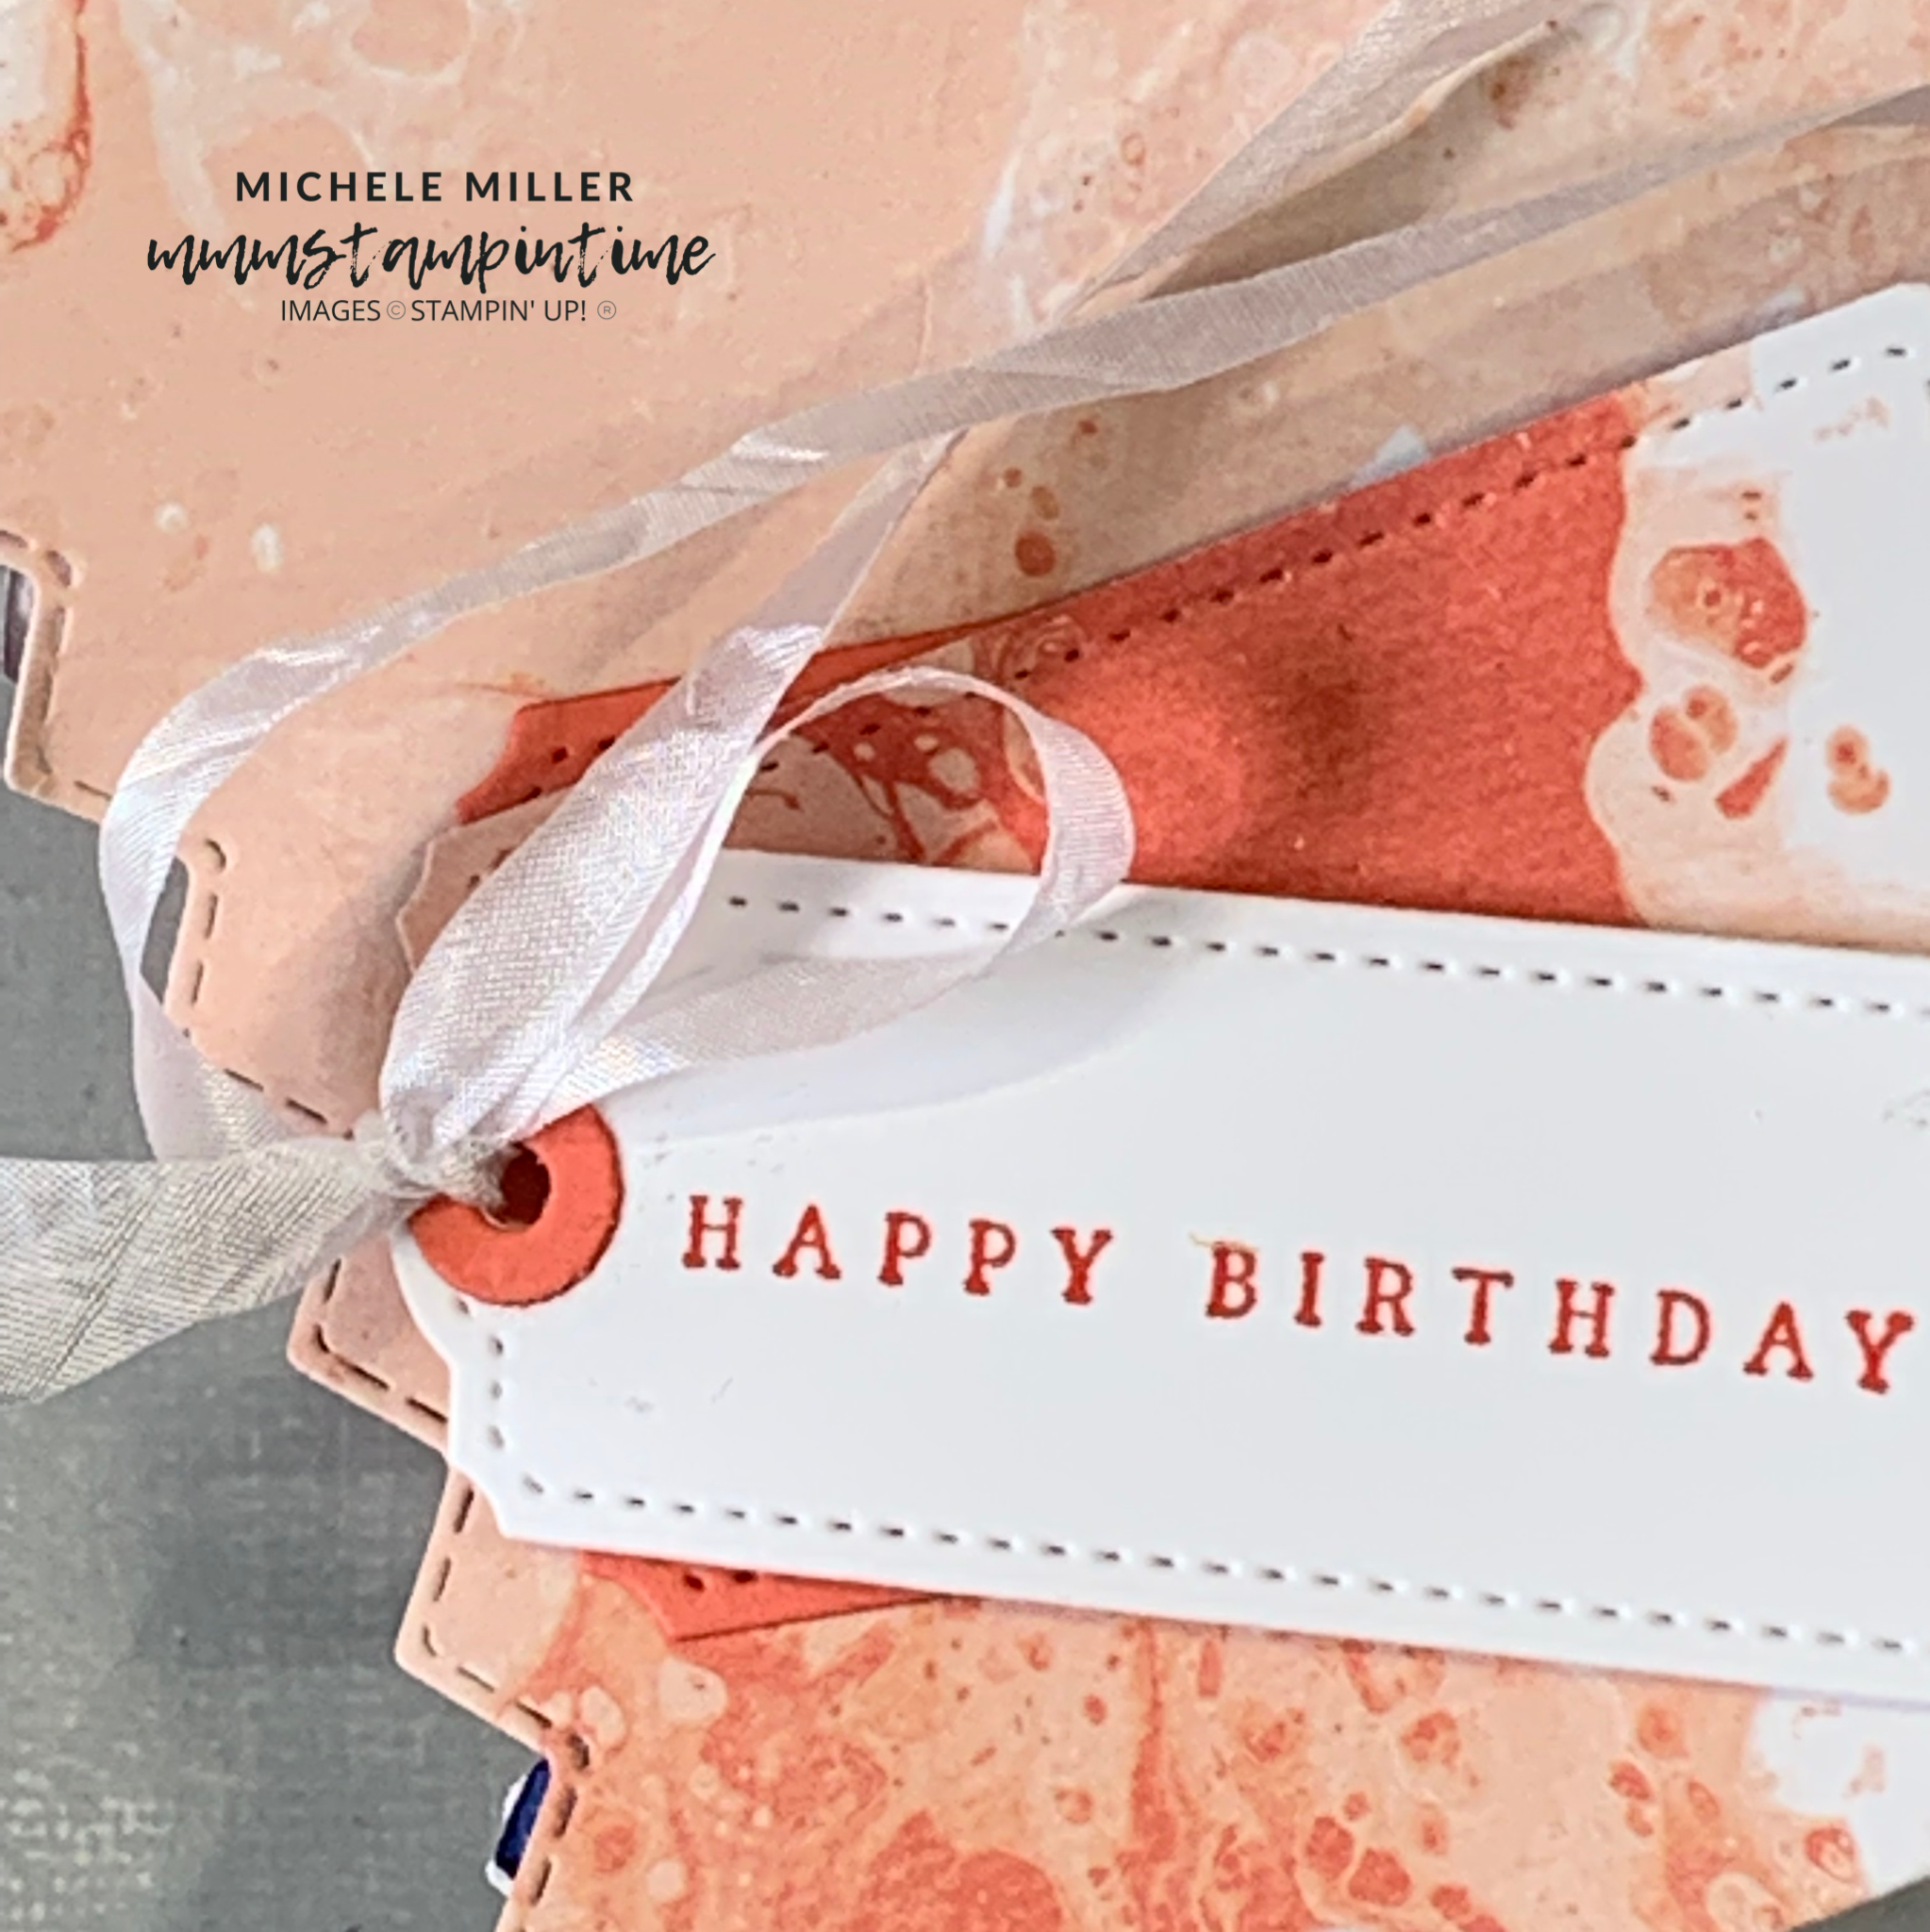
This bag measures 5″x 5″x 3/4″. I used one of the Basic Borders Dies to achieve the triangular top of the bag.

The birthday greeting is from the Waves of Inspiration Stamp Set. It was stamped using Granny Apple Green ink before being cut using one of the Tailor Made Tags Dies.

I cut a second, larger tag to place under the greeting.

I punched a hole in centre top of the bag and threaded some Whisper White Crinkled Seam Binding Tape through it. Then I threaded the ribbon through the greeting tags and tied a bow.

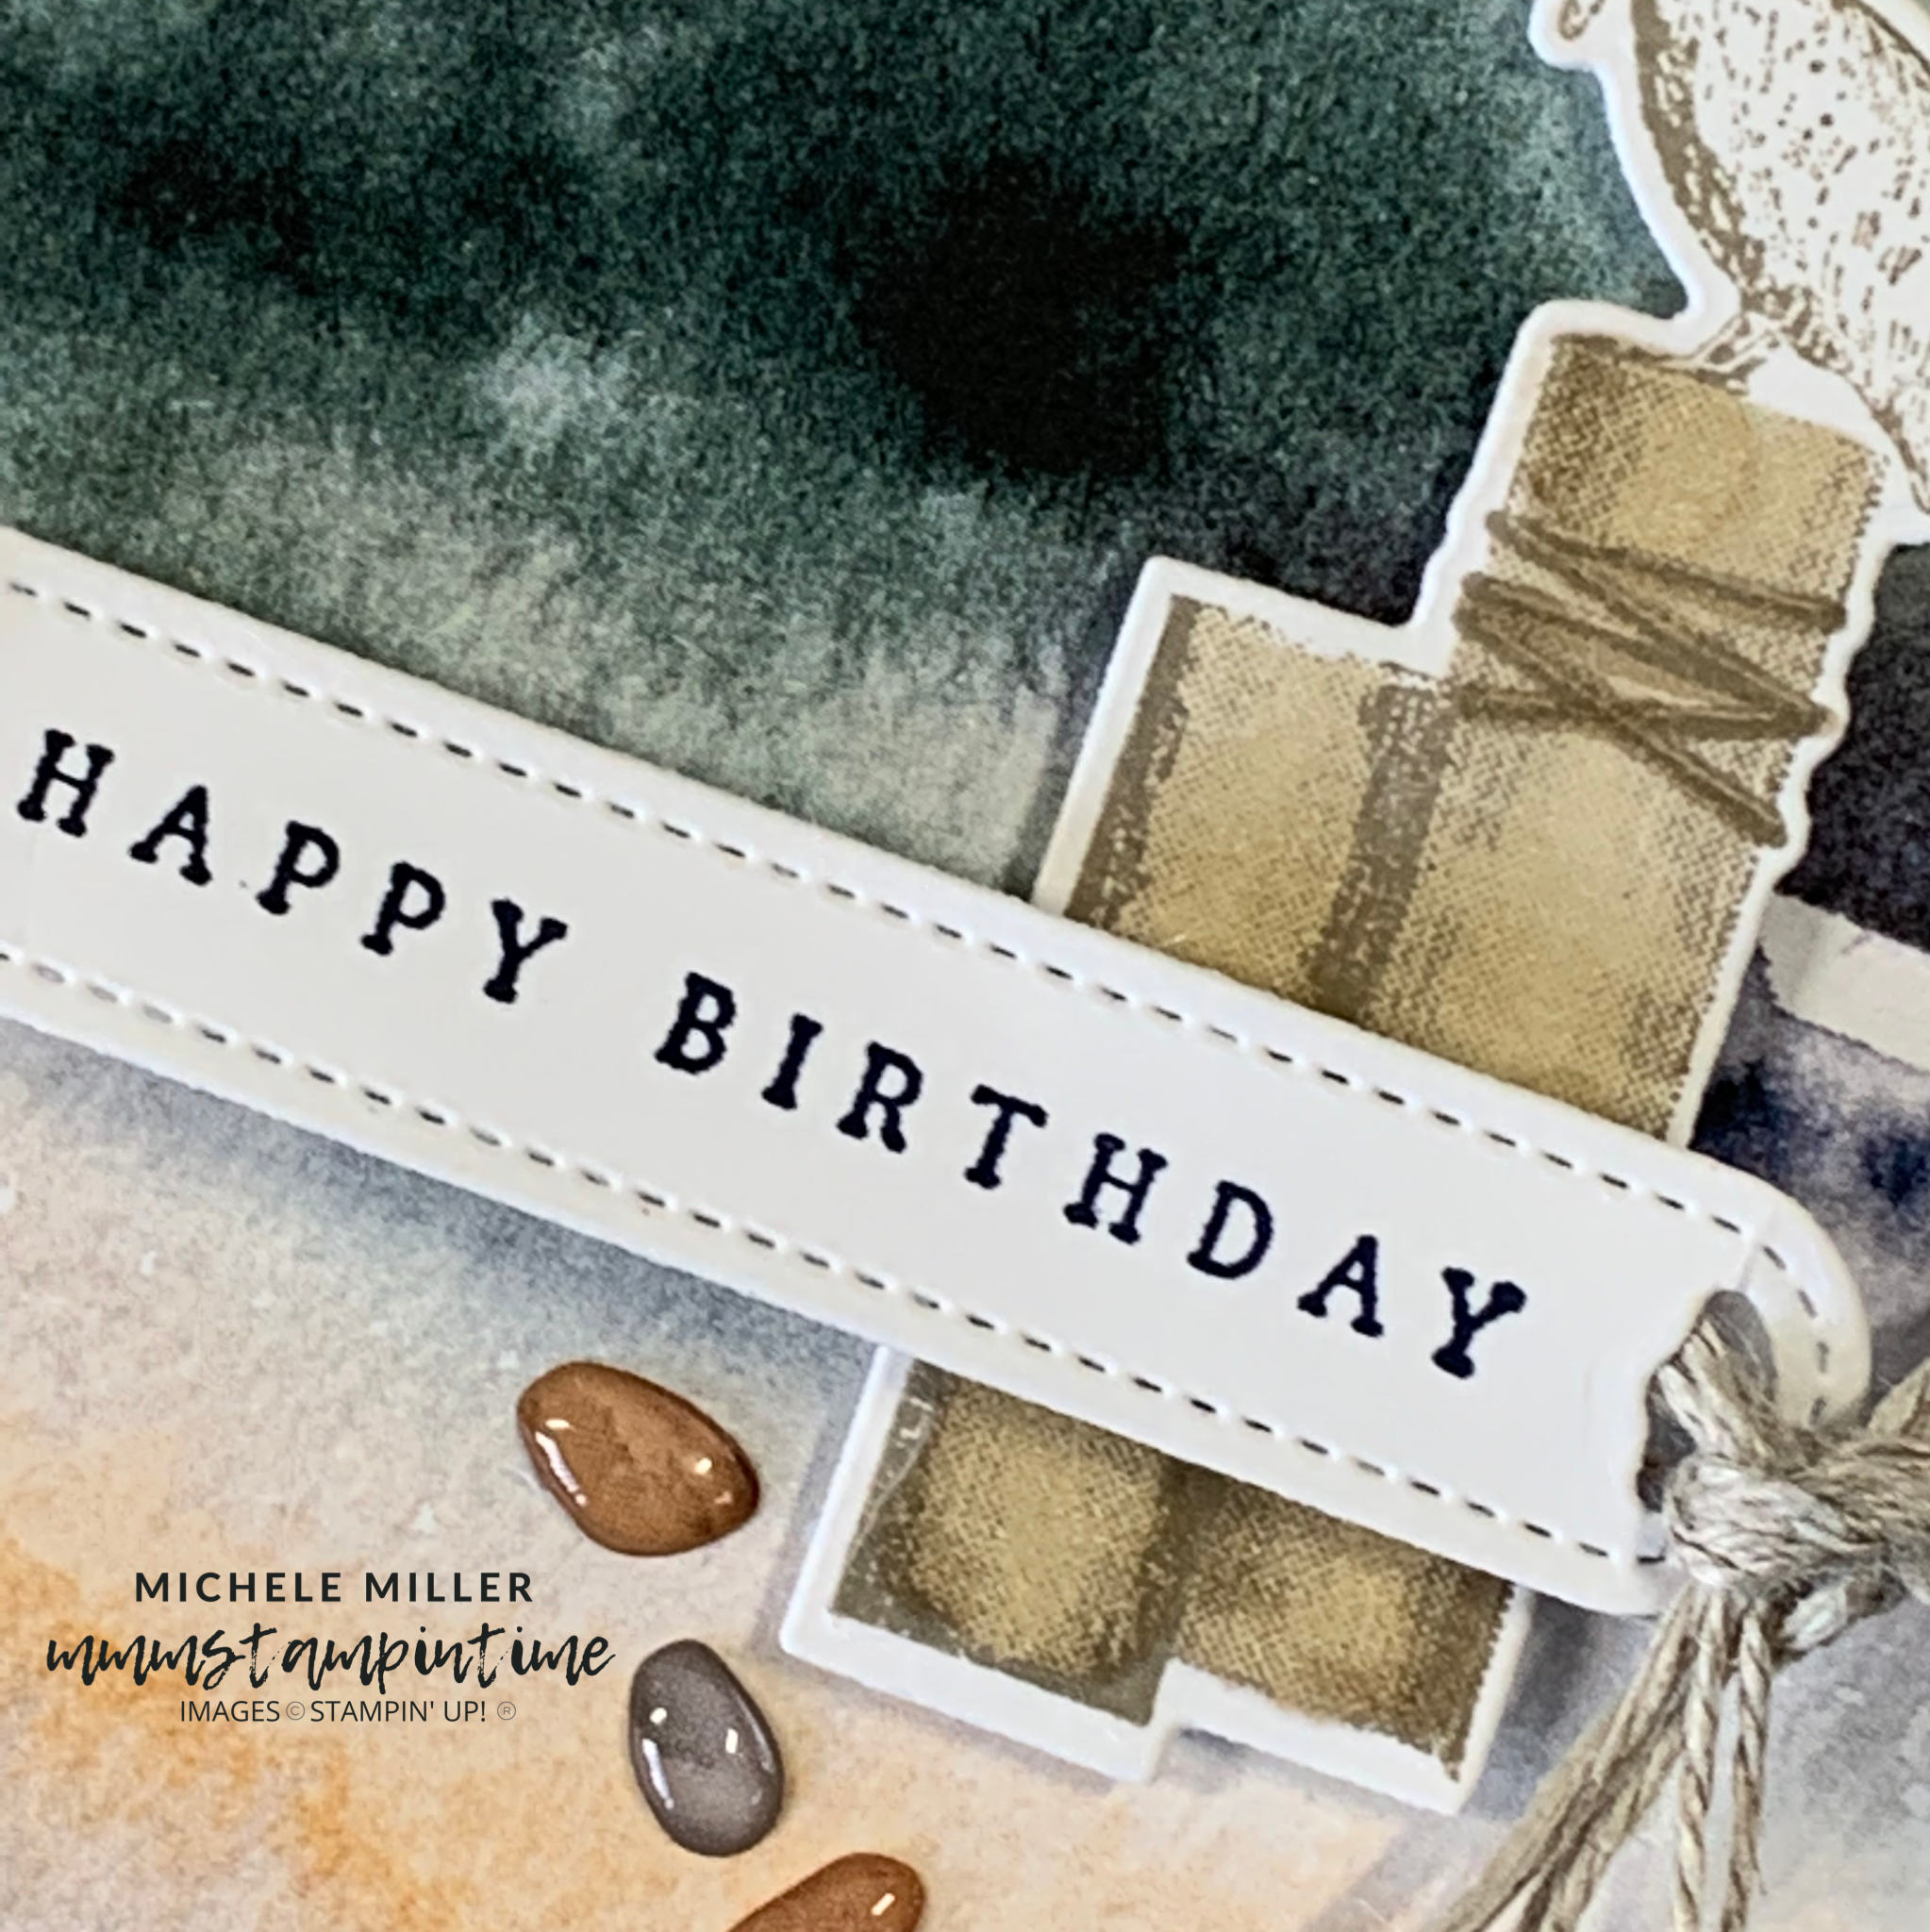
For the second gift bag I used a different piece of the Designer Series Paper. This bag measures 3-3/4″x 7″x 2″.

The paper, measurements and top edges all differ but the style is the same.

For this bag, I added an extra tag cut from the same DSP and placed it between the two cardstock tags.

These bags can be filled with all manner of goodies.

Tomorrow is Fun Fold Friday and I have a shaker card to share.

Until then, happy stamping.

If you live in Australia, you can order any of the products I used to make this card by going to my online store. Just click on any of the images below.

Product List
Paper Snips
[103579]
$17.00
Posted on Leave a comment

WELCOME TO ANOTHER WONDERFUL WEDNESDAY

Wow, today’s post is so late. I have two projects to share that I made in response to this week’s Global Design Project design sketch challenge.

For both cards I used the Waves of the Ocean 12″x 12″ Designer Series Paper, Lucky You Stamp Set and Sport Event Dies.

This is the first card – the one that I shared for the challenge.

I started with a Basic White card base and overlay. The overlay panel was attached to the base using Stampin’ Dimensionals.

The Calypso Coral panel was then stamped images from the Lucky You Stamp Set using Calypso Coral and Pacific Point inks. Then I stamped the sentiments on to a piece of Basic White cardstock and cut it using one of the Sport Events Dies.

I split the ticket apart and attached the two pieces over the stamped panel using Stampin’ Dimensionals to pop them up. Then I tied some white twine, from the Baker’s Twine Essentials Dies, around the panel and tied a knot.

The Calypso Coral panel was attached to the card using dimensionals.

I used the long ticket die, from the Sport Event Dies, to cut some of the Waves of the Ocean DSP, to place above and below the stamped panel. Dimensionals were used to lift them up.

The final step was to add some Rhinestone Waves Basic Jewels to the front of the card.

The second card is a stepped up version.

For this card, I added stamped images to the white panel layer. I also embossed the Calypso Coral layer before adding it to the card front at an angle.

Then I took a length of white baker’s twine and separated all 5 strands before tying a bow. I attached the bow using a Mini Glue Dot.

I love the sentiments in the Lucky You Stamp Set.

Tomorrow is 3D Thursday and I have a super simple gusseted gift bag to share with you.

Until then, happy stamping.

If you live in Australia, you can order any of the products I used to make this card by going to my online store. Just click on any of the images below.

Product List
Paper Snips
[103579]
$17.00
Posted on Leave a comment

SHOW & TELL TIME TODAY

Normally I would be posting some Step It Up projects today but I still have two more cards to share during this weekend’s Show & Tell.

AS you can see, there are no waves or pelicans on this card.

I have used a Calypso Coral cardbase to feature the panel of White Vellum that was embossed using the Hive 3D Embossing Folder. I love the way the folder creates a whiter, almost wax-like, look to the embossed edges.

Then I used the Beautiful Shapes Dies to cut several hexagons from the Waves of the Ocean 12″x 12″ Designer Series Paper. These were then glued into position, on a strip Petal Pink cardstock.

The sentiment banner was stamped and cut using the die from the Waves Dies. I took a length of Petal Pink Organdy Striped Ribbon and threaded it through the banner. A length of white twine, from the Baker’s Twine Essentials Pack, was used to hold the ribbon tightly in place.

I added a strip of the DSP to both the card insert and envelope.

The second card today uses a piece of the New Horizons 6″x 6″ DSP for the background. This DSP was placed on a Night of Navy cardbase.

I coloured the pelican using Gray Granite and Crumb Cake Stampin’ Write Markers™ directly on the stamp. Then I cut this shape using the Waves Dies. Stampin’ Dimensionals were used to pop the pelican and pylons up on the card front.

The birthday greeting was stamped and cut. Several lengths of Linen Thread were cut before being tied in a knot halfway along the length. After I passed the thread through the other end of the banner, I tied a double knot and trimmed the ends. This gives the greeting a nice chunky finish.

The birthday greeting was attached to the card front with dimensionals.

I stamped the pelican on the envelope and inside the card.

A few of the Pebbles Enamel Shapes were placed at the base of the pylons.

Tomorrow is Monday and that is my day for memory keeping.

Until then, happy stamping.

If you live in Australia, you can order any of the products I used to make this card by going to my online store. Just click on any of the images below.

Product List
Waves Dies
[158840]
$60.00
Stamparatus
[148187]
$85.00
Paper Snips
[103579]
$17.00