Posted on Leave a comment

WELL, IT IS WONDERFUL WEDNESDAY & TIME TO SHARE MY GLOBAL DESIGN CHALLENGE CREATION

This week’s

This week’s Global Design Project Colour Challenge is the colour combination is Mint Macaron, Garden Green and Balmy Blue. There are so many ways to be creative with Stampin’ Up! colours, and the Design Team have challenged us with this combination and have shared gorgeous projects to inspire us. Click on the colour combination below to go to the page with their amazing projects.

.

This week I am featuring the Waves of the Ocean Collection, so I am pleased that this colour combination should work well with these collection of new products.

Here is the card I created for this challenge.

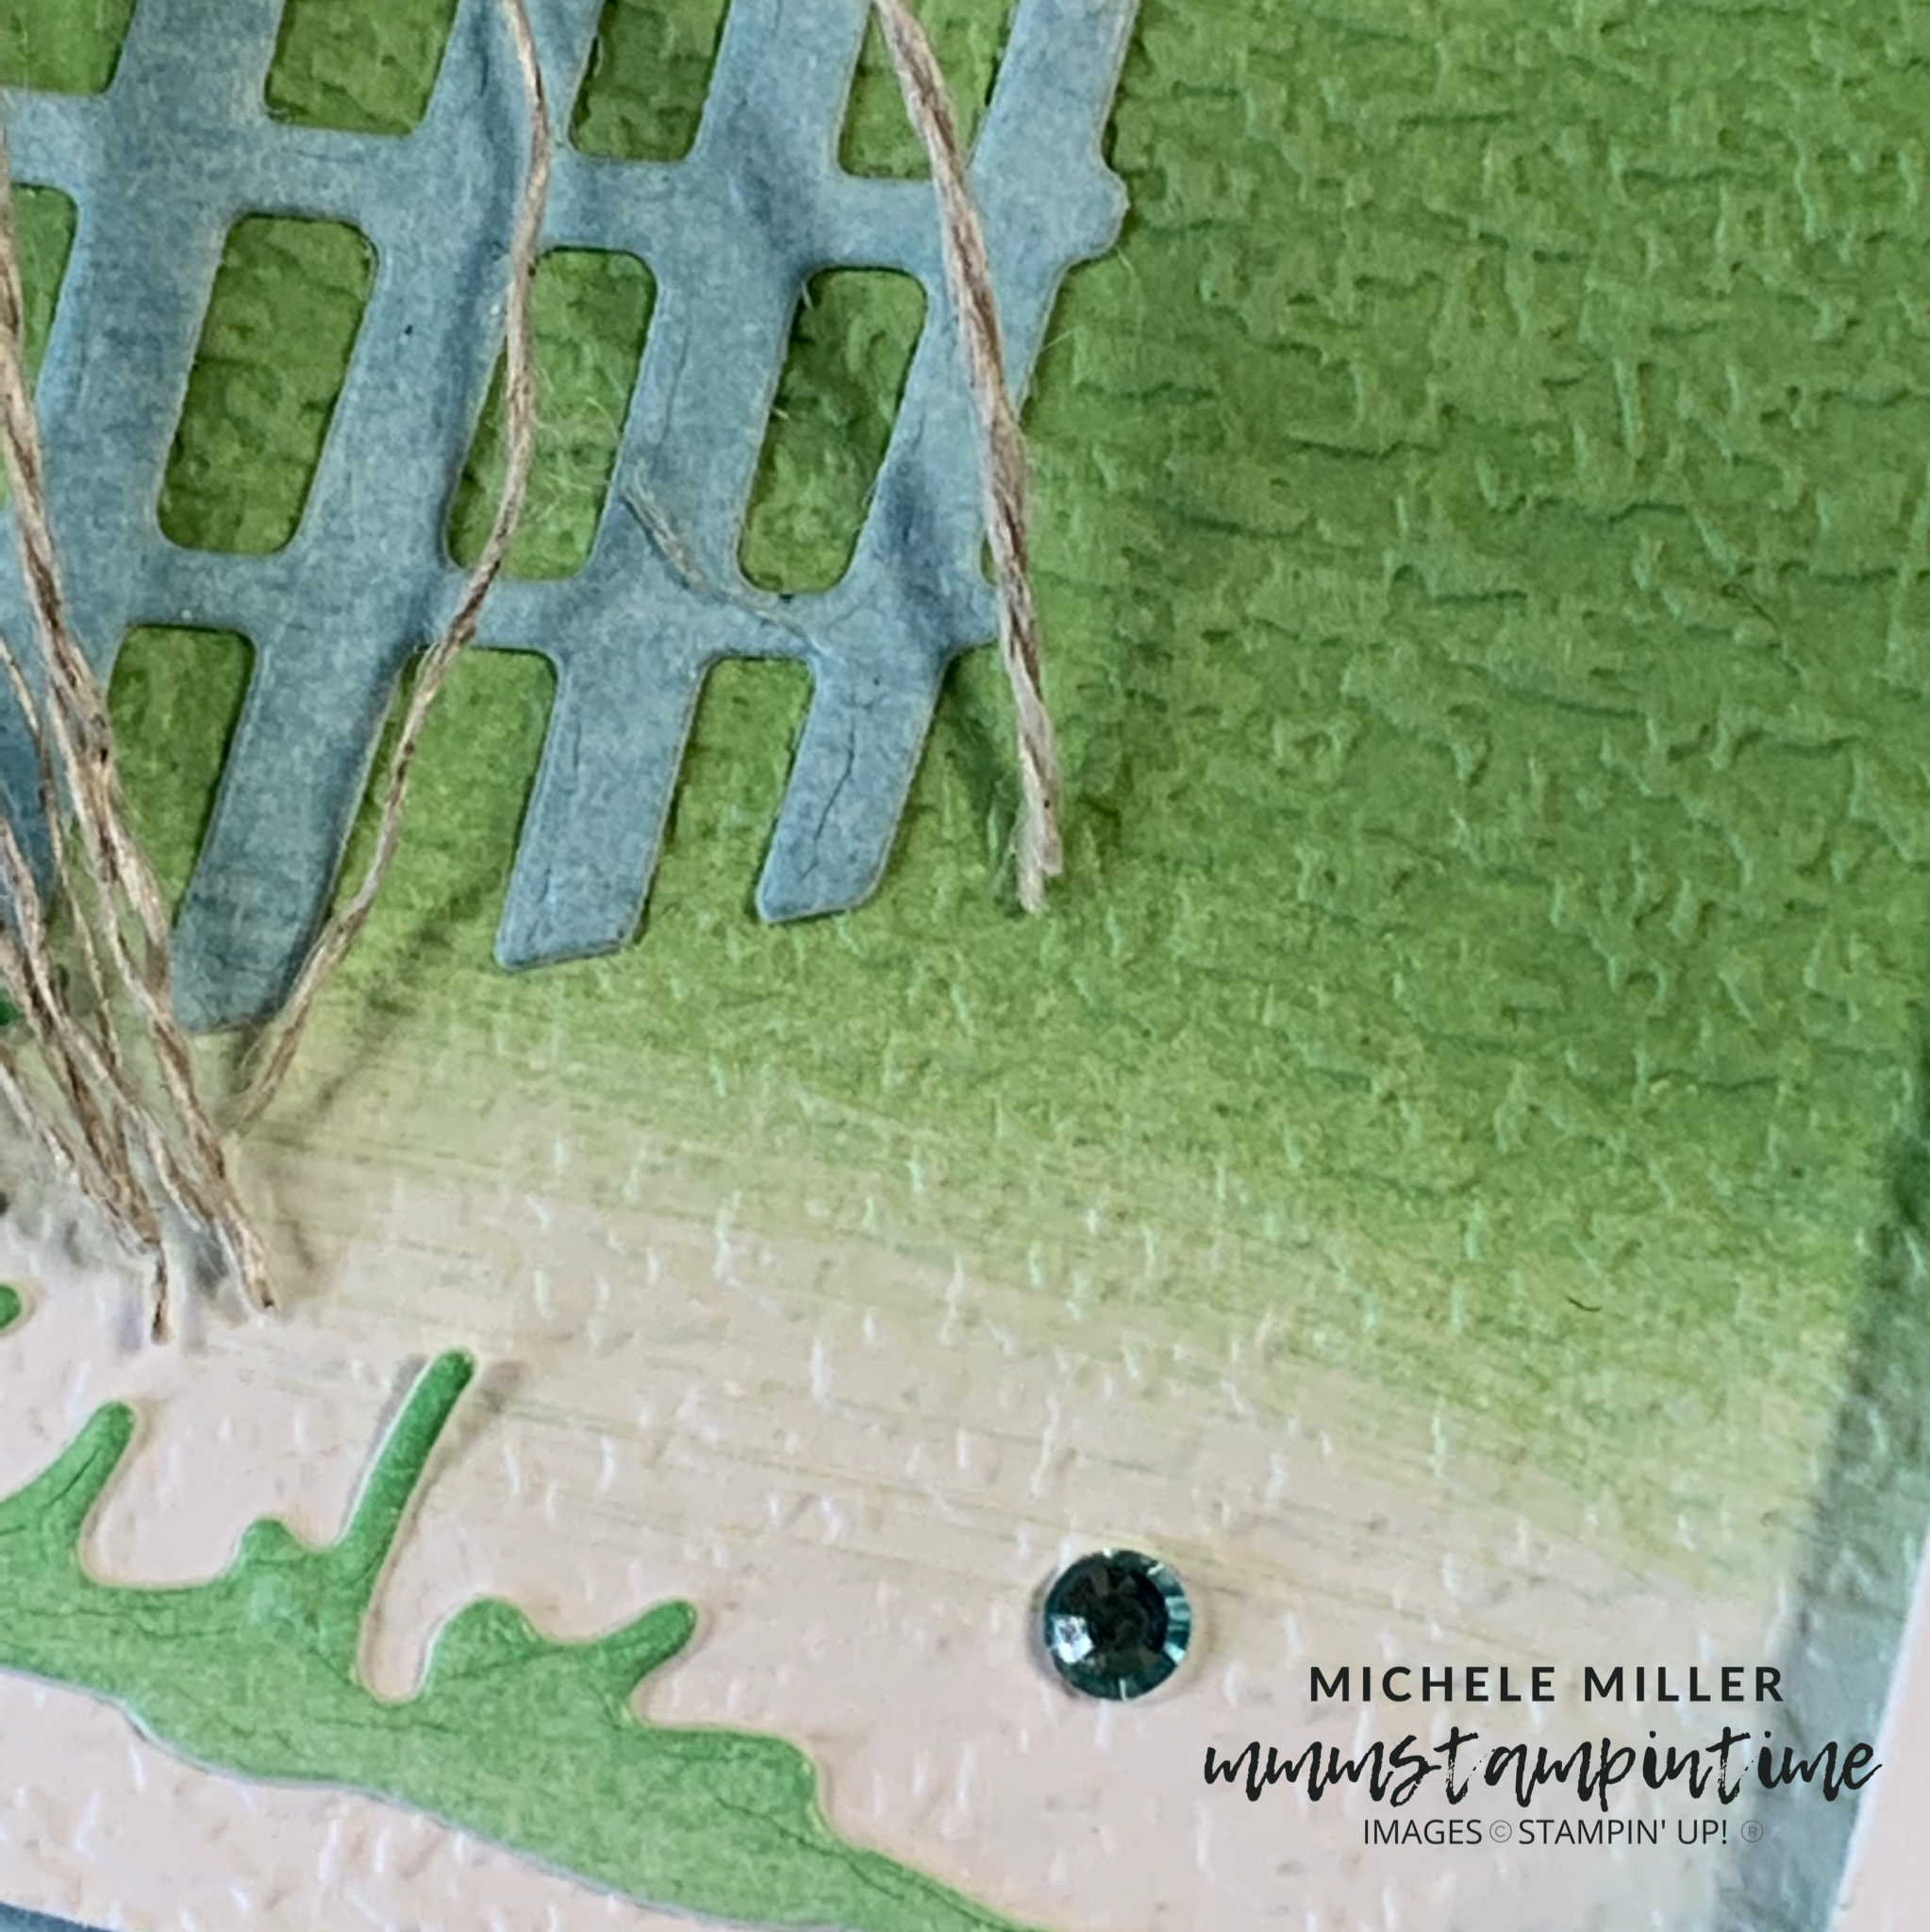
I started by using some Blending Brushes to add the three colours to small areas of a piece of Basic White cardstock.

The next step was to use the Tasteful Textile 3D Embossing Folder to add texture to this layer of cardstock.

For the ribbon, I took a long length of White Faux Linen Ribbon, for the Flowers for Every Season Ribbon Pack, and coloured it using the Dark Mint Macaron Stampin’ Blend. This ribbon was then cut in half lengthwise. I layered a length of Whisper White Crinkled Seam Binding Ribbon, the the two Macaron ribbons, and tied a bow using Linen Thread to hold the bow in place.

The sentiment, from the Waves of Inspiration Stamp Set, was stamped and die cut. I threaded the ribbons through the opening at the right hand side of the tag and secured these under the embossed front layer. The multiple bows were secured in place using Mini Glue Dots.

The left hand side bow ribbons were left hanging in place and the Linen Thread was frayed open.

I took another piece of Basic White cardstock to colour and emboss. Then I added Adhesive Sheet to the back and die cut the trees, gate and grass using the Horizon Dies.

I added the die cut Basic White pelican because this is the product collection I am featuring this week.

I am pleased with the amount of white space I have achieved in this card.

I prepared two additional treelines to add to the card insert and envelope.

Some Rhinestone Waves Basic Jewels were added to the card front to add that little element of bling.

It looks like it’s time to give my Blending Brushes a really good clean.

Taking part in the weekly Global Design Project challenge always keeps me on my toes to create a project that follows the GDP theme usng the products I have chosen to highlight in that week. So far, so good – I think that I have been able to do this reasonably well. I would love your feedback.

What do you like best about this card?

I have another project to share today – I will post it in a few hours.

Until then, happy stamping.

If you live in Australia, you can order any of the products I used to make this card by going to my online store. Just click on any of the images below.

Posted on Leave a comment

TUESDAY IS TIME FOR TECHNIQUES & TIPS

This week I am featuring the Waves of the Ocean Collection and so all the projects highlight the colours of the ocean.

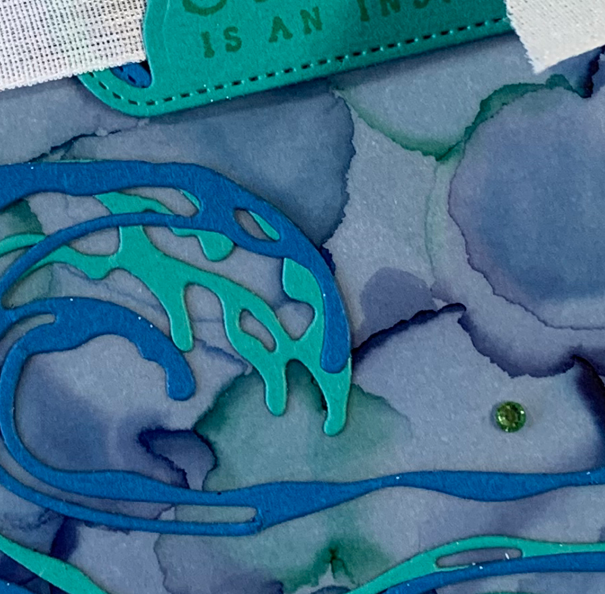
For this card, I started by creating a background design on vellum. Using Dark Bermuda Bay, Dark Granny Apple Green and Dark Night of Navy Stampin’ Blends, I made many small colour swatches across an A4 piece of White Vellum.

Then I used a small eye dropper and Isopropyl Alcohol to move the colours around.

In this image you can still see several areas of colour swatches and alcohol shifted areas. It took many photos before I was able to get a couple of good eye dropper drops.

I love the way that each area of colour moves and blends and changes. After the vellum and inks dry, it is time to use it for another project. This vellum is a new piece awaiting a new project.

This piece of vellum was created using just Dark Bermuda Bay and Dark Night of Navy Stampin’ Blends.

After cutting the vellum down to 5-5/8″x 4″, I attached it to the Pacific Point card front using Stampin’ Seal+.

The two waves dies were used to create the Bermuda Bay and Pacific Point waves. Each piece had Adhesive Sheets placed behind the cardstock to make layering and attaching them so much easier.

The sentiment, from the Waves of Inspiration Stamp Set, was stamped on a small piece of Bermuda Bay cardstock before being die cut with the large die from the Waves Dies set. The tag was placed on the card front using Stampin’ Dimensionals.

I took a length of the white Faux Linen Ribbon, from the Flowers for Every Season Ribbon Combo Pack, and wrapped it around the card and through the tag ends before tying it in a simple knot.

Then I added a few Rhinestone Waves Basic Jewels to the front to add some glimmer.

I was able to cut some 1/2″ strips of the coloured vellum to add to the card insert and front of the envelope.

Oops- I forgot to pop the large banner die in this photo. I am loving this collection of new products!

Well, tomorrow is Wednesday and you will need to wait until then to see what I have to share with you.

Until then, happy stamping.

If you live in Australia, you can order any of the products I used to make this card by going to my online store. Just click on any of the images below.

Product List
Waves Dies
[158840]
$60.00
Paper Snips
[103579]
$17.00
Posted on Leave a comment

MONDAY MEMORIES – TIME TO SHARE A SCRAPBOOK PAGE

My weekly crafting schedule has Monday set aside for memory keeping. It’s the day for turning a 12″x 12″ page into a scrapbook page or pages.

As I am using the Waves of the Ocean Collection, I knew that I needed to scrap some Bell’s Beach photos. As a family, we have visited Bell’s Beach a couple of times.

I started this layout by choosing Bermuda Bay as the base colour.

For the main photo (centre) I created a piece of vellum coloured with Stampin’ Blends and rubbing alcohol. To do this I used Dark Bermuda Bay and Dark Night of Navy Stampin’ Blends and coloured connecting spots before using an eye dropper to drop the alcohol. I cut the vellum and a piece of Night of Navy Foil to make the matte layer the photo is attached to.

After all three photos were positioned on the page, I went on to cut, layer and attach the waves.

The pelicons were cut from a piece of Mother of Pearl 12″x 12″ Specialty Paper. The two pelicans in the top and middle positions each have another die cut pelican underneath – the top one was cut from a piece of Bermuda Bay Foil and the middle one was cut from a piece of the alcohol coloured vellum.

Using the same Mother of Pearl paper, I cut the title for this page with the Playful Alphabet Dies. The Adhesive Sheets that I placed behind the paper made it very easy to attach the title.

After cutting the seagulls, I added them making them fly across the page.

The shimmer on the Mother of Pearl Specialty Paper is so stunning.

Placing this pelican in the corner of this photo added a great finishing touch.

I didn’t put the Playful Alphabets Dies in this photo – if you could see my craft room at the moment, you would understand why I couldn’t find them.

Tomorrow is Technique Tuesday and I have two to share with you.

Until then, happy stamping.

If you live in Australia, you can order any of the products I used to make this card by going to my online store. Just click on any of the images below.
Product List
Waves Dies
[158840]
$60.00
Paper Snips
[103579]
$17.00