Posted on Leave a comment

MONDAY MEANS IT’S TIME TO SCRAP SOME MEMORIES

Monday Memories is today’s scheduled post. I knew that I would use the Flowering Fields Suite for the photo I chose.

The photo was taken in 2018 when I travelled to Orlando, Florida for the Stampin’ Up!® On Stage Live. It was an amazing experience and I met so many wonderful new demonstrator friends. I also had the opportunity to meet other inaugural Demonstrator Council members who were attending the event.

It was at this event that I first met Lotte Noordzij-Walther, a demonstrator from the Netherlands. She was also a new Council member and we both applied to be volunteers at On Stage to help distribute catalogues and prize patrol goodies. We had such a fun time together.

When I attended the 2019 On Stage Live event in Dortmund, Germany, I was able to enjoy Lotte’s wonderful company again. We were both volunteers again. Hopefully, we will be volunteers again together this year in Vienna.

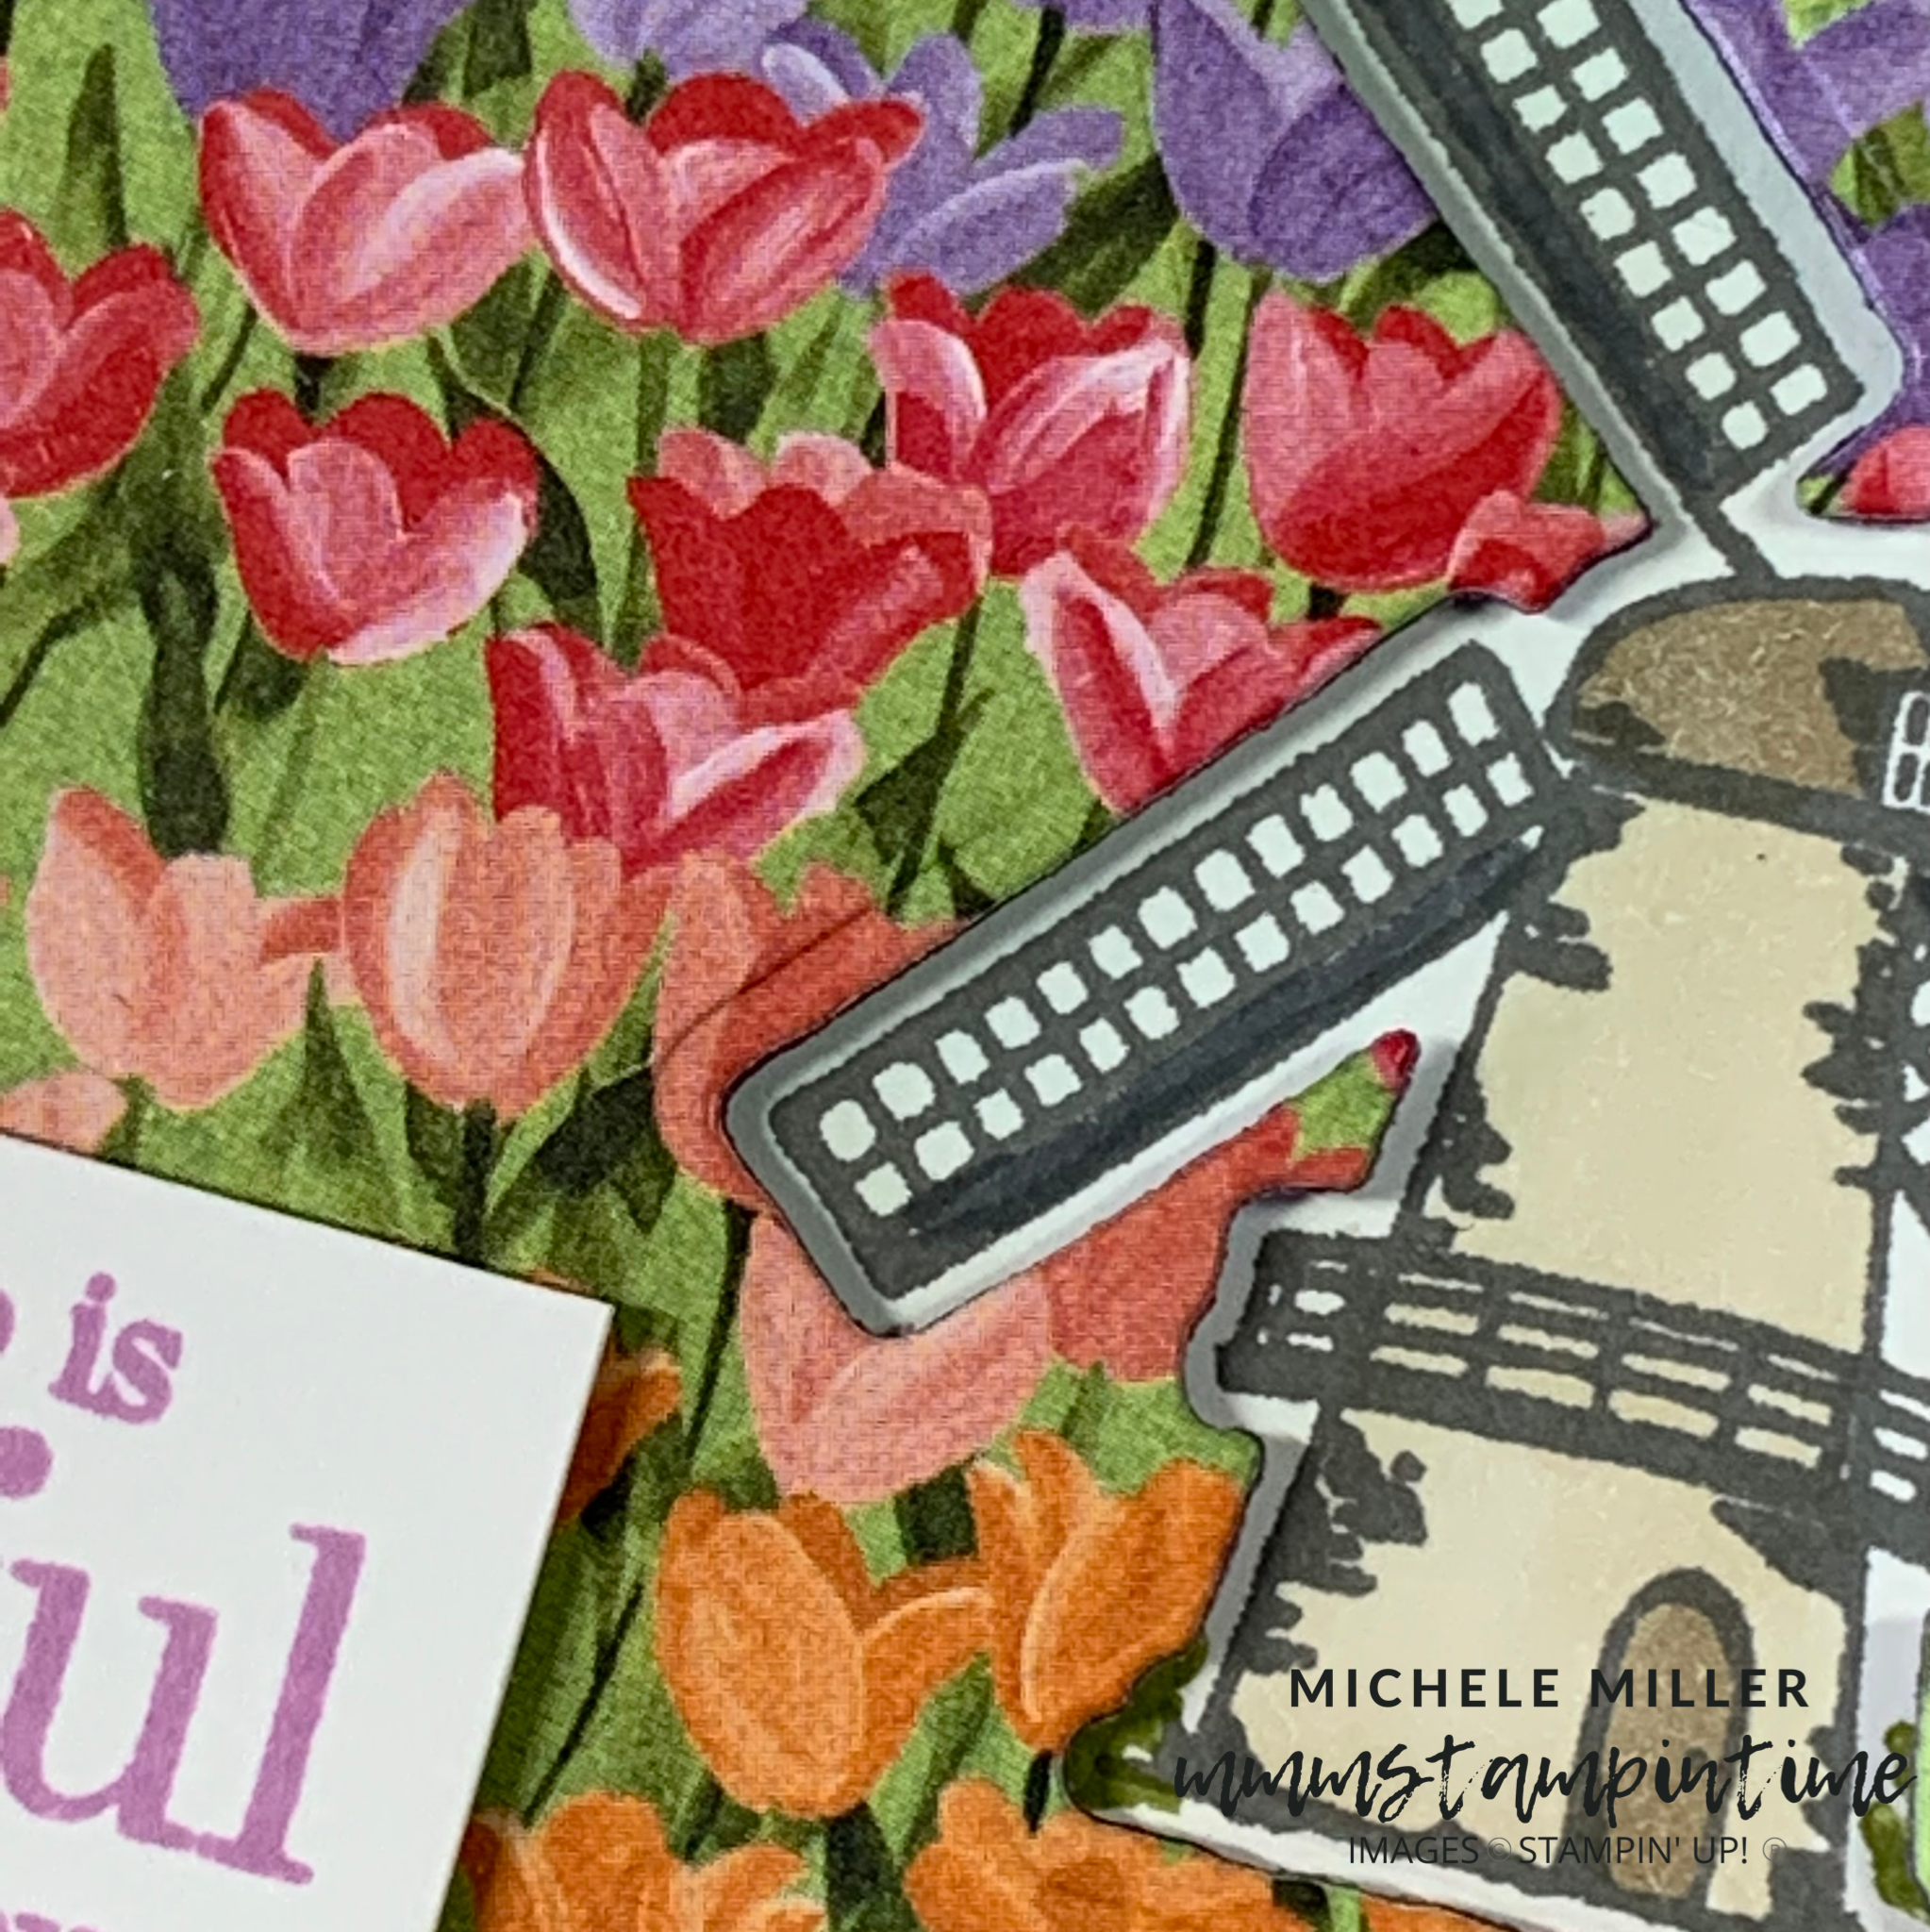
As you can see the Flowering Fields Suite is perfect for a layout featuring my delightful Dutch friend.

I stamped the triangular flowers image in 7 of the colours found in the Flowering Fields Designer Series Paper.

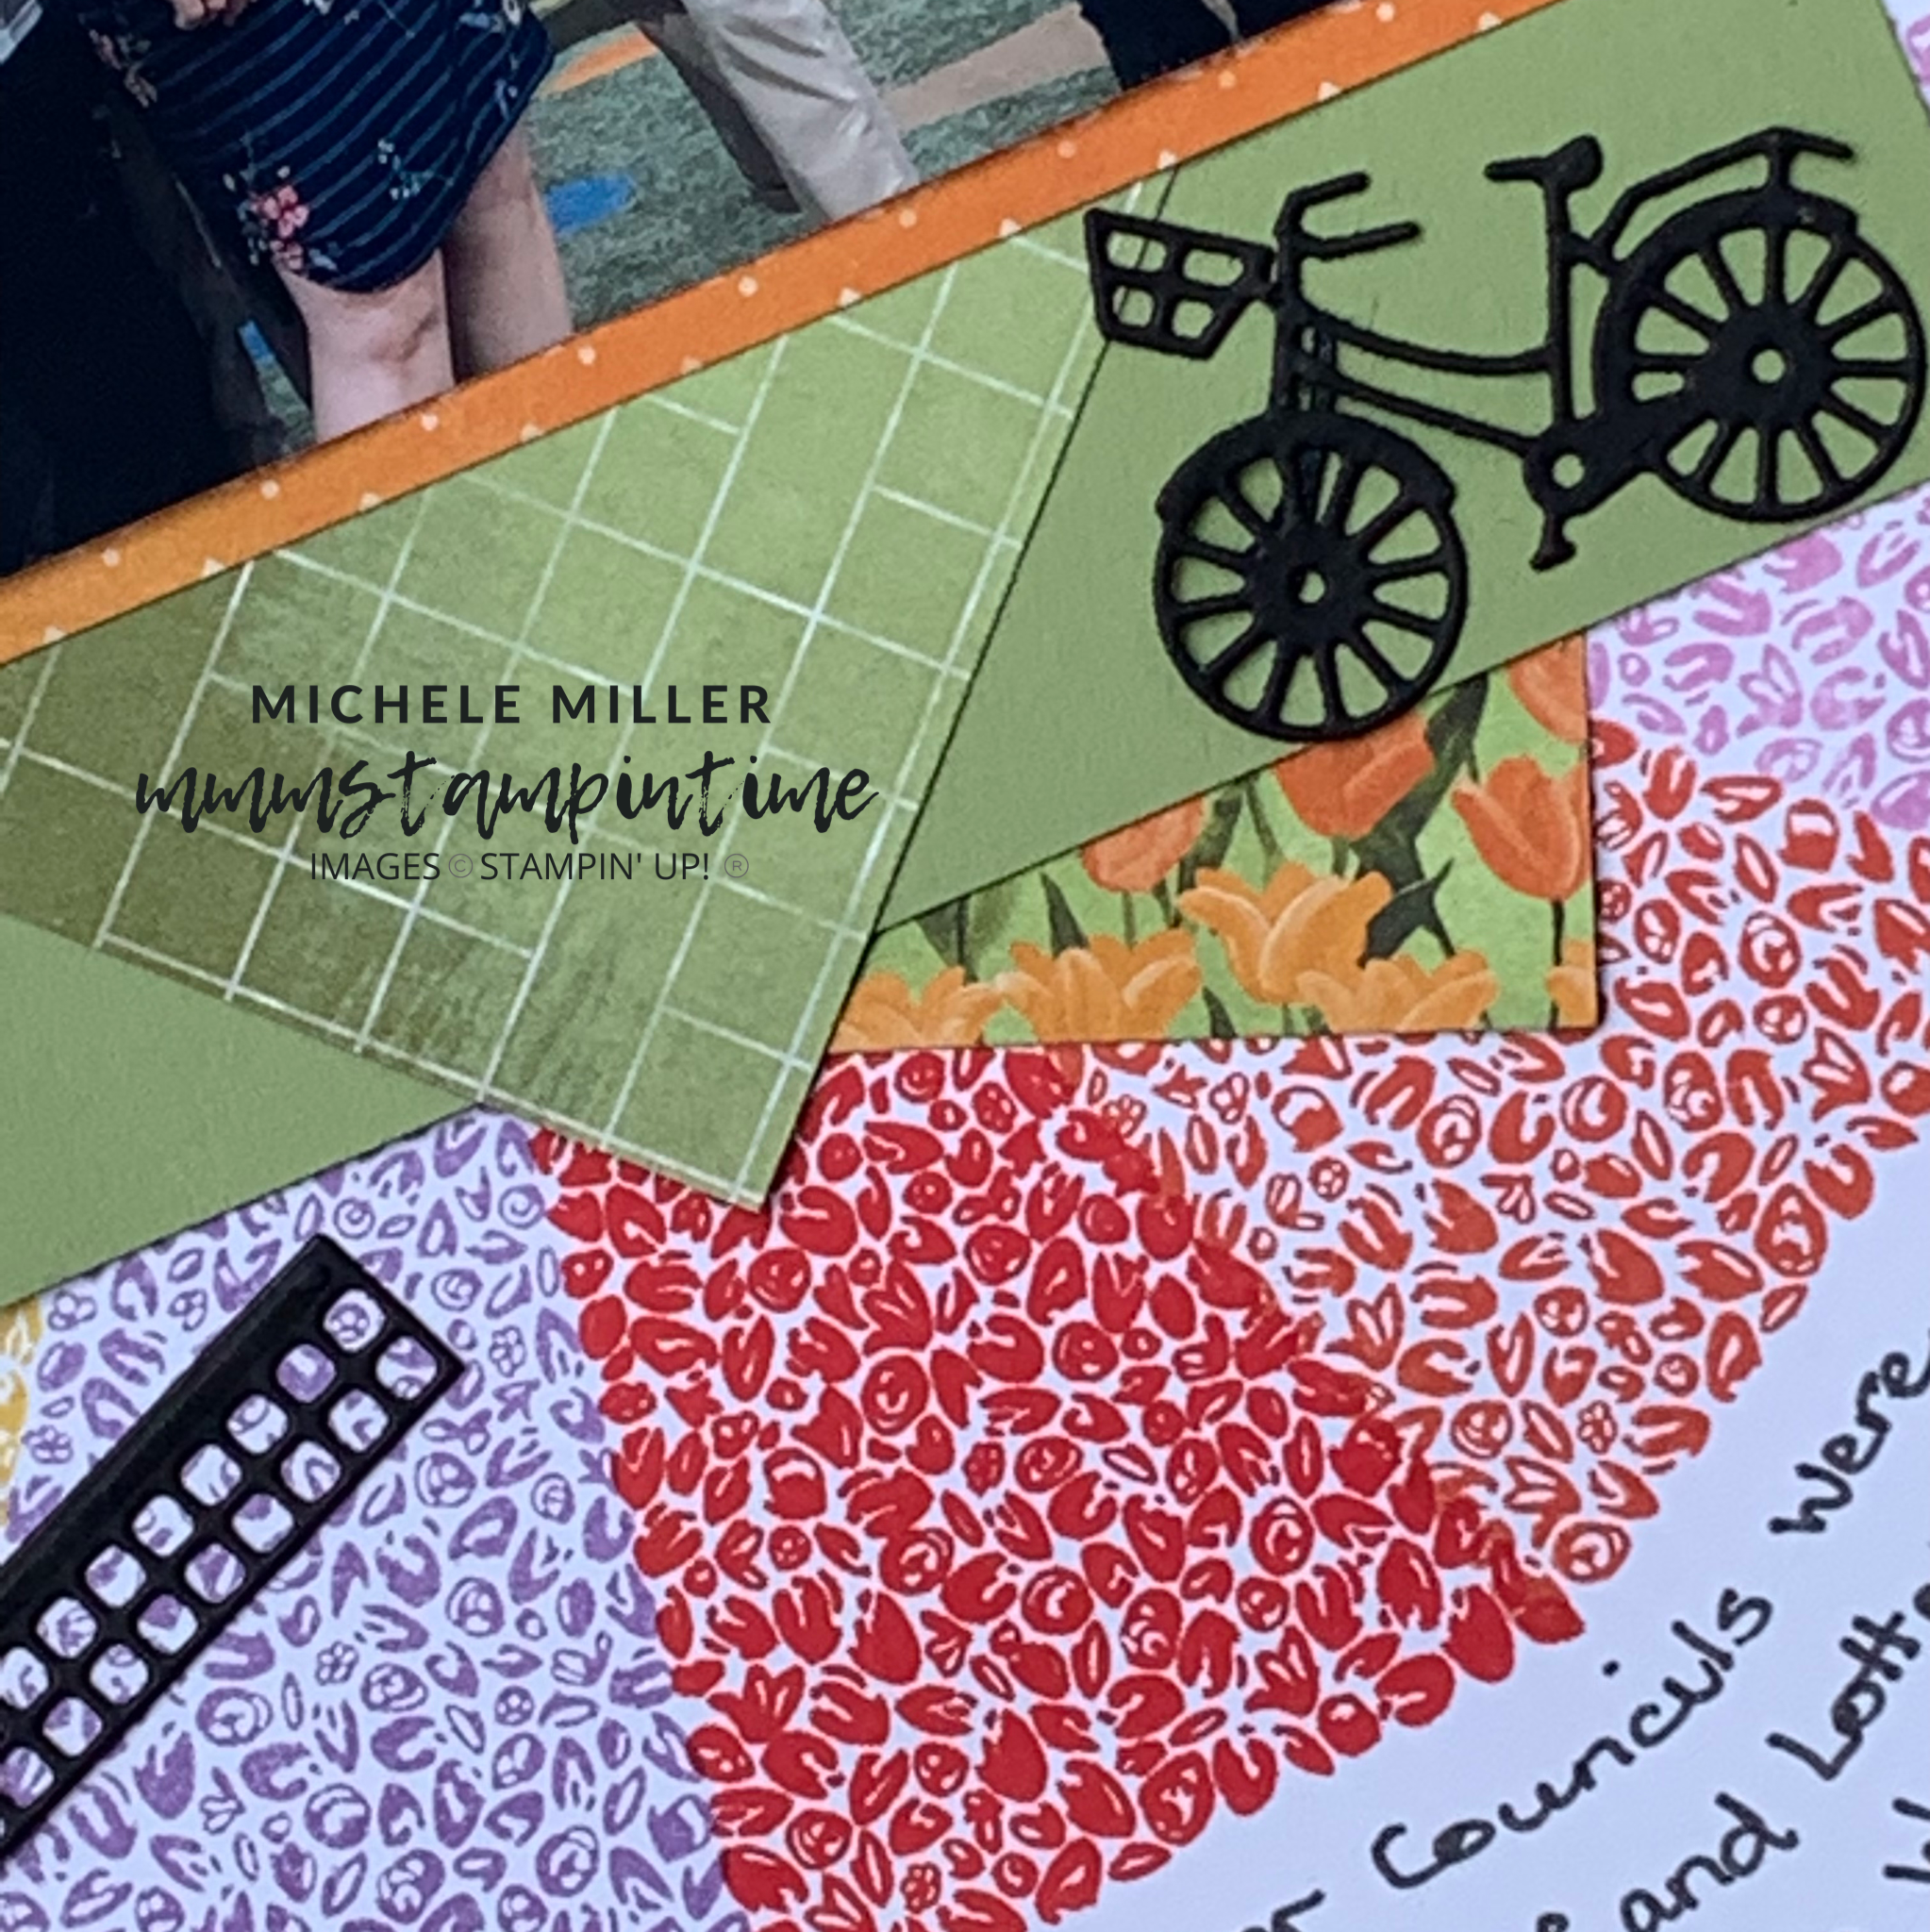
I cut, layered, rotated and glued four pieces of DSP and cardstock before adding the photo. Although I cannot remember all the demonstrators’ names, Wendy (third from the right) was also on the New Zealand/Queensland Demonstrator Council with me.

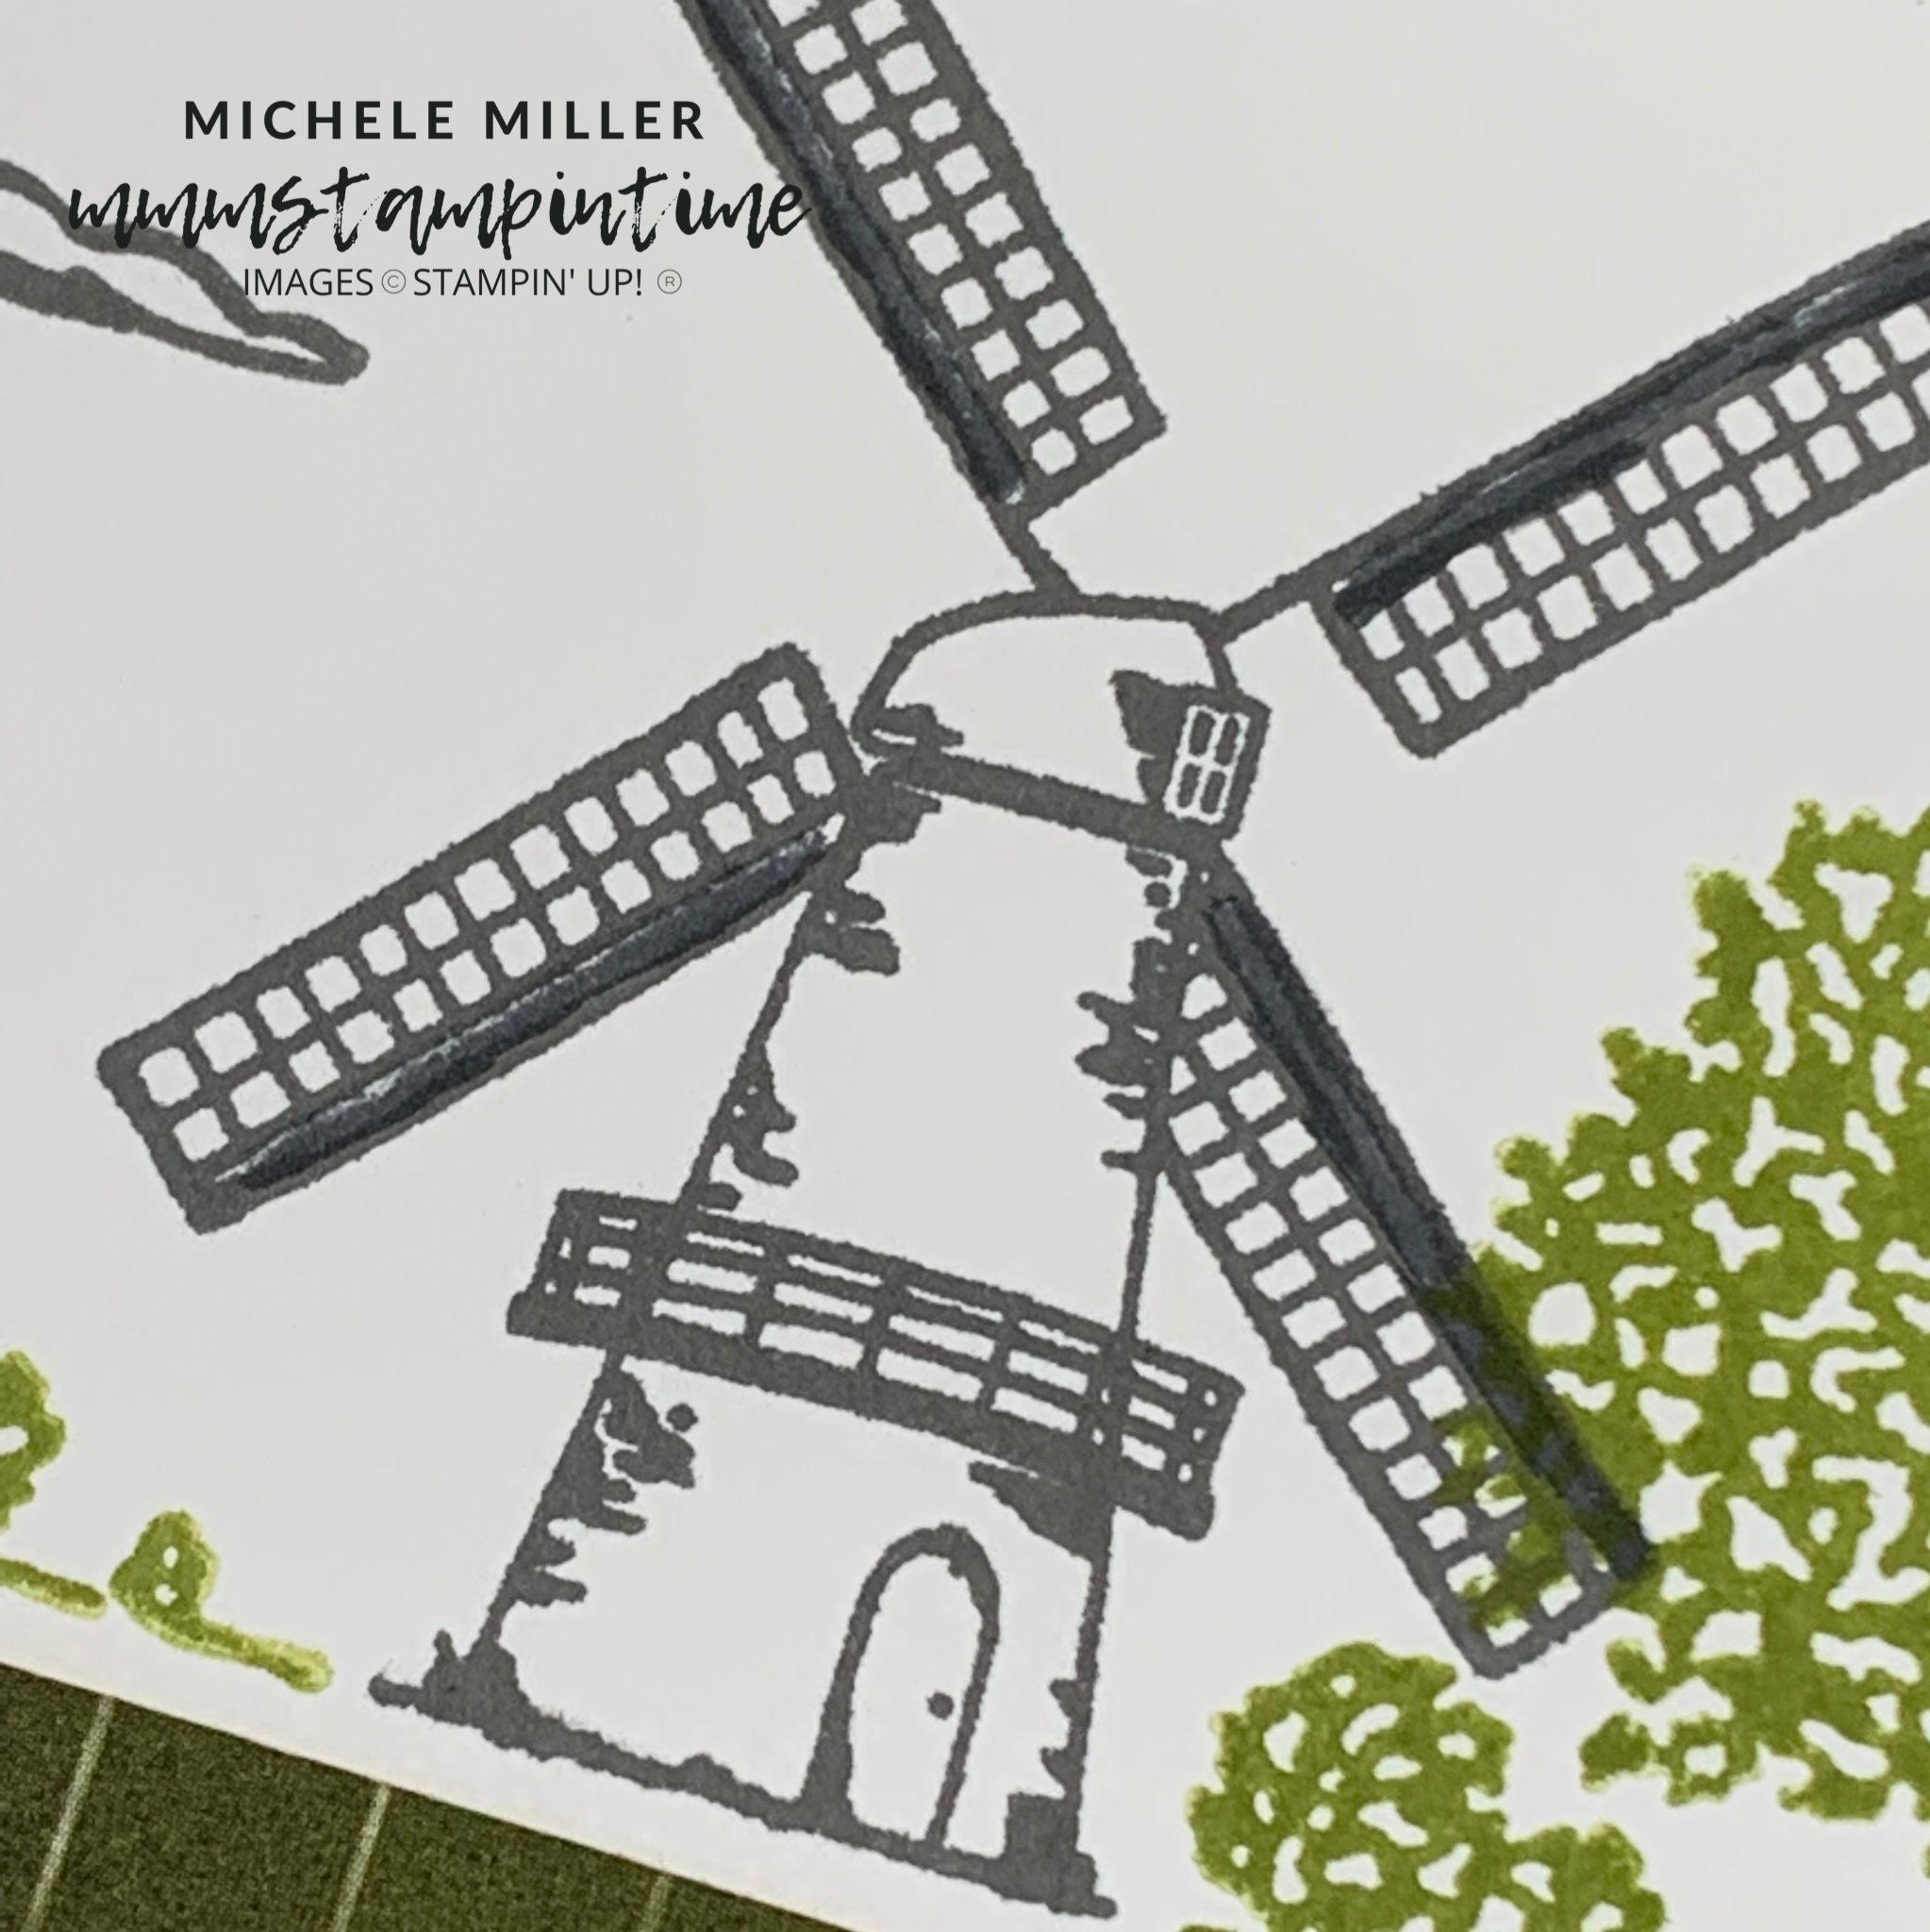
The three windmills were cut using the Windmill Fields Dies. The cardstock I used had Adhesive Sheet attached to the back to make it easier to layer and place on the page. The bike was created in the same way.

The Playful Alphabet Dies were perfect for the page title. The DSP used for the title also used Adhesive Sheets.

I used a ruler and light pencil line to help me maintain a even and straight distance for my journalling.

Creating this scrapbook page was a truly lovely experience. The beauty of this craft is that it is MEMORY KEEPING and remembering life’s special moments.

Tomorrow is Technique Tuesday and I have yet to decide which one I will use and share.

Until then, happy stamping.

If you live in Australia, you can order any of the products I used to make this card by going to my online store. Just click on any of the images below.

Product List
Paper Snips
[103579]
$17.00
Posted on Leave a comment

STEP IT UP SUNDAY FOR SOMETHING SPECIAL

I have loads of fun taking the cards I share each Saturday and stepping them up. Saturday’s cards are my #simplestamping cards and by Sunday, they get a makeover. I add more colour, more layers, more products and use more tools.

Let me show you the first card, from yesterday, to remind you of the basic layout.

Just stamps, ink and paper = #simplestamping.

Stepping this card is definitely what I prefer to do. I have three cards to share with you today.

I took a 5″x 1″ strip of the green gird Designer Series Paper and gently tore away the long edge create this ragged effect. Then I glued it to the bottom edge of the note card.

I stamped the sentiment, from the Special Moments Sale-a-bration Stamp Set, using Pear Pizzazz ink. The tree and shrubs are from the Tulip Fields Stamp Set. I also stamped these on the envelope and inside the card.

The windmill was stamped, coloured and cut using the coordinating die from the Tulips Dies set. I used the Basic Gray Stampin’ Write Marker™ to colour the outer edge of the blades.

The tulip rows were cut using a die from the same set. I cut the length of tulips into three pieces to create three garden beds.

The clouds were cut from one of the pieces of DSP.

The second card is a reverse eclipse card (well, that’s what I call it).

I chose a different piece of Designer Series Paper for this card and I layered it on a piece of Fresh Freesia cardstock.

The windmill was cut away using that die.

The same sentiment was stamped on a piece of Basic White cardstock and trimmed down. Stampin’ Dimensionals were used to pop the greeting up on the card front.

Then I wrapped some white baker’s twine, from the Essentials Pack, around the Fresh Freesia base and tied a bow.

I stamped and coloured the windmill on a piece of Basic White cardstock. Then I used a Blending Brush to lightly colour the area behind the windmill using Pool Party to create some sky.

Stampin’ Dimensionals were placed behind the windmill cut away and I positioned the stamped image under the die cut space.

I added more dimensionals to the back of the layer before attaching it to the note card.

I added one of the gorgeous Brushed Brass Butterflies to the card front. They are so very pretty.

My last card uses a few more elements.

The background layer was embossed with the Gingham Embossing Folder. I attached it to the front of the note card.

I used the Rectangular Postage Stamp Punch to cut two of the floral pieces from the Flowering Fields DSP. The third punched piece was cut from the green design that I used in today’s first card.

I die cut five tulip strips and added them to the back of the green punched piece using Stampin’ Seal. The green piece was then placed in the centre of the card using Stampin’ Dimensionals. The two floral pieces were glued down using Multipurpose Glue.

I stamped, coloured and die cut a windmill to add to the centre punched panel.

The sentiment was stamped onto a piece of vellum using StazOn Jet Black ink. I trimmed the vellum down so that it could fit in the bottom right hand corner. This piece was then added to the card using a strip of Stampin’ Seal.

To finish off the card, I used some more of Brushed Brass Butterflies.

I would love to know what you think about my stepped up cards.

Tomorrow is Memories on Monday, so I’m to see if I can find some photos to use.

Until then, happy stamping.

If you live in Australia, you can order any of the products I used to make this card by going to my online store. Just click on any of the images below.

Product List
Paper Snips
[103579]
$17.00
Posted on Leave a comment

SO WE KNOW THAT SATURDAY IS #SIMPLE STAMPING DAY

Welcome to #simplestamping Saturday. Today is all about STAMPS-INK-PAPER.

This is also the day I introduce the amazing new Flowering Fields Suite Collection from Stampin’ Up!©.

FLOWERING FIELDS SUITE COLLECTION (ENGLISH)

Today I have two very ‘simple’ cards for any stamper to make. These are great for totally new stampers yet super quick and easy for more experienced stampers.

This card was created using the Tulip Fields and Special Moments Stamp Sets. The inkpad colours used were Basic Gray and Pear Pizzazz. The four large blades of the windmill were coloured using the Basic Gray Stampin’ Write Marker™. The clouds were inked using Basic Gray and then stamped off to reduce the intensity of the colour for the colours.

The sentiment is from the 2022 Sale-a-bration Special Moments Stamp Set.

The next card shares many of the features from the first card.

For my second #simplestampincard I followed the layout from my first card. Then I added a strip of Designer Series Paper that was adhered to the bottom of the card frod front.

I stamped the windmill , tree and shrubs in the same way as my first card. The sentiment was stamped in the same way. The clouds were stamped without being stamped off.

These two cards are my Saturday #simplestamping projects. I hope that you like them.

Tomorrow is Sunday and I will step up these cards using more products and techniques.

Until tomorrow, happy stamping.

If you live in Australia, you can order any of the products I used to make this card by going to my online store. Just click on any of the images below.

Product List