Posted on Leave a comment

ALMOST BACK ON SCHEDULE

Last week,things were looking great. I had just caught up with my schedule and was posting each day. It didn’t last long but for very good reason. I spent Saturday morning setting up for a Market Stall for the following day. I spent 4 hours on Sunday at my Card Stall. Unfortunately, there were lots of “lookers” but very few “buyers”. Fortunately, I was able to hand out lots of fliers about my classes and other events.

On Monday, I made my #simplestamping and Step It Up Sunday projects. This week, I am featuring the Pretty Birds Bundle.

Let me show the five cards that I made.

For this card, I stamped the Pretty Birds budgerigar using Memento Tuxedo Black before colouring it with some Water Colour Pencils.

The birthday greeting is from the Happiness Abounds Stamp Set and I stamped it in Bermuda Bay. The Pretty Birds bird cage image was stamped inside the card and on the envelope in the same colour.

Three stamps, two ink pads and three water colour pencils is definitely some #simplestamping.

This so-slightly stepped up card uses a third colour and another stamp.

The birds were stamped directly on the card front and then coloured. The birthday greeting was stamped three times in three different colours. These were then trimmed to layer on the card front.

For the third card, I stamped the bird cage three times across the card front. The cage stamped again and then die cut so that it could be popped up using Stampin’ Dimensionals.

The birthday greeting was stamped onto a strip of Basic White cardstock and trimmed. Dimensionals were added to the back so that it could be raised u on the card front.

I stamped and coloured one of the birds. After I die cut the bird, I added dimensionals to it as well.

This stepped up card features 1/2″ strips of Brights 6″x 6″ Designer Series Paper that been shapped using the Banners Pick a Punch. I stamped the birthday greeting on two of them.

The bird was coloured using Blending Brushes before it was die cut.

I added some GLossy Dots Assortments to the card to finish it.

My final card features three birds that were coloured using Blending Brushes before they were die cut.

The three panels of Brights DSP were cut using one of the All That Dies.

These were the main products I used for the first two cards.

These are the main products I used for the last three projects.

Phew – Saturday and Sunday are now covered.

My next post will be my Wednesday Global Design Project share.

Until then, happy stamping.

If you live in Australia, you can order any of the products I used to make this card by going to my online store. Just click on any of the images below.

Product List
Paper Snips
[103579]
$19.25
Posted on Leave a comment

WOW … THREE PROJECTS ON A WEDNESDAY

This is my third and final project for today, but first to post. Wednesday is all about blog hops and challenges. This is my project for this week’s Global Design Project.

It is a colour challenge. This colour combination is fabulous, although a little challenging for the products I am featuring this week.

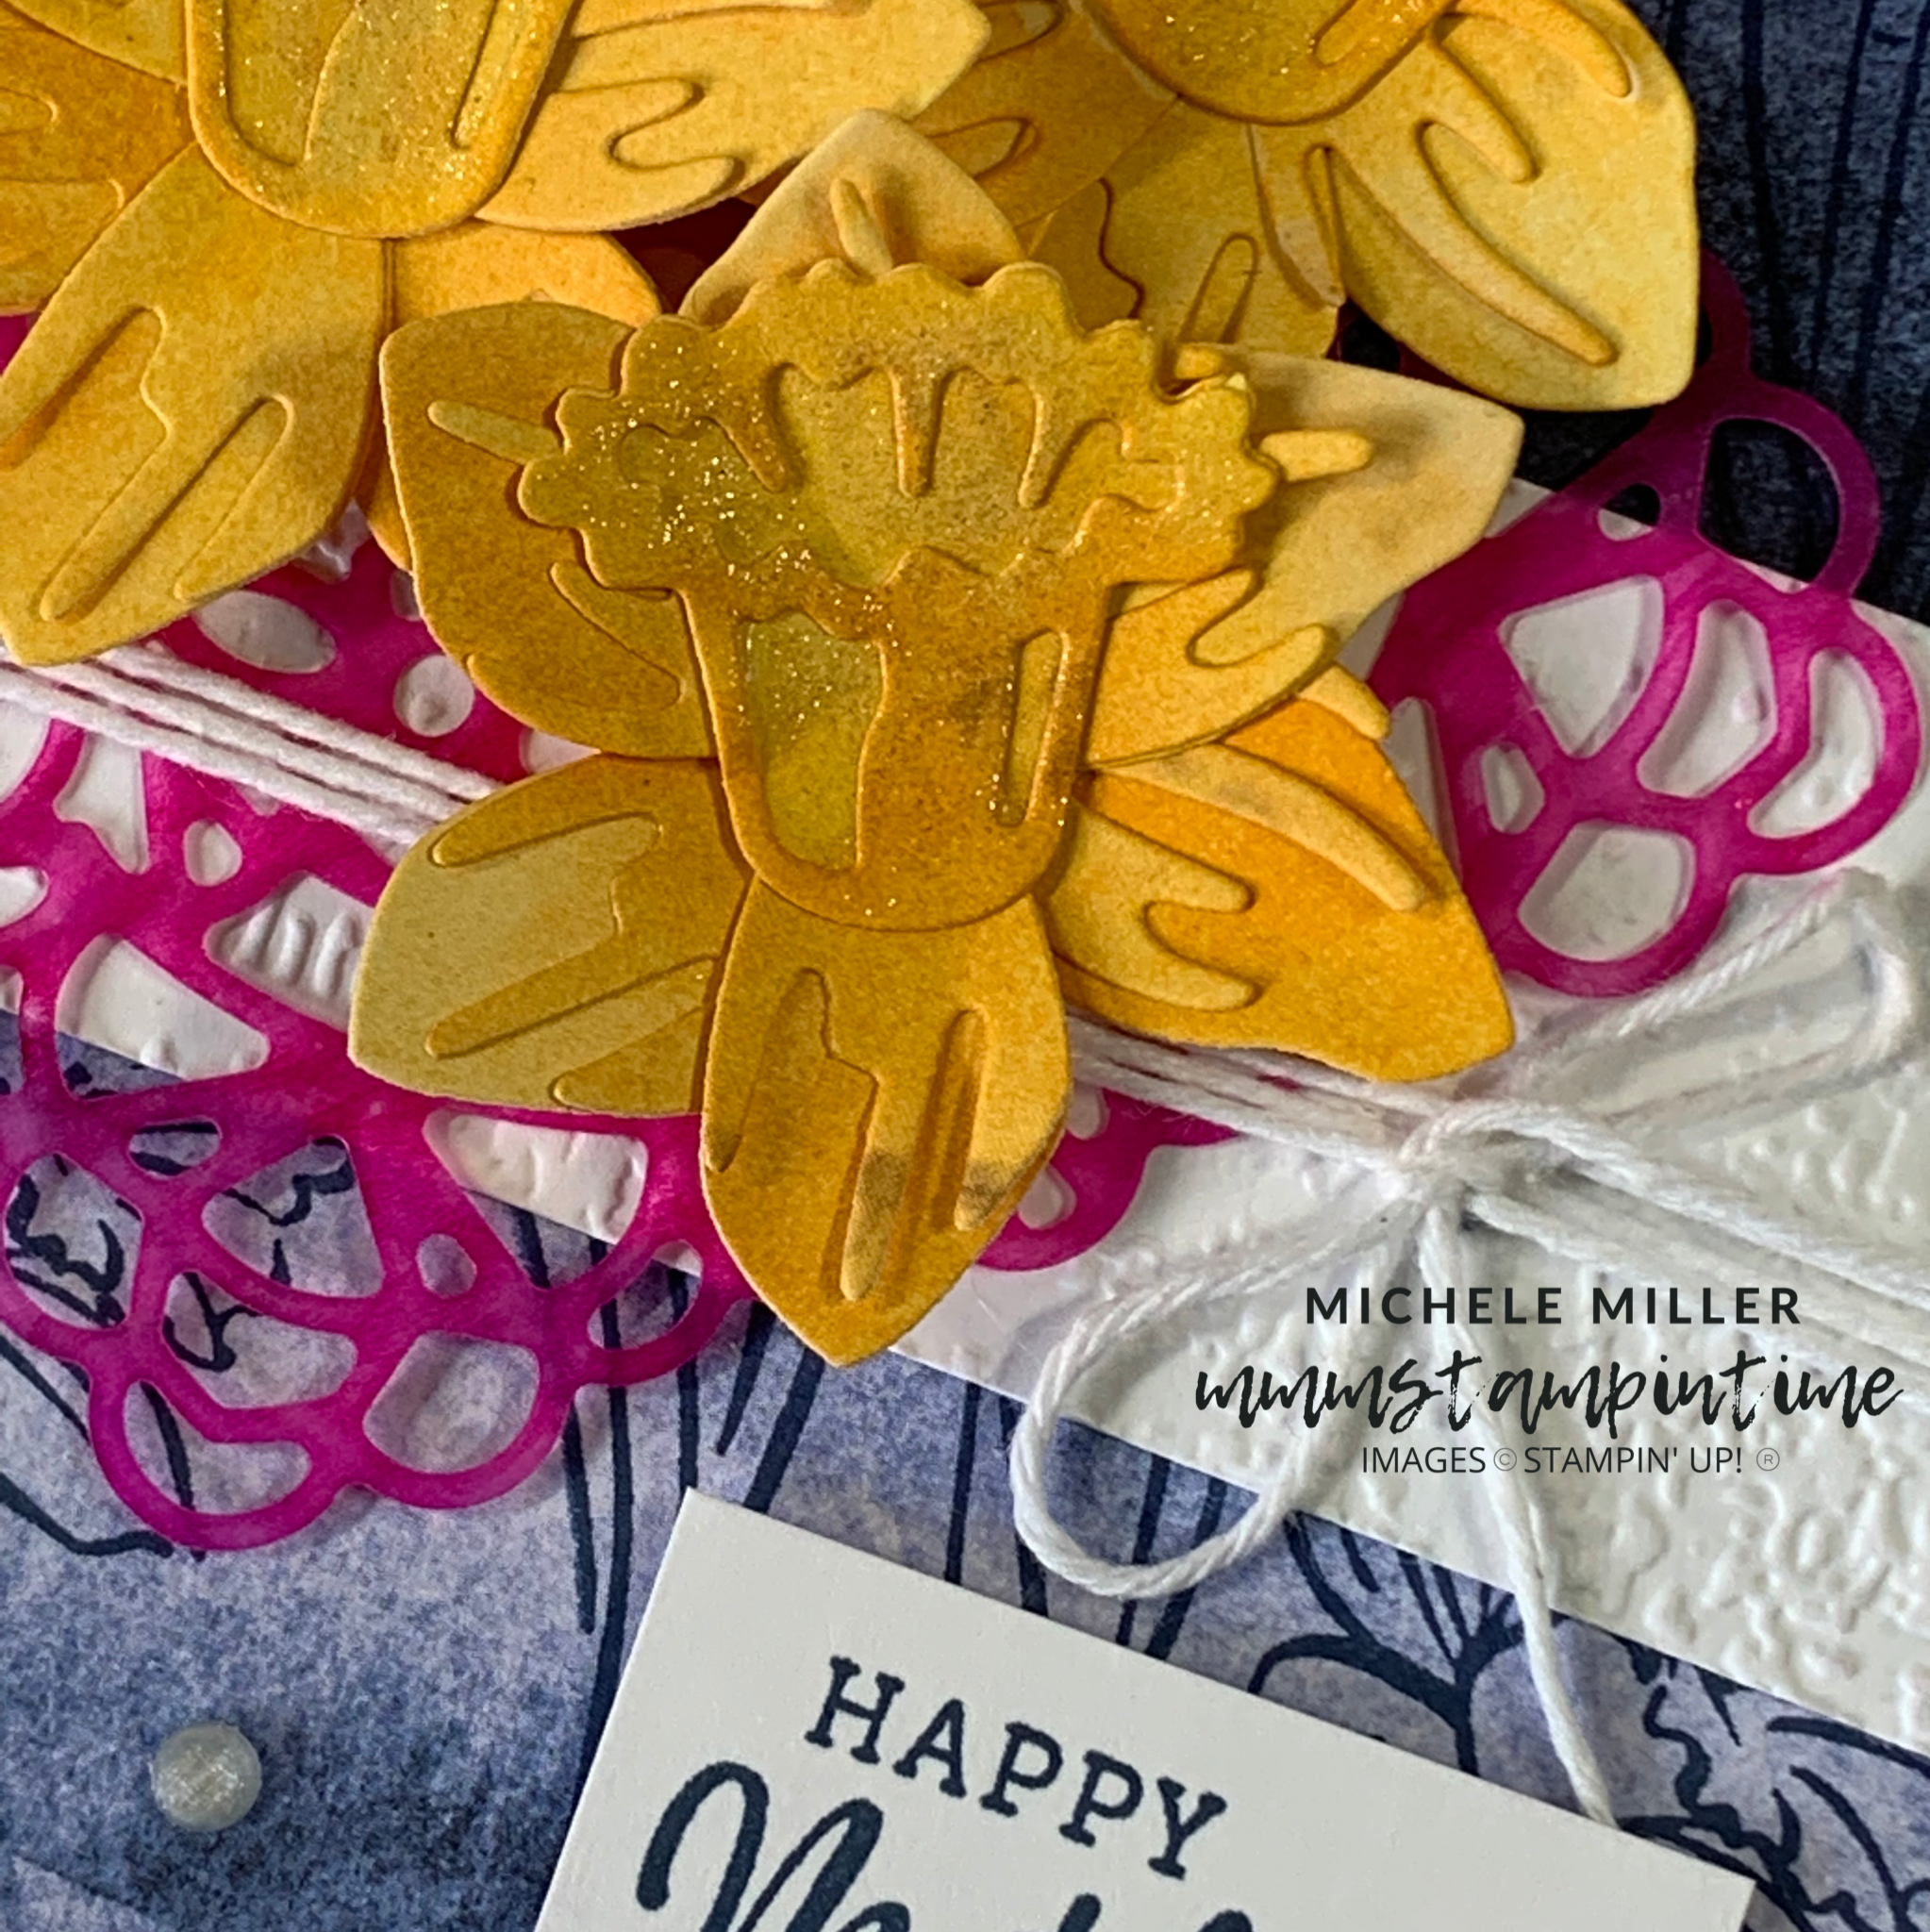
I started by using a technique Patty Bennett shared earlier this week. Using a piece of the Bumblebee Simply Marbleous 6″x 6″ Designer Series Paper, I added Mango Melody across it using a Stampin’ Blend.

This way I was able to have the marble effect from the DSP and the challenge colour ready to use for my project. I used this piece of coloured DSP to die cut the daffodils I used.

The Basic White card base has a slightly smaller panel of Magenta Madness cardstock. This panel then framed the stamped Misty Moonlight paper from the New Horizons 6″x 6″ Designer series Paper. I used the Misty Moonlight ink to stamp the daffodil image across the paper.

The Timetorn Type 3D Embossing Folder was used to emboss a piece of Basic White cardstock. I wrapped some white twine, from the Baker’s Twine Essentials Pack, around the embossed layer several times and tied a bow. Stampin’ Dimensionals were placed under the panel to pop it yp on the card front.

I used the Dark Magenta Madness Stampin’ Blend to colour a Square Vellum Doily. The left hand corner was trimmed away and it was secured under the twine with Stampin’ Seal.

The greeting is from the Daffodil Daydream Stamp Set.

After adding the daffodils to the card, I painted their centres with Clear Wink of Stella.

The daffodil was stamped inside the card and on the front of the envelope. The final step was to add some Elegant Faceted Gems to the front of the card.

A more detailed list of the products I used to make this card is at the bottom of this post.

Tomorrow is 3D Thursday and I’m off to plan my project.

Until then, happy stamping.

If you live in Australia, you can order any of the products I used to make this card by going to my online store. Just click on any of the images below.

Product List
Paper Snips
[103579]
$17.00
Posted on Leave a comment

FOR FRIDAY IT’S TIME FOR ANOTHER FUN FOLD CARD

It seems as if the year is trying to race toward the finish already. We are only a few short days away from the end of January, as this week draws to a close.

So it’s time for me to share a Fun Fold card with you. I think this one is called a Triangle Fun Fold card.

This is the last project featuring the Rainbow of Happiness Bundle and the Sunshine & Rainbows 6″x 6″ DPS.

Let me show you the structure of the card before I describe how I used the products.

After I trimmed the cardstock down to 11-1/2″ in length, I cut it diagonally in half. Then I scored the folds at 4-1/4″ and 5-3/4″. Then I used my bone folder to burnish the folds crisply.

I took some of the Sunshine & Rainbows DSP and cut the triangle pieces to add to the card front.

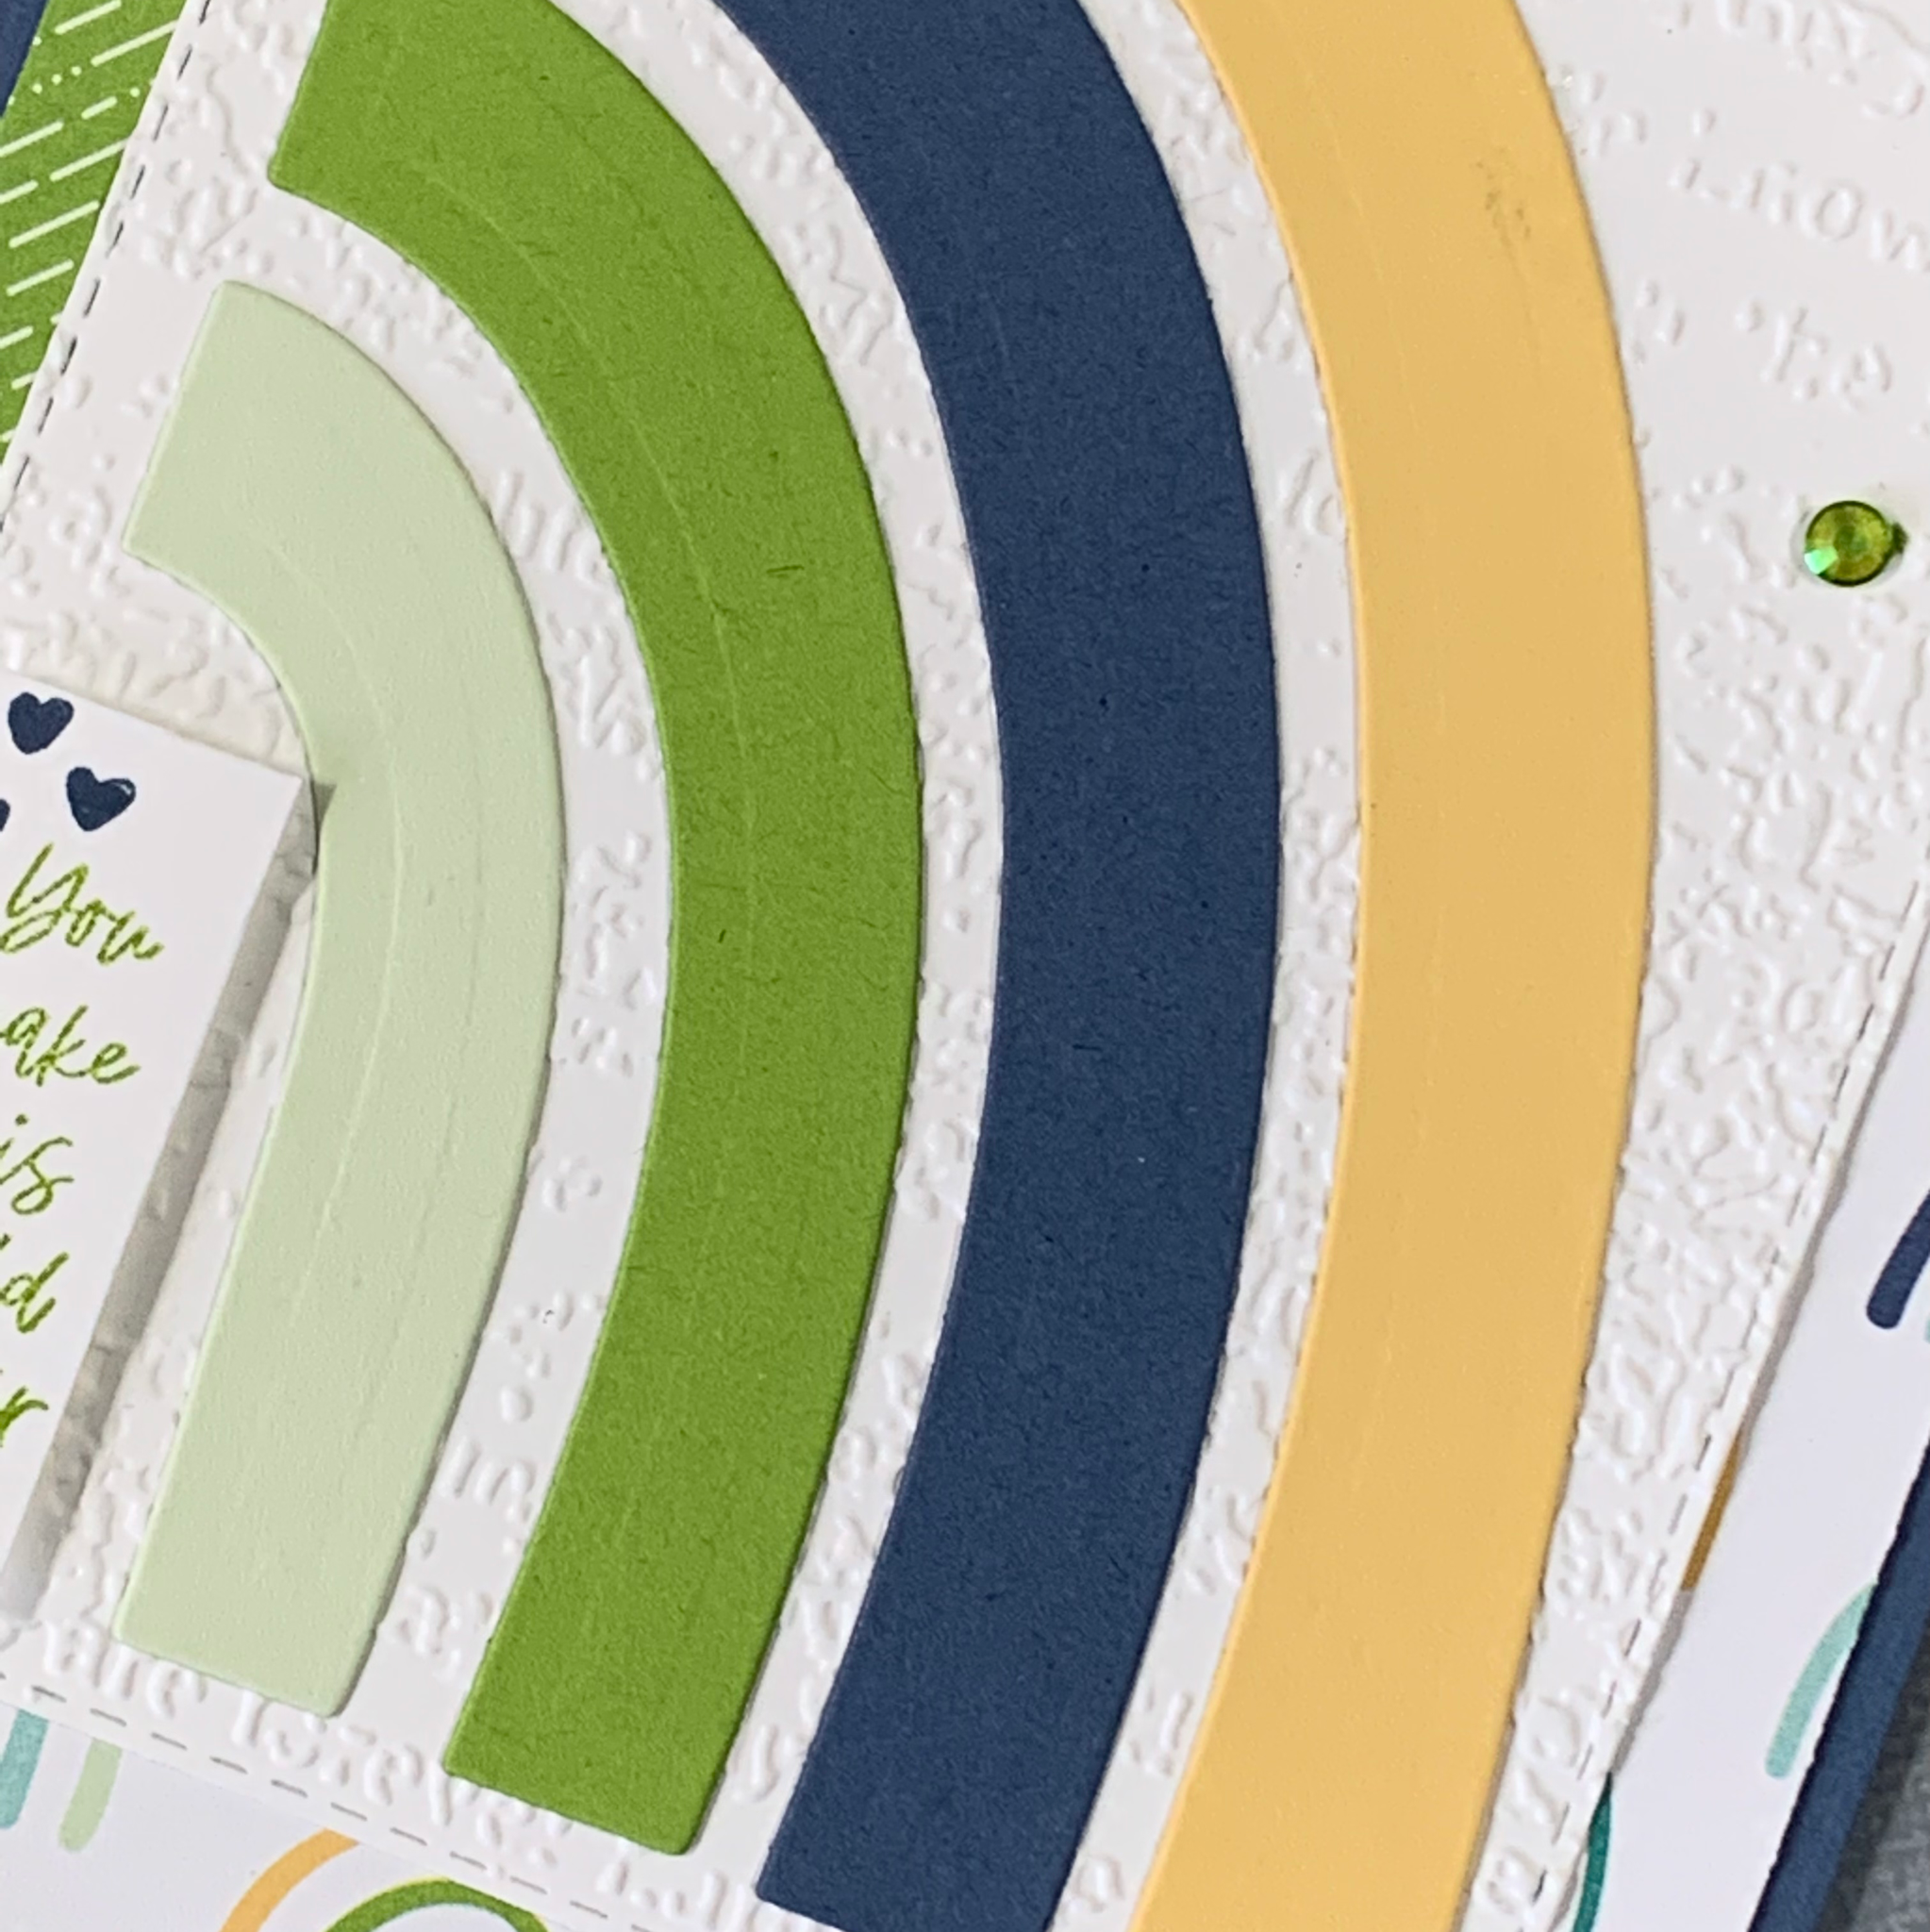
Then I used the second largest Stitched Rectangle Die to cut a piece of Basic White cardstock before embossing it. I used the Timeworn Type 3D Embossing Folder.

I cut the half rainbow from some Granny Apple Green, Misty Mooklight, So Saffron and Soft Sea Foam cardstock.

The sentiment and hearts were stamped onto a small piece of Basic White card and was then cut down to this small size. It was popped up using Stampin’ Dimensionals.

I drew a live on the back of the embossed white piece and used Multipurpose Glue to attach it to the upper left hand side panel.

To finish off the card I stamped the card insert and envelope. Then I coloured some Iridescent Rhinestones using the Dark Granny Apple Green Stampin’ Blend.

Let me know what you think of my latest card.

Now it’s time to decide what to use for this week’s project posts, starting with Simply Saturday tomorrow.

Until then, happy stamping.

If you live in Australia, you can order any of the products I used to make this card by going to my online store. Just click on any of the images below.

Product List
Paper Snips
[103579]
$17.00