Posted on Leave a comment

TECHNIQUE TUESDAY IS HERE AGAIN

This week I am giving the Joseph’s Coat technique a go. As I was collating different techniques for my Tuesday posts, I was at first surprised by the number and variations. Then I was surprised by the number of techniques I had used before.

I started by using Sponge Daubers to lay down a base of colours across a Basic White card base.

The next step was to stamp the large floral image, from the Lovely & Lasting Stamp Set, using Versamark. Then I sprinkled Clear Embossing Powder over the Versamark and heated the powder.

The final step for a Joseph’s Coat technique is to apply a darker ink to the card stock. After the Jet Black Memento ink was applied, I used paper towel to wipe away the excess ink from the heat embossed area.

I layered a piece of Lovely in Linen DSP and Pale Papaya cardstock on the front of the Soft Succulent card base.

Then I placed Stampin’ Dimensionals behind the “coat” layer and placed it on the front of the card.

The partial sentiment was stamped, cut down and added to the card.

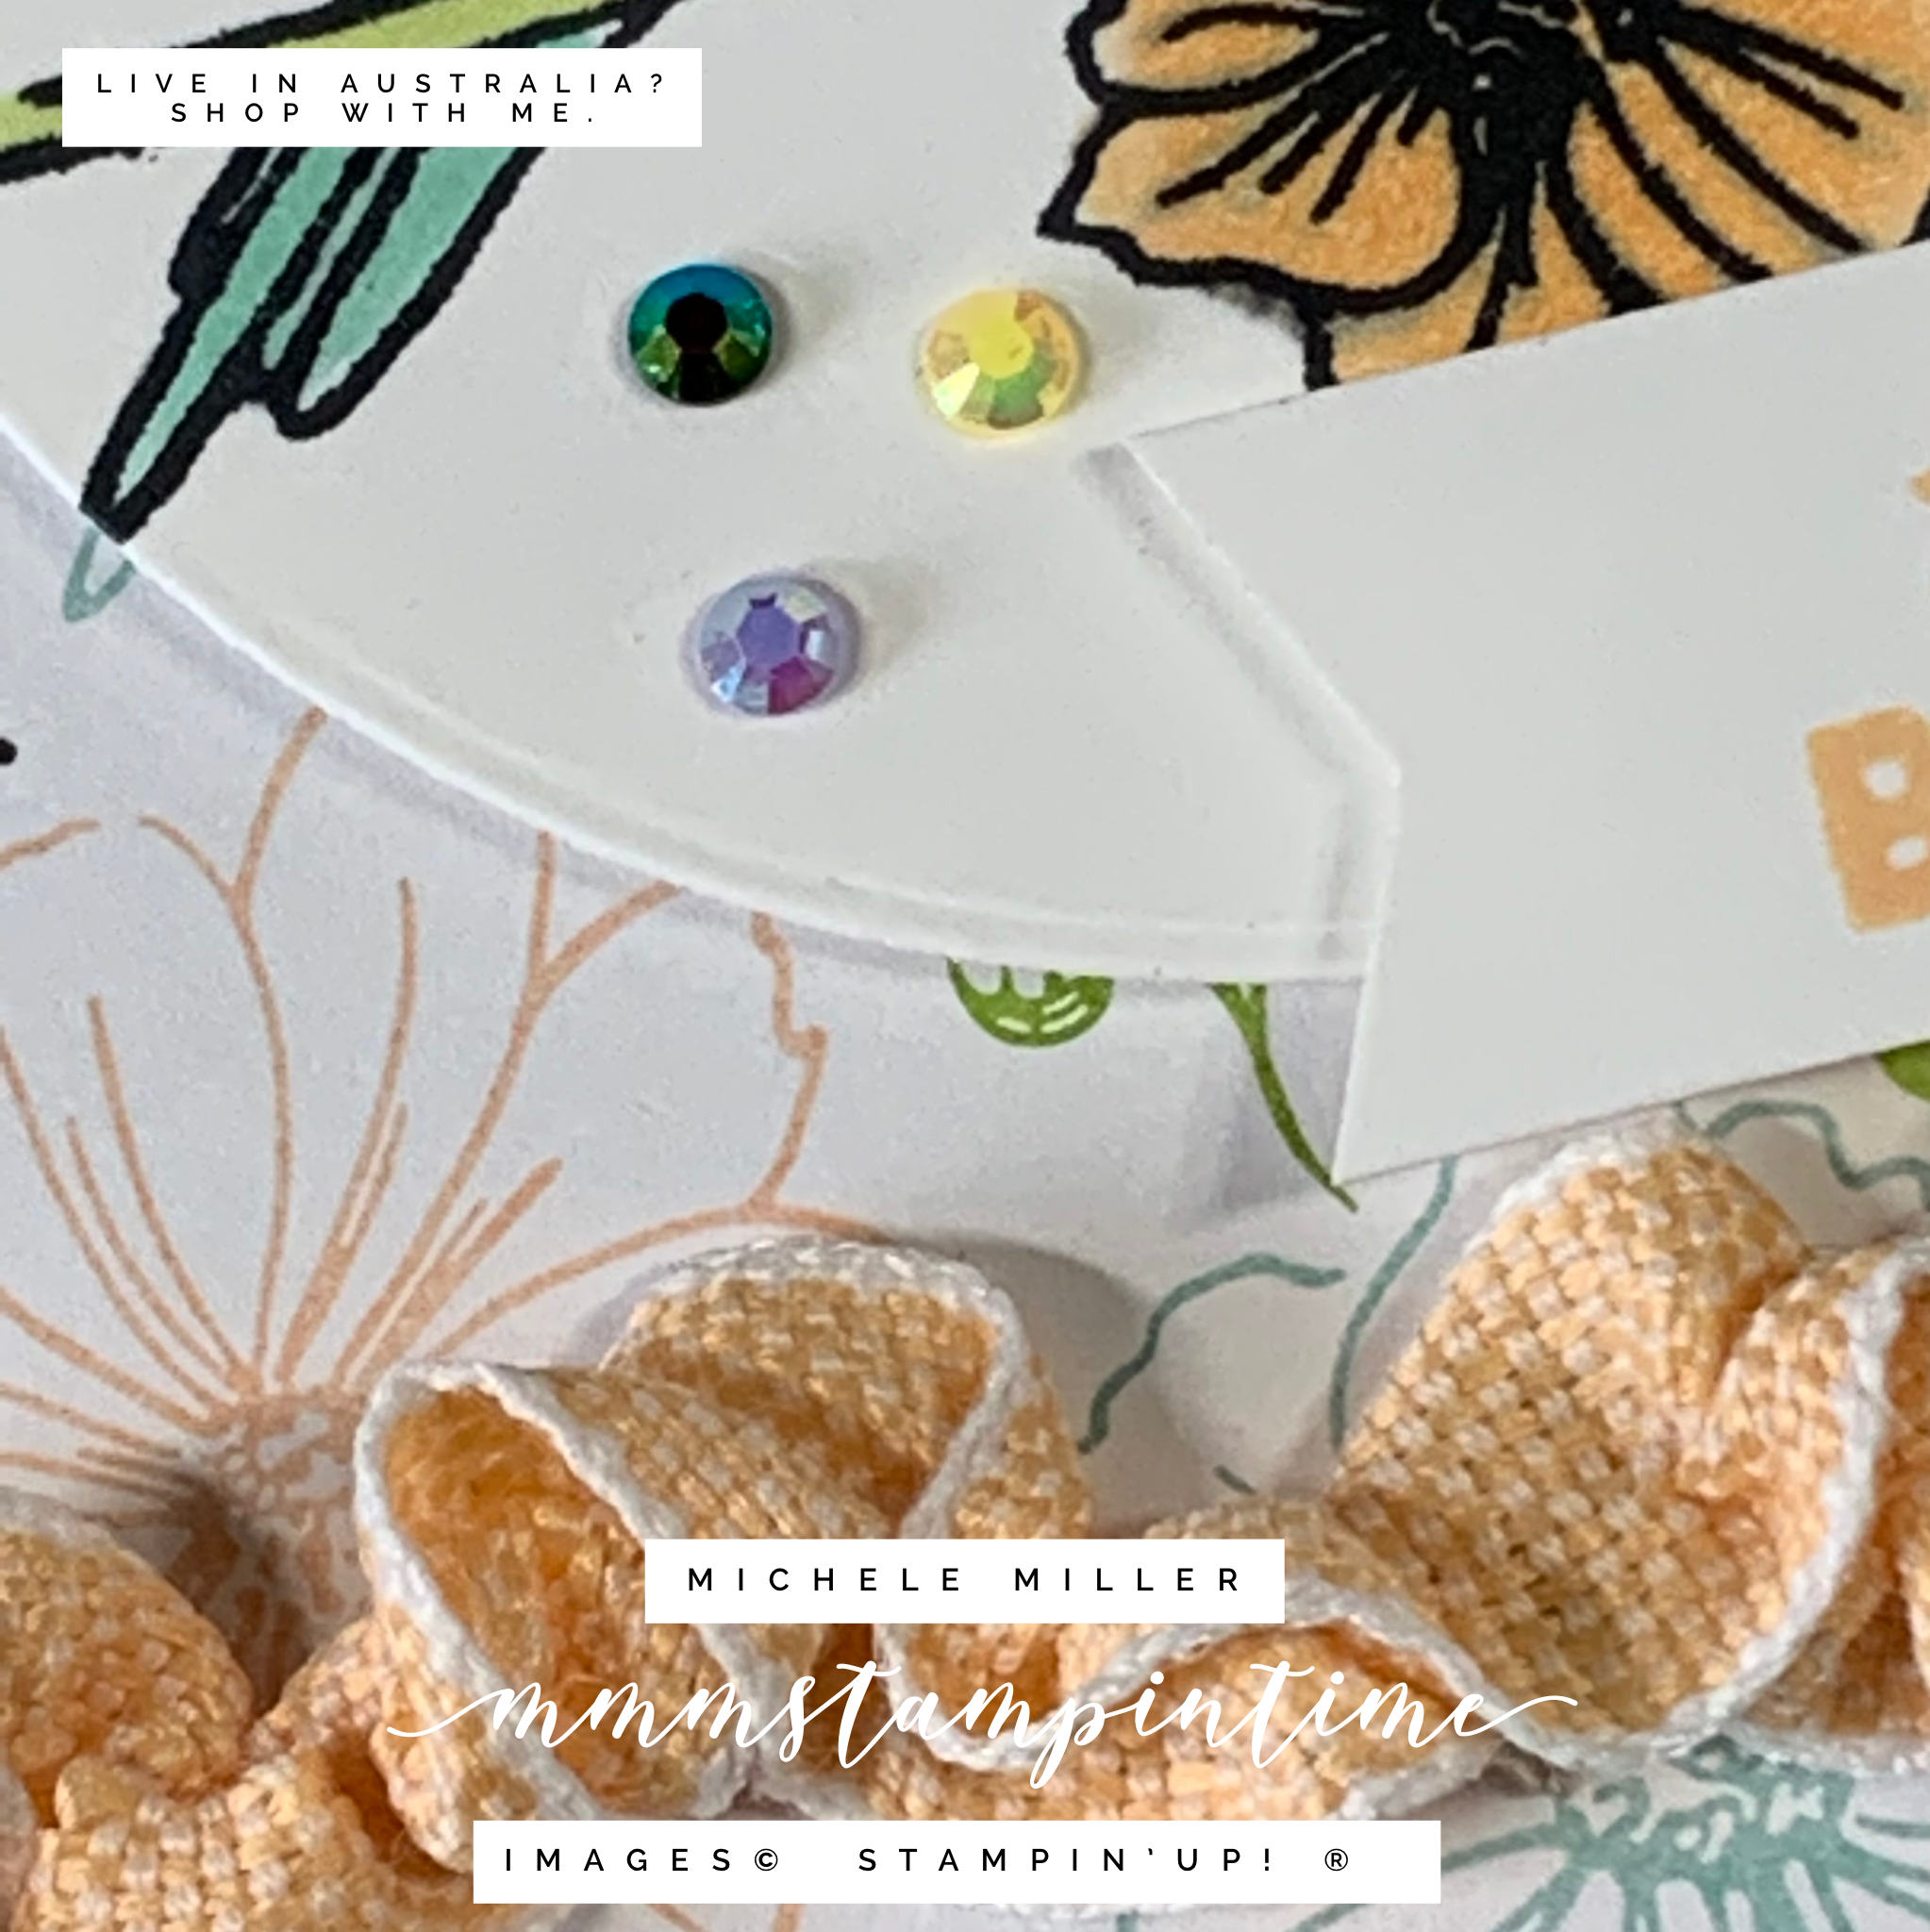
Finally, I added some 2021 -2023 In Colour Opal Rounds to the card for that little bit of bling.

The card insert and envelope were both stamped using the scroll image from the stamp set.

Tomorrow I will have a new Global Design Project challenge card to share with you.

Until then, happy stamping.

If you live in Australia, you can order any of the products I used to make this card by going to my online store. Just click on any of the images below.

Product List
Heat Tool
[129056]
$53.00
Paper Snips
[103579]
$19.25
Posted on Leave a comment

TECHNIQUE TUESDAY – TIME TO SHARE A NEW TECHNIQUE EACH WEEK

Today’s technique is an oldie but a goodie. I’m sure that most of you will have used this in the past.

It’s time to SPOTLIGHT an area of the Friendly Hello Designer Series Paper. This DSP and the coordinating Friendly Hello Stamp Set are available for you to select this FREE bundle if you place a minimum $180 AUD order during Sale-a-bration.

I started by stamping the bird image onto a piece of Basic White cardstock using Black Tuxedo Memento ink. Using the second largest Layering Circles Die I cut the image out.

I cut a piece of DSP for the card front and then aligned the die cut circle over the the bird image on the piece of DSP. Two pieces of Post-it tape was used to hold it in place. Then I tucked a Post-it note under the circle so that I could stamp the Fresh Freesia flower, Granny Apple Green leaves, Shaded Spruce splatter and buds.

Then I used Stampin’ Blends to colour the bird image.

I took a length of Pale Papaya and White Woven Ribbon and pulled up a couple of threads to create a ruched ribbon. I wrapped and secured this behind the DSP layer and adhered it to the card front.

After adding Stampin’ Dimensionals to the back of the circle layer, I positioned it carefully over the bird image on the DSP layer.

I stamped the bird image on the card insert and the front of the envelope.

The usual, final step was to add some embellisments to the front of the card. The 2021 – 2023 In Colour Jewels were perfect for this card.

I think that I will use this card for a Coffee & Card class.

Tomorrow is Wednesday and I have something new to announce.

Until then, happy stamping.

If you live in Australia, you can order any of the products I used to make this card by going to my online store. Just click on any of the images below.

Product List
Paper Snips
[103579]
$17.00