Posted on Leave a comment

Colour INKspiration #152 – BEAUTY OF THE DEEP

Welcome to another Colour INKspiration Challenge.

This inspiration picture which has inspired our colour palette was chosen by Crew Member, Bronwyn Eastley. 

Picture credit – https://medium.com/@FaSBlog/rhapsody-in-blue-five-ideas-for-working-blue-into-your-decor-668da2d3d233

As well as the chosen colour combination for #CI152, Gray Granite, Starry Sky and Night of Navy, you may also add Basic White, Very Vanilla, Crumb Cake, and metallics to your project. We also allow Ivory, Bronze and Natural Tones in Stampin’ Blends. If you don’t have the colours in our palette, feel free to use the closest Stampin’ Up! substitute.

To get your creative ideas flowing make sure you check out the Crew’s Projects in the CI#152 album. 

For this challenge, I was definitely inspired by the picture chosen to inspire us. I have featured the Beauty of the Deep Bundle and the Something Fancy Bundle.

I started by folding the Starry Sky card base into a landscape tent fold. Then I stamped the small scattered ‘bubbles’ onto the card front using Night of Navy ink.

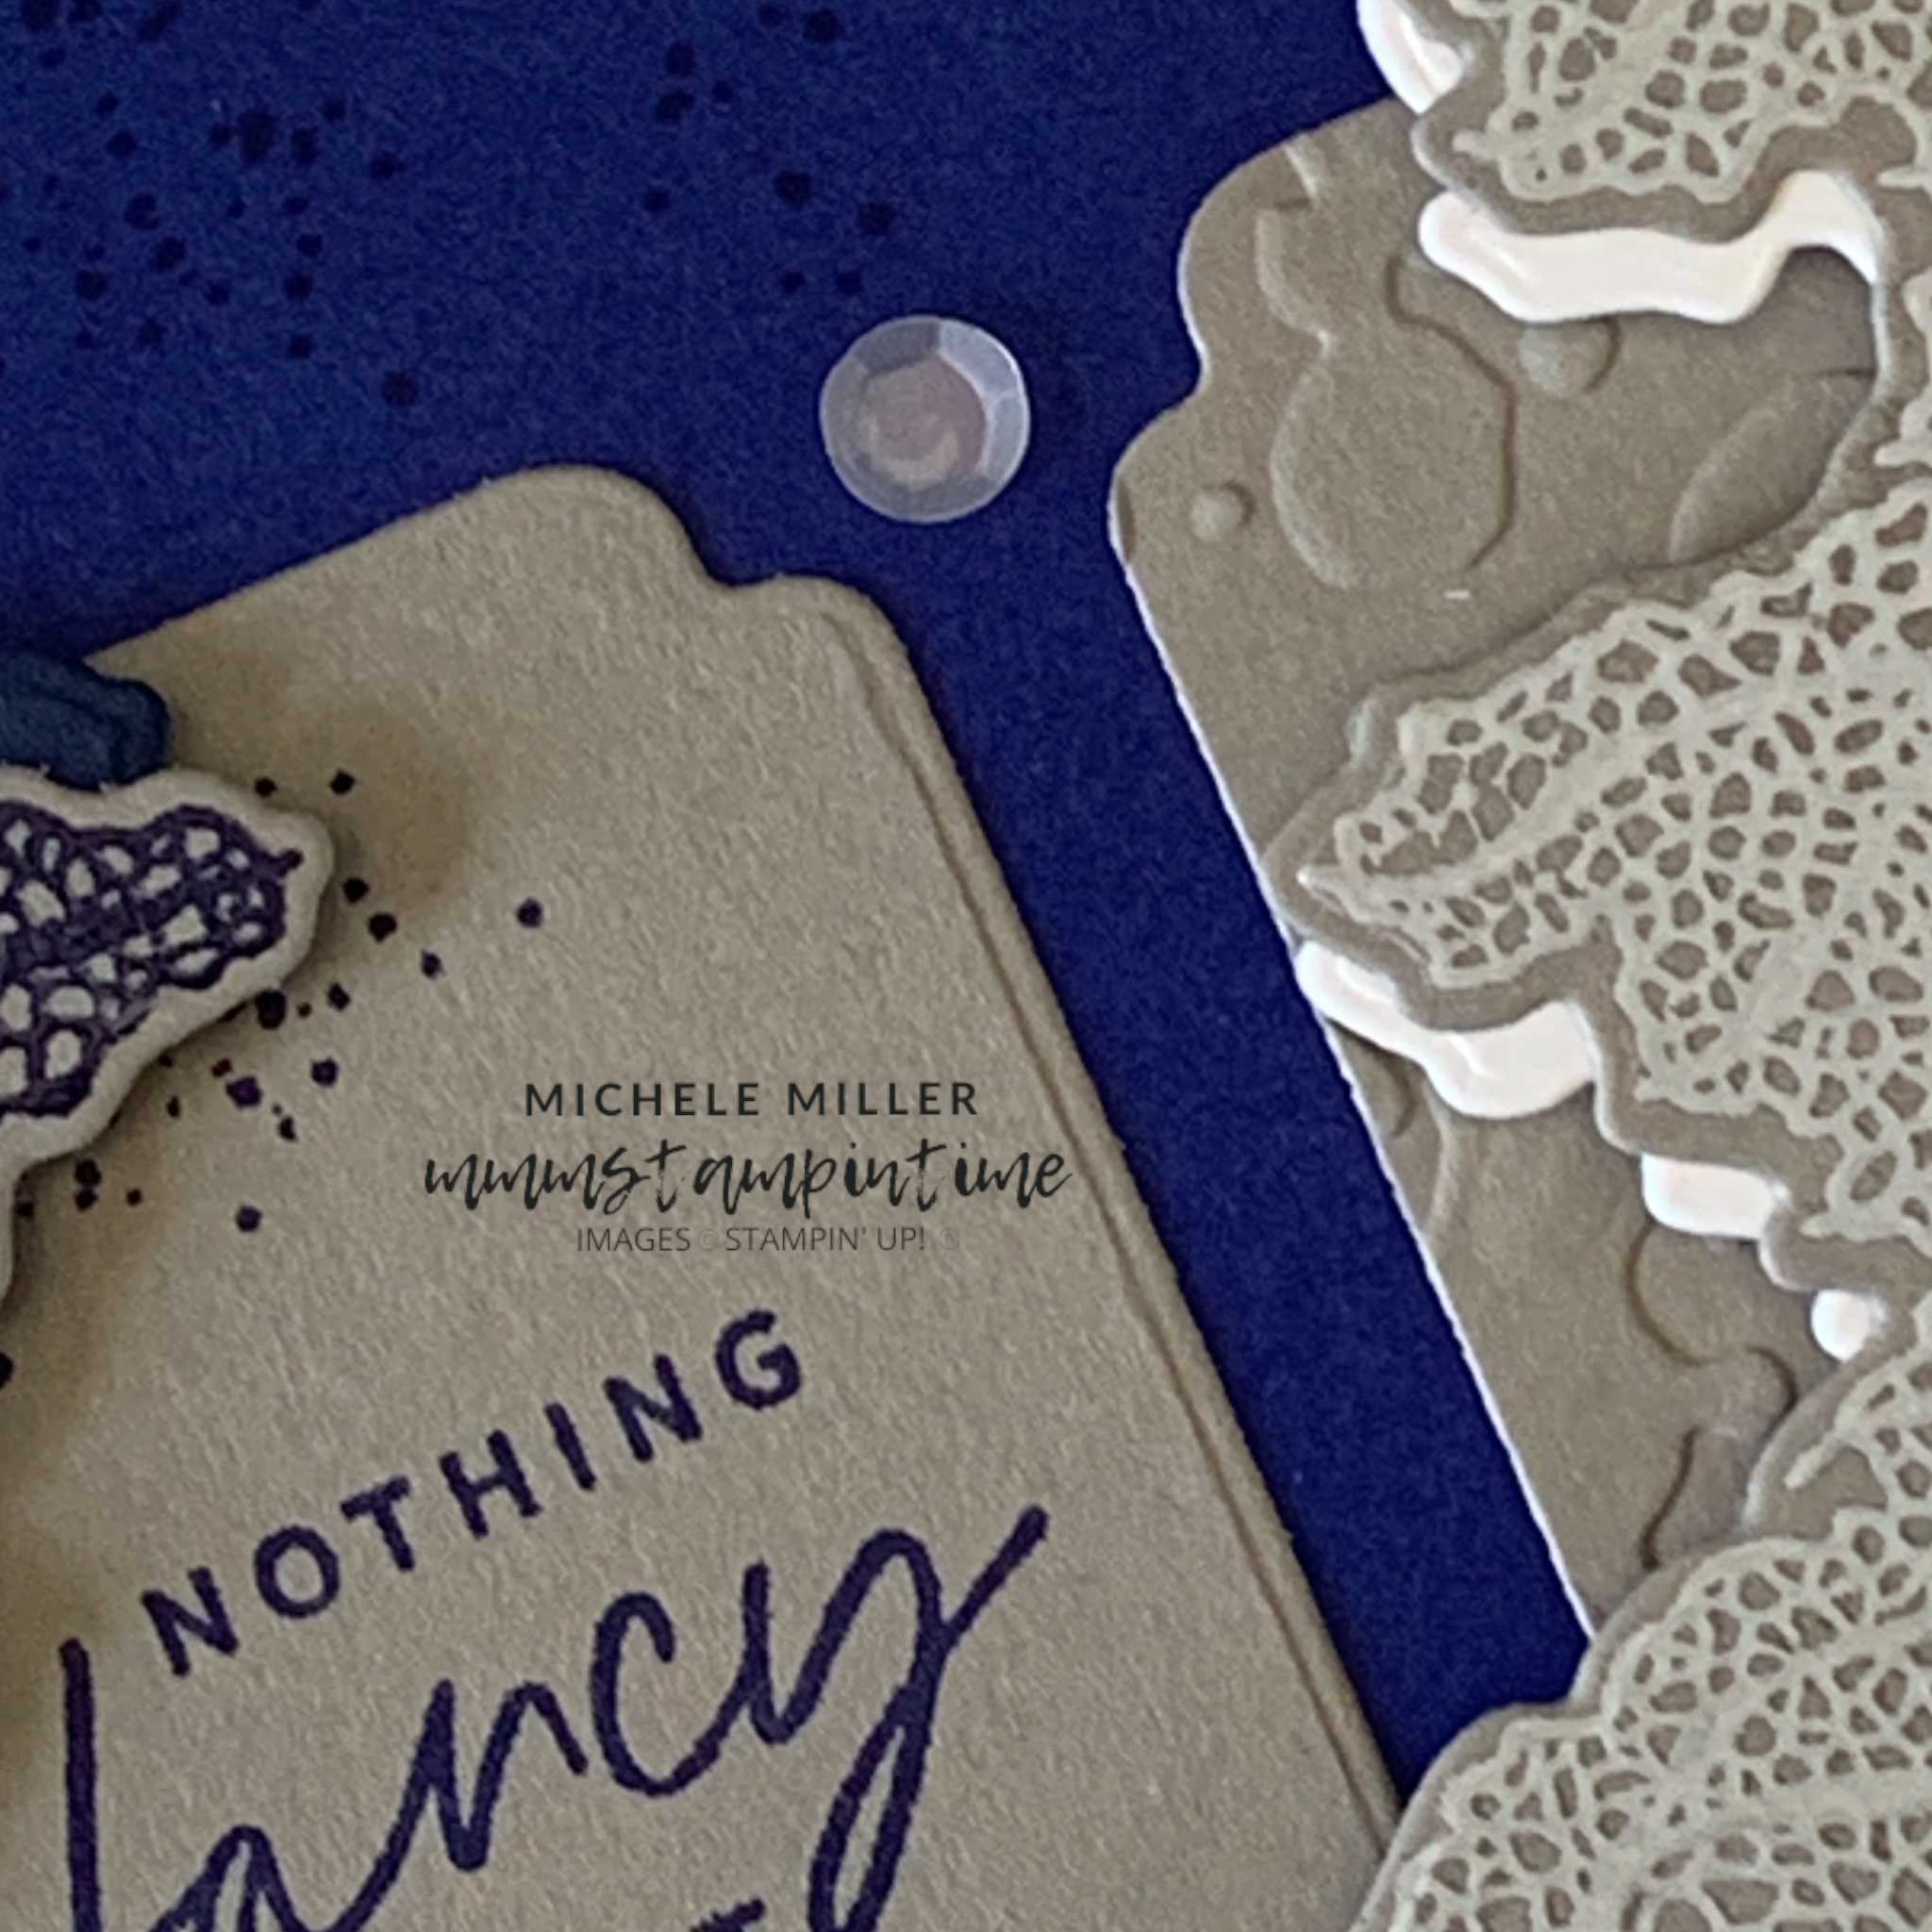
The next step was to cut three Gray Granite panels using the Somethin Fancy Dies. Two of the panels were embossed with splatters from the Stripes & Splatters 3D Embossing Folders. The centre panel was stamped using a greeting from the coordinating Something Fancy Cling Stamp Set.

I chose the sea fan image from the Beauty of the Deep Cling Stamp Set. The image was stamped twice – once in Whisper White and then in Night of Navy, onto Gray Granite cardstock. They were both stamped using the now retired Stamparatus because I stamped each of the images again using Versamark and then heat embossing the Clear powder to give the images a glossy finish.

The images were cut using the Beuaty of the Deep Dies. I also cut the same fan shape in Basic White and Night of Navy to create a shadow background for the images. The shadow layers were offset and adhered behind the stamped and embossed images.

The panels were adhered directly onto the card front .

The layered fan images were then positioned on each side of the card using Stampin’ Dimensionals.

The same fan image was stamped on the card insert and envelope.

The finishing touch was to add some white sequins, from the Adhesive-Backed Sequins Trio, to the card front.

These two stamp sets worked well together. The Something Fancy Dies have laods of great shapes to use for cutting greetings.

Tomorrow I have something completely different to share with you. Until then, happy stamping.

If you live in Australia, you can order any of the products I used to make this card by going to my online store. Just click on any of the images below.

Product List
Heat Tool
[129056]
$54.00
Paper Snips
[103579]
$19.25
Bone Folder
[102300]
$12.25
Posted on Leave a comment

I HAVE A NEW SLIMLINE CARD TO SHARE TODAY

This slimline card was made for this week’s Global Design Project challenge featuring flowers.

The Tea Boutique Suite has some floral stamps and dies that I thought would be perfect for this week’s theme.

I die cut and embossed lots of flowers for the card. The colours for the flowers are Crushed Curry, Fresh Freesia, Orchid Oasis and Sweet Sorbet.The splatters folder from the Stripes & Splatters 3D Ebmossing Folder bundle was used to add texture to the flowers.

The tea cup was cut from one of the papers from the Tea Boutique 6″x 6″ Designer Series Paper. I added stampin’ Dimensionals to the back of the cup and placed it on the card to make it appear as if it was pouring out the flowers.

The flowers were added to the card using Multipurpose Glue and Stampin’ Dimensionals. From the top they look to be slowly spilling out from the cup and as they get to the bottom of the card, they begin to pile up.

The greeting, from the Cup of Tea stamp set, was stamped in Fresh Freesia on to a small piece of Basic White cardstock.

The Fresh Freesia gem from the 2021 – 2023 In Colour Gems is perfect for this card.

This was a fun card to make – I hope you like it. I have another card to share later today.

Tomorrow is 3D Thursday and I have a cute little box to share with you.

Until then, happy stamping.

If you live in Australia, you can order any of the products I used to make this card by going to my online store. Just click on any of the images below. Because some of the products I have used to make this card are not yet available to customers, I am not able to show them at this time.

Product List
Paper Snips
[103579]
$17.00
Posted on Leave a comment

STEP IT UP SUNDAY – FROM #SIMPLESTAMPING TO ABOVE & BEYOND

Yesterday I shared two #simplestamping cards using the Sale-a-bration Friendly Hello Bundle.

For today’s cards I have used a wider range of tools, techniques and products.

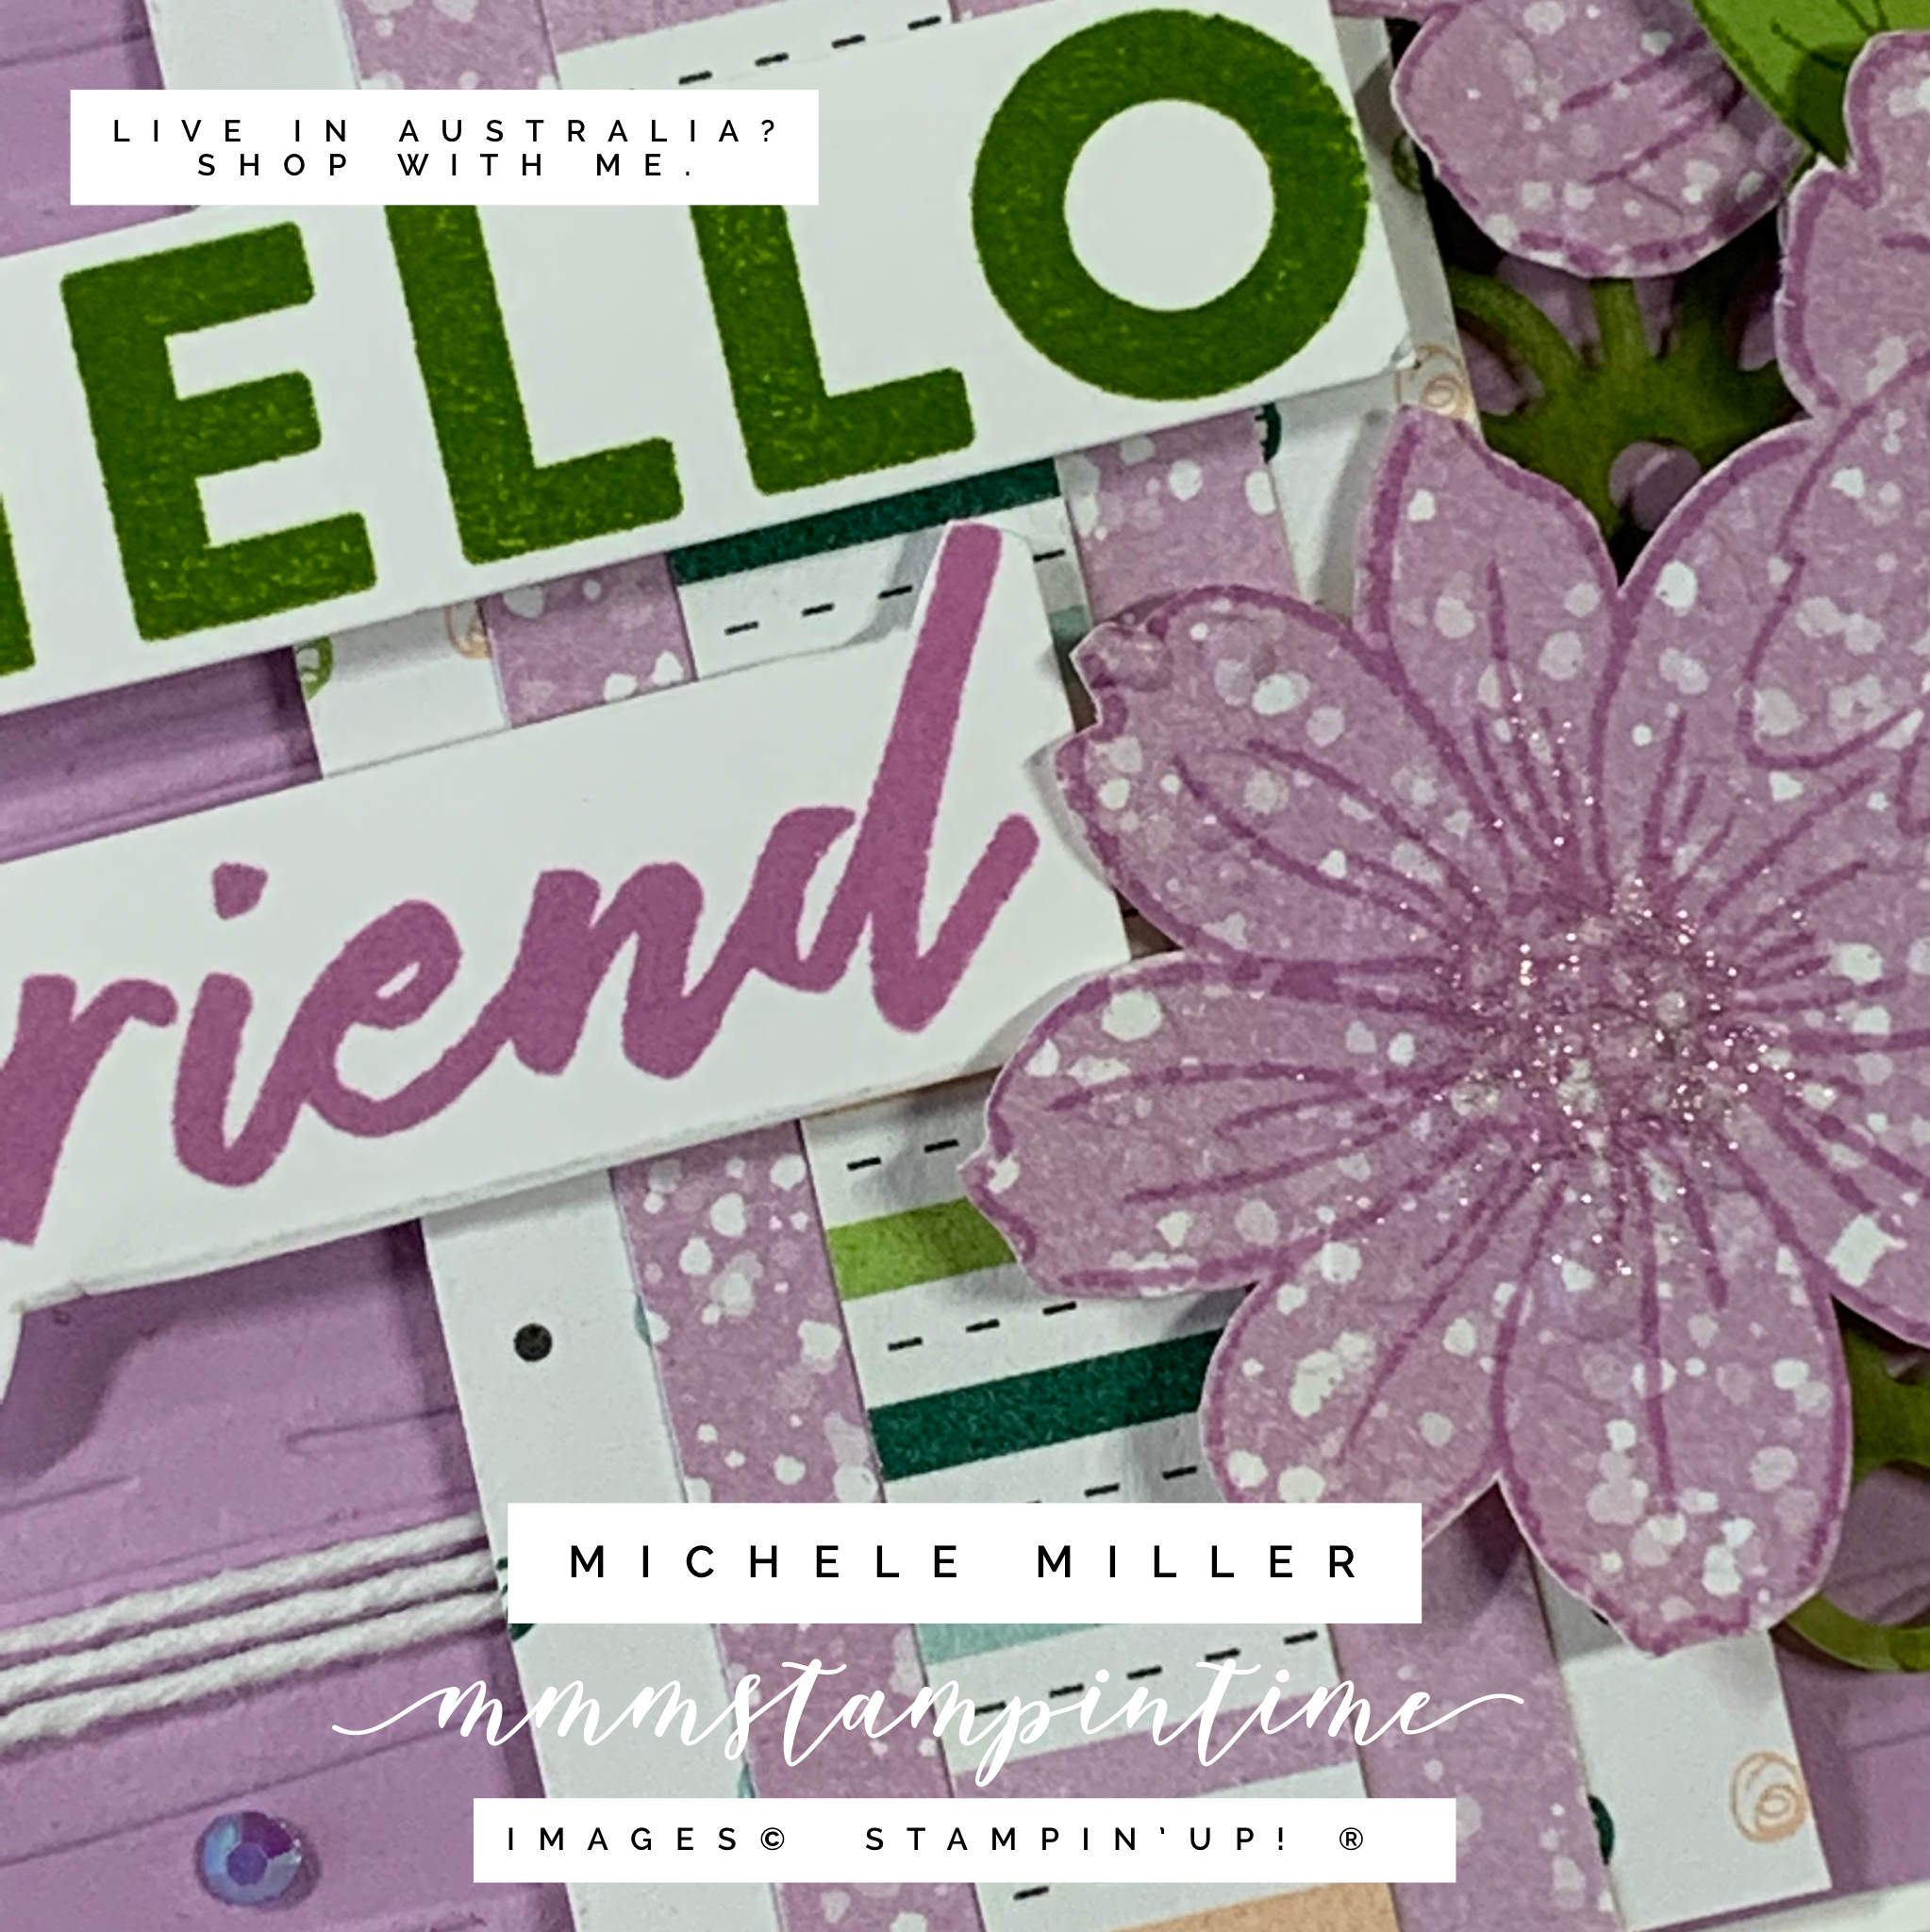
For this card I used my Paper Trimmer to cut 3/4″ strips of the Friendly Hello 12″x 12″ DSP. The DSP strips were adhered to the card front and I used my Grid Paper to help me space them evenly.

To ensure the greeting was stamped clearly, I used my Stamparatus so that I could ink the stamp as many time as needed. After trimming the Basic White cardstock, I added Stampin’ Dimensionals to give it height.

I stamped the flowers directly onto the DSP and fussy cut them before popping them up with dimensionals. The flowers also had some Clear Wink of Stella added to the centres.

The flowers were also stamped inside the card and on the front of the envelope. The final touch was to add some 2021 – 2022 In Colour Jewels to the sentiment panel.

The next card steps things up even more, with more layers and elements.

I took a 4-7/8″x 3-3/8″ piece of Fresh Freesia cardstock and ran it through my Mini Stampin’ Cut & Emboss Machine using the new Stripes 3D Embossing Folder.

Before attaching this embossed layer to the card front, I wrapped a length of white Baker’s Twine, from the Essentials Pack, and tied a bow.

Three strips of DSP (1-1/2″, 1″ and 1/2″) were cut and layered before I placed a piece of Granny Apple Green coloured Square Vellum Doily under it. Then I popped it up, on the card front, using Stampin’ Dimensionals.

As with all the previous cards, I stamped and fussy cut the flowers before using dimensionals to place them across the card front. Then I painted some Clear Wink of Stella in the centre of the flowers. I also stamped and fussy cut the leaves to tuck in behind the flowers.

The greeting was stamped in Fresh Freesia and Granny Apple Green using the Stamparatus for a really clean image. The words were then trimmed down so that I could one in each colour.

Last but not least, I added some of the Fresh Freesia 2021 – 2023 In Colour Jewels for some bling.

Tomorrow is Memories on Monday.

Until then, happy stamping.

If you live in Australia, you can order any of the products I used to make this card by going to my online store. Just click on any of the images below.

Product List
Paper Snips
[103579]
$17.00