There are always loads of gorgeous, new Stampin’ Up!® stamp sets and products each year for Christmas.
Most of the Christmas products are beautifully designed for a northern hemisphere Christmas but I am always drawn to those that suit a warm and summery Christmas experience.
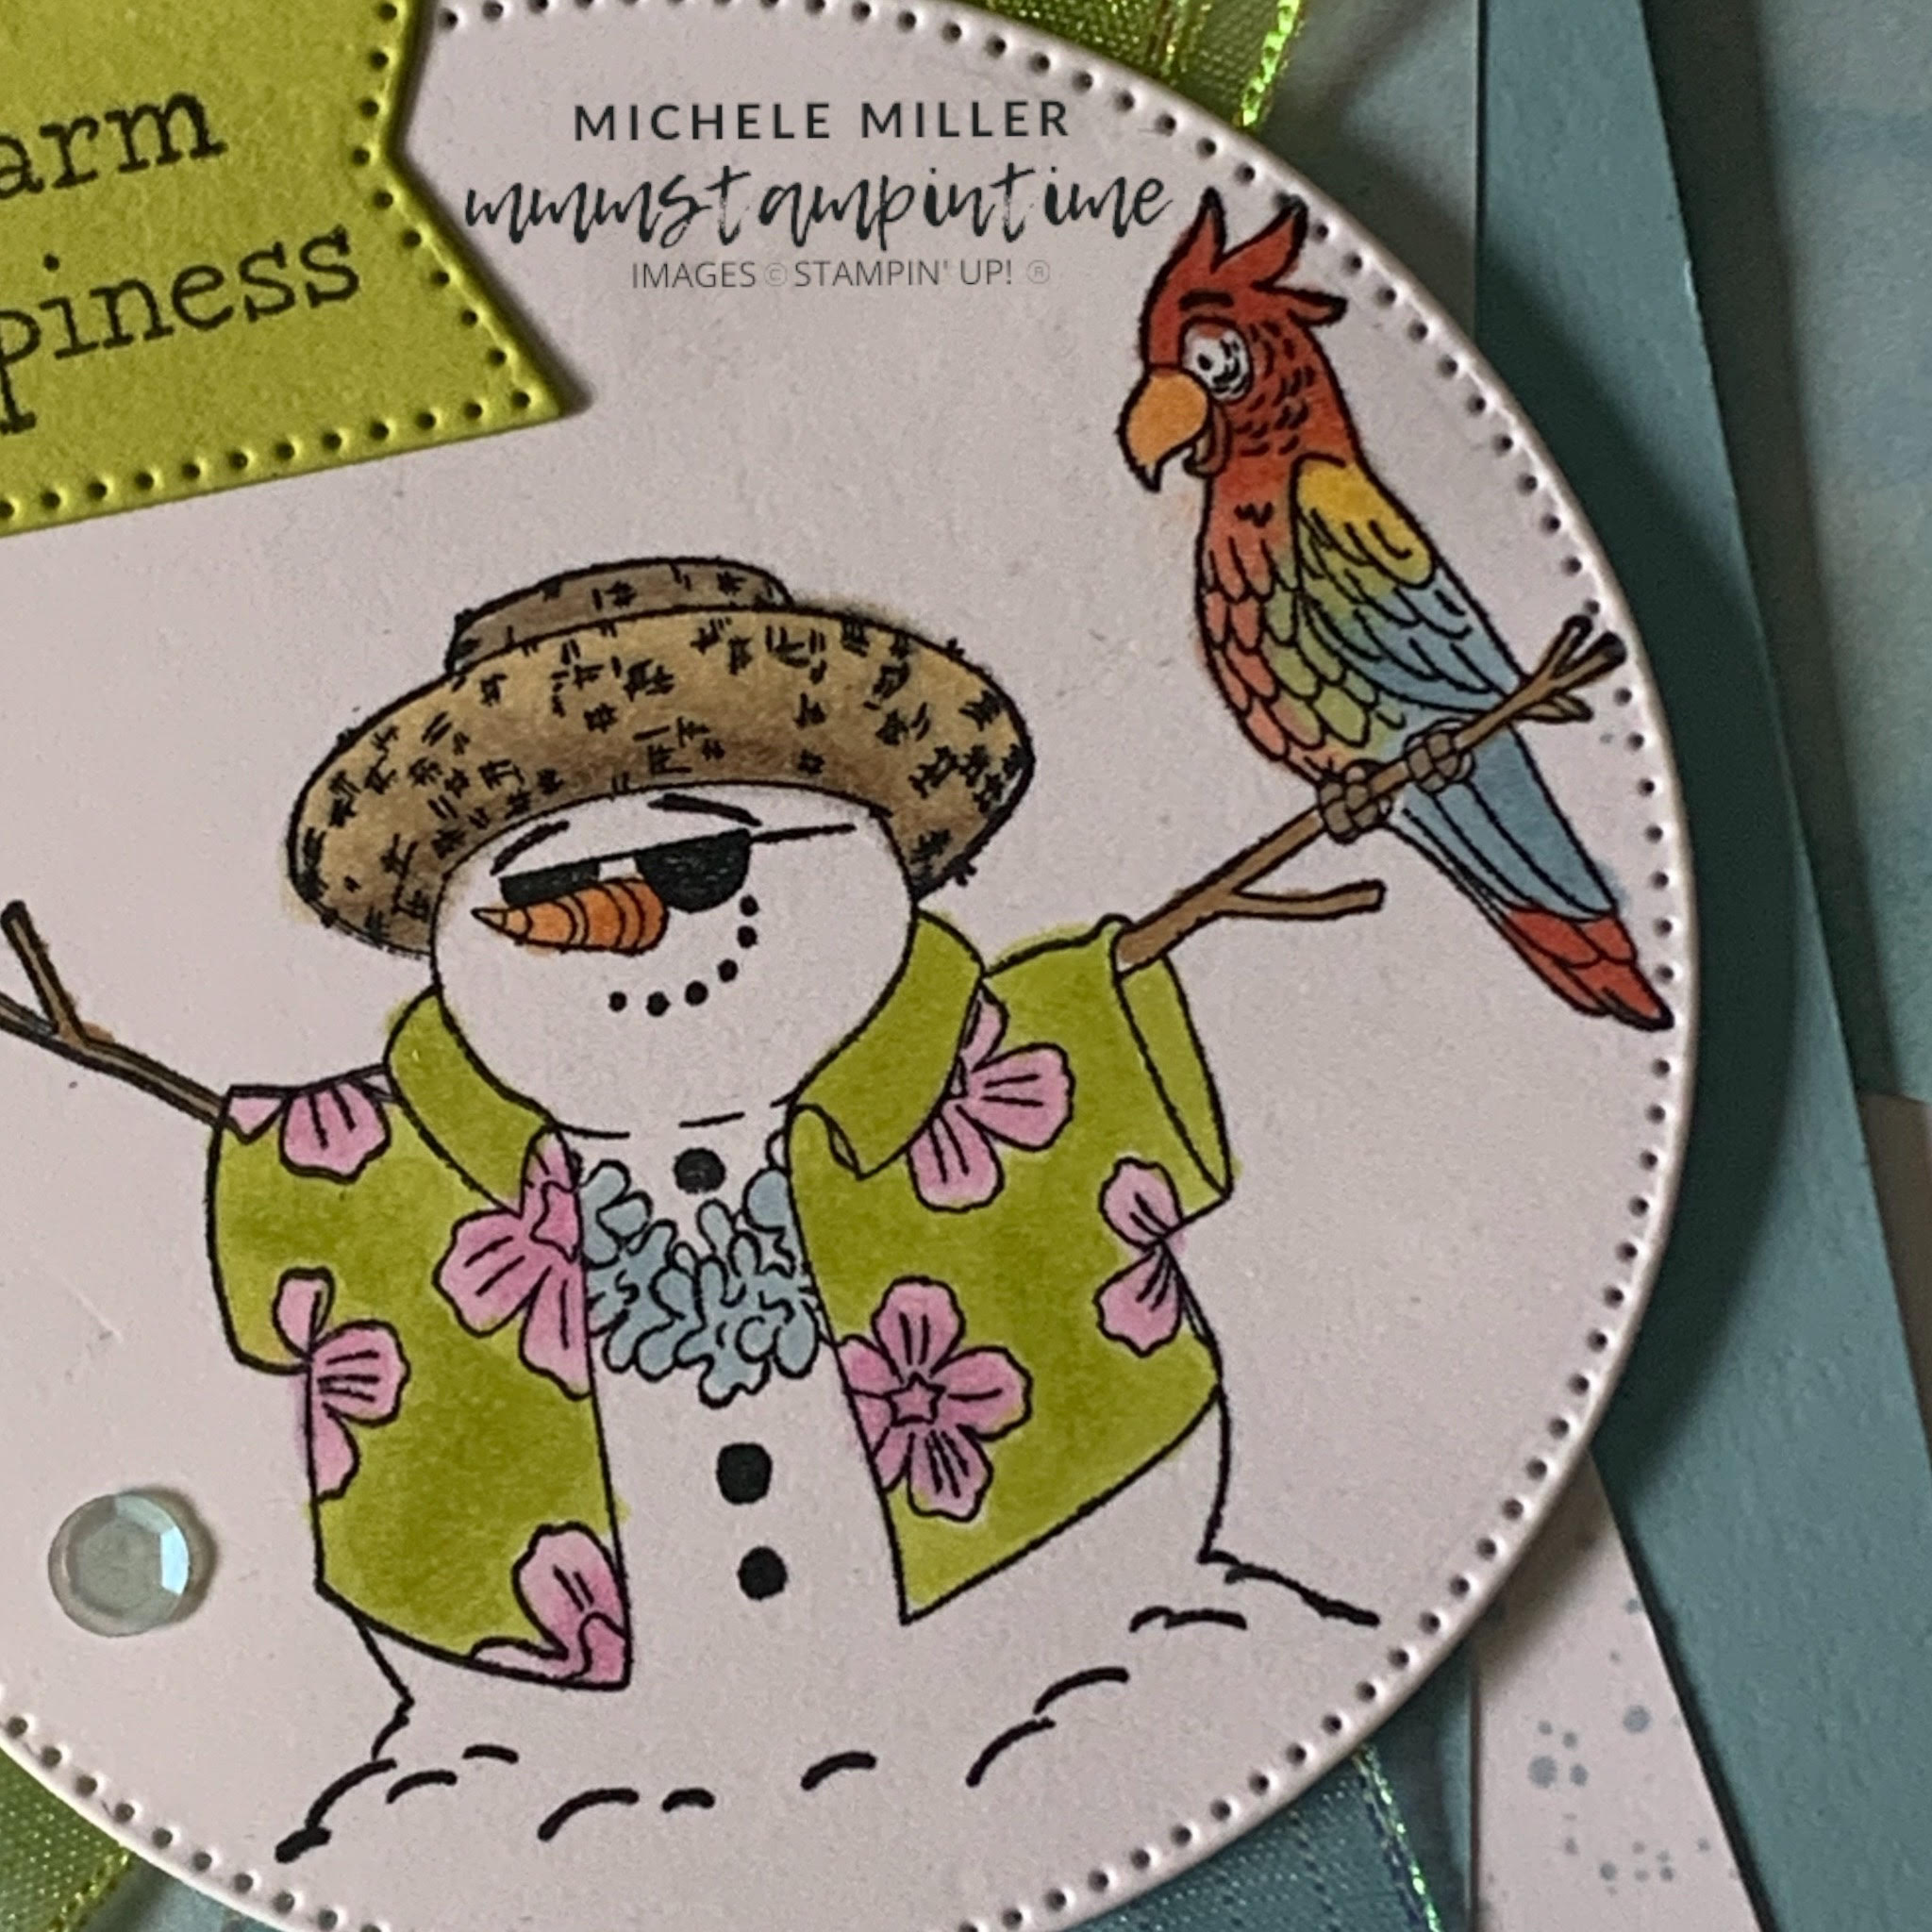
So today, my project features the very tropical Snowman Hugs.

I chose the snowman wearing the hibiscus shirt and panama hat for this card … and, it was so much fun to colour!
I used my Stampin’ Blends to colour the snowman. The colours I used were Balmy Blue, Bubble Bath, Calypso Coral, Crumb Cake, Daffodil Delight, Lemon Lime Twiat, Pecan Pie and Pumpkin Pie.

After stamping and colouring the snowman I used the largest circle, from the Stylish Shapes Dies, to cut around it.
I used a Balmy Blue cardbase and added two smaller panels – a panel of Basic White that I flicked Balmy Blue ink across using the Blends pen and a panel of Beautiful Bokeh 6″x 6″ Designer Series Paper (this DSP is available from January).
Positioning the smaller panels at different angles creates a wonderful impact to the front of the card.
Before securing the snowman circle to the card front I took two lengths of Iridescent Striped Trim and coloured each using Balmy Blue and Lemon Lime Twist Stampin’ Blends.
I looped these ribbon lengths and secured them to the back of the circle before popping them on the card front, using Stampin’ Dimensionals.

The greeting, from the same stamp set, was stamped onto a scrap of Lemon Lime Twist card and cut using one of the banner dies from the Stylish Shapes Dies. I added a dimensional to the left-hand side of the banner and some adhesive to the right before adding it to the card front.
I added a strip of the DSP to the card insert and a panel to the back of the envelope.
Finally, I coloured some of the white sequins from the Adhesive-Backed Sequins Trio with my dark Balmy Blue Stampin’ Blends Pen and added them to the card.

For the rest of the week I will be sharing projects I have made using some stand-alone stamp sets (they do not come in a bundle or suite) from the upcoming January – April 2025 Mini Catalogue.
Until then, happy stamping.

If you live in Australia, you can order any of the products I used to make this card by going to my online store. As you read through this post, you will see the products I used for this project. The new items are available from January 7th.

 |  | ||
 |  |  |  |
 |  |  |  |
 |  |  |  |
")
 Striped Trim")


