Posted on Leave a comment

TECHNIQUE TUESDAY – TIME TO TRY ANOTHER TRICK

As I work my way through the myriad of card making techniques, I am rediscovering some that I have not used in such a long time.

Today’s Technique Tuesday is all about the Triple Layer Card Technique.

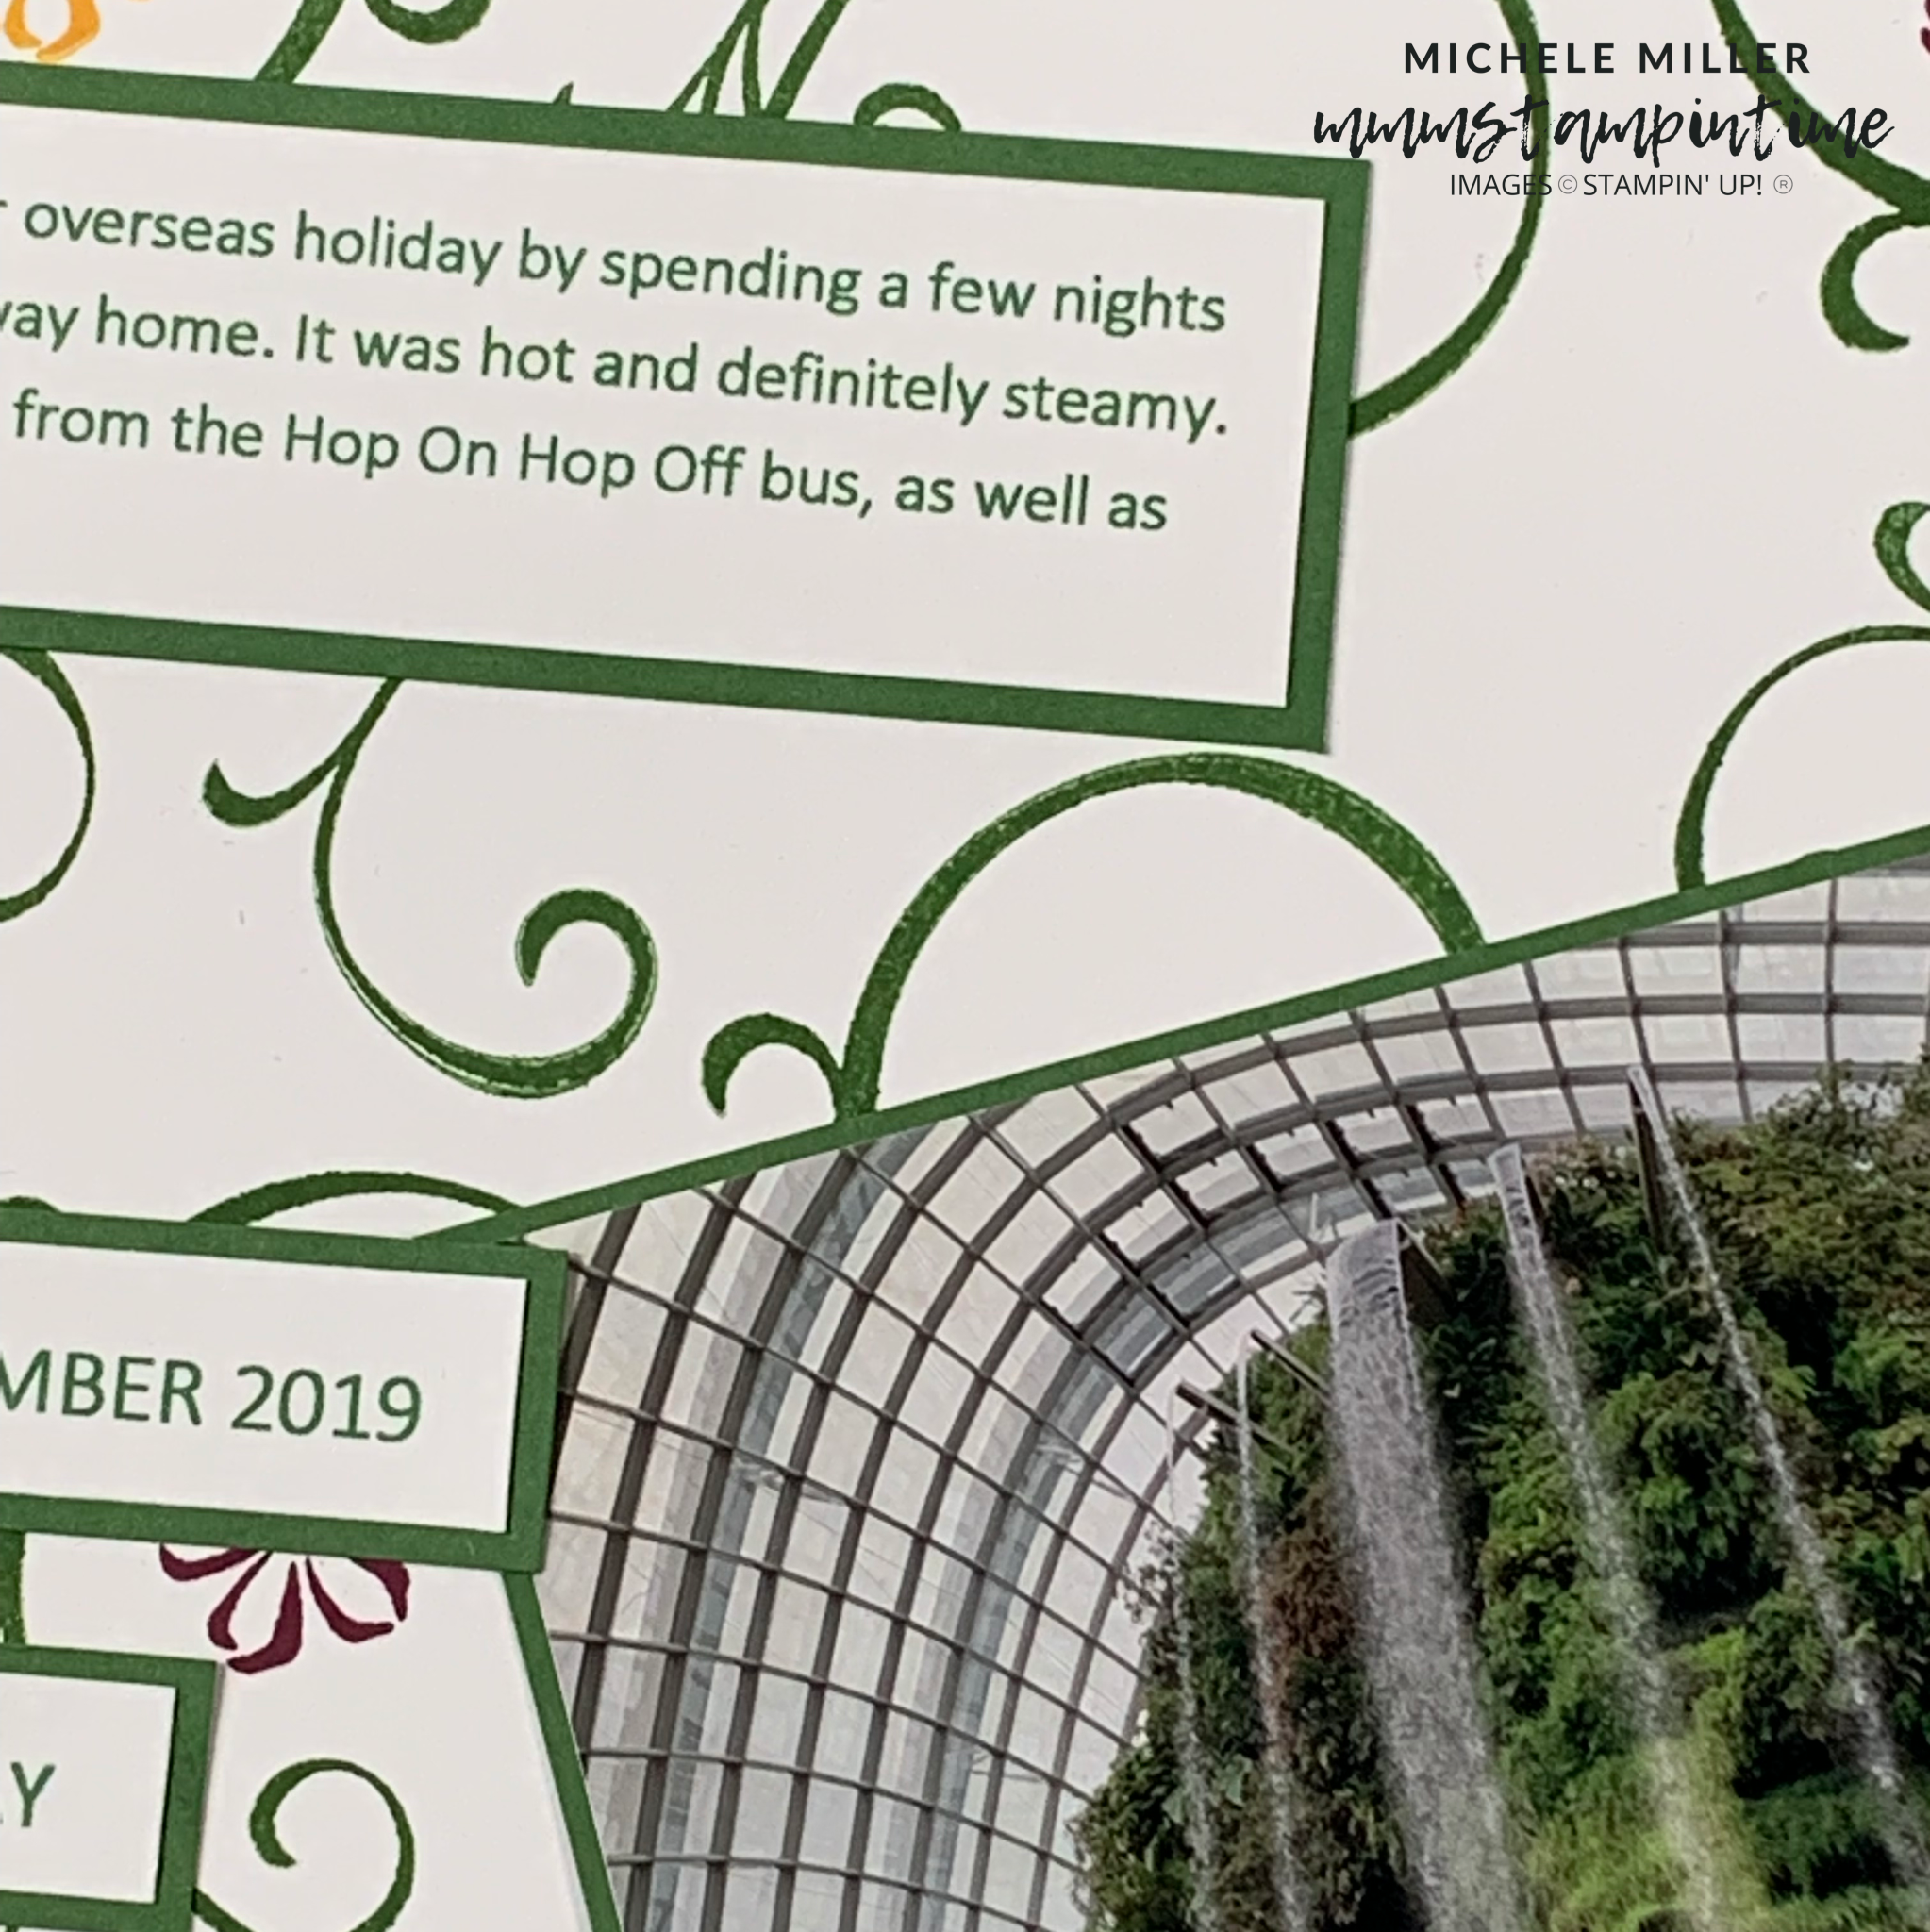
Remember that this week I am featuring the Sentimental Swirls Stamp Set. It is great – it has 27 stamps – one major swirl image and four versatile greetings. There are two small swirls that can be used to extend the main swirl.

Then there are 20 more, small stamps – 10 are outline images and 10 are infill stamps. They include two different floral styles, five different leaf styles and a bird. This ensures an amazing range of combinations for all of your projects.

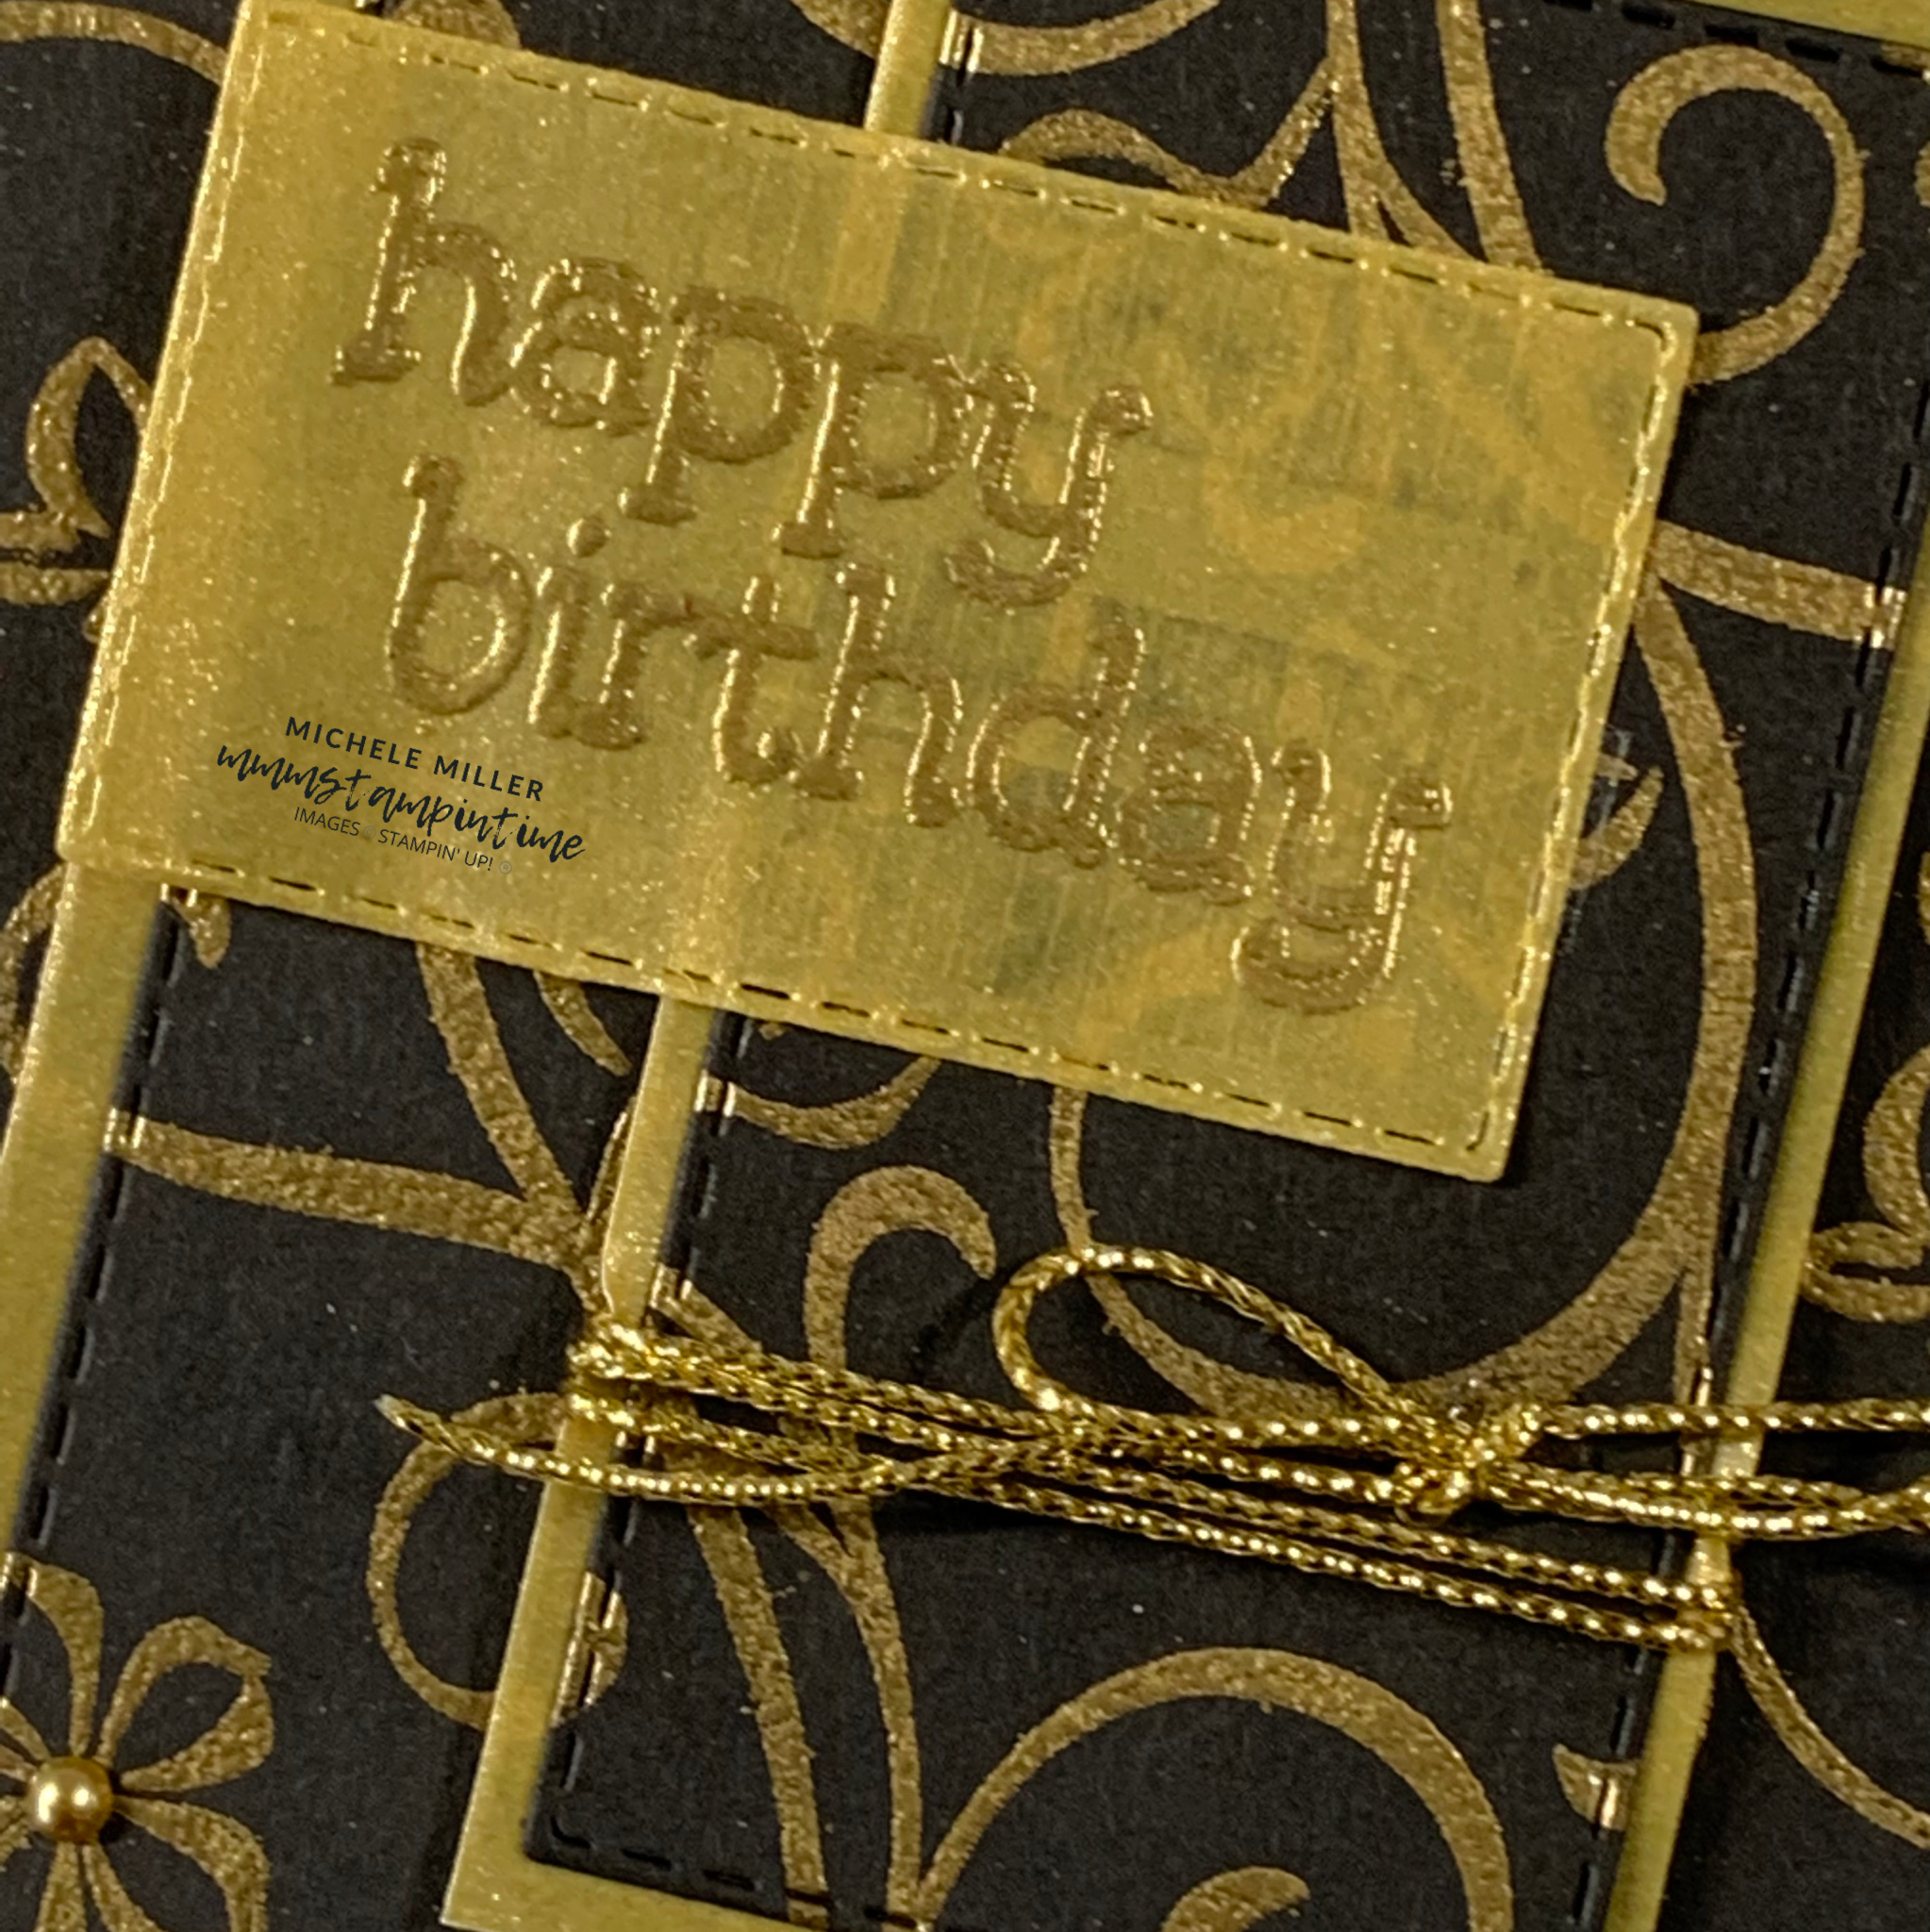
For this card I used just 5, of the 27, stamps. The images were stamped, in stages, using Versamark. Gold embossing powder was sprinkled over the stamped image and heat embossed. This process was repeated until I was happy with the overall image.

The Triple Layer Technique involves cutting the 5-5/8″x 4″ stamped and embossed panel into three, separate rectangle. I used my Stitched Rectangle Dies to do this.

I measured the two smaller rectangles and calculated the sizes of Gold Shimmer Vellum needed to adhere to the back of those two pieces. As soon as these two layers were assembled, I was able to add the three layers to the card base. The largest was adhered diectly on to the base. The next two layers were both added using Stampin’ Dimensionals to layer them up.

Before the smallest layer was added, I wrapped a length of gold Simply Elegant Trim several times around it and tied a bow.

The birthday greeting was heat embossed on a piece of Gold Shimmer Vellum using gold embossing powder. IT was secured on the card front using Stampin’ Seal+.

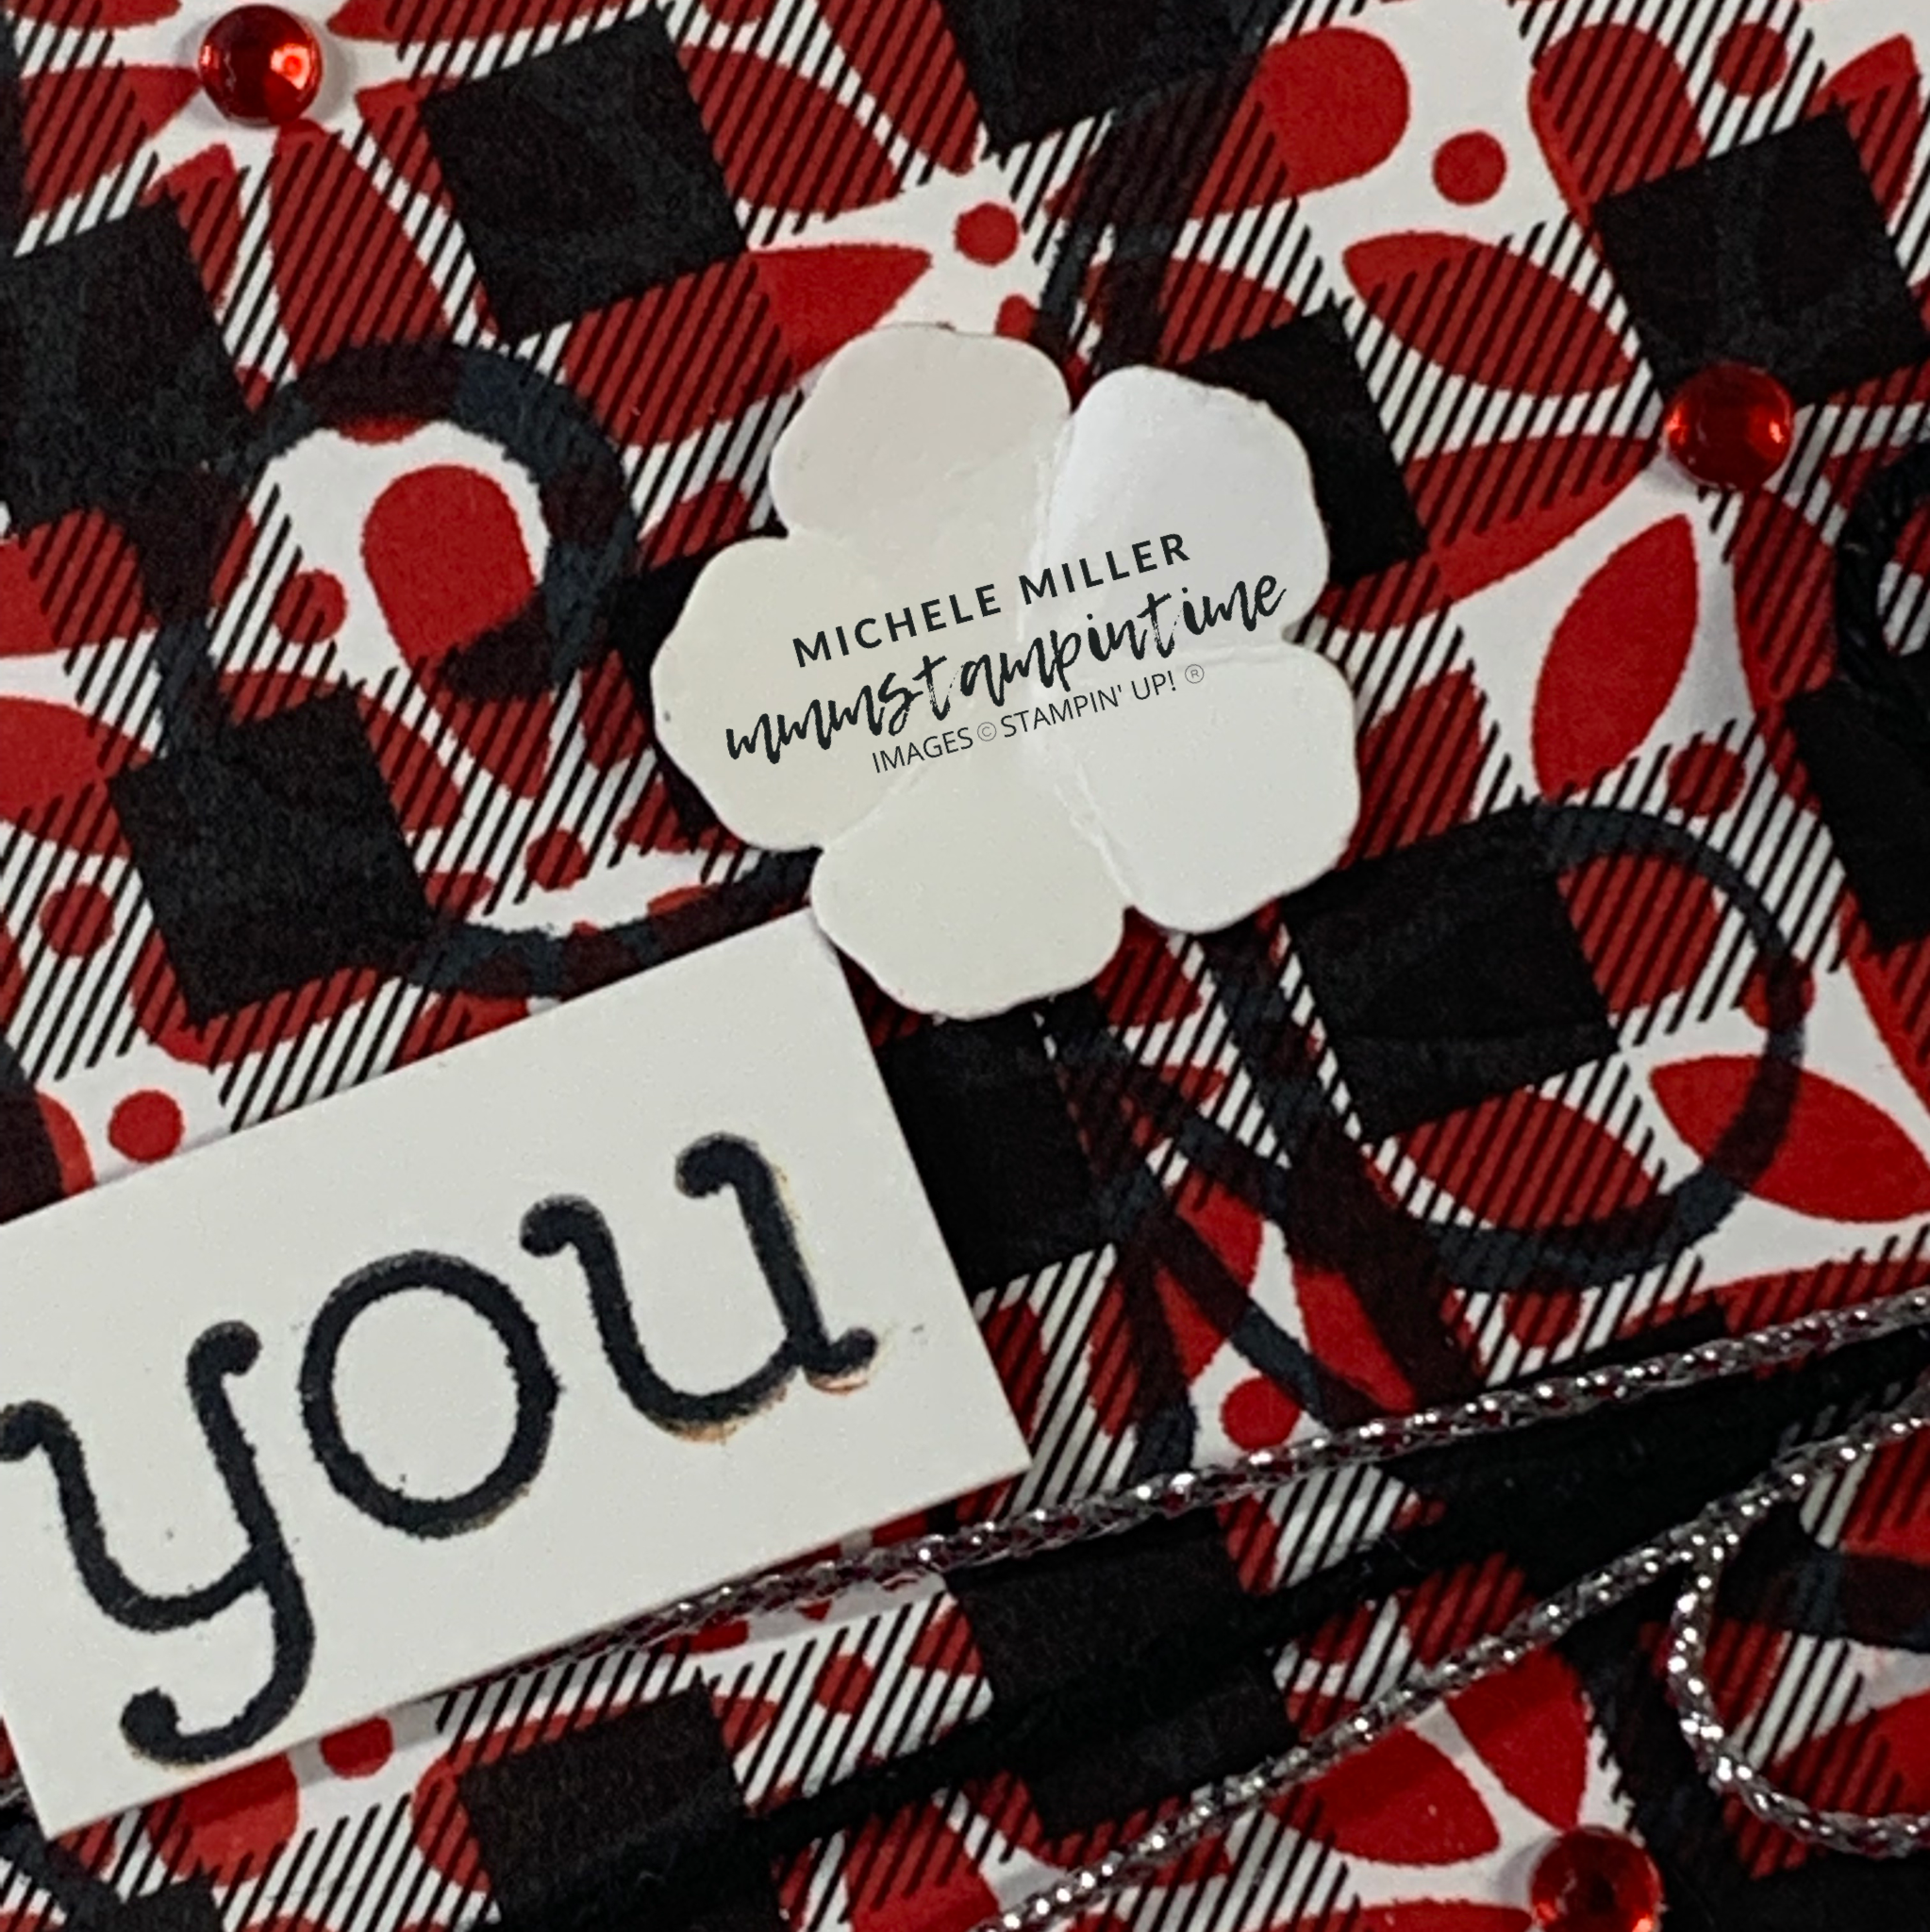
The small flower was stamped on the card insert and envelope, using Versamark and gold embossing powder.

The final step was to add some gold Metalic Pearls.

I think this has turned out to be a very elegant birthday card. What do you think?

Tomorrow is Wednesday and that means that it is time to share What’s Happening this Wednesday. Wednesday is my day to share blog hops and challenge projects.

Until then, happy stamping.

If you live in Australia, you can order any of the products I used to make this card by going to my online store. Just click on any of the images below.

Product List
Heat Tool
[129056]
$50.00
Paper Snips
[103579]
$17.00
Posted on Leave a comment

MONDAY MEANS THAT IT’S TIME TO SHARE MORE MEMORIES

Scarpbooking has a very long history, dating back as far to the 15th century. It was about keeping and recording memories – letters, poems, recipes, scrapbook quotes and similar items were kept in the commonplace books. Friendship albums were typically used when company was invited to a home.

There is also a long history in the development of photography. George Eastman was an early developer of film and accessible cameras. During the 20th century, photography became readily available to the public. Now, I can take great photos using my phone and print directly to a WiFi photo printer – just like I did today for this memory keeping page.

This week I am featuring Sam Hammond’s Sentimental Swirls Stamp Set that was designed for her 1000000 Sales Achiever achievement.

I used the stamp set to create a botanical 12″x 12″ background for the photos I chose for today. The photos were taken in November 2019, when Rob & I spent the last few days of a two month overseas holiday in Singapore. On this occasion we spent the day at Gardens by the Bay.

For the background images I used Crushed Curry, Garden Green and Rich Razzleberry inks. THe photos were matted onto Garden Green and Rich Razzleberry cardstock.

For this week’s scrapbook page, I decided to type my journaling and print it out on Basic White cardstaock. I printed the text in Garden Green (RGB – 064,130,071). I trimmed down the titles and journaling text before matting it on Garden Green cardstock.

This page is a great way to show that you don’t need hundreds of products to create a great scrapbook page.

Tomorrow it Technique Tuesday and I have a heat embossed, Triple Time Stamping Technique card to share with you.

Until then, happy stamping.

If you live in Australia, you can order any of the products I used to make this card by going to my online store. Just click on any of the images below.

Product List
Posted on Leave a comment

TIME TO STEP UP SOME #SIMPLESTAMPING CARDS THIS SUNDAY

Just like an exercise class, it’s time to step things up.

I have taken the three cards from yesterday’s post and stepped things up.

For this card, I stamped the large swirl in Granny Apple Green on to a piece of Granny Apple Green cardstock. Then I stamped Versamark ink directly over the original stamped image. This meant that I could then use Clear Embossing Powder to achieve a glossy stamped image.

I embossed this piece of cardstock using the splatters from the Stripes & Splatters 3D Embossing Folder pair.

I took a length of Black & White Gingham Ribbon, tied a bow and then wrapped it around the embossed panel.

The flowers were punched from the Strawberry Builder Punch. I used a Blending Brush to dab Poppy Parade ink on to each flower. The flowers were attached to the front of the card.

I stamped the inside of the card and the envelope in the same way as yesterday’s cards.

To finish this card , I added Red Rhinestone Basic Jewels to the centre of each flower.

For this card, I decided to use a piece of black and white checked paper from the Pattern Party 12″x 12″ Designer Series Paper. This is a bundle of 48 sheets of DSP that you can select from the Host & Earn program.

I stamped the large swirl using the Memento Tuxedo Black ink on to the piece DSP.

The flowers, from the Sentiment Swirls Stamp Set, were stamped using Poppy Parade ink on Poppy Parade cardstock. They were then punched using the Flowers & Leaves Punch and the Strawberry Builder Punch.

The Granny Apple Green leaves were punched using the Flowers & Leaves Punch.

The punched elements were then attached to the front of the card.

The sentiment was stamped on to a piece of Basic White cardstock and was trimmed down before being attached to the card front with Stampin’ Dimensionals.

The last step was to add some Red Rhinestone Basic Jewels to the centre of the flowers.

For this card, I started by adding a strip of the black and white checked DSP to the left-hand side of the card. Then I stamped the large swirl using Granny Apple Greeny ink.

After punching several flowers, using the Flowers & Leaves Punch and the Strawberry Builder Punch, they were layered and attached to the card front.

The sentiment was stamped on to a piece of Basic White cardstock before being trimmed down. Then I added Stampin’ Dimensionals to pop it up.

I used a length of Black & White Gingham Ribbon and the black/white baker’s twine, from the Playful Pets Trim Combo Pack, to create the triple bow that was added to the card front. The twine tails were separated to add more interest.

I finished this card by adding some Red Rhinestone Basic Jewels to the card.

For this card, I took a panel of the black and white checked DSP and used one of the new Butterflies & Flowers Layering Decorative Masks to add the Poppy Parade flowers to the DSP.

Then I stamped the large swirl across this piece of DSP, using Memento Jet Black ink.

My next step was to cut lengths of the silver trim, from the Simply Elegant Trim bundle, and the black and white baker’s twine, from the Playful Pets Twine bundle, to wrap around the stamped layer and tie into a multiple bow.

Several flowers were punched, using the Strawberry Builder Punch, from Basic White cardstock. After they were shaped using a stylus, they were adhered to the card front.

The sentiment was stamped and cut before being added to the card front with Stampin’ Dimensionals.

Finally, several Red Rhinestone Basic Jewels were added to the forn of the card.

Stepping up simple cards involves using more products, more tools, more techniques and a little more time. Whether you are a beginner or a more experienced card maker, there are time when you just want to keep it clean and simple – and, then there are times when you want to make cards that are more complex. The great thing is that there are so many techniques and card fold ideas available, it will take all of us years to work our way through them.

Tomorrow is Monday Memories and I have a few ideas for my scrapbook layout. So, I will say farwell and go and start planning.

Until then, happy stamping.

If you live in Australia, you can order any of the products I used to make this card by going to my online store. Just click on any of the images below.

Product List
Stamparatus
[148187]
$85.00
Heat Tool
[129056]
$50.00
Paper Snips
[103579]
$17.00