Posted on Leave a comment

I AM REALLY ENJOYING CREATING MEMORY KEEPING PROJECTS EACH MONDAY

As I mentioned last week, returning to scrapbooking has been a long overdue papercrafting joy.

This week I have chosen one of the amazing new product suites that will be found in the forthcoming 2025-2026 Annual Catalogue. So welcome to a week long sneak peek!

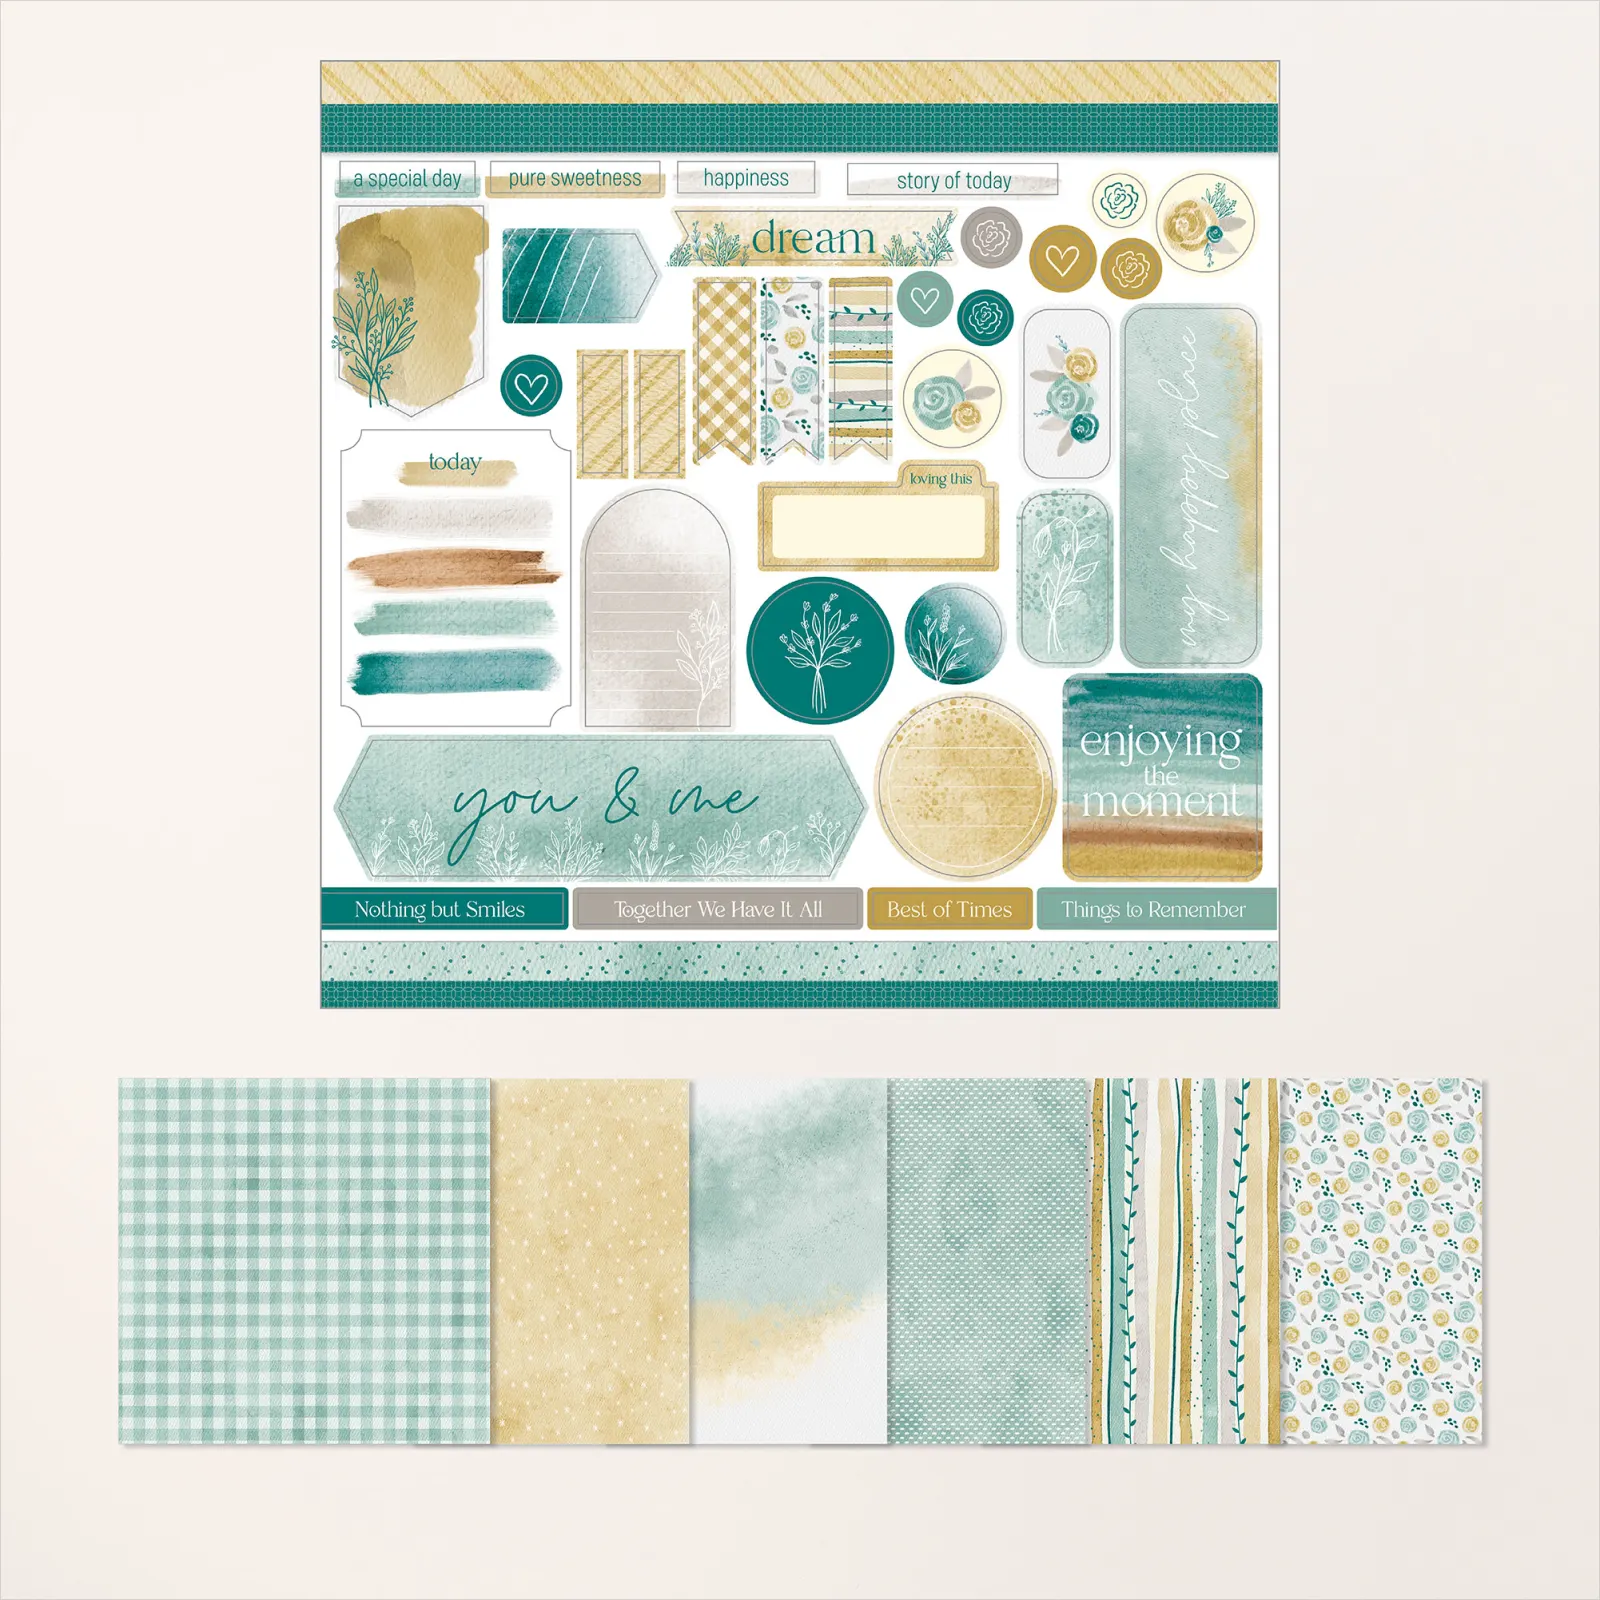
The Beautiful Gallery Suite Collection is made up of two stamp sets and coordinating dies packs. There is also a gorgeous 6″x 6″ Designer Series Paper pack called Beautiful Gallery with 48 pages – 4 each of 12 double-sided designs. The collection also has a Damask Designs Embossing Folder, Pressed Flower Motifs embellishments and a roll of Basic Beige 3/8″ (1cm) Classic Ribbon.

For my scrapbooking page I used some of the DSP and the the Beautiful Motifs Dies from the soon to be available Suite Collection.

There are five dies in the pack. The three on the right only partially cut cardstock while the other two cut complete floral/foliage shapes.

When the three dies that only partially cut card they can reveal an different coloured card underneath.

For my scrapbooking page, I used the corner fleur de lis inspired die to create photo and journaling corners.

I used a Pretty Peacock 12″x 12″ sheet for the scrapbooking page and then added two of the damask inspired DSP sheets.

The Beautiful Motifs Stamp Set has a stunning damask image that I stamped, in Basic Gray, directly onto the page.

Then I cut and die cut the photo and journaling panels using the corner die. The die cut photo panel then had a slightly larger Basic Gray card panel adhered behind it.

I have added a 6″x 4″ piece of Basic White card to show you where the photo could be positioned.

I haven’t added a title for the page yet because I have yet to find the perfect photo for this page. Then, I will add some journaling to ensure the memory survives.

Tomorrow I have a card to share with you.

Until then, happy stamping and scrapbooking.

If you live in Australia, you can order any of the products I used to make this card by going to my online store. As you read through this post, you will see the products I used for this project. The new items are available from May 5th.

Posted on Leave a comment

SCRAPBOOKING IS AN AMAZING WAY TO KEEP MEMORIES ALIVE

My paper crafting journey began with scrapbooking many years ago but after a while I moved on to card making. So it has been wonderful to bring this back into my crafting life.

Although I have had a few photobooks printed they don’t really allow you to record the memories that were made. You can share the memories with others when you take them through the book but if you’re not there to tell the story how will others know what the story is.

The photos I have included in these layouts are from our 2024 travels in the UK.

There are now several fantastic Scrapbooking Workshop Kits available. One of them is the Everyday You & Me Scrapbooking Workshop Kit pictured below. The Workshop Kit contains the paper products you need to make three double page layouts with very detailed cutting and assembly instructions.

I did not use this one but chose an ‘expansion’ pack to use.

The ‘expansion’ pack coordinates with the Workshop Kit. I chose this Everyday Happiness DSP & Sticker Sheet pack because I wanted to create my own layouts for the photos I chose to scrap.

The coordinating card stock I used were Lost Lagoon, Pretty Peacock and Wild Wheat. I used both A4 and 12″x 12″ sheets.

The Mini Alphabet Dies and Adhesive Sheets were perfect to create titles for the pages.

Adding stickers made decorating the pages so easy!.

Most of my first four layouts were single matted photos with a journaling panel.

Combing the Designer Series Paper and cardstock can create so many different layouts.

For my final layout I used the Flip Flaps to allow me to load up lots of photos to wrap up the story of our 4 weeks in the UK.

There are 10 photos set in Flip Flaps on the left hand banner and 12 on the right hand banner. There is also journaling set on each side.

The last two Flip Flaps on the right hand banner were popped into 3″x 4″ pockets because I had run out of 4″x 4″ flaps.

These layouts were so much fun to put together.

Next post, I will have some cards to share with you.

Until then, happy stamping.

If you live in Australia, you can order any of the products I used to make this card by going to my online store. Just click on any of the images below.

Product List
Paper Snips
[103579]
$21.00
Grid Paper
[130148]
$23.00
Posted on Leave a comment

MONDAY IS MEMORY KEEPING DAY

Aplogies for being absent for the past two weeks. I spent the first week preparing my 120 hand coloured OnStage swap cards and this last week preparing for Tropical Cyclone Alfred that turned out to be less than we thought it would be (thank goodness).

This week I am featuring the On the Go Suite Collection.

This is an amzing collection of travel inspired products that is available as an Online Exclusive product (165583).

I have begun to revisit scrapbooking which I haven’t done much of in many years. My plan is to share a memory keeping project each Monday to inspire everyone to pull out their boxes of photos and begin recording the stories that belong to the photos … OR ,,, return to the scrapbooking and journalling you have not done for a while. Goodness knows how many boxes, or old albums, we all have that need to be scrapped and journalled so that the memories and stories are passed along through each generation.

I used this collection of new Online Exclusive Products to create a two page layout of our 15 day tour of Japan last year.

I was able to include so many photos and journalling pages by using the new Flip Flap pockets.

I used three different designs from the On the Go Designer Series Paper and a Summer Splash 12″x 12″ base and Azure Afternoon and Pumpkin Pie panels to create a base for the photos.

It was so easy to attach and layer the Flip Flaps holdng the photos and journalling pages.

Each photo Flip Flap held two photos.

The page title was created by adding Adhesive Sheet to the back of a panel of Pumpkin Pie and cutting it using the Alphabet A la Mode Dies.

The Basic White banner tag, in the bottom righthand corner, had the sentiment stamped in Pumpkin Pie and was embellsihed with some Summer Splash 2024-2026 In Colour Shimmer Gems.

The second page uses the same products in a slightly varied layout.

On this page I used some of the On the Go Puffy Stickers and ticket tags cut using the Tags to Go Dies.

Tomorrow I have a layered card to share with with you.

Until then, happy stamping.

If you live in Australia, you can order any of the products I used to make this card by going to my online store. Just click on any of the images below.

Product List
Paper Snips
[103579]
$21.00