Posted on Leave a comment

IT’S MONDAY & THAT MEANS IT IS TIME TO HIGHLIGHT SOME NEW STAMIN’ UP! PRODUCTS

For the last 2 weeks I have been working on finding new homes for lots of my retired Stampin’ Up! products – it’s surprising how much time was needed to do this.

I am so pleased to be back creating again and I have five projects to share with you this week.

This week’s product bundle I have chosen to create with is the MORE THAN AUTUMN BUNDLE.

Ten days ago I posted a Colour INKspiration project that used this bundle. I knew that I wanted to make some more projects using it!

For this first project I decided to use the Round We Go Dies as well as the featured bundle.

I started by creating a Floating Panel card using Poppy Parade card and some paper from the Brights 6″x 6″ Designer Series Paper.

Use this die to create rosettes – cut 3.

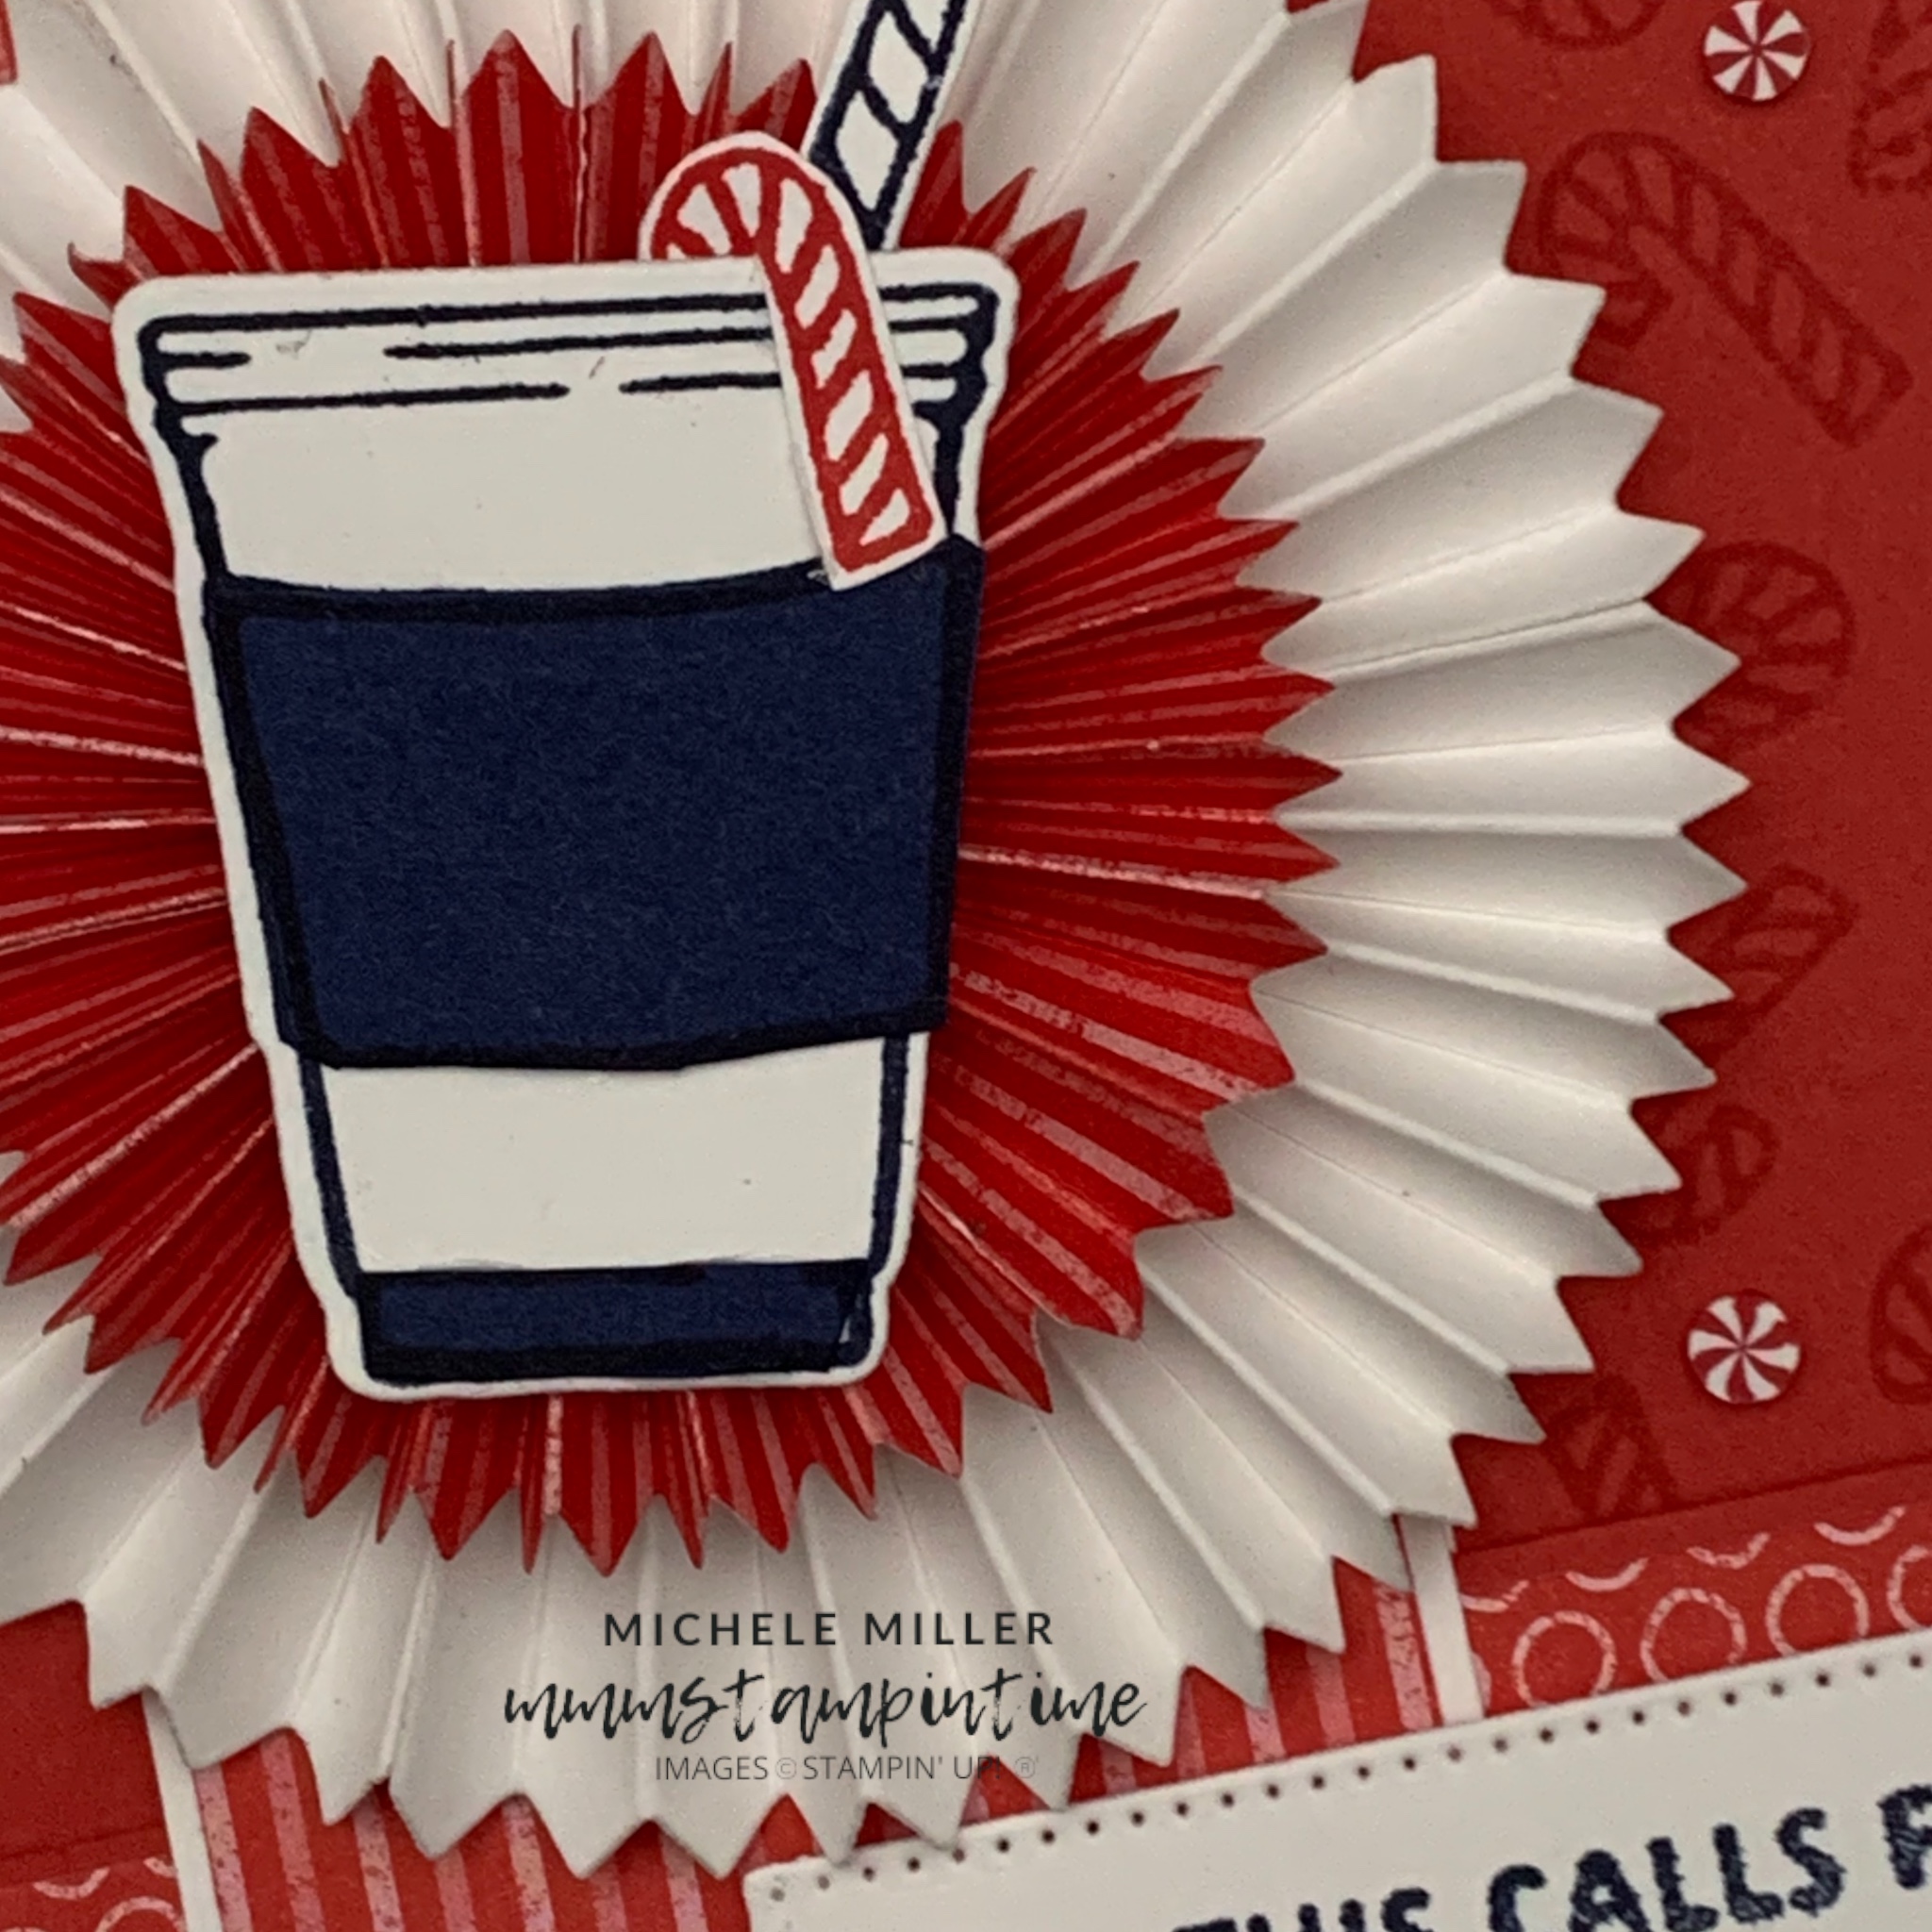
To make the two rosette pieces I cut three Basic White and three DSP panels using the die, indicated above.

I folded into a concertina along each of the foldlines.

TIP: Fold the smaller tab end under and then alternate each crease line. Start each of the three die cut pieces in the same way. Then adhere the smaller tab end to the longer end of the next piece – repeat.

When all three pieces are glued together, push the scalloped edge in tightly toward the centre and glue it to a die cut circle – hold in place until the glue has dried.

TIP: To make the smaller rosette, I cut 1/2″ off the scalloped edge of each piece.

I stamped two of the takeaway cups using Night of Navy ink – one onto Basic White and the other on Night of Navy. Then I fussy cut the bottom and central panels of the Night of Navy cup and glued them to the Basic White cup.

I stamped and die cut a straw and a candy cane to add to the top of the cup.

Then I stamped multiple candy canes to the Poppy Parade card base and one to the back of the envelope.

The greeting was stamped and then cut using one of the rectangular Stylish Shapes Dies.

Finally, I added some of the Real Red & White Adhesive-backed Peppermints to the card.

Tomorrow I have a card that I made for last week’s Global Design Project Theme Challenge.

Until then, happy stamping.

If you live in Australia, you can order any of the products I used to make this card by going to my online store. Just click on any of the images below.

Product List
Bone Folder
[102300]
$14.00
Paper Snips
[103579]
$21.00
Posted on Leave a comment

TODAY IS SUNDAY & I WANT TO SHARE MY #GDP CHALLENGE PROJECT

I am so excited to be back in groove and that includes sharing a project that I have created for the weekly Global Design Project Challenge.

This week the Challenge is GDP460 which is casing GDP Design Team Member Susan Wong!

To see what other creative stampers have made check out Instagram or Facebook – @global.design.project and #GDP460.

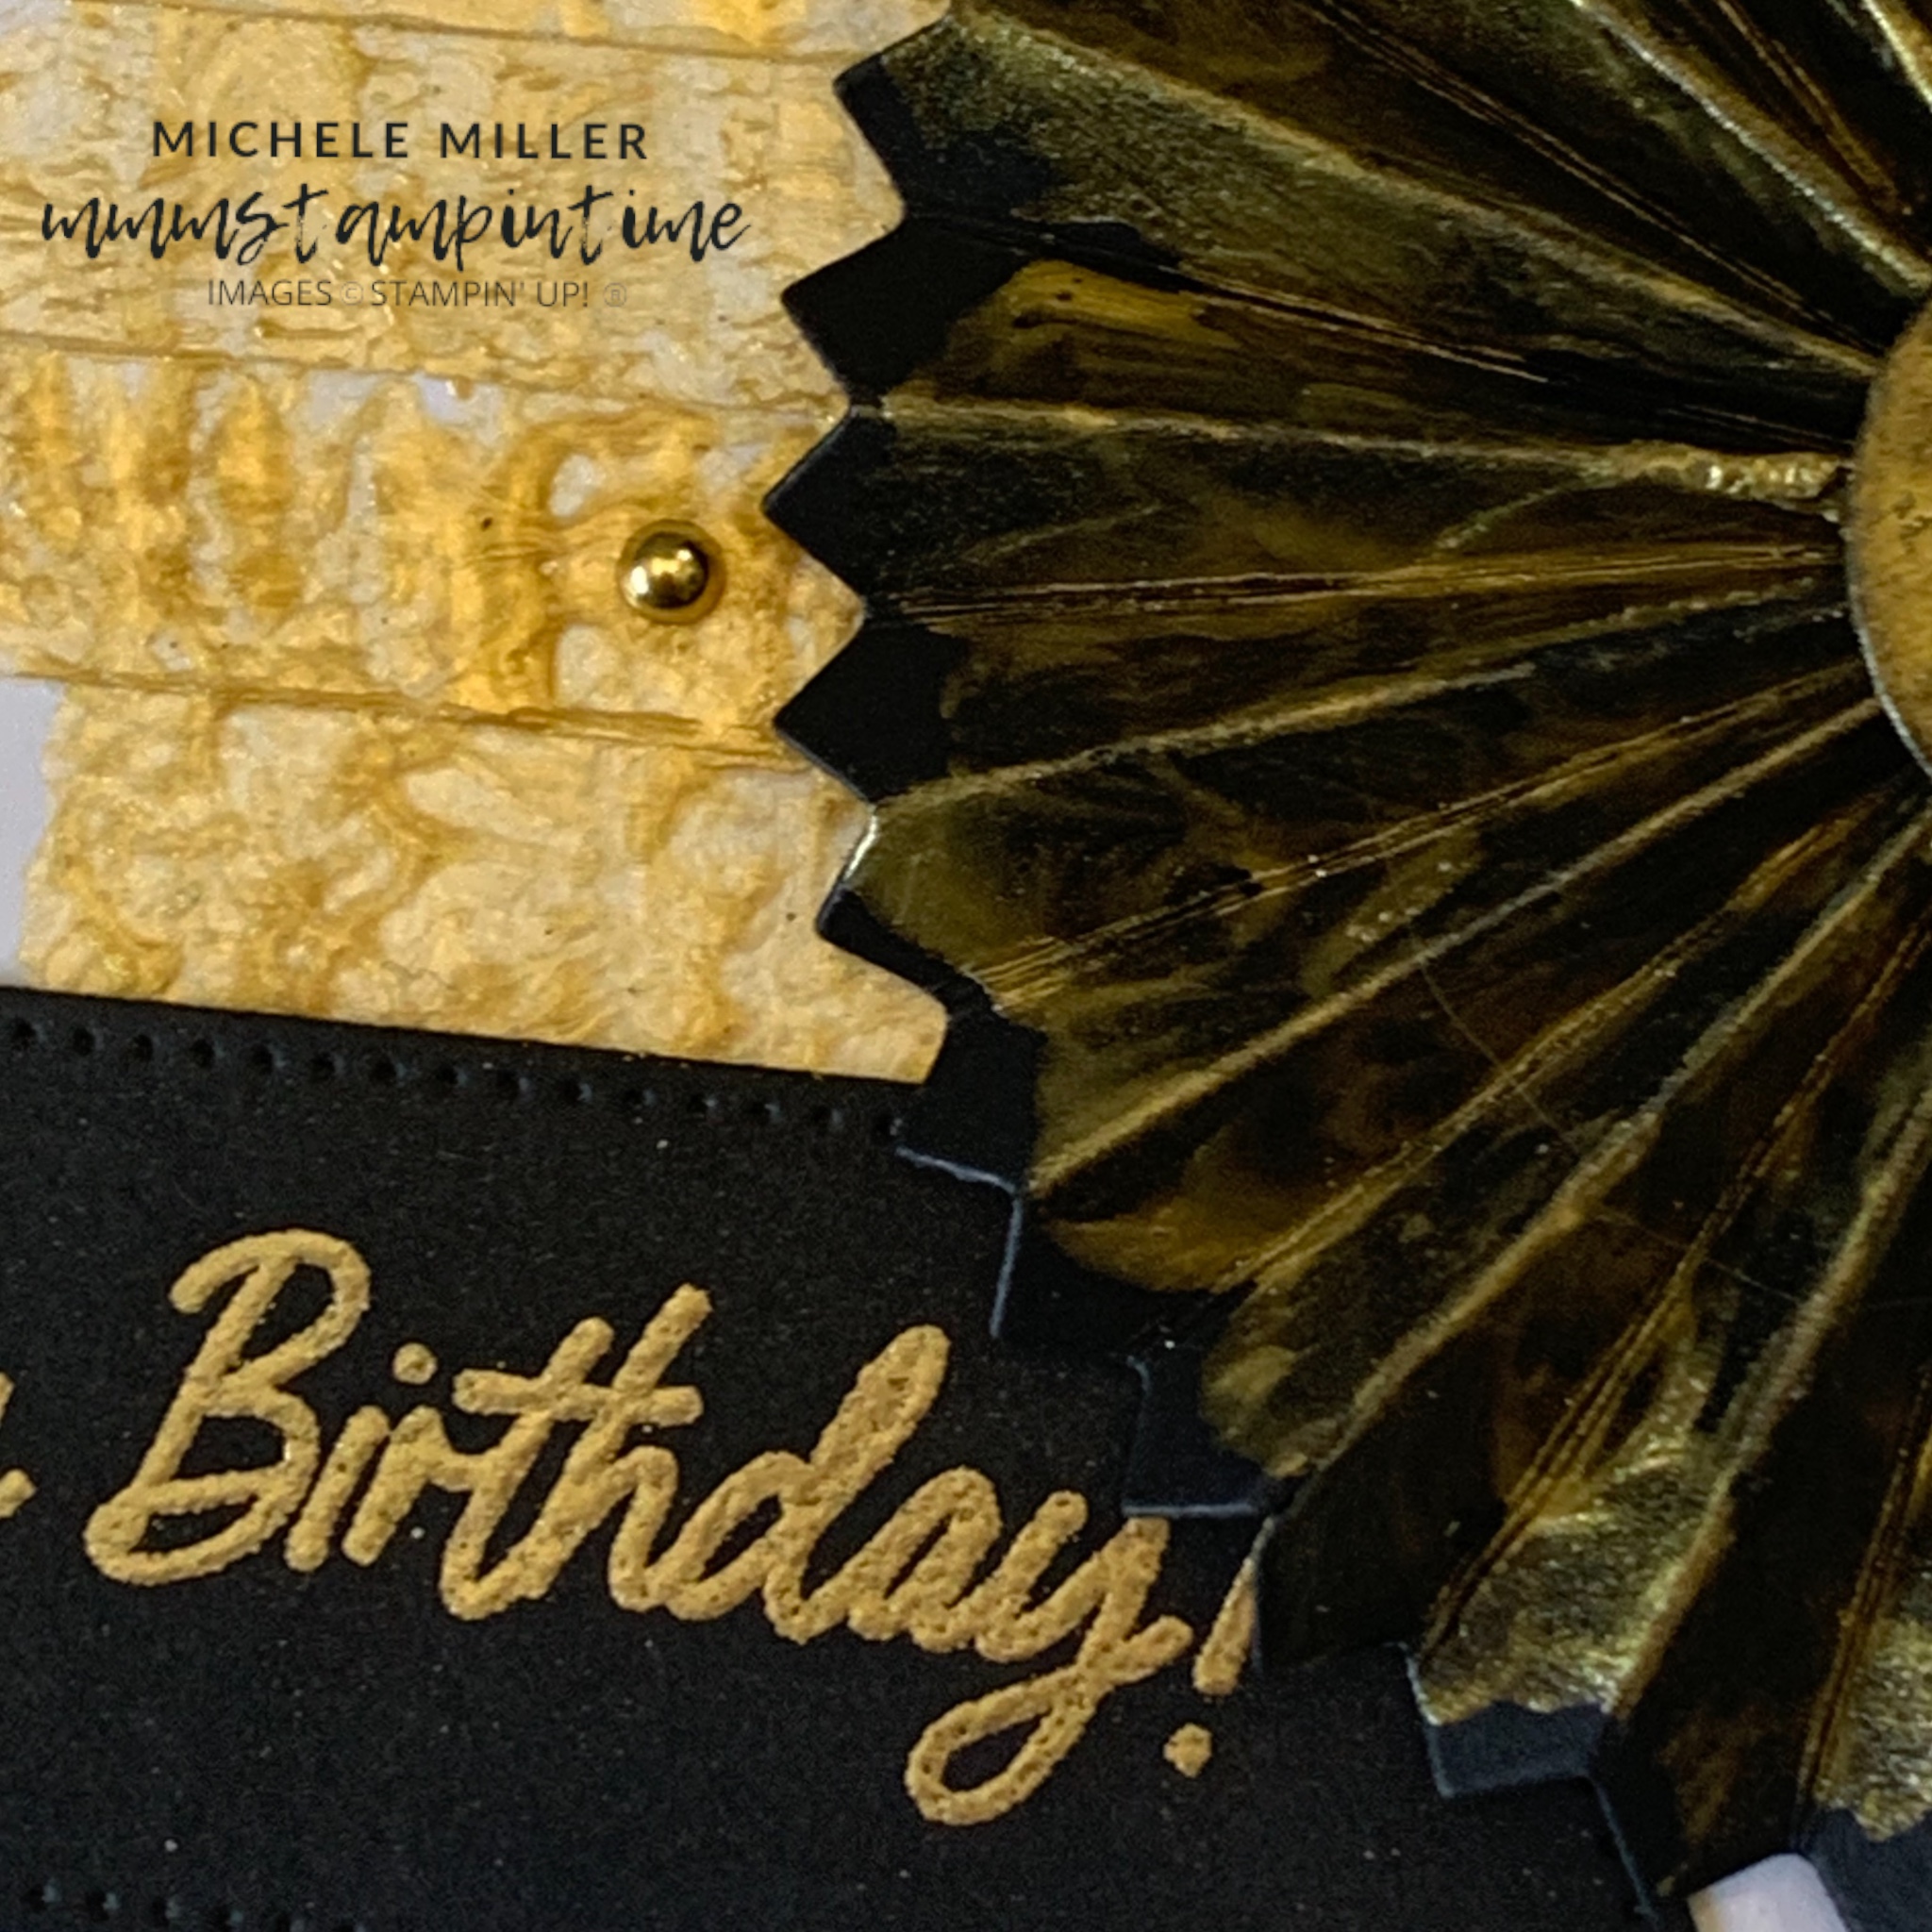
For my card I decided to work with the Round We Go Bundle and Gold Metallic Enamel Effects Basics.

I started by using strips of Masking Tape to create 3/8″ inch gold enamel panels on the Thick Basic White panel.

With each narrow strip, I applied the gold enamel using brushstrokes that created wonderful texture. Although it took time for each strip of gold enamel to dry, each level revealed wonderful texture for this card.

I applied this same technique to the card insert and the back of the envelope.

After die cutting the rosette twice, using the Round We Go die, I folded each scored line in preparation. Before completing the construction of the rosette I painted the same gold metallic enamel to the black card. After it dried, quite some time later, I folded and created the rosette. The rosette was finished with an enamel painted 3/4″ circle – the die I used was from the Kiddin’ Around Dies pack.

After I adhered the rosette to the front Basic White panel I trimmed it on the righthand side.

I used a totally amazing glue gun, that I was introduced to at a fairly recent Paper Angels training day, to assemble this rosette. (Check out Ryobi)

After securing and trimming the rosette I went on to create the greeting.

I stamped the greeting using Versamark and then sprinkled gold embossing powder over it. After heat embossing the greeting, it was cut using one of the Stylish Shapes banner Dies.

The lefthand side of the greeting banner was trimmed to align to the card base edge.

I added some small gold embellishments, from the Blooming Pearls collection, to finish the card front.

I applied the roughly painted gold enamel strip to the card insert and the back of the envelope. I love the texture this roughly painted technique has created.

I now have an amazing ‘industrial’ Ryobi glue gun that I use for these kinds of projects.

From Monday, I will start shairng projects using the Splendid Autumn Suite Collection.

Until then, happy stamping.

If you live in Australia, you can order any of the products I used to make this card by going to my online store. Just click on any of the images below

Product List
Heat Tool
[129056]
$56.00
Paper Snips
[103579]
$21.00