Tomorrow I plan to share more, with you, about the new Memory Keeping products Stampin’ Up! has recently introduced.
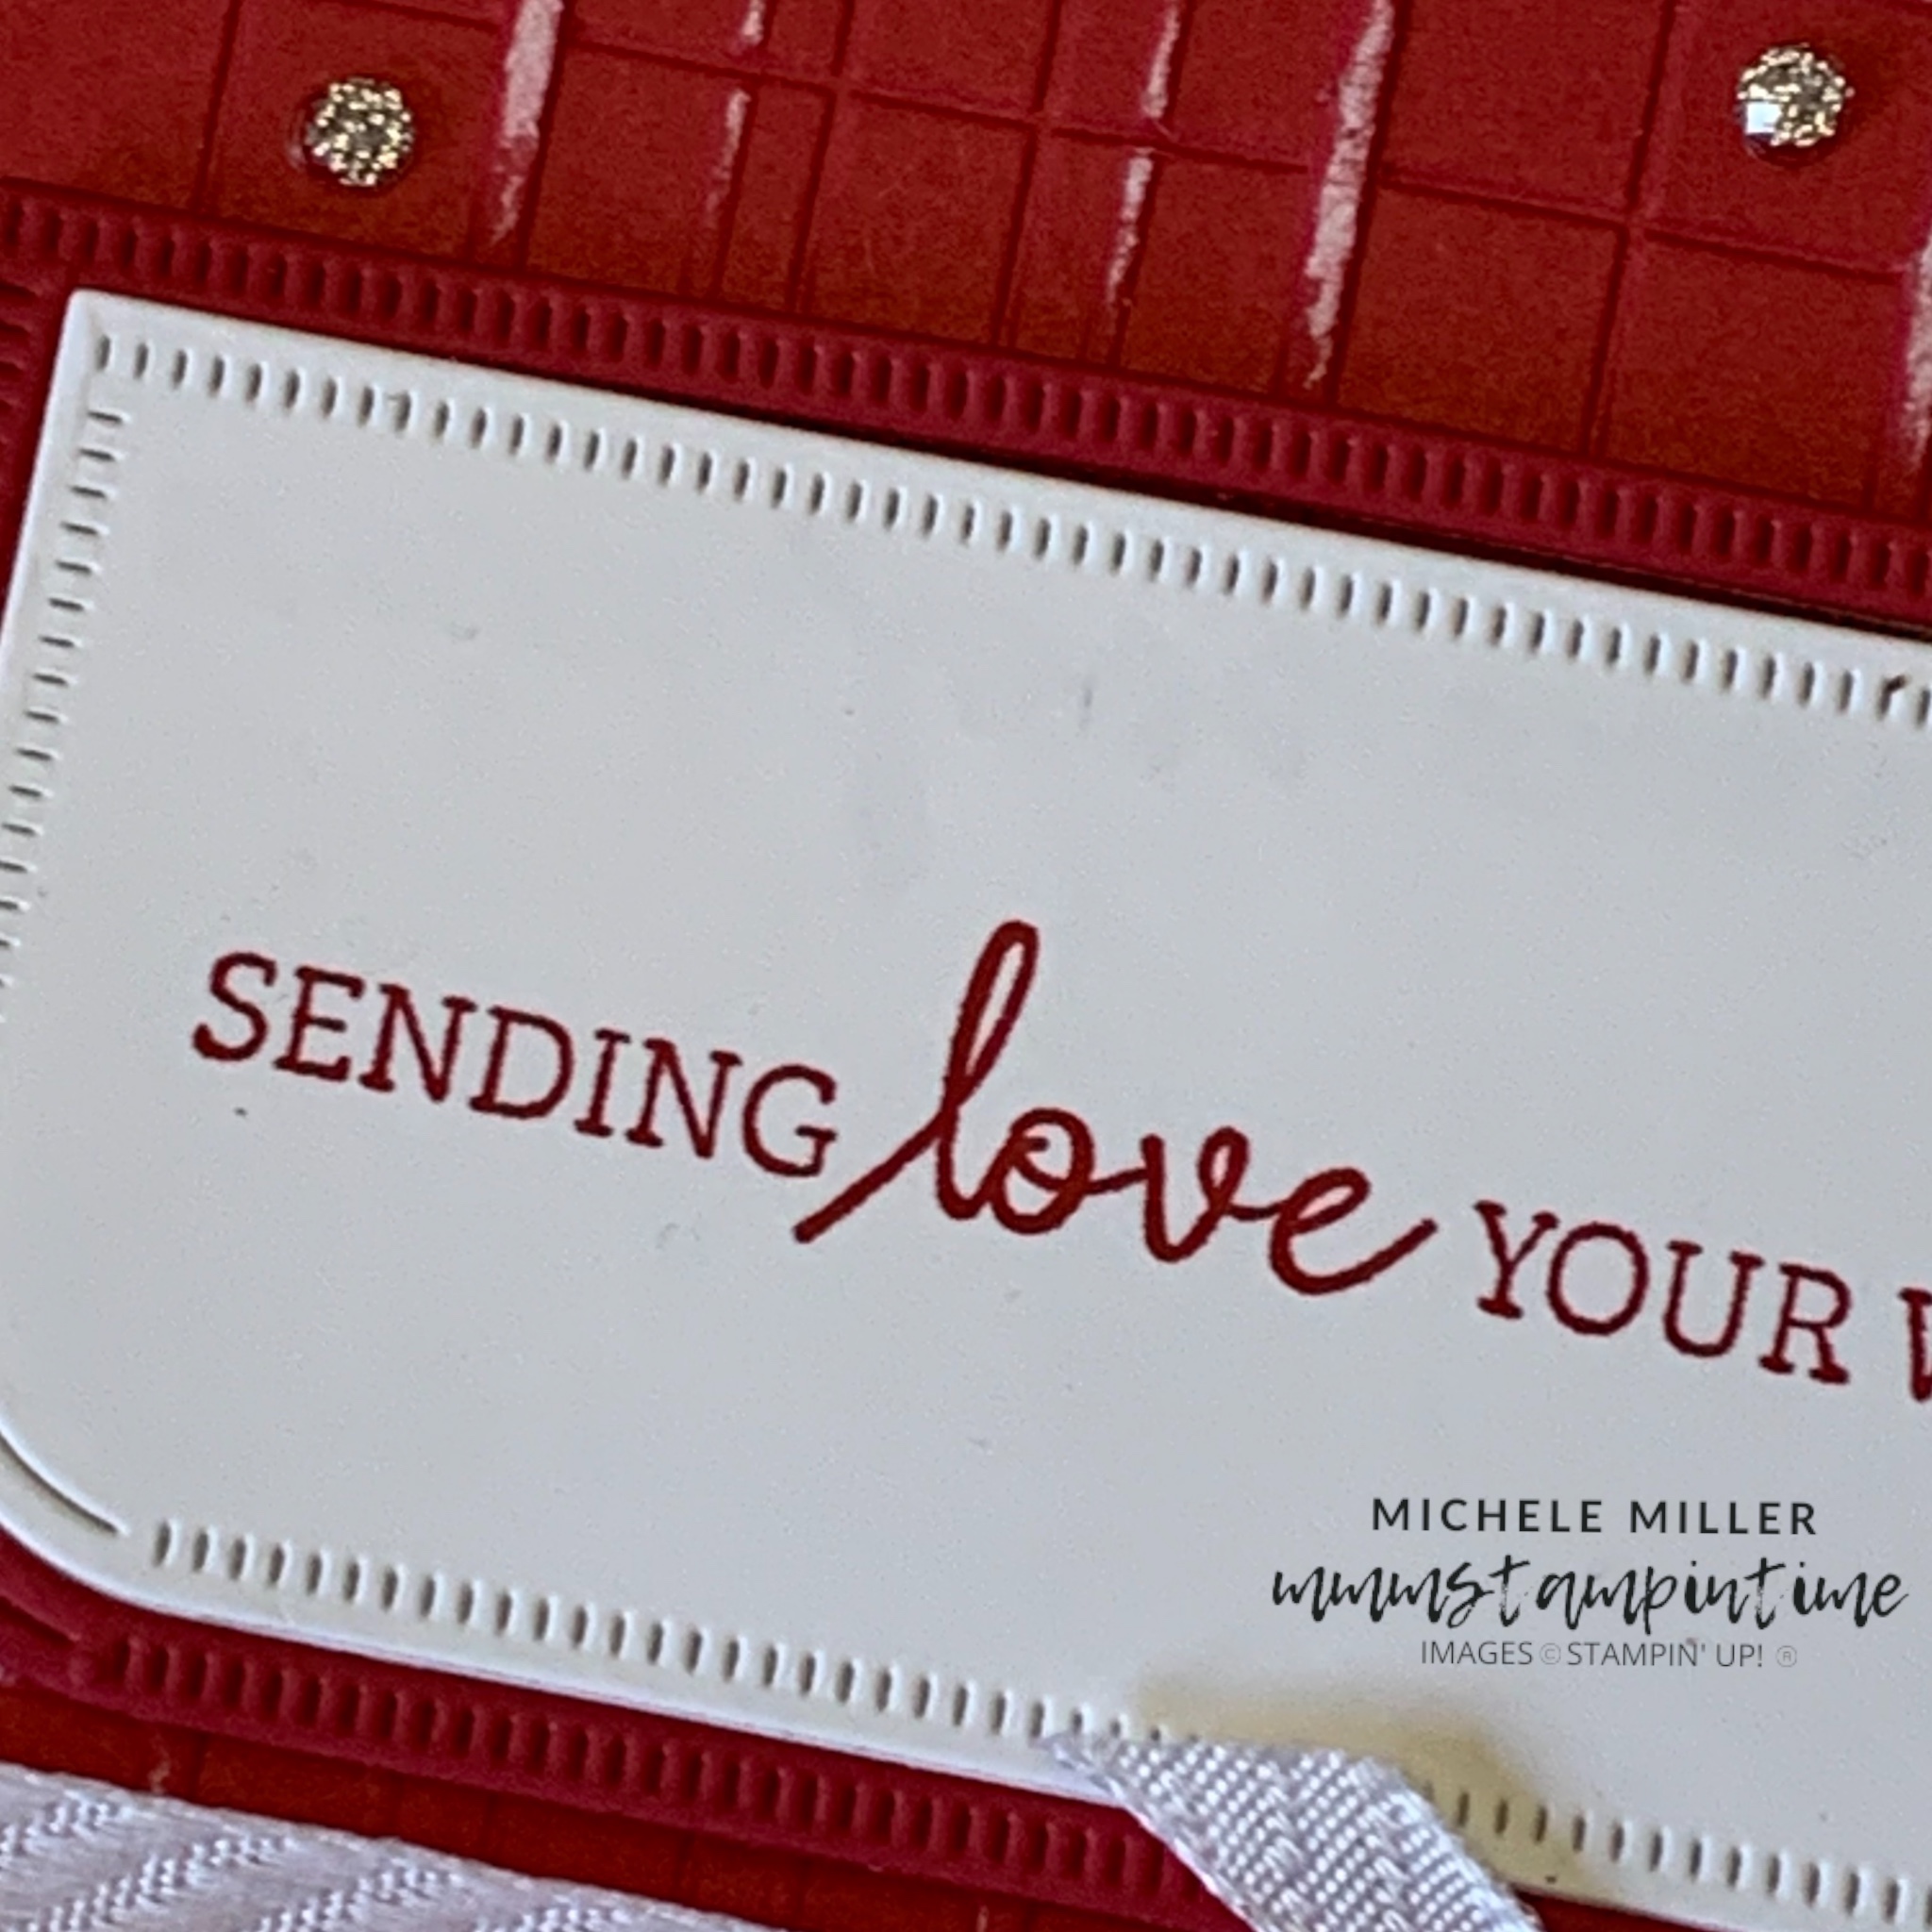
Today I will be sharing a project that uses the new, white core Real Red Two-Tone Cardstock.

I wanted to make a card usingthis new, white-core cardstock and the Forever Plaid 3D Embossing Folder.

I started by cutting a panel of the cardstock and then embossed it with the Forever Plaid 3D Embossing Folder.
TIP: Use a sanding block to lift away some of the red colouring across the plaid embossed areas.
Then I manipulated the edges of the embossed panel to create a vintage effect.
TIP: Keep a pair of older, blunt Paper Snips to create a vintage-edge effect. All you need to do do is open the snips slightly and drag the scissors along the edge of the card. The more you do this, the more ‘eroded’ the edges look.
TIP: Use your Take Your Pick Tool, and its paper piercing end, to separate the corners of the card.
When I was happy, with the way I had created the vintaged effect of the embossed panel, I adhered it to a slightly larger Basic White panel.
Then I wrapped of length of white ribbon, from the Petal Pink & White Diagonal Trim Combo Pack, around these panels and tied it off in a trimmed knot.

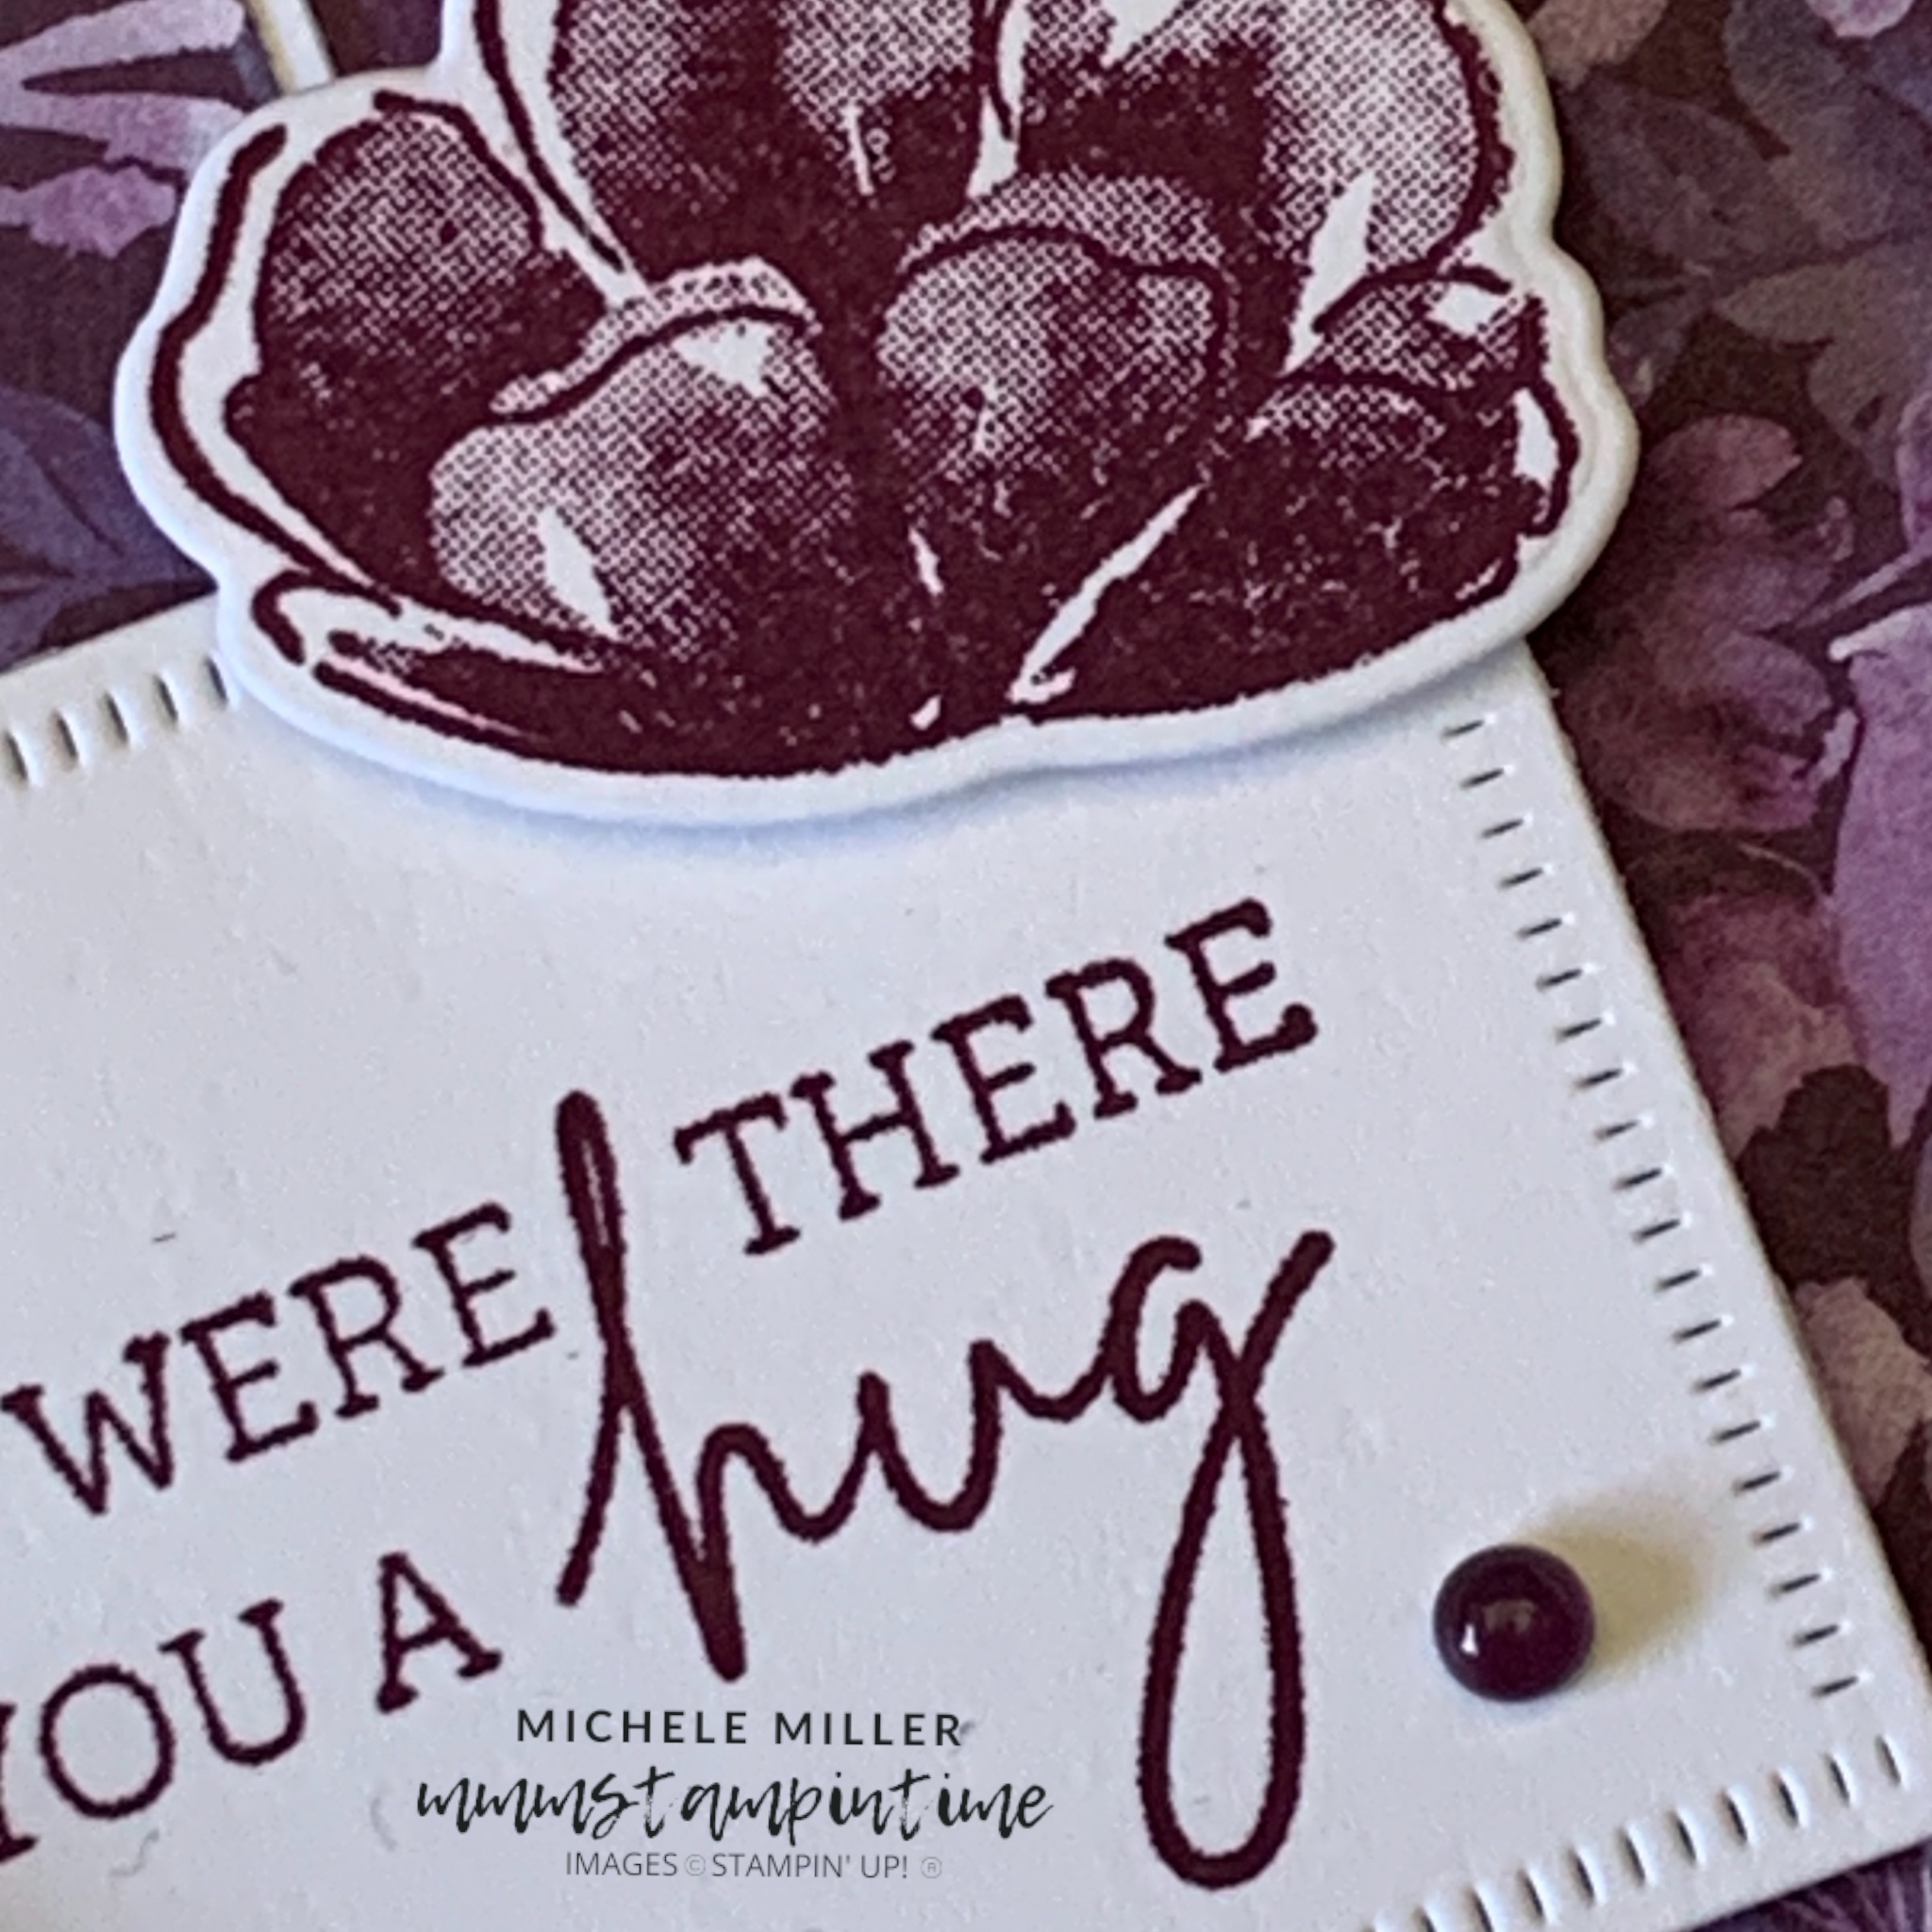
The sentiment, from the Regal Flora Stamp Set, was stamped using Real Red ink and then cut using the largest coordinating dies.
I secured it to the card front using Stampin’ Dimensionals.
The card insert and back of the envelope had strips of the embossed Real Red card added to finish the card.
Finally, I added some gems from the Adhesive-backed Sparkle Gems to give the card some sparkle.

Tomorrow, I will share more information about the new Memory Keeping products from Stampin’ Up!.
Until then, happy stampng.

If you live in Australia, you can order any of the products I used to make this card by going to my online store. Just click on any of the images below.
Product List


