Welcome to my Sunday post. Sunday is the day to take the cards I shared yesterday and step them up – using more products, more tools, more layers.
This week I am featuring the Rainbow of Happiness Bundle and the FREE Sale-a-bration Sunshine & Rainbows 6″x 6″ Designer Series Paper.

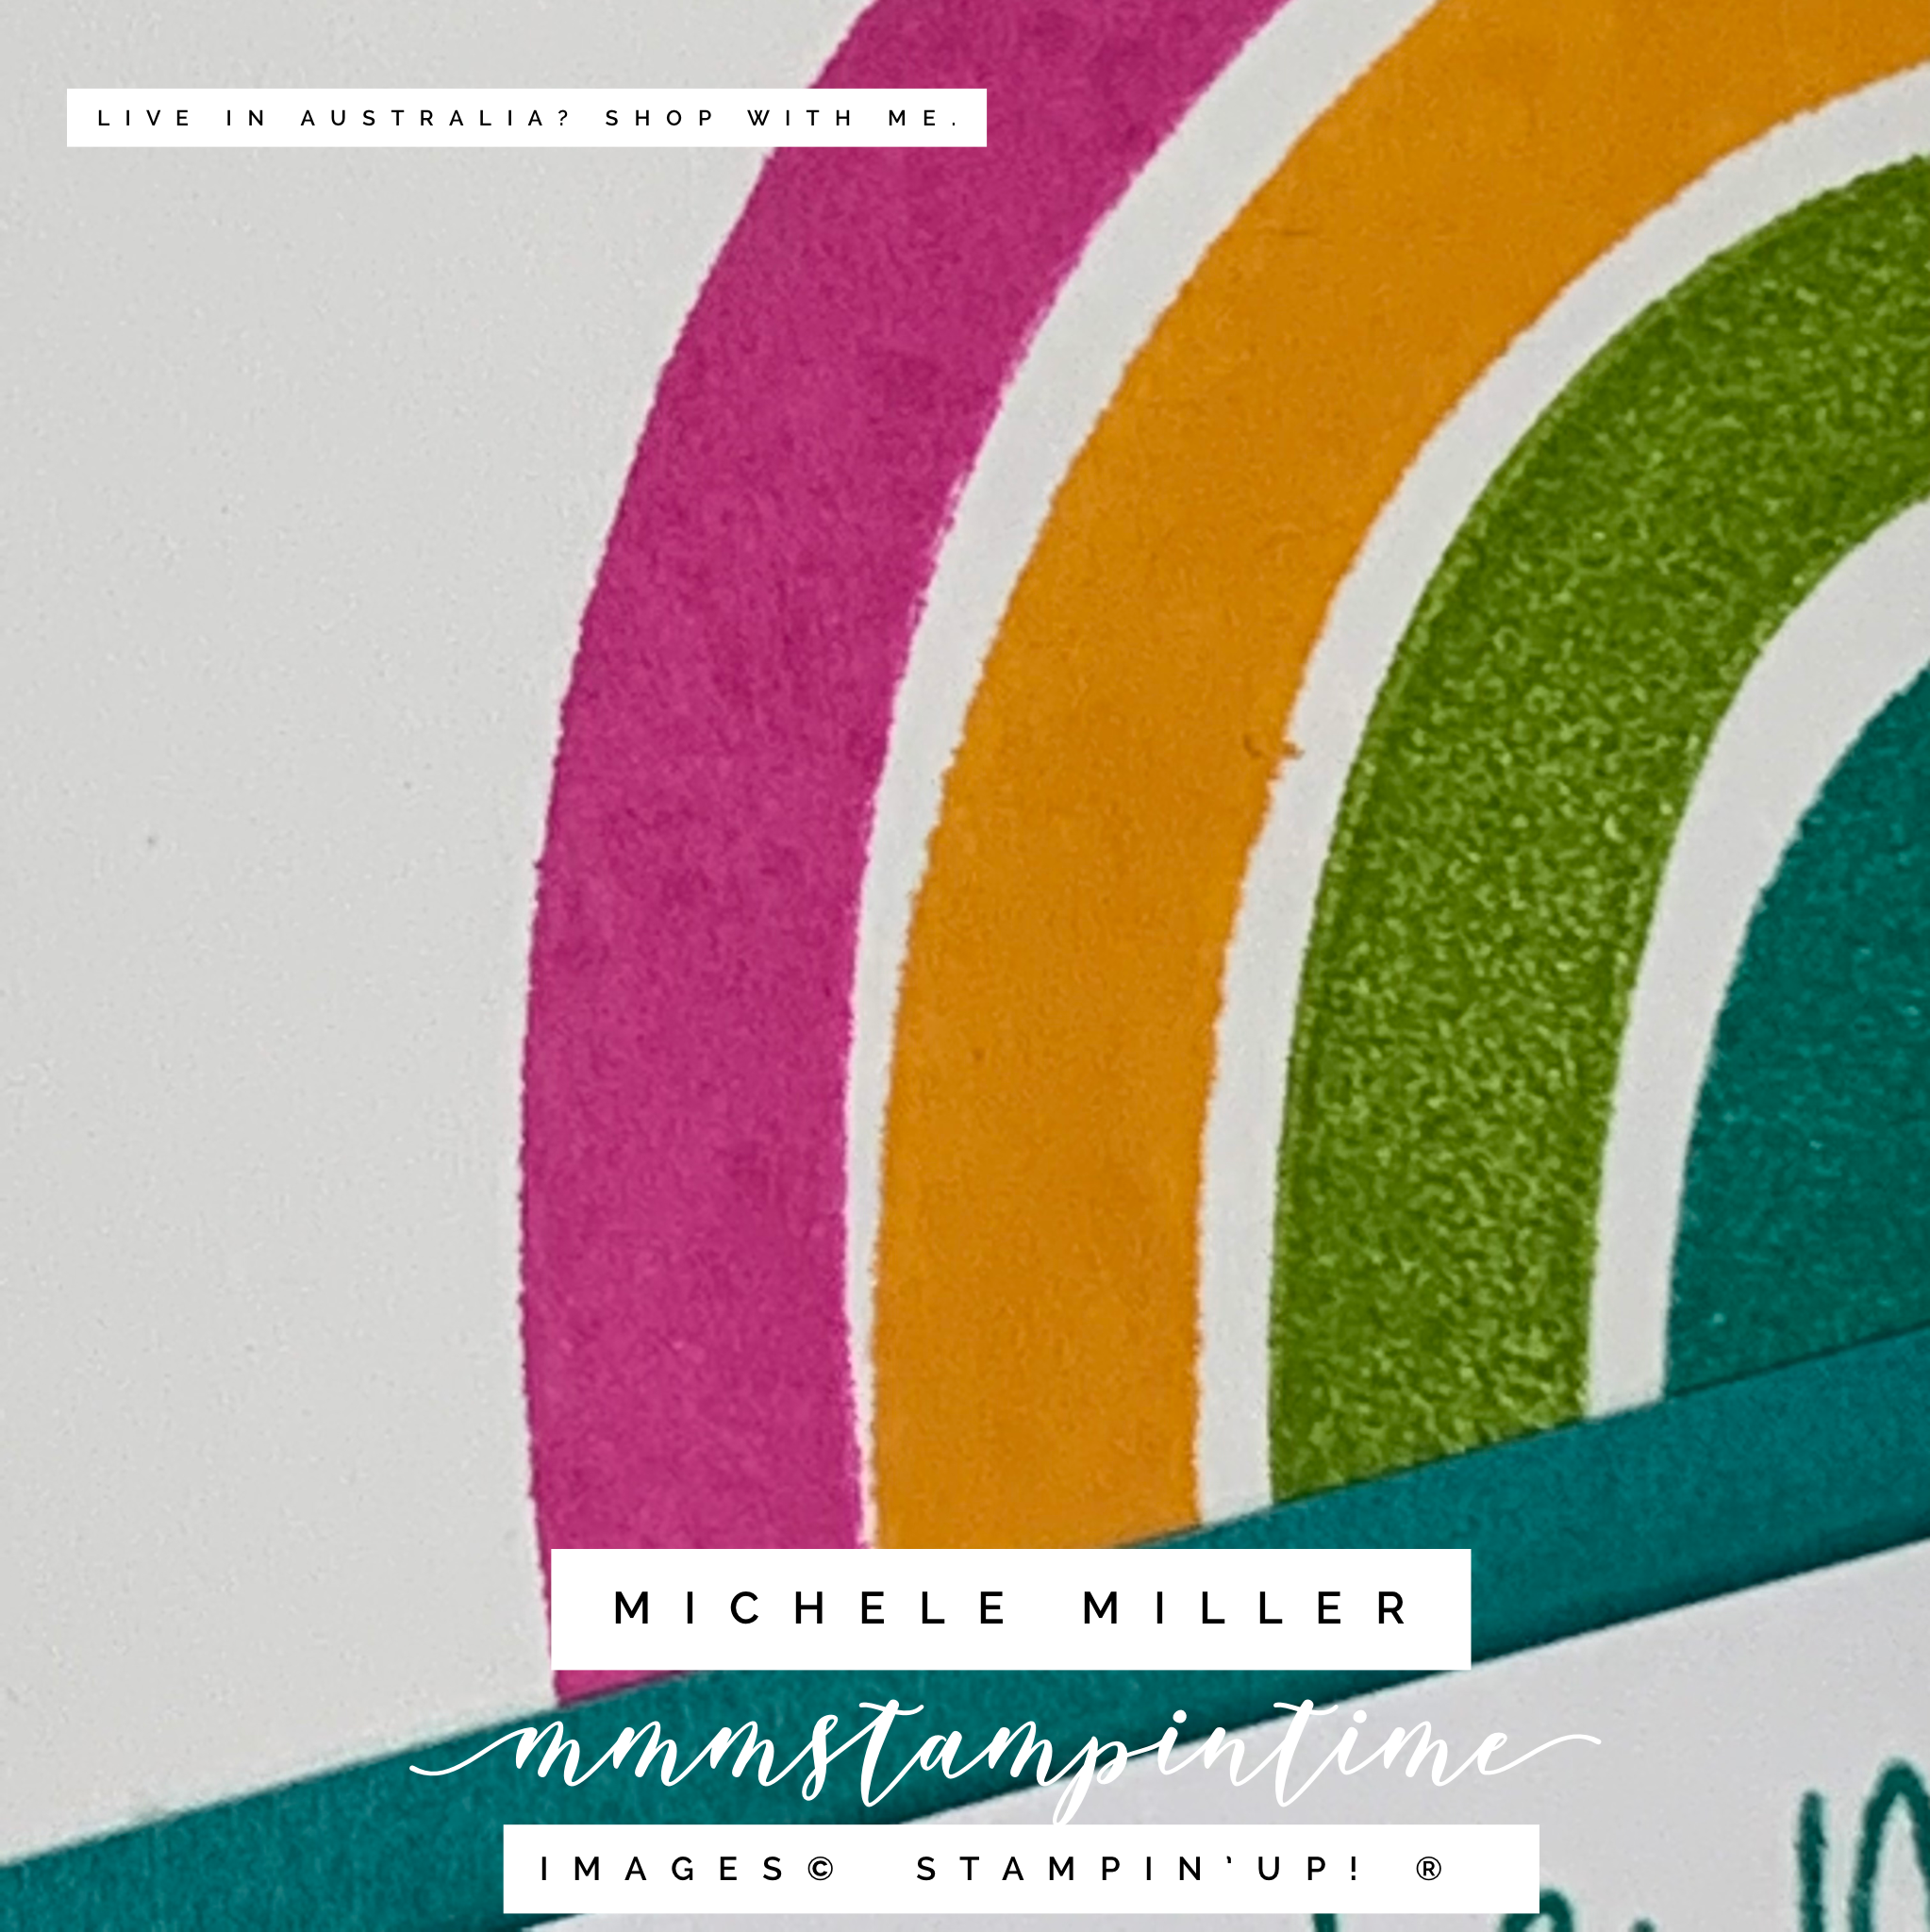
The rainbow was stamped directly onto the front of the Notecard.
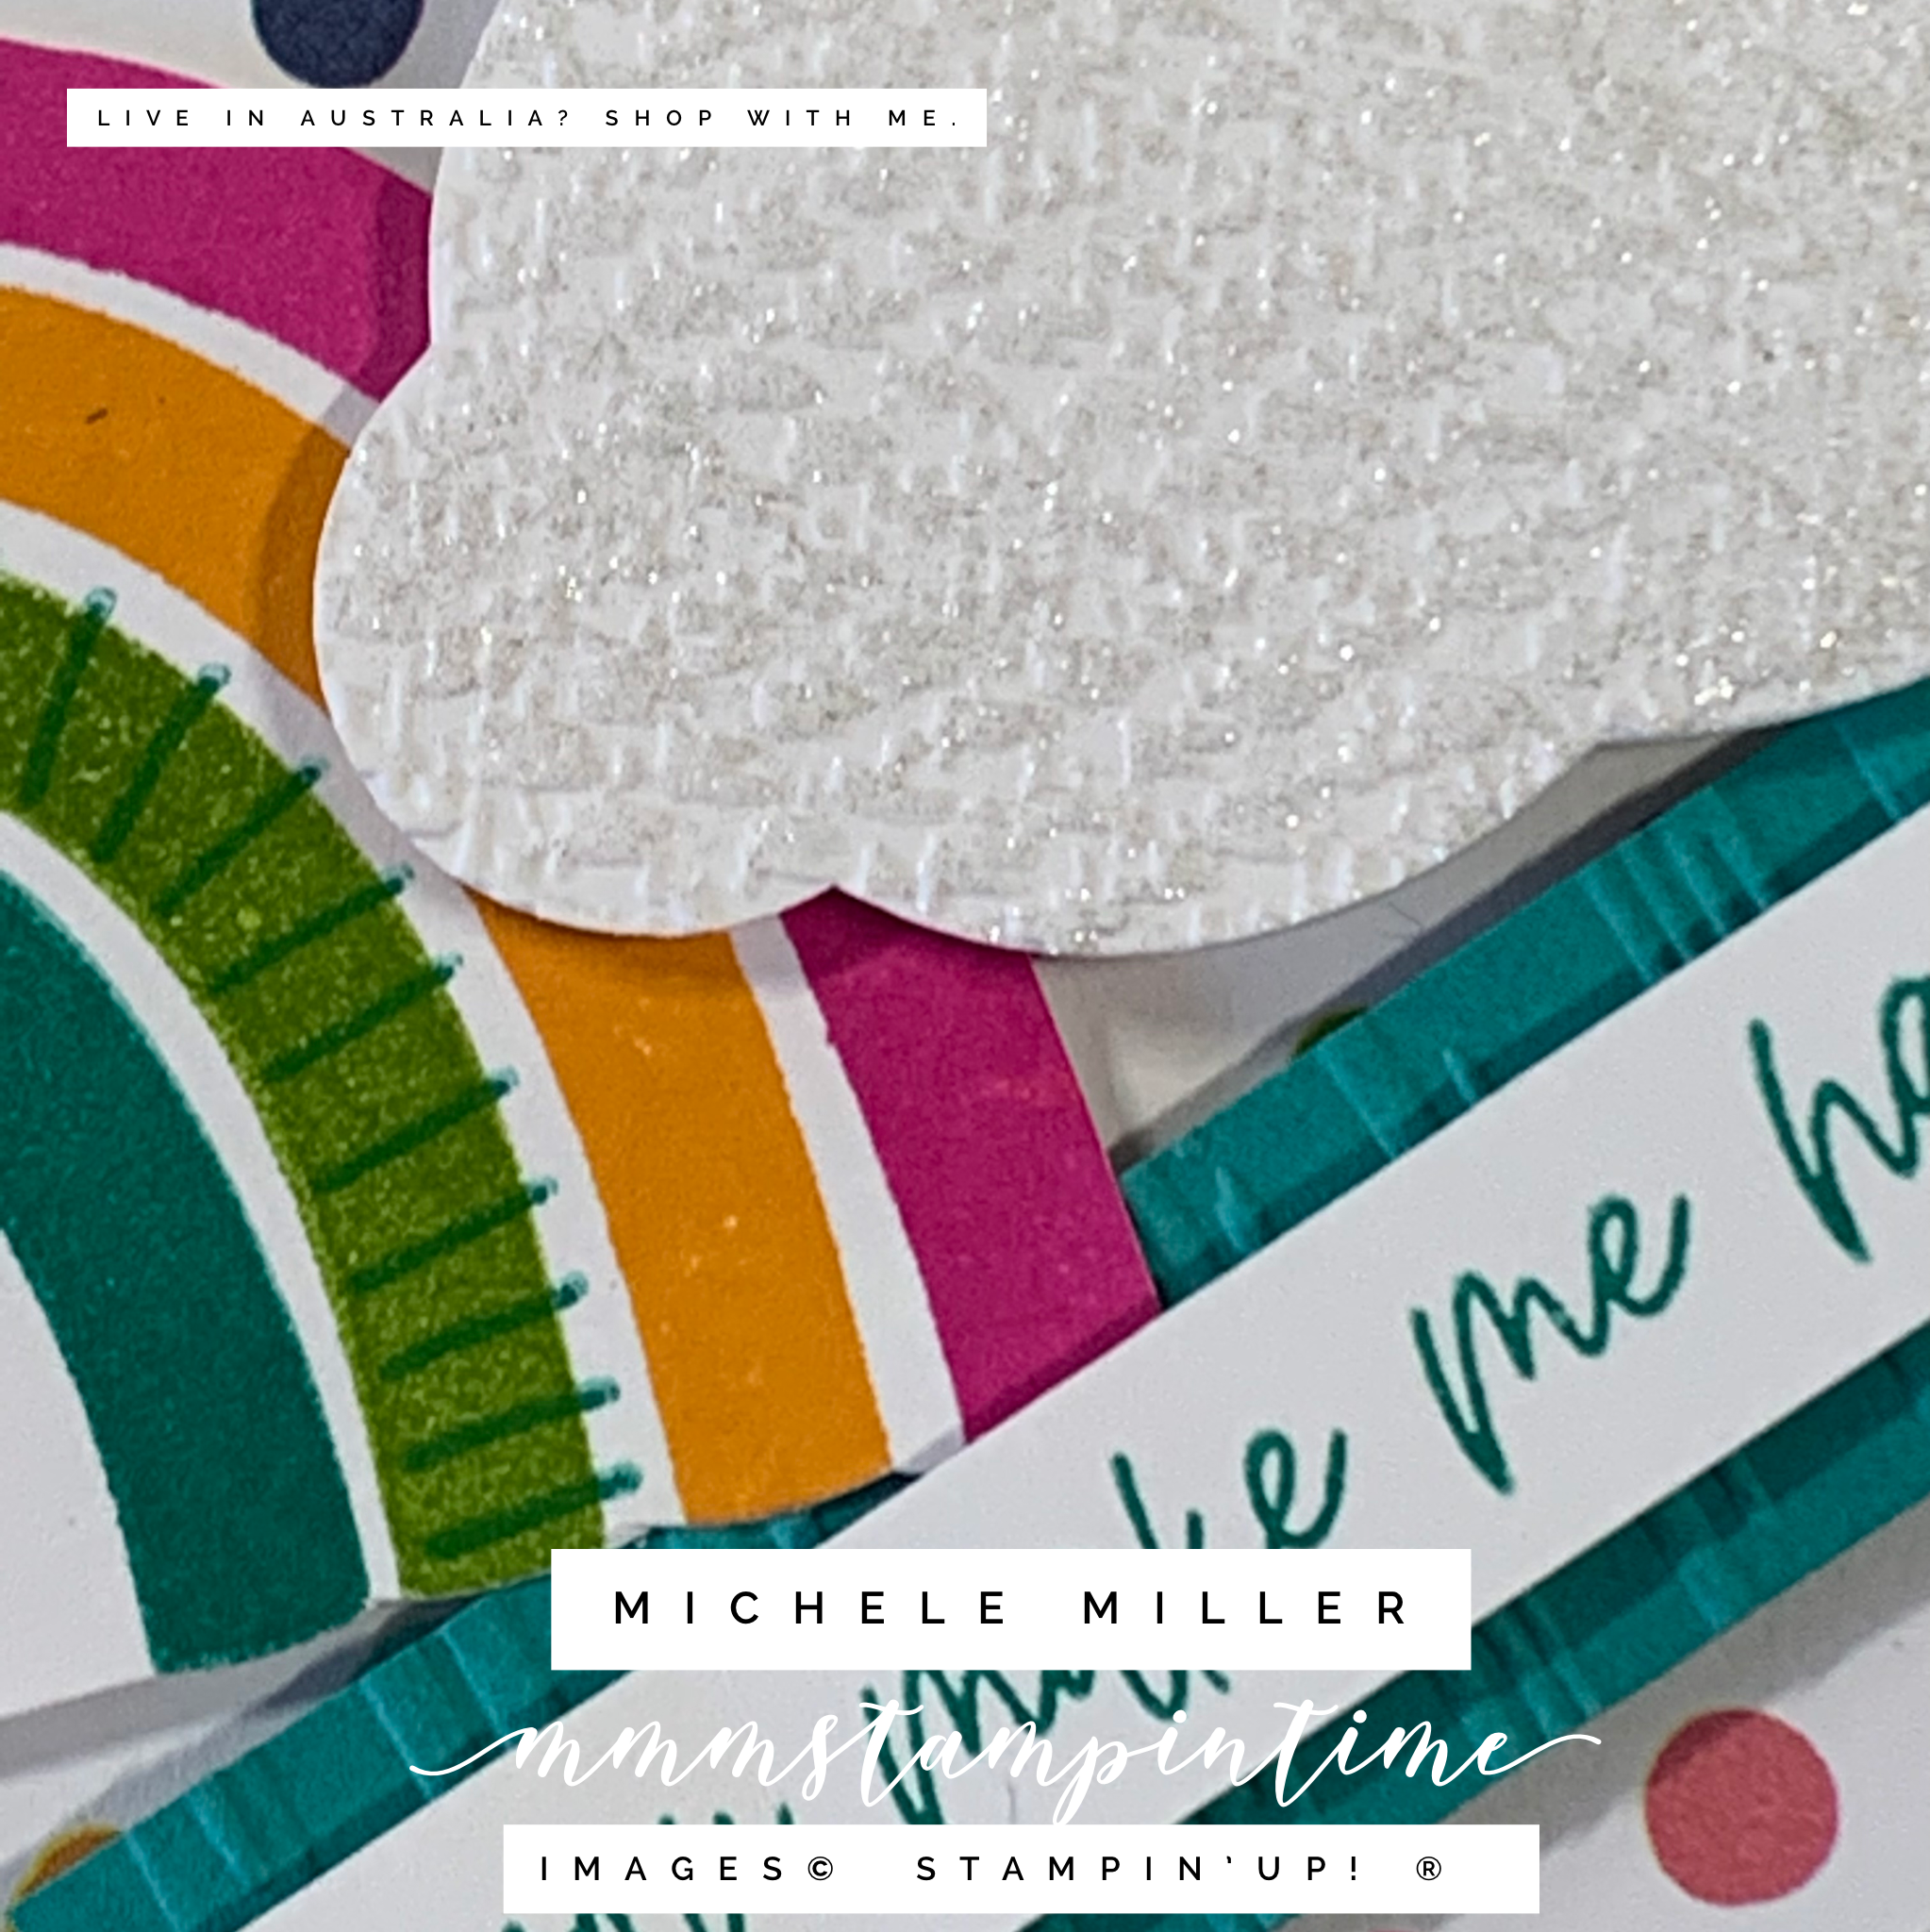
For this card, I stamped the sentiment onto a strip of Basic White cardstock before securing it to a piece of Bermuda Bay cardstock. This cardstock was embossed using the splatters folder from the Strips & Splatters 3D Embossing Folders set.
Before I placed the sentiment on the card front used the new Cloud Punch to cut three clouds. Then I used a Blending Brush to lightly colour them with Bermuda Bay. The clouds were postioned using Stampin’ Dimensionals.
Finally, the sentiment panel had dimensionals added to the back and popped in place.

For my second stepped up card I stamped the same rainbow onto Basic White cardstock and fussy cut it so that it could be layered up.
I used the same sentiment and cardstock but added a thin strip of the Design Series Paper.
The card also has three lightly coloured clouds.
To assemble the card I positioned the sentiment panel first and then added the rainbow, using Stampin’ Dimensionals to pop it up to add height to the card.
Then I stamped the cluster of three small hearts, across the card front, using Magenta Madness.
Finally, I attached the clouds on the card using adhesive and dimensionals.

For the final stepped up card I have used a larger piece of the Sunshine & Rainbow DSP to adher an angled base layer on the card base.
I stamped and fussy cut the rainbow and used dimensionals to popped it up.
The sentiment was stamped and placed on top of an embossed piece of cardstock. I used the stripes embossing folder from the Stripes & Splatters 3D Embossing Folders set.
I took a length of Whisper White Crinkled Seam Binding Ribbon and coloured it using the Dark Bermuda Bay Stampin’ Blends. Then it was wrapped under the panel and secured with Stampin’ Seal+.
I used the angle of the DSP layer to position the sentiment panel.
The final three clouds were not coloured for this card. Instead they were embossed with the Tasteful Textile 3D Embossing Folder and painted them with Clear Wink of Stella.
All of my cards, from yesterday and today, have the trio of hearts stamped inside and on the front of the envelope.
Now that these stepped up cards are done and shared, it’s time to think about what I will scrapbook tomorrow for Memories on Monday.
Until then, happy stamping.

If you live in Australia, you can order any of the products I used to make this card by going to my online store. Just click on any of the images below.
Product List


