Posted on Leave a comment

NO FUN FOLD CARD TODAY BUT A VERY CUTE CARD INSTEAD

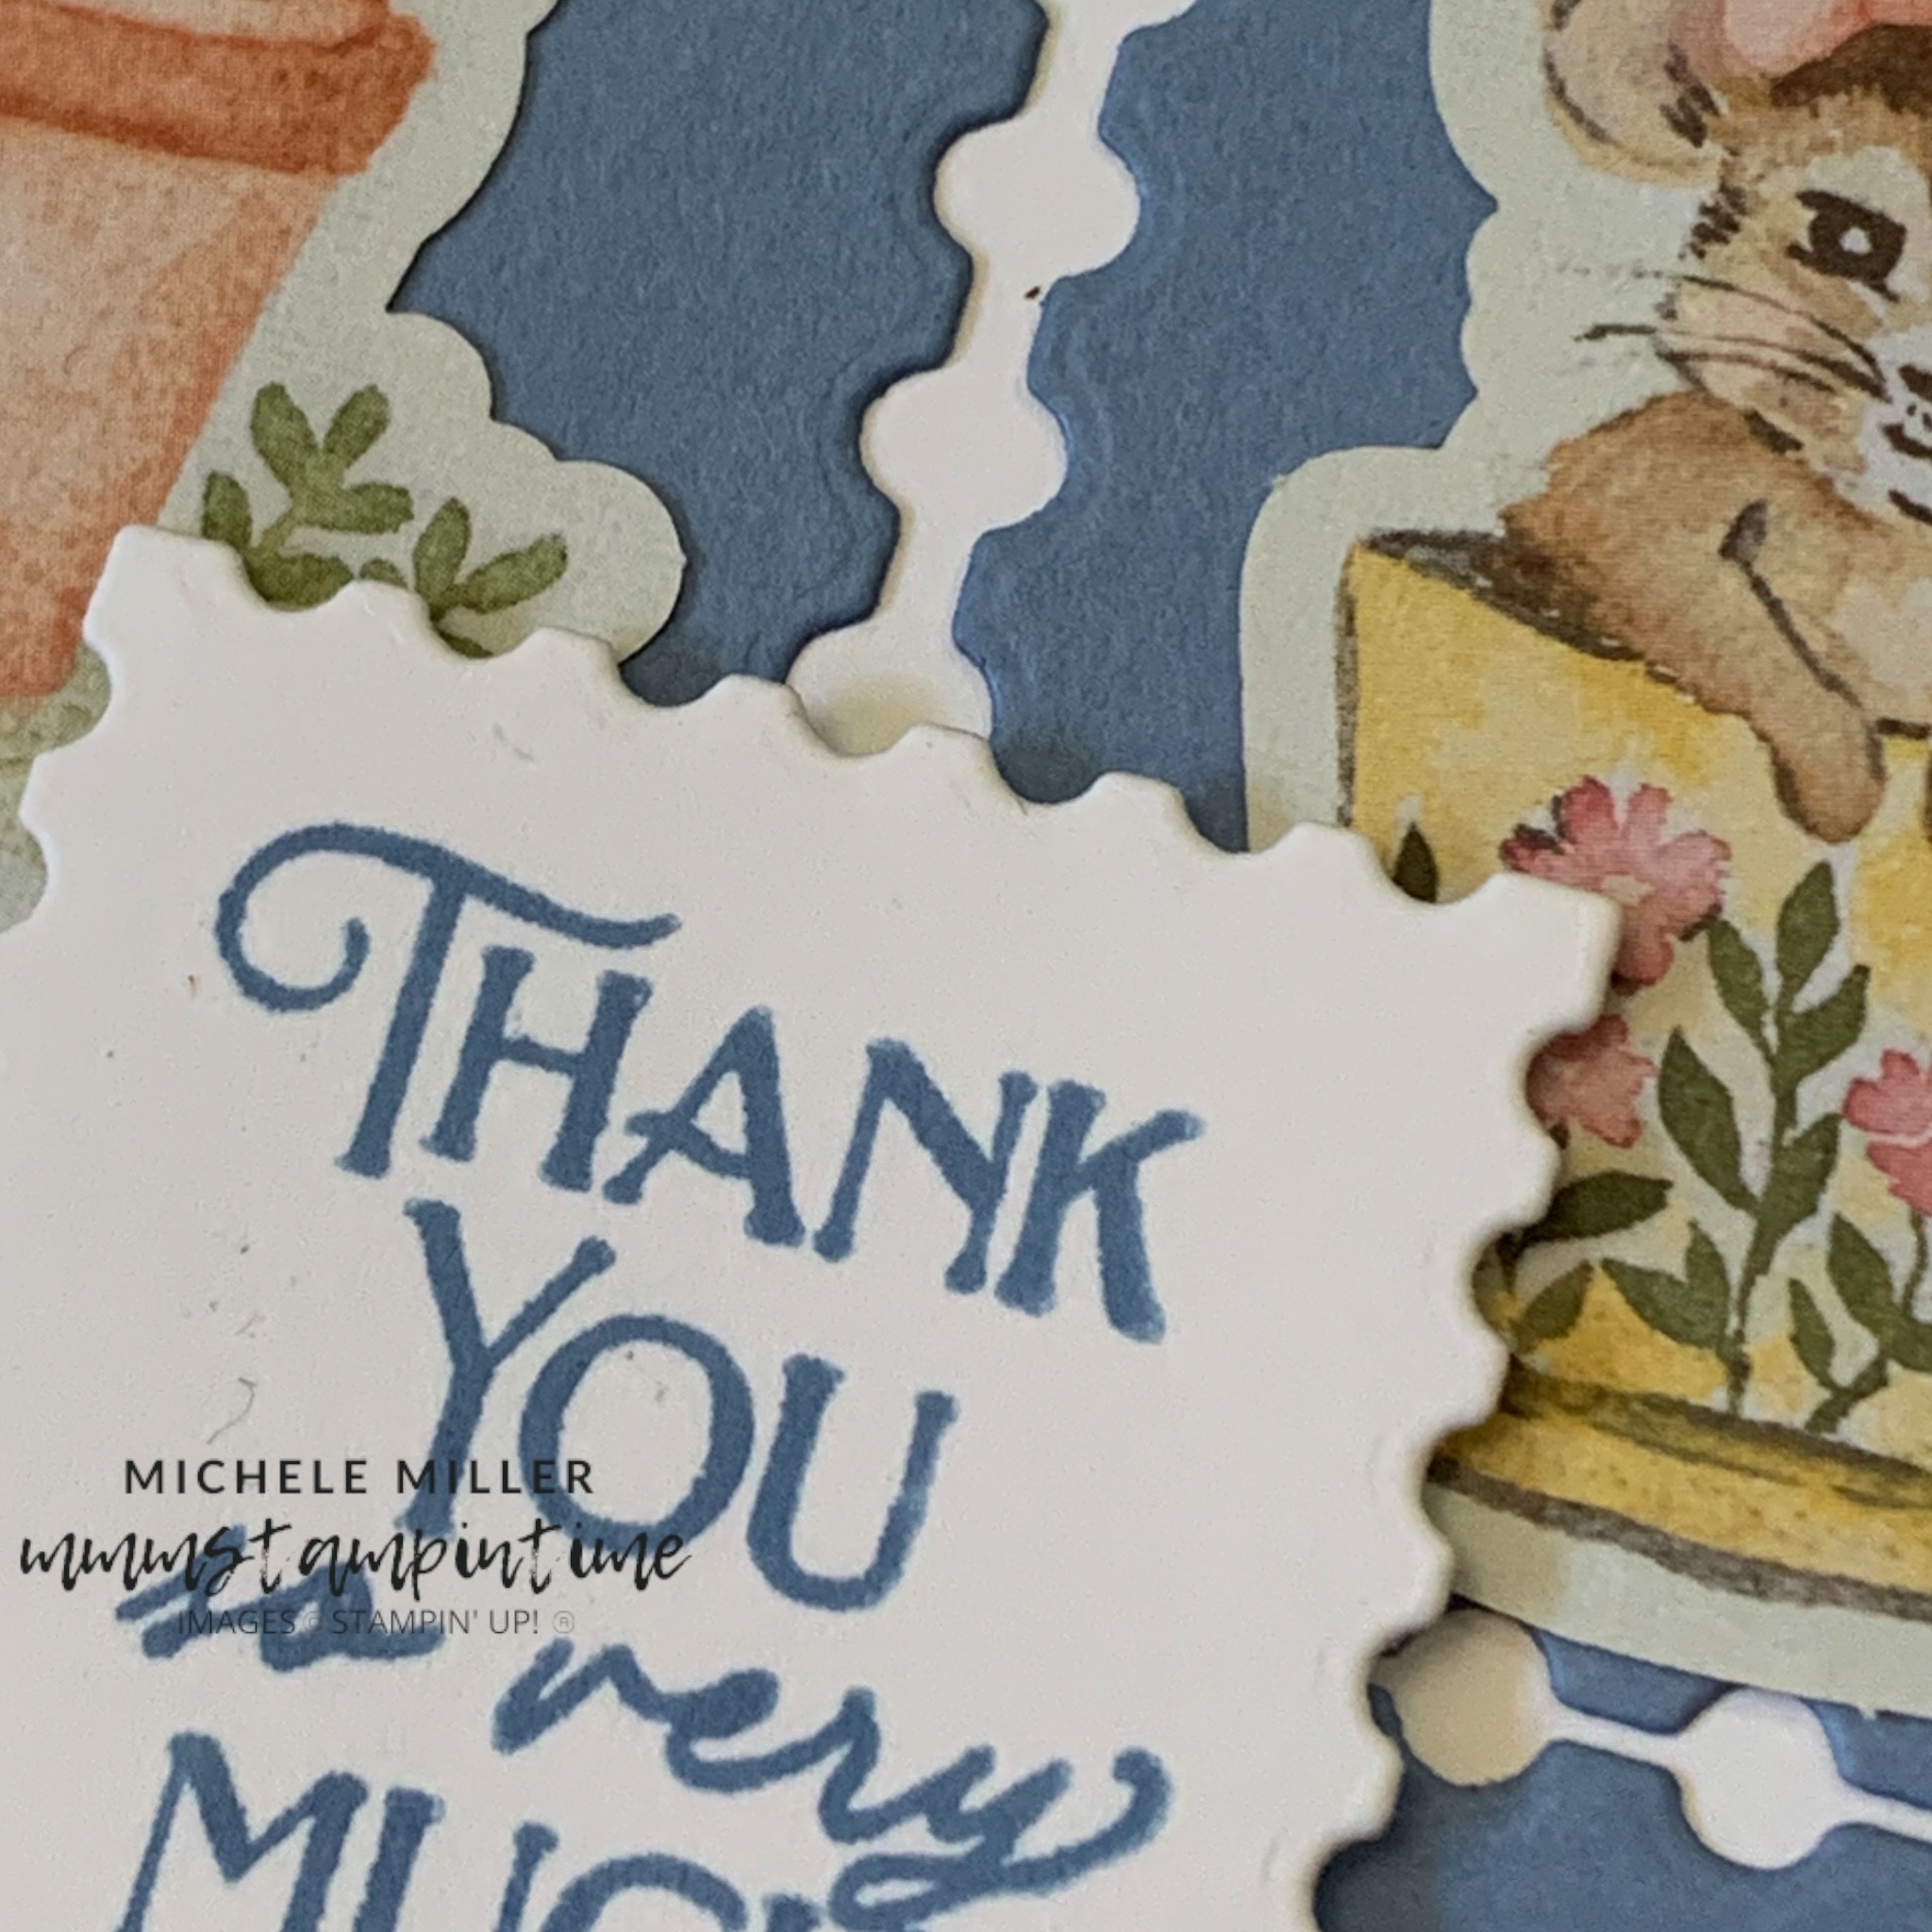
Today’s card features some of the precut images from the images die cut sheets included in the Storybook Moments 12″x 12″ Designer Series Paper pack.

I started with a Basic White card base.

Using the largest square die, from the Perrenial Postage Dies, I cut 6 stamp shapes in Balmy Blue card.

The six stamp shapes were adhered to a panel of Basic White card.

This panel was then added to the front of the card base.

I looked through all of the precut images, from the die cut images sheets, and chose 6 images to attach to the blue die cut shapes.

The greeting, from the Storybook Friends Stamp Set,was stamped on to a scrap of white card using Boho Blue ink. Then it was cut using the smallest square Perennial Postage Die.

This square was attached to the card front using Stampin’ Dimensionals.

I chose two more precut images and added one to the card insert and the second to the back of the envelope.

This was such a super sweet and quick card to create.

It would be great for so many other events, especially a birthday.

Tomorrow I have another card featuring lots of Copper Clay pots.

Until then, happy stamping.

If you live in Australia, you can order any of the products I used to make this card by going to my online store. Just click on any of the images below.

Product List
Paper Snips
[103579]
$21.00
Posted on Leave a comment

IT’S SUNDAY & I HAVE A CHALLENGE PROJECT TO SHARE

The Global Design Project weekly challenge is always fun to participate in. This week it is a sketch challenge.

Click on the image below and you will be taken across to the GDP site. Make sure that you check out the amazing projects from the Design Team.

This week I am featuring the new Online Exclusive Bundle – A Little Latte Suite Collection. As a demonstrator, I was able to buy this suite early. My customers, old and new, can order this from tomorrow – 4th March.

This collection of products is perfect for this project.

163466 $135AUD

Make sure you let me know what you think of my card.

I started by choosing this fabulous coffee cup rings designed paper to use as the first layer.

To create the overlapping shapes, from the sketch, I used the largest square from the Perennial Postage Dies.

I added strips of Stampin’ Dimensionals under this die cut layer on to the Pecan Pie cardbase.

Then I cut two smaller squares in Early Espresso to adhere inside the negative space.

I used the cup shape from the Latte Love Dies to cut four colourful cups of coffee from the gorgeous Designer Series Paper.

Two of these cups were postioned over the die cut spaces, using dimensionals to lift them up. The other two cups were adhered to the card insert and envelope.

The greeting was stamped, using Lost Lagoon, before I trimmed it to 7/8″ and the end was shaped using the Banners Pick a Punch.

Finally, I added some Lost Lagoon Tinsel Gems, from the three pack collection.

Tomorrow I will have another Latte Love project to share with you.

I will also add a shopping list tomorrow when these new products are available to customers.

Until then happy stamping.

If you live in Australia, you can order any of the products I used to make this card by going to my online store. Just click on any of the images below.

Product List
Paper Snips
[103579]
$19.25
Posted on Leave a comment

THURSDAY MEANS IT’S TIME FOR A 3D PROJECT

I was so delighted when I found a lavender soap and bath bomb recently. I knew it would be perfect for this week’s 3D project.

Taking measurements to create these simple lidded boxes is always so much fun. When I was a Home Economics teacher I loved using measurements to draft patterns for sewing. I think it’s the challenge of visualising something in 3 dimensions, creating a pattern in 2 dimensions and then seeing it come together and fitting the way you want it to.

I thought that I’d show you inside the boxes first.

I used Highland Heather A4 cardstock to create the two box bases and their lids.

After cutting and scoring the box bases and lids, I carefully cut two of the DSP designs so that all panels were matching on the lid.

The two boxes were stacked and I used a length of Natural Wavy Trim to hold them together. Then I tied them in place.

I stamped the greeting using the Stippled Rose Stamp Set and then cut them using larger of the two square postage dies from the Perennial Postage Dies. Another postage square was cut using Highland Heather cardstock.

I punched a small hole in the two postage squares and looped some Linen Thread through the hole. They were then tied onto the Wavy Trim.

To finish the boxes, I added some Purple Fine Shimmer Gems.

I am so happy with these gift boxes and cannot wait to find the right person to gift them to.

Tomorrow I have a Fun Fold card to share with you.

Until then, happy stamping.

If you live in Australia, you can order any of the products I used to make this card by going to my online store. Just click on any of the images below.

Product List
Paper Snips
[103579]
$19.25