Posted on Leave a comment

TIME FOR A SATURDAY SHARE

This final Season of Elegance project is a slimline Christmas card.

Initially I planned to make a Christmas banner but I wasn’t happy with the result – so – I did a redesign!

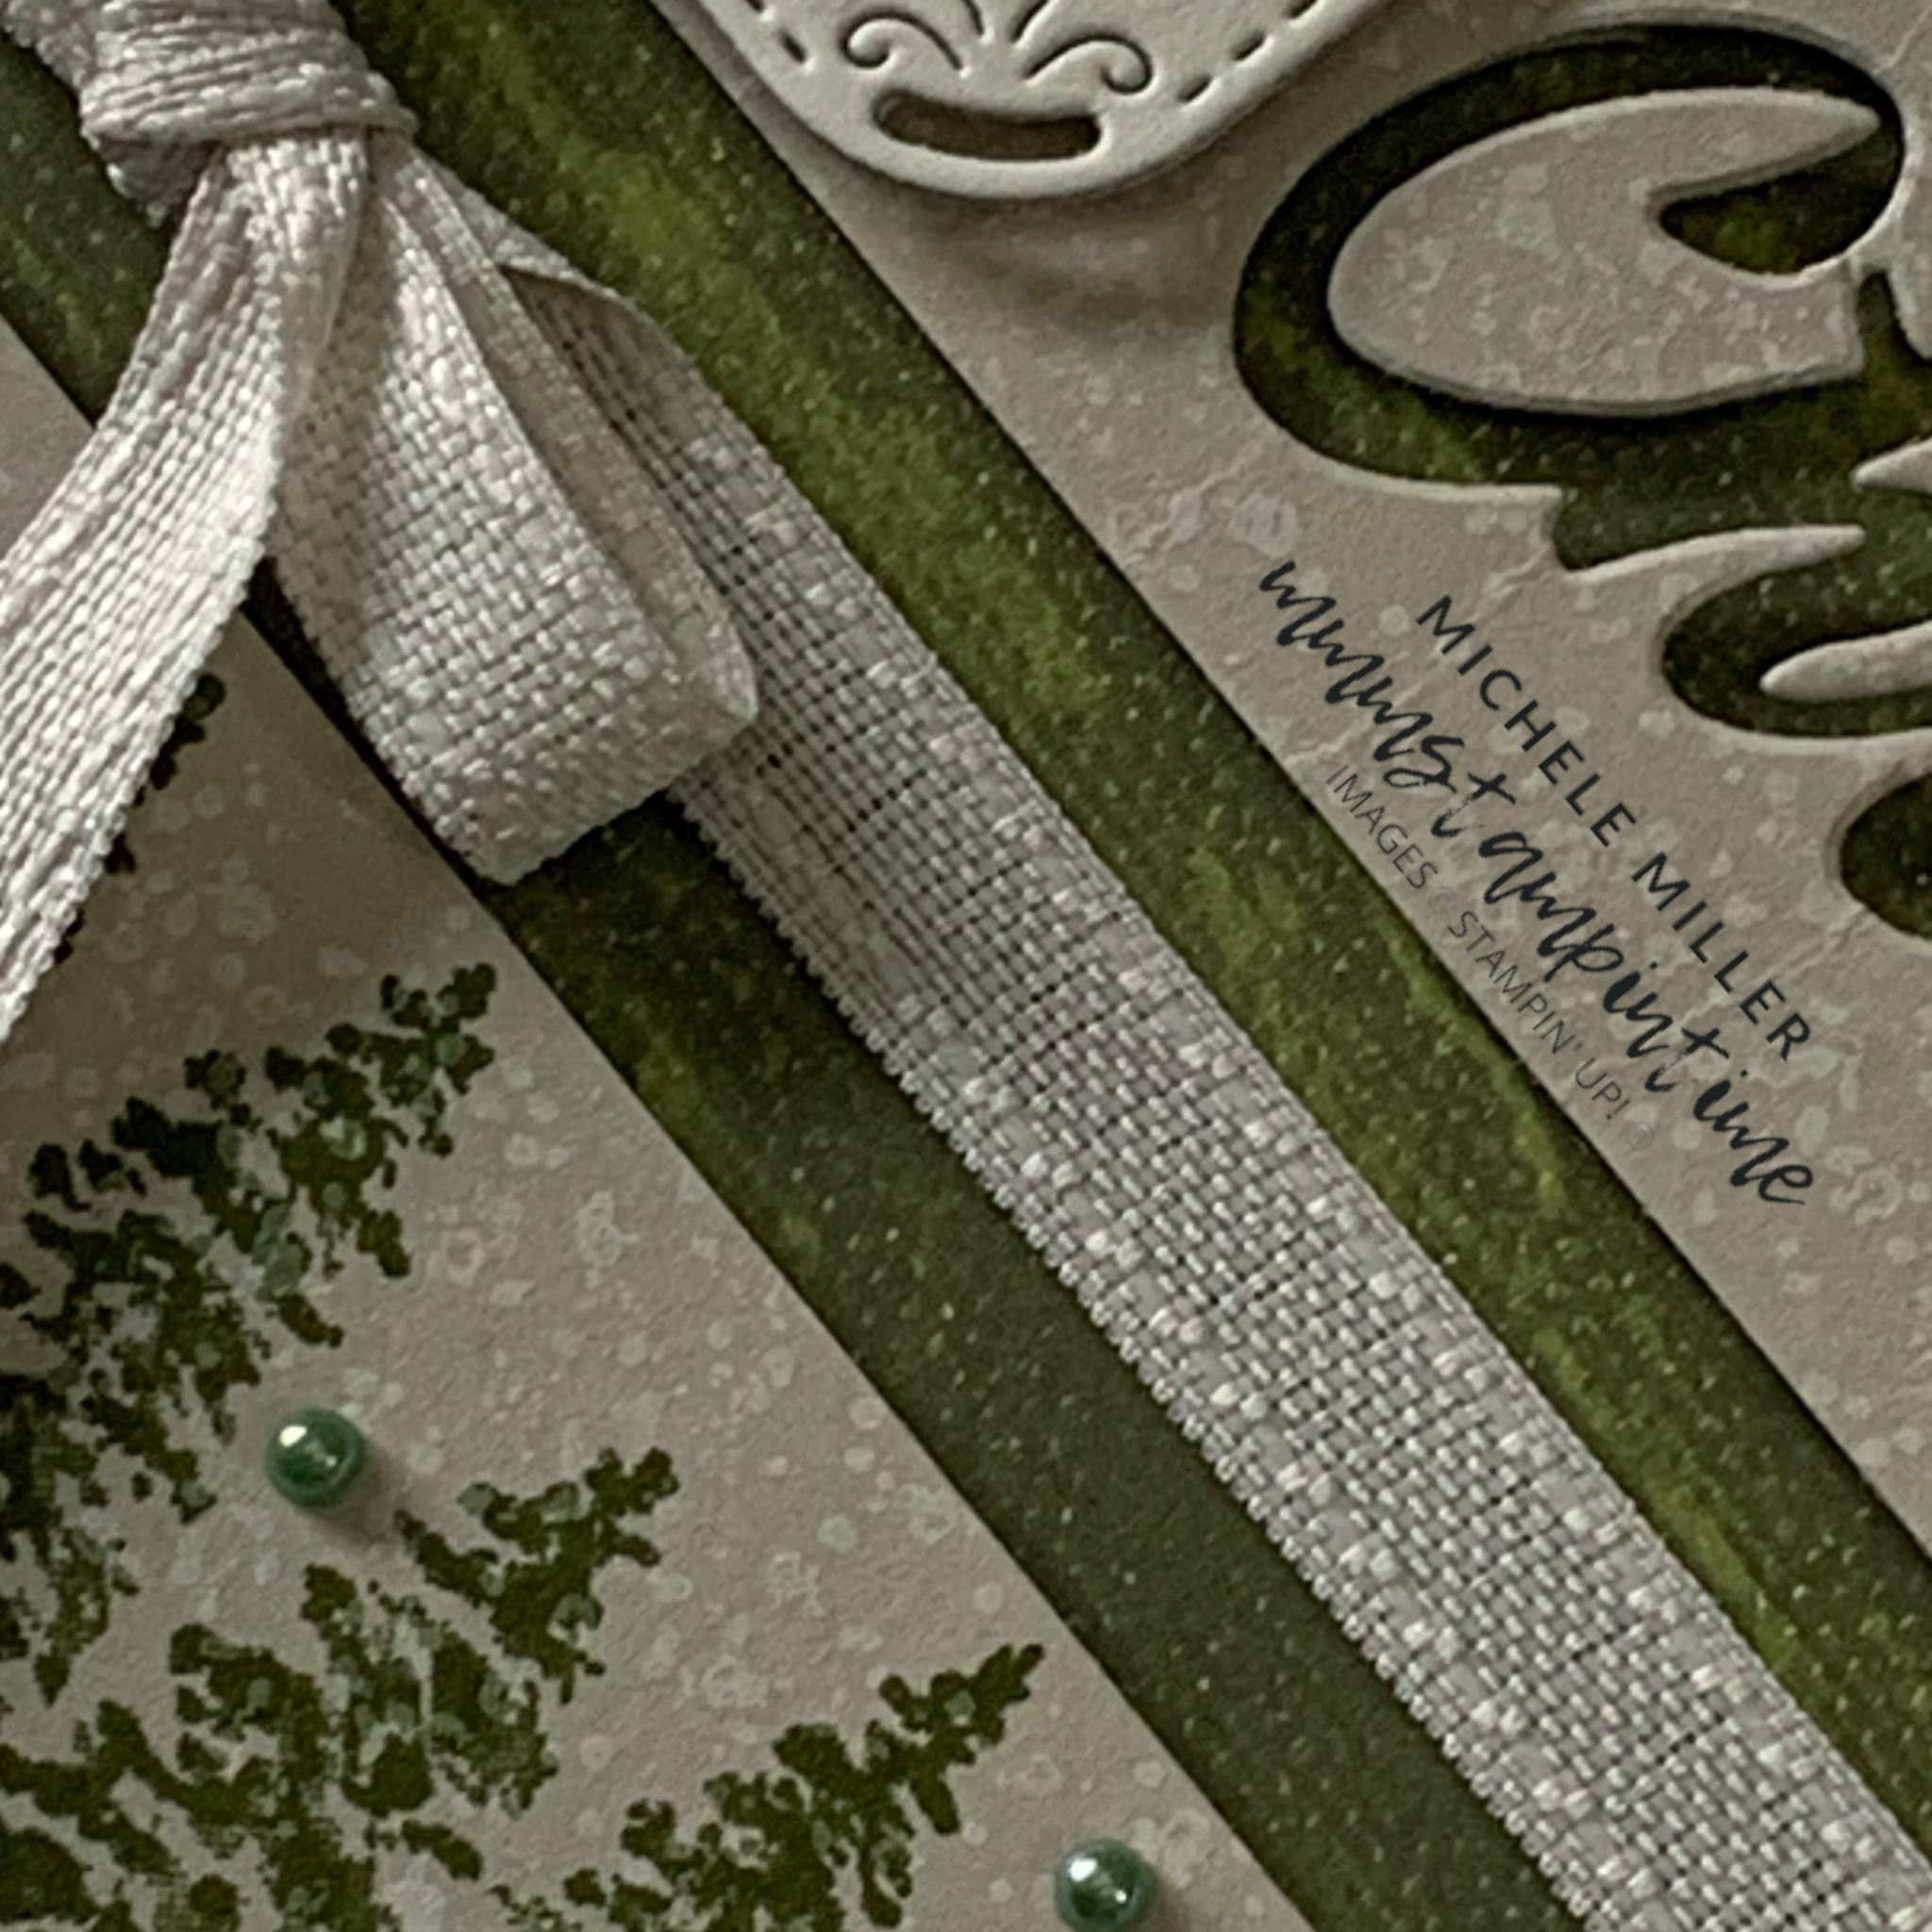
I used a Mossy Meadow card base and a panel of paper from the Designer Series Paper.

Each small, rounded square was die cut and then had gold lettering added. The letters were cut using the Mini Alphabet Dies with Gold Foil that had Adhesive Sheet attached to the back.

It was great that all the rounded squares were able to fit across the card front.

The ‘merry’ element of the greeting was stamped and heat embossed with Gold Embossing Powder.

I used the same DSP to create a coordinating envelope.

A Cherry Cobbler & Gold Satin Ribbon bow was added to the card front, along with some gold Blooming Pearls.

A 1/2″ strip of the DSP was added to the Basic White card insert.

I’m not sure what Monday will bring yet – but, stay tuned.

Until then, happy stamping.

If you live in Australia, you can order any of the products I used to make this card by going to my online store. Just click on any of the images below.

Product List
Heat Tool
[129056]
$56.00
Paper Snips
[103579]
$21.00
Posted on Leave a comment

IT’S FRIDAY & TIME FOR A FINAL CARD

This week I have been featuring projects using the Seasona of Elegance Suite Collection.

As you can see, this suite collection has so many products included.

My final project this week is not a fun fold card but a simple one.

I started this card by stamping the small trees using Mossy Meadow ink. Then I used the snowflake image and repeatedly stamped it, with Whisper White Craft ink, to build up the snowy effect.

This stamped panel was then trimmed and cut in half.

The top Basic Beige panel then had ‘Christmas’ cut away.

These two smaller panels were then attached to the Mossy Meadow DSP panel using Stampin’ Dimensionals.

Before attaching the Mossy Meadow paenl to the card base, I wrapped a length of Basic Beige Bordered Ribbon around it and tied a bow. The bow was secured in place with a Mini Glue Dot.

I stamped ‘merry’ onto a small piece f Basic Beige card and used the smaller of the rounded square dies to cut it out. Stampin’ Dimensionals were used to pop it up on the top panel.

Strips of Designer series Paper were added to the card insert and back of the envelope to finish them.

Finally, I added some Blooming Pearls to the card front.

I may have a surprise project for you over the weekend – stay tuned.

Until then, happy stamping.

If you live in Australia, you can order any of the products I used to make this card by going to my online store. Just click on any of the images below.

Product List
Paper Snips
[103579]
$21.00
Posted on Leave a comment

THURSDAY MEANS THAT IT IS TIME FOR A 3D PROJECT

Today I have two cute 2 1/2″ x 2 1/2″ x 2 1/2″ gift boxes to share with you.

After seeing the larger of the rounded square dies, when I first explored the Peaceful Season Dies, I knew that I wanted to use it to create a 3D project.

The Season of Elegance 12″ x 12″ Designer Series Paper matches the Gold Foil and gold Textured Metallic Specialty Paper perfectly.

The first box uses the Gold Foil Specialty Paper and the Cherry Cobbler/Gold paper from the DSP.

I cut 5 of the large rounded squares and adhered four of them to the sides of the gift box.

For the lid, I threaded a length of the Cherry Cobbler/Gold Satin Ribbon through the fifth rounded square and tied a bow. This was then attached to the lid with Stampin’ Dimensionals.

The smaller, rounded square was stamped with the seasonal greeting and heat embossed in gold.

The second box uses the gold Textured Metallic Specialty Paper and the Basic Beige/Gold paper from the DSP.

I cut 5 of the large rounded squares and adhered four of them to the sides of the gift box.

For the lid, I threaded a length of the Basic Beige Bordered Ribbon through the fifth rounded square and tied a bow. This was then attached to the lid with Stampin’ Dimensionals.

The smaller, rounded square was stamped with the seasonal greeting and heat embossed in gold.

The new WOW Embossing Powder is amazing!

I was so pleased with the way the ribbon was easily threaded through the die cut rounded squares.

These gift boxes are great for storing Lindt chocolates!

I have another Christmas card to share with you tomorrow.

Until then, happy stamping.

If you live in Australia, you can order any of the products I used to make this card by going to my online store. Just click on any of the images below.

Product List
Heat Tool
[129056]
$56.00
Paper Snips
[103579]
$21.00