Posted on Leave a comment

TODAY IT’S TIME FOR SOME TIPS & A TECHNIQUE

Today I have a peek-a-boo card to share with you.

These are several of the products, from the Friends of the Ocean Suite Colelction, that I used.

Here is the card –

TIP: Adhere the panel of Designer Series Paper to the card base before cutting out the peek-a-boo circle.

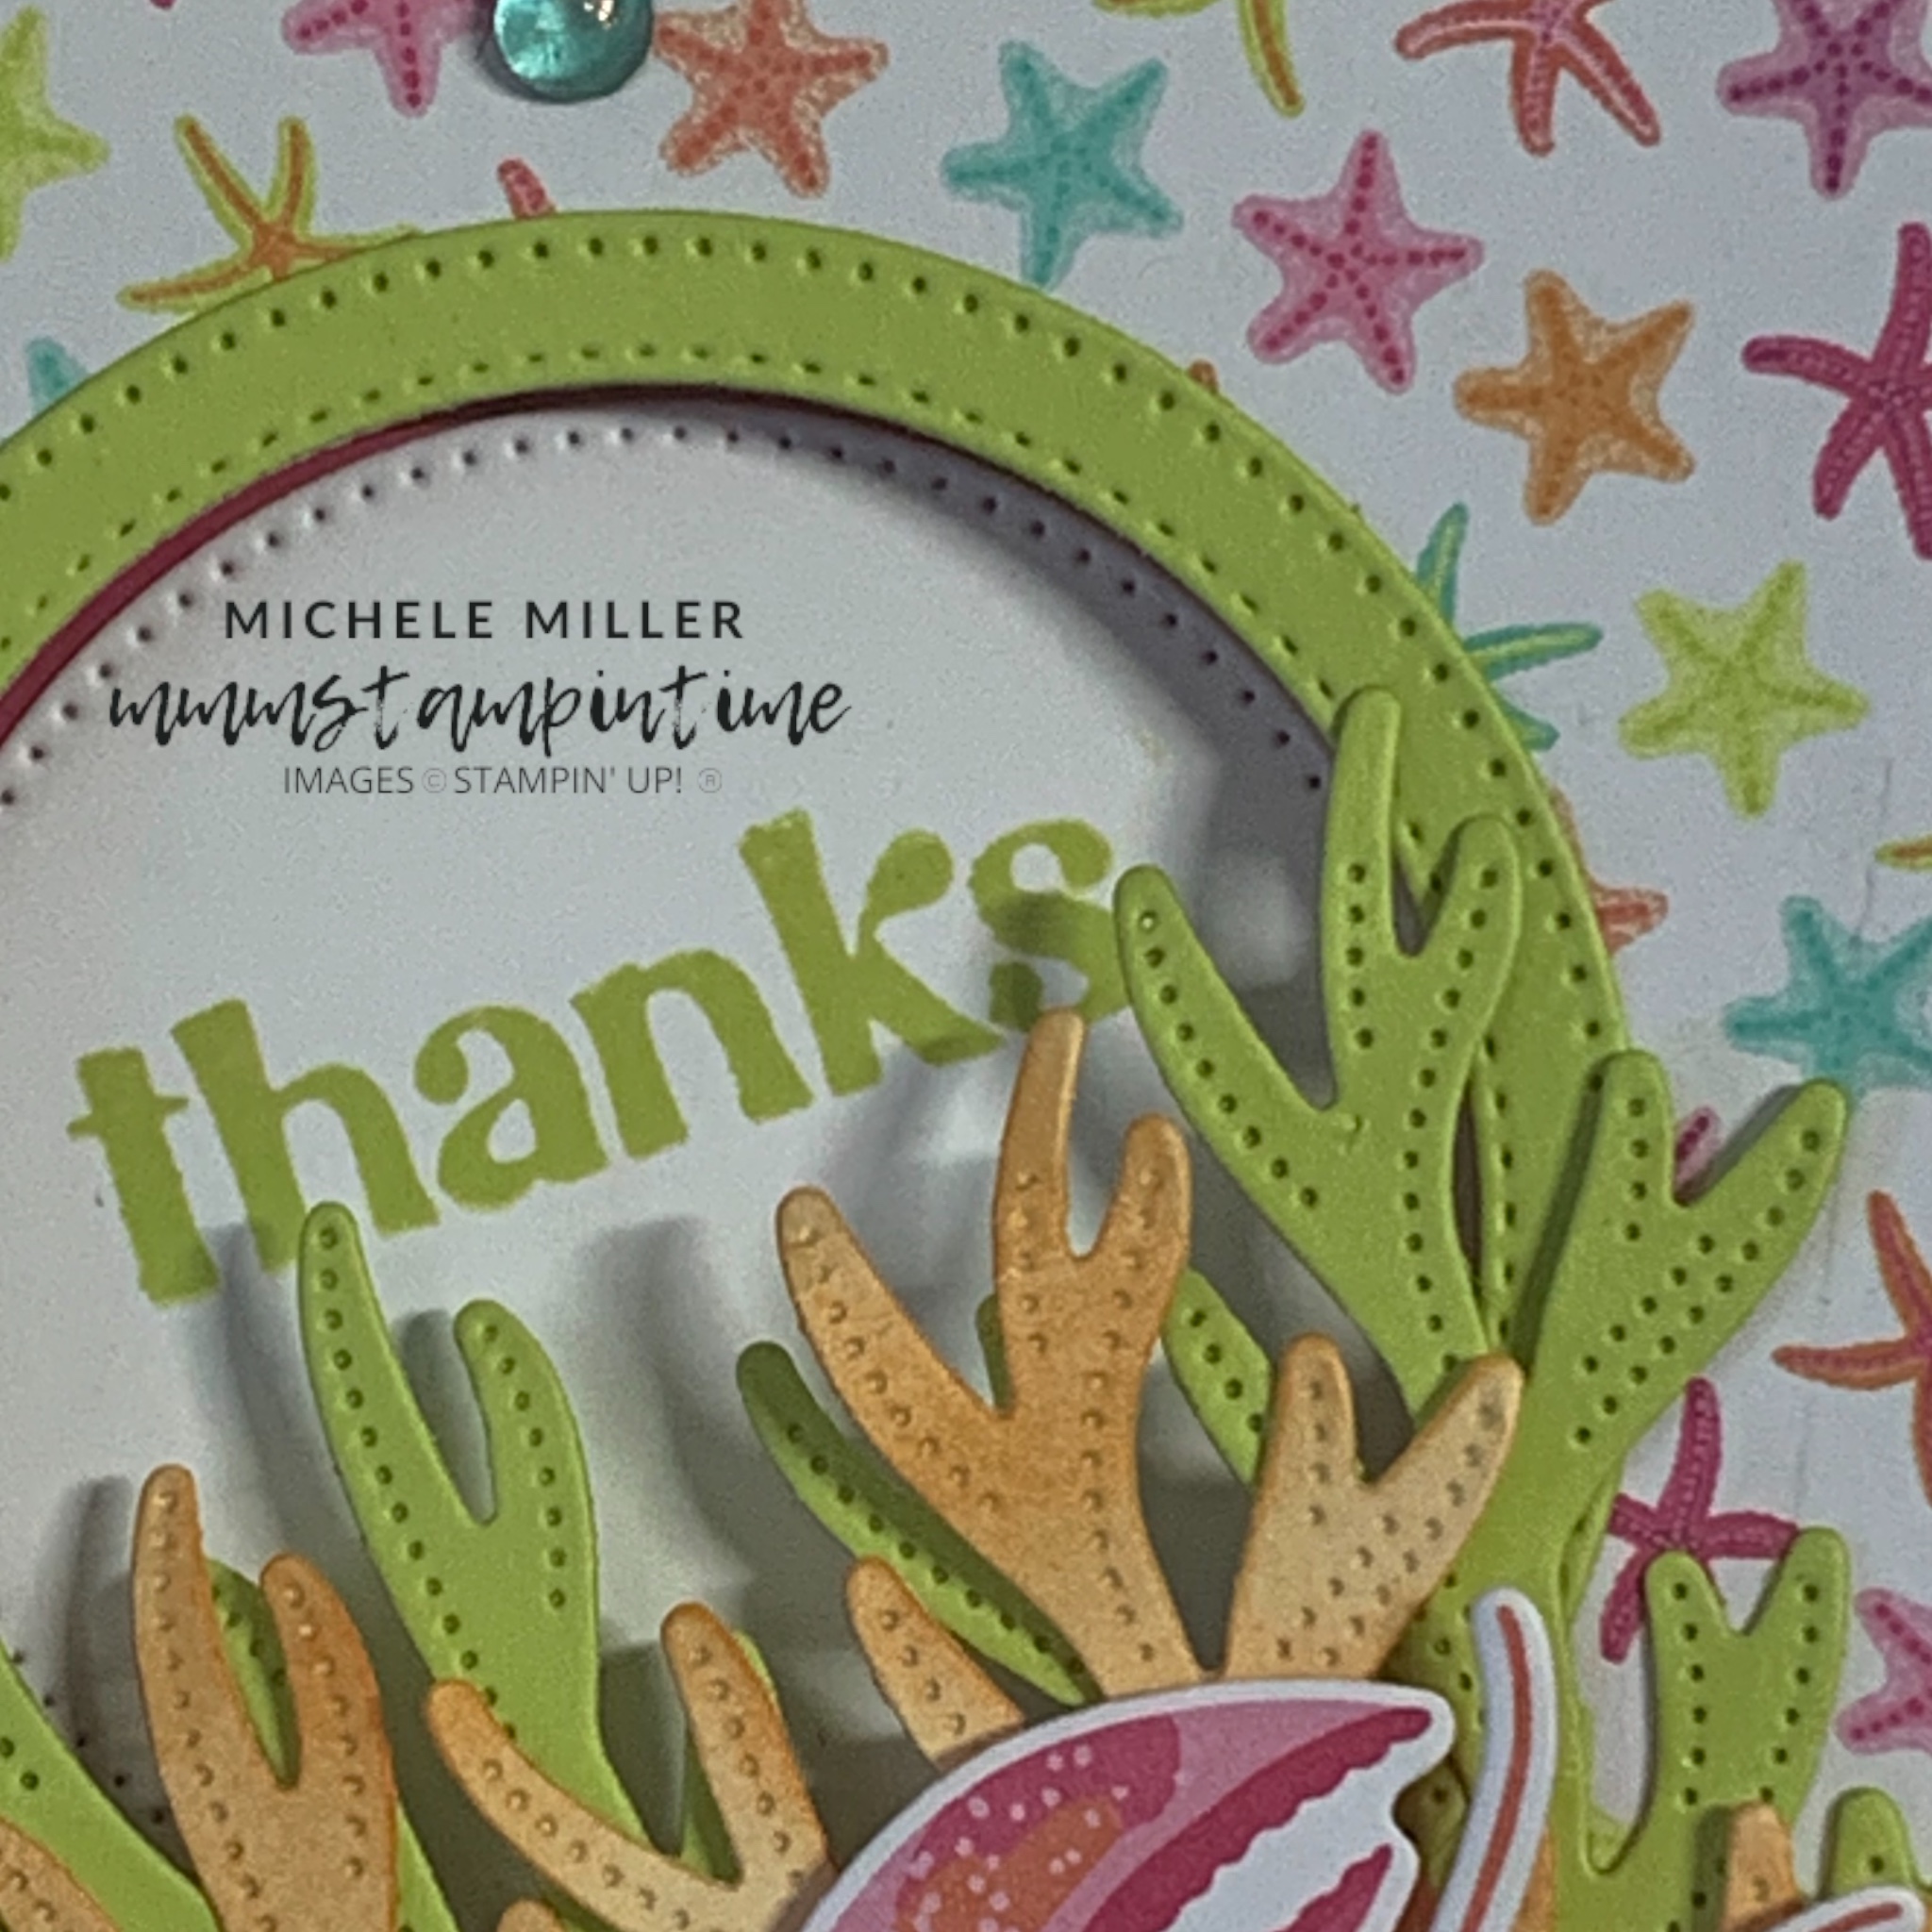
To cut the Lemon Lime Twist frame for the hole, position the two circle dies over the card and use some Post-it strips to hold them in place, with even spacing.

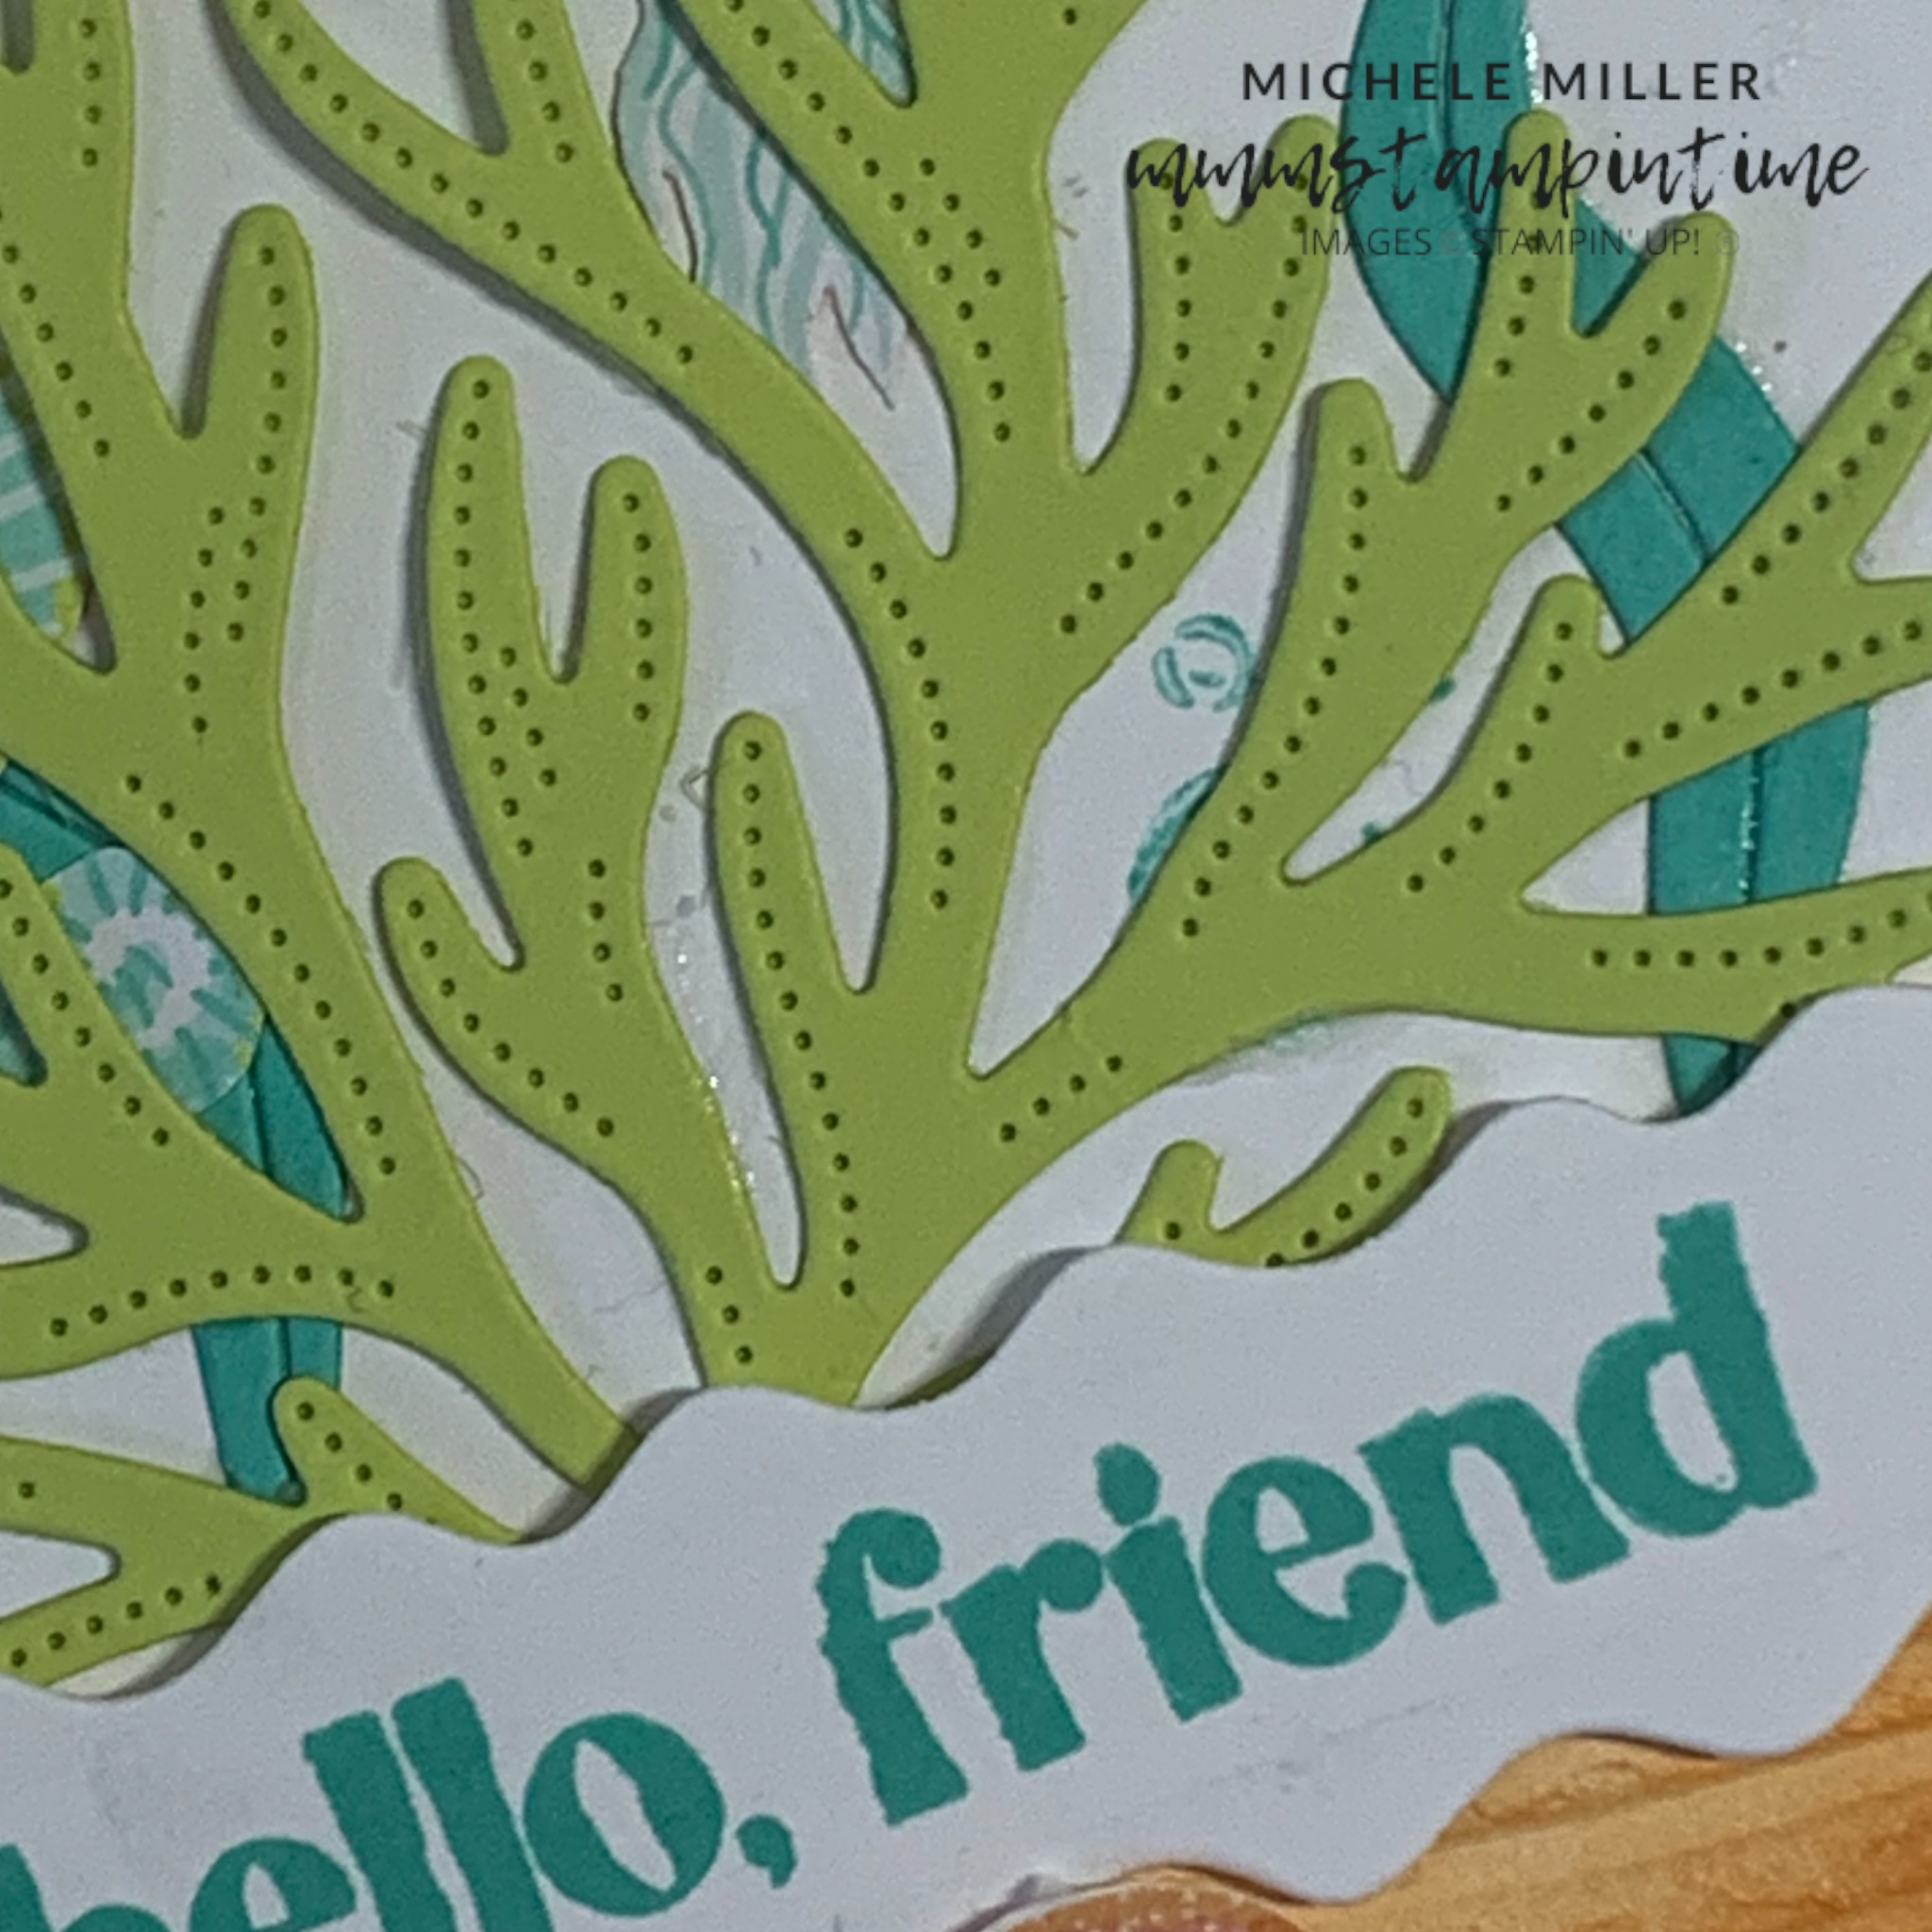
The greeting was stamped and die cut using the smaller of the two dies used to cut the frame.

TIP: To ensure this stamped circle is glued in the perfect location, close the card and pop inside the peek-a-boo circle.

The front of the card was decorated with a lobster that was cut from one of papers from the DSP pack and two of the coral shaped dies.

The white coral shape was coloured, using the same technique as yesterday, with a blending brush and Pumpkin Pie ink.

These die cut elements were then adhered to the card front.

The same DSP design that was used on the card front was adhered to the back envelope flap.

Finally, i added some of the coordinating Sunny Day Iridescent Dots to the card front.

Tomorrow I have another card using the circle dies from the Stylish Shapes Dies.

UNtil then, happy stamping.

If you live in Australia, you can order any of the products I used to make this card by going to my online store. Just click on any of the images below.

Product List
Paper Snips
[103579]
$21.00
Posted on Leave a comment

IT’S MONDAY & THAT MEANS IT IS TIME TO INTRODUCE A NEW PRODUCT SUITE

It is always fun to start a new week with a new collection of Stampin’ Up!® products.

This week I will share projects made using the new Friends of the ocean Suite Collection from the January – April Mini Catalogue.

I love the bold and brilliant colours that have been used in this collection.

My first project is my interpretation of one of the cards from the catalogue. Catalogues are a great place to seek creative inspiration.

I’m sure that you will easily identify the card I have CASEd.

Rather than landscape I chose a portrait layout and slightly adjusted some of the other elements.

I started with a Pumpkin Pie card base before attaching a Basic White panel to the card fornt.

Then I used the Soft Waves 3D Embossing Folder to add texture to a piece of Basic White Thick card.

I stamped the water bubbles in the top section of the card front using Summer Splash ink.

To add colour to this embossed panel I used a Blending Brush and some Pumpkin Pie ink. The blending brush allowed me to add the colour with varied intenity. Then I adhered the panel to the bottom section of the card.

I cut the seahorse, jellyfish, coral and seaweed elements and adhered them above the embossed panel. The little starfish was added to the embossed layer.

After stamping the greeting, onto a strip of Basic White card, I used the wavy die to cut the greeting layer. Then I popped it up on the card using Stampn’ Dimensionals.

The card insert and back of the envelope had more of the little starfish shapes added to them.

Finally, I added some of the Sunny Day Iridescent Dots to the card.

Tomorrow I have another card to share with you.

Until then, happy stamping.

If you live in Australia, you can order any of the products I used to make this card by going to my online store. Just click on any of the images below.

Product List
Paper Snips
[103579]
$21.00