Posted on Leave a comment

TIME FOR TECHNIQUE TUESDAY

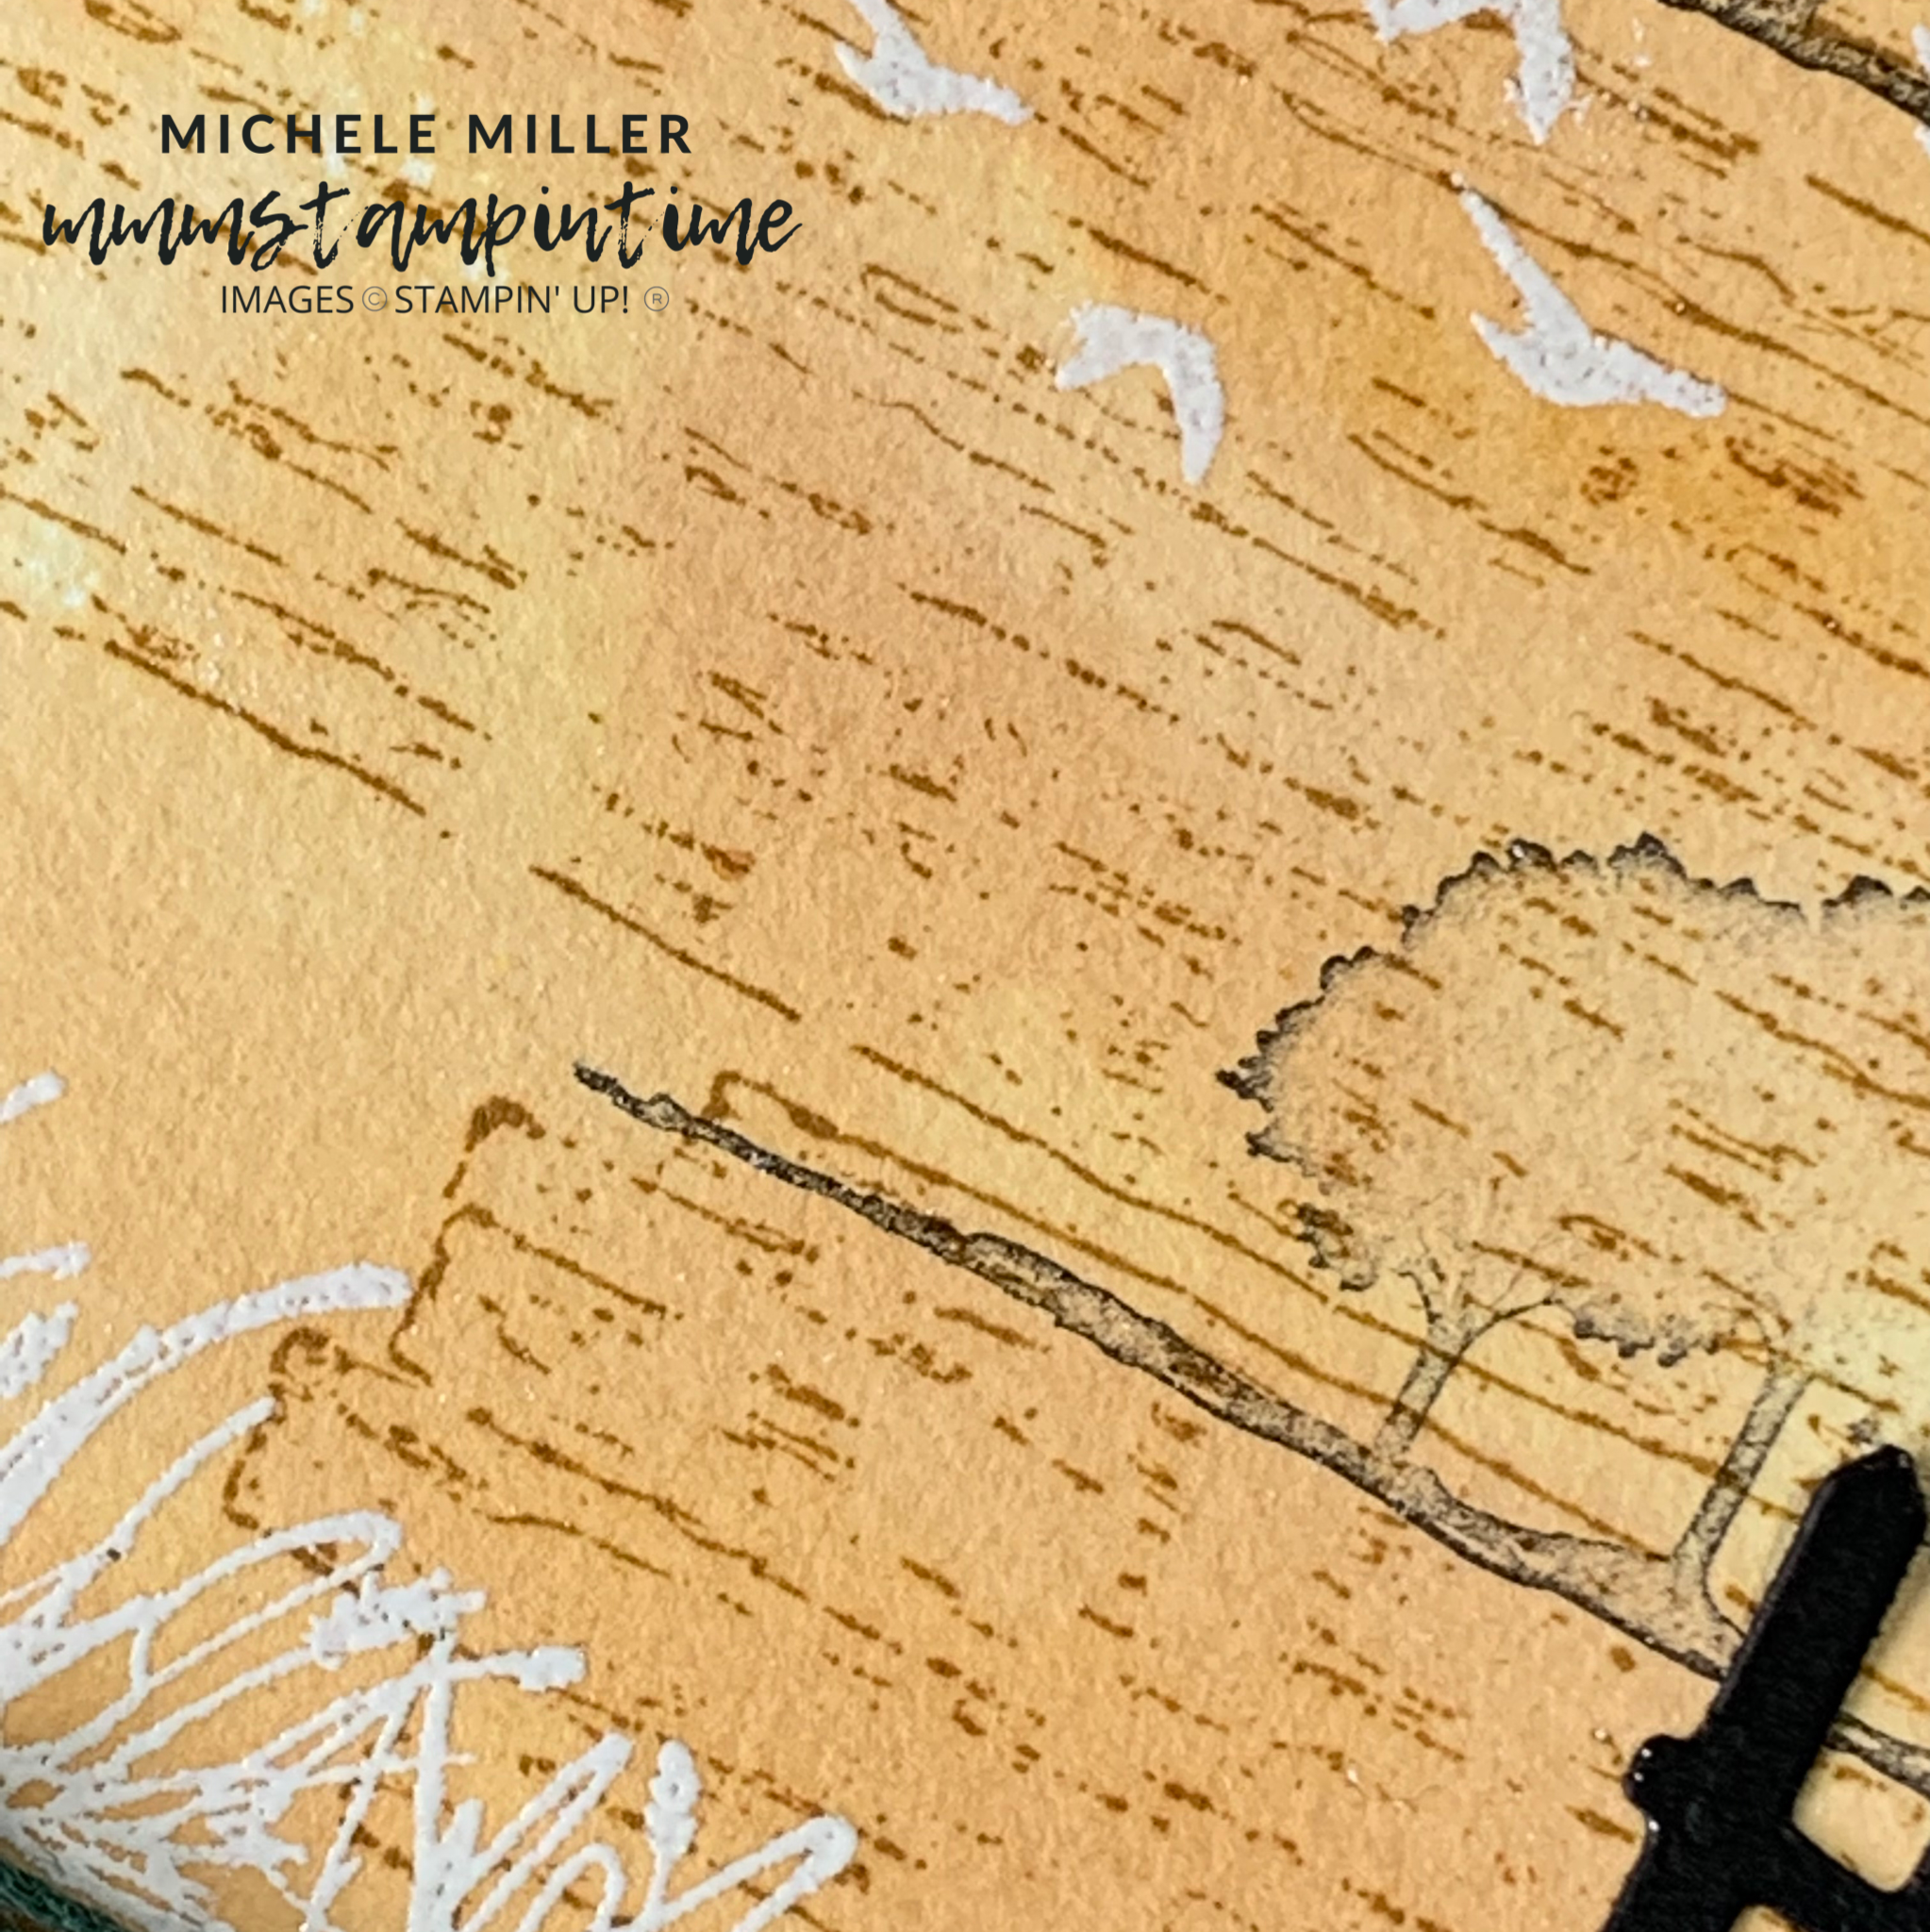
The technique I want to share with you today is a version of the SEPIA COLOURING TECHNIQUE.

For this technique I decided to use Cinnamon Cider for the water colouring step.

The first step was to stamp the timber planks image from the On the Horizon Stamp Set using the Saddle Brown StazOn Ink. They were stamped onto a piece of Fluid 100 Water Colour Paper.

The water colour paper was then taped down onto a piece of cardboard. I painted water across the paper before water colouring it.

After it dried , I trimmed the paper down and started adding the other images and elements.

I stamped the tree image three times. Then I used Versamark and white embossing powder to add the grass and birds to the water coloured panel.

Before attaching this panel with Stampin’ Dimensionals to the card front, I wrapped and tied a length of Evening Evergreen twine from the Fan Baker’s Twine pack.

When the stamped panel was added to the card base, I cut one of the fence shapes using the Horizon Dies. The Basic Black gate had some Adhesive Sheet attached and this made it quite easy to attach it to the card.

The greeting, from the On the Horizon Stamp Set, was stamped in Cinnamon Cider on to a piece of Fluid 100 Water Colour Paper. I cut it down to 3/4″ and then used the Banners Pick a Punch to create a banner at one end.

THe final step was to add one of the Pebbles Enamel Shapes near the fence.

Phew – now I am back on schedule. Tomorrow I will have a project for this week’s Global Design Project.

Until then, happy stamping.

If you live in Australia, you can order any of the products I used to make this card by going to my online store. Just click on any of the images below.

Product List
Horizon Dies
[157778]
$57.00
Heat Tool
[129056]
$50.00
Paper Snips
[103579]
$17.00
Posted on Leave a comment

MONDAY’S MEMORIES MADE IT AT LAST

Oops – my Memories on Monday is a day late making it here. I spent yesterday working on projects for a presentation I’m doing early next month.

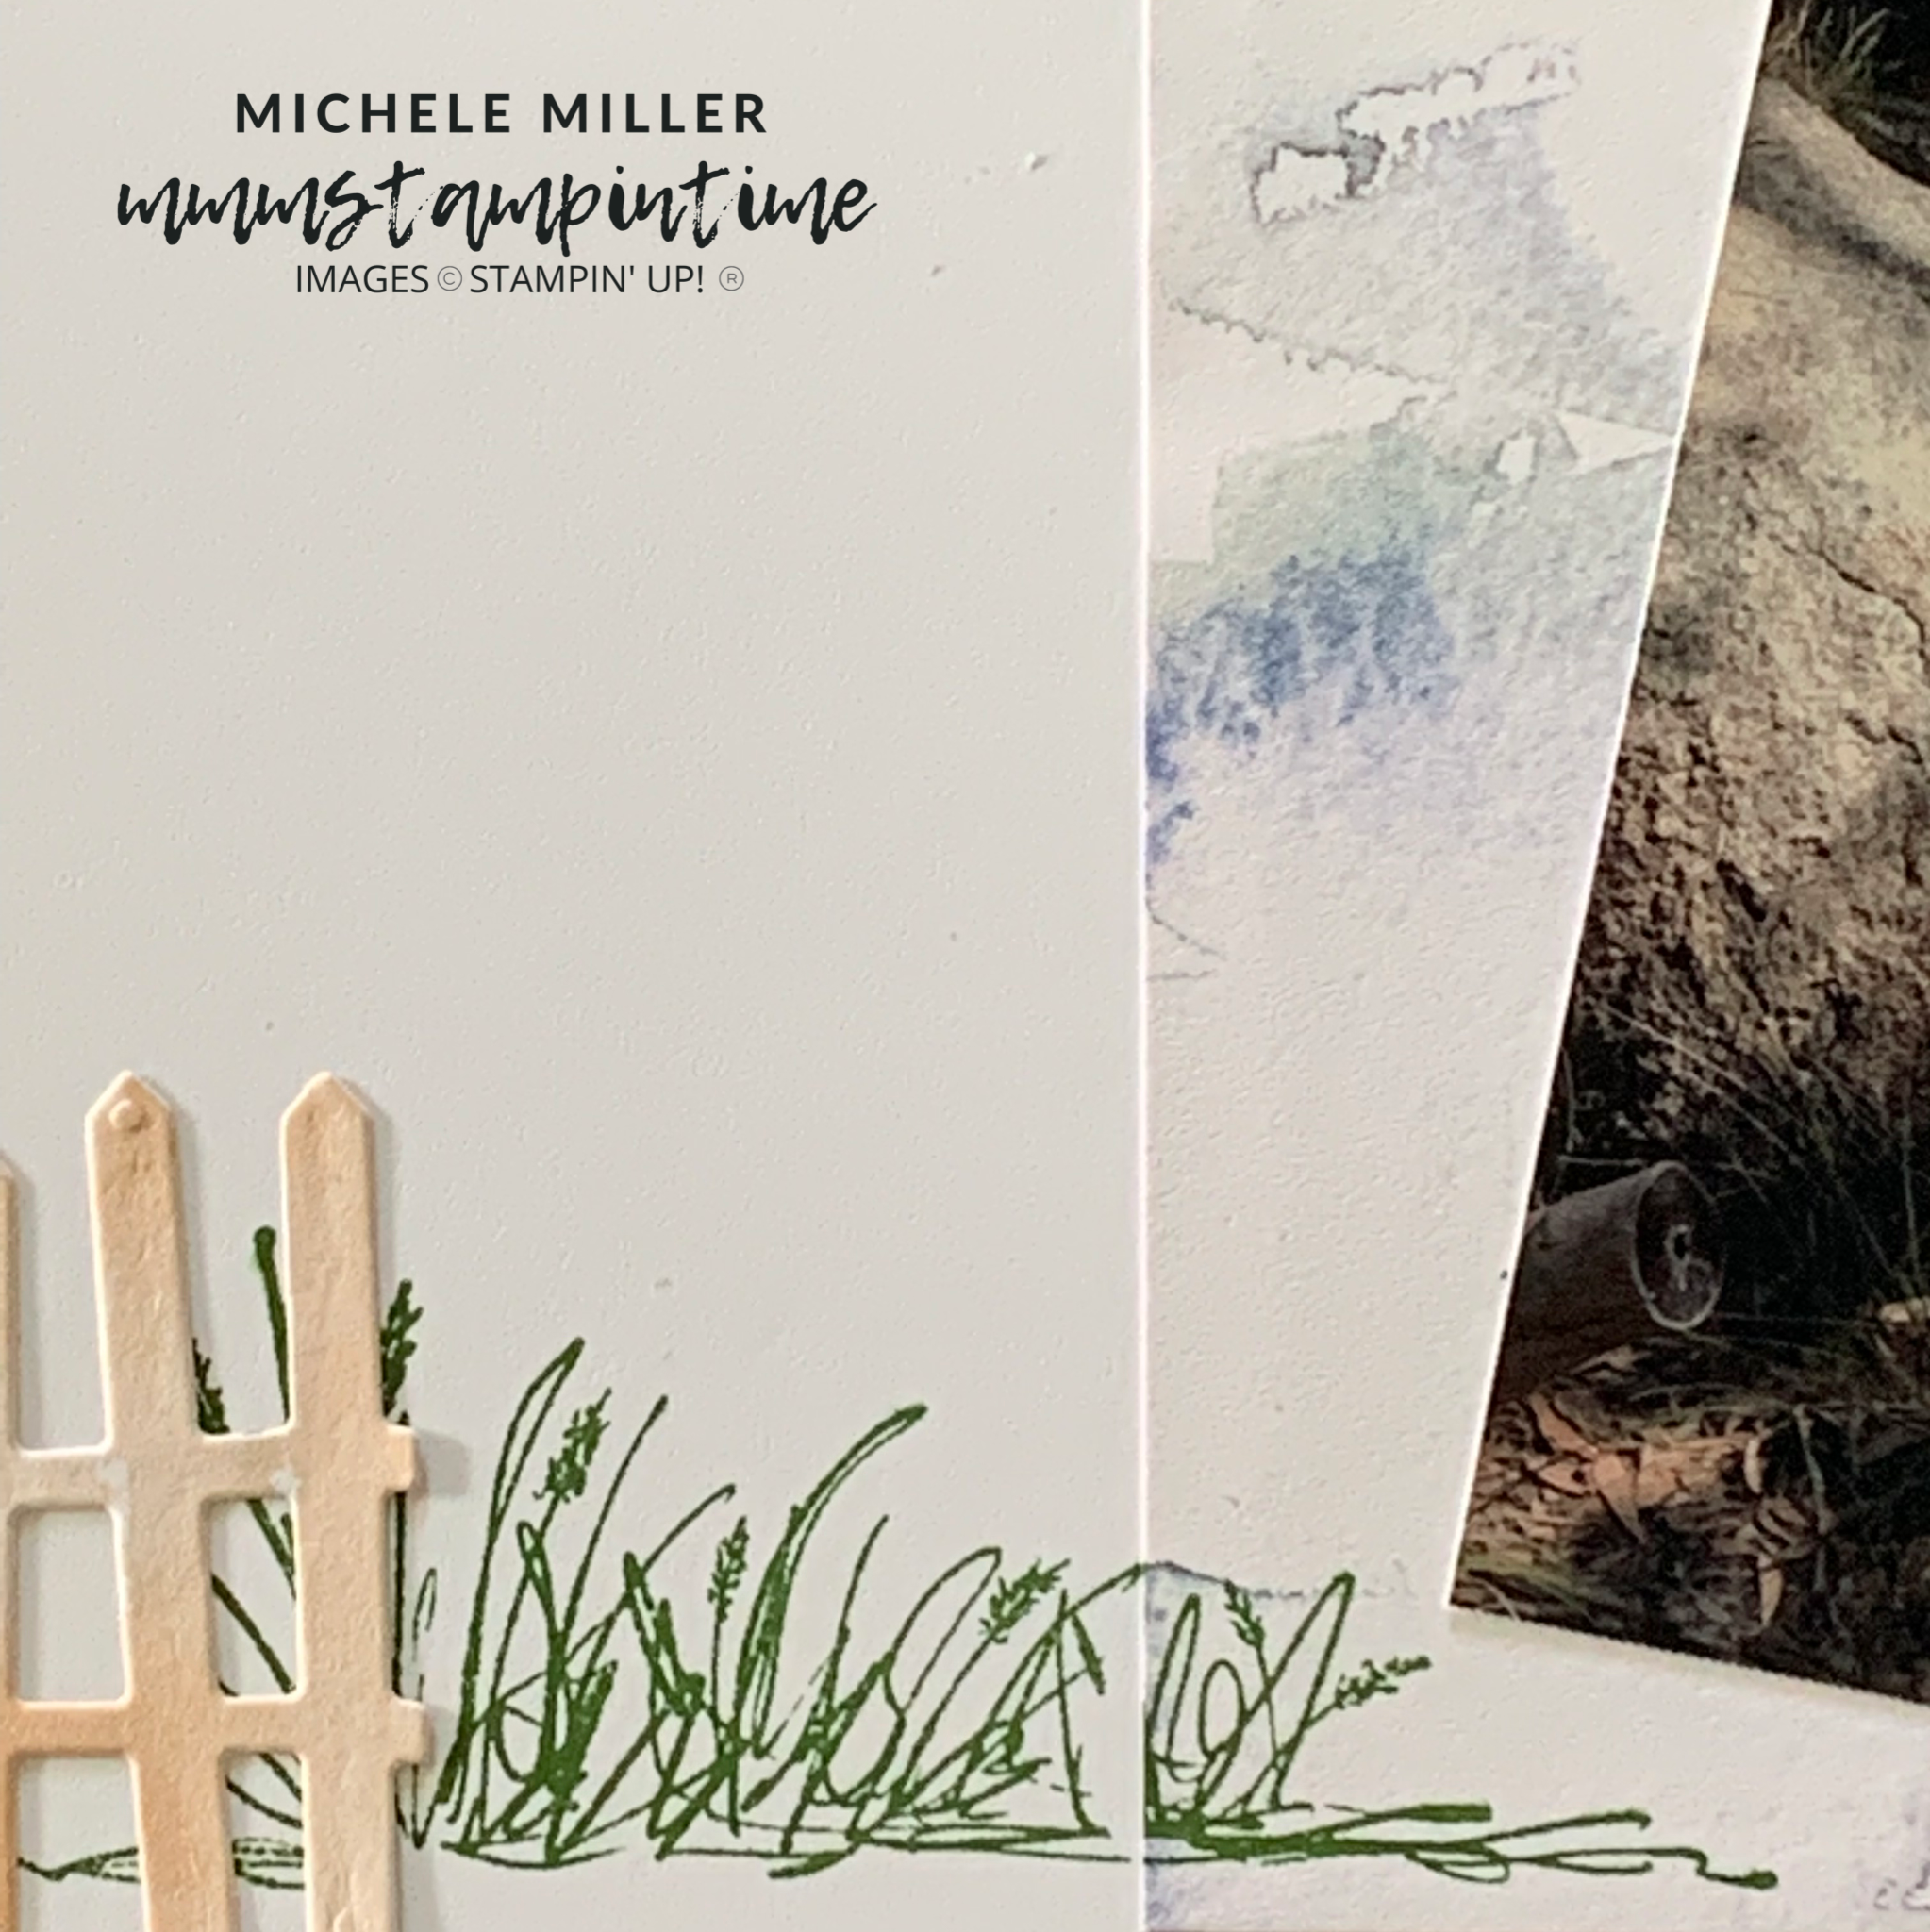
As I’m featuring the New Horizons Suite Collection this week, I knew exactly which photos to scrap.

In mid-October 2020, Rob and I enjoyed a short break visiting Ballandean which is near Stanthorpe.

The New Horizons 6″x 6″ Designer Series Paper was perfect to use as backgrounds for these photos.

I used some of the images from the On the Horizon Stamp Set to stamp grass, trees and birds on this page. The fencing was cut using two of the Horizon Dies. The piece of DSP I used had Adhesive Sheet attached to the back. I used the same DSP to journal about this brief holiday.

The second page features the wine and walking that we enjoyed while we stayed in Ballandean.

My plan is now to prepare my Technique Tuesday project and post it later today to get back on schedule.

Until then, happy stamping.

If you live in Australia, you can order any of the products I used to make this card by going to my online store. Just click on any of the images below.

Product List
Horizon Dies
[157778]
$57.00
Paper Snips
[103579]
$17.00
Posted on Leave a comment

STEP IT UP SUNDAY – TAKING A CARD DESIGN TO ANOTHER LEVEL

For these cards, I am still featuring the New Horizons Suite Collection and adding extra layers and elements to each of them.

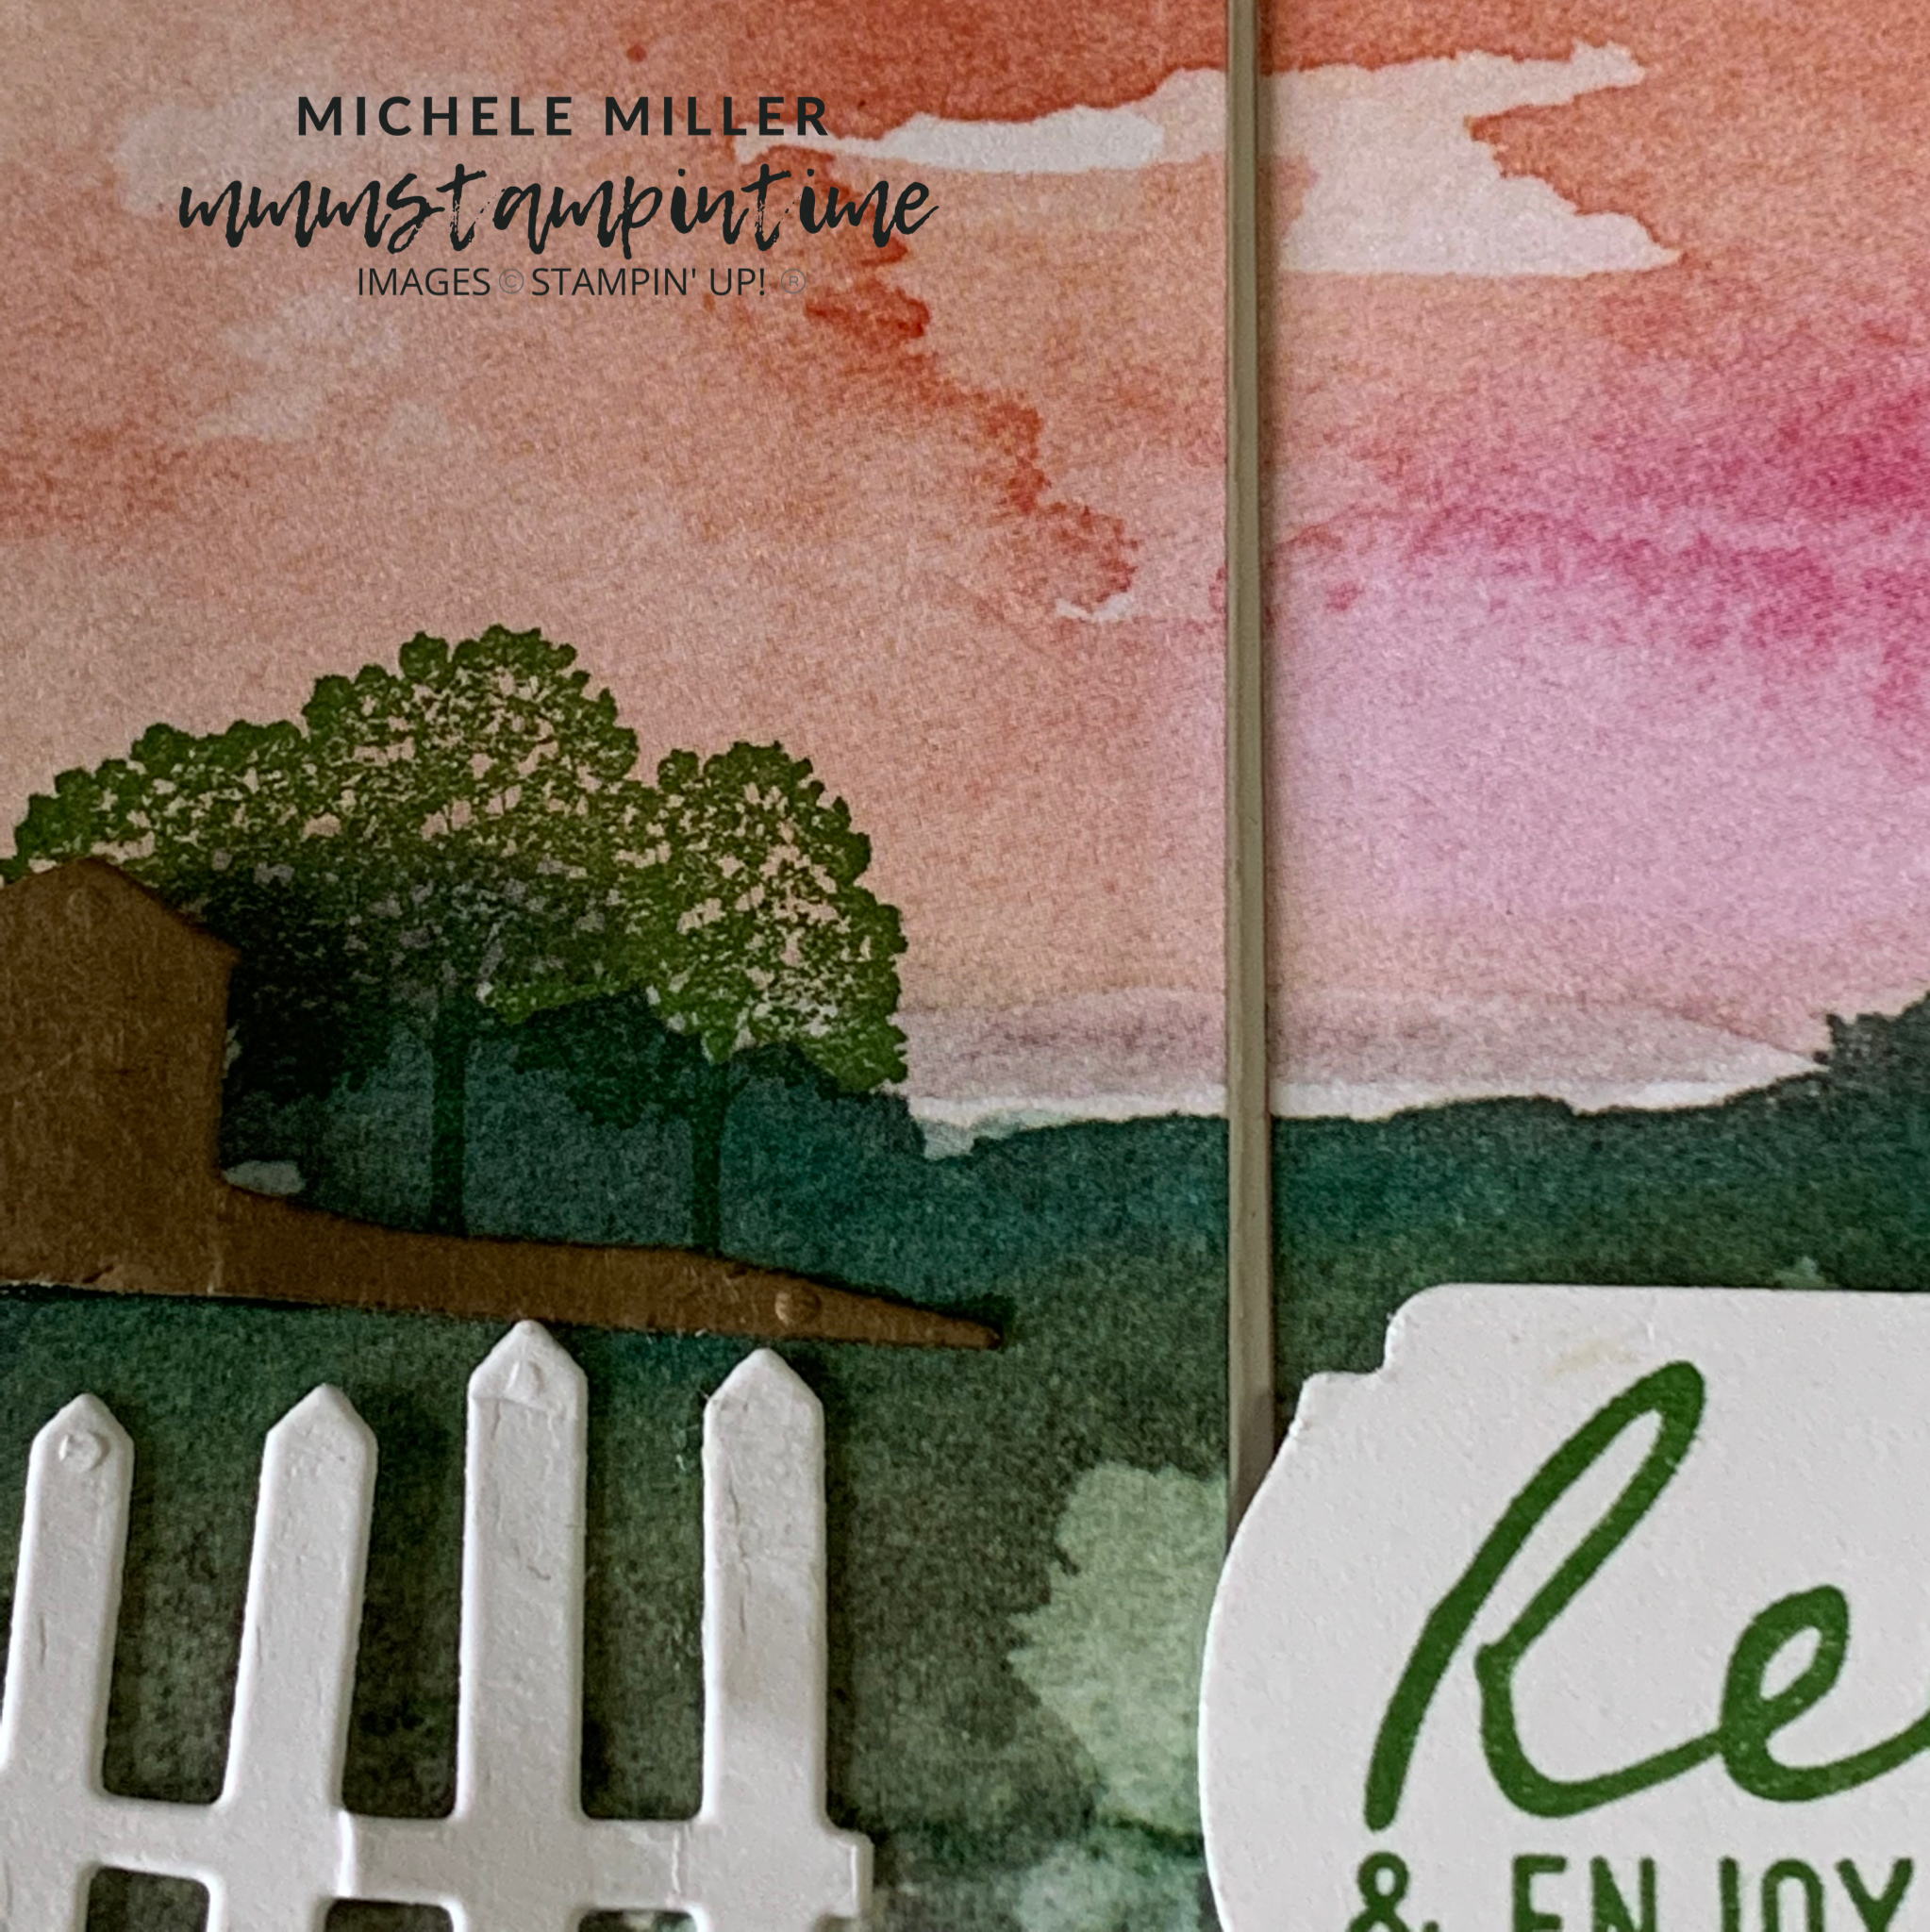
For this card, I stamped the sentiment in an additional colour and used the Label Me Fancy Punch to punch it out. I attached two lengths of the Bumblebee Gingham Ribbon under the label. Then it was popped up on the card front using Stampin’ Dimensionals.

The rest of the card is the same as the second card from yesterday.

I used three 1″ strips of the Designer Series Paper for the front of this card. The trees and birds have been used again.

The sentiment was stamped and punched in the same way as before, and with another colour added. I also used some Polished Pink Open Weave Ribbon and wrapped it under the label.

I also added some 2021 – 2023 In Colour Jewels to embellish the card.

This card is very similar to the previous one. The main difference is the way I stamped the trees and birds. I used my Stamparatus for this.

The images were stamped on the Basic White card first. Then I attached the three strips of DSP and stamped the iages again. This ensured that the images were fully stamped, without the gaps that are left if you just stamp directly on the card and DSP.

This card has a two tiered DSP front. The left panel has the trees stamped on it twice and the right panel has the birds stamped on it. The right hand side was been popped using Stampin’ Dimensionals.

After the sentiment was stamped and punched, I took a length of white baker’s twine, from the Baker’s Twine Essentials Pack, and separated all the strands. These were then looped under the label and secured in place. I added some dimensionals and popped it on the front of the card.

This is the last card today. I scored the front of the notecard in half and folded it back to the left. Then I cut 1-1/4″ off a second notecard and scored it it at 1-3/4″, 3-1/2″ and 5-1/4″. I glued this piece to the first card to create a semi-pinwheel card.

I stamped on the three 1-3/4″ strips of DSP to the card and then attached them to the panels, as you can see.

The Horizon Dies were used to cut the fences and huts. I added them to the card to create this fabulous scene.

After the sentiment was stamped and punched, I added some of the 2021 – 2023 In Colour Jewels to complete the card.

Stepped up cards use more colours, tools, embellishments and layers.

From simple to more complex cards, and everything in between, card making is so much fun. The creating and creative processes are so fulfilling.

Tomorrow I will have some scrapbooking to share with you.

Until then, happy stamping.

If you live in Australia, you can order any of the products I used to make this card by going to my online store. Just click on any of the images below.

Product List
Horizon Dies
[157778]
$57.00
Paper Snips
[103579]
$17.00