Posted on Leave a comment

WELL, WHAT’S HAPPENING THIS WEDNESDAY?

Well, this Wednesday I will actually be finishing my packing. Rob & I are heading off on our 10 week overseas holiday tomorrow afternoon! I hope that I will have a post scheduled for each week while I’m away – but if not, please forgive me. I’ll be crafting like a crazy woman when I get home.

Today I have a beautiful anniversary card to share.

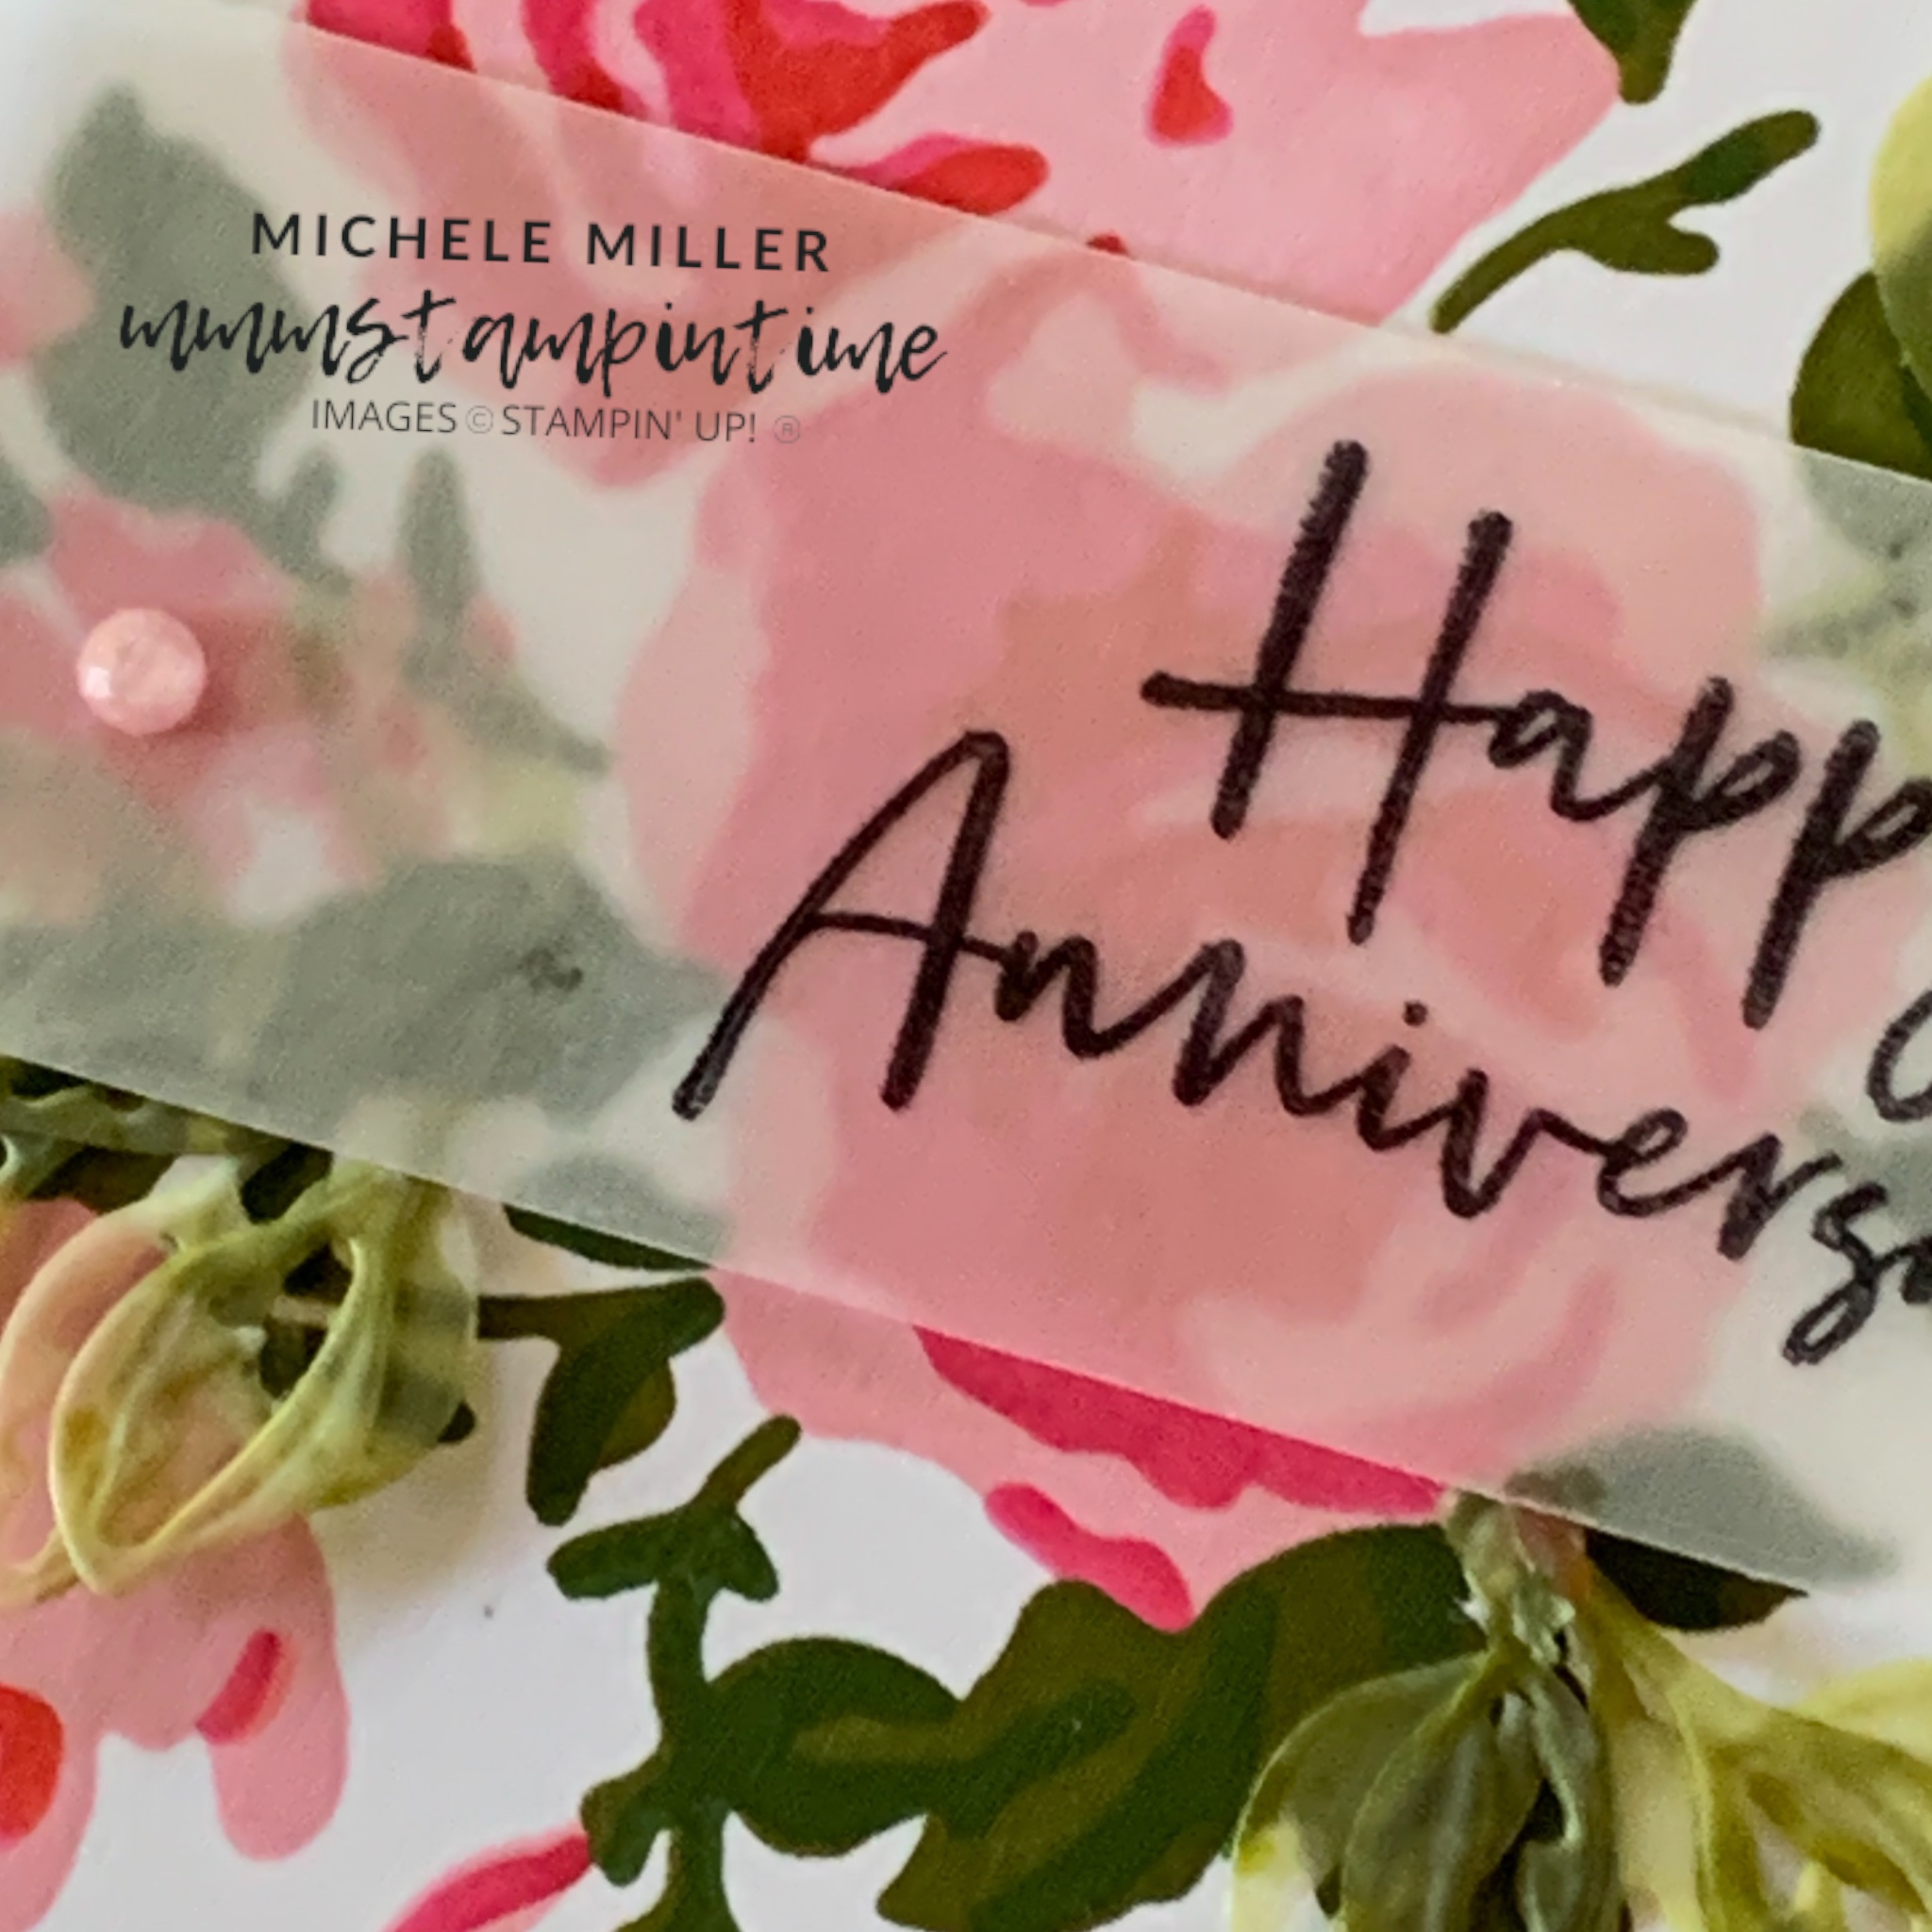
I used the Decorative Masks and these colours to create the floral layer – Pretty in Pink, Melon Mambo, Poppy Parade, Old Olive and Shaded Spruce.

Using the masks and Blending Brushes is such an easy and very effective way to create these beautiful designs.

I took a length of Pretty in Pink Bordered Ribbon and wrapped it around the floral base. Then I used a shorter length and tied it around the wrapped length and tied a knot.

This layer was then adhered to an Old Olive layer and a Pretty in Pink card base.

The anniversary greeting was stamped onto a piece of Vellum, using StazOn Jet Black ink. A few Mini Glue Dots were placed behind the vellum and then adhered to the front of the card.

I stamped a small floral image on the card insert and the back of the envelope.

Finally, I added some Pretty in Pink 2024-2025 In Colour Shimmer Gems to the front of the card.

Tomorrow I have a small chocolate gift box to share with you.

Until then, happy stamping.

If you live in Australia, you can order any of the products I used to make this card by going to my online store. As you read through this post, you will see the products I used for this project. THe new items are available from May 1st.

Posted on Leave a comment

TODAY IS TUESDAY & IT’S TIME FOR SOME TIPS AND TECHNIQUES

Today I want to share a ‘no line’ water colouring technique.

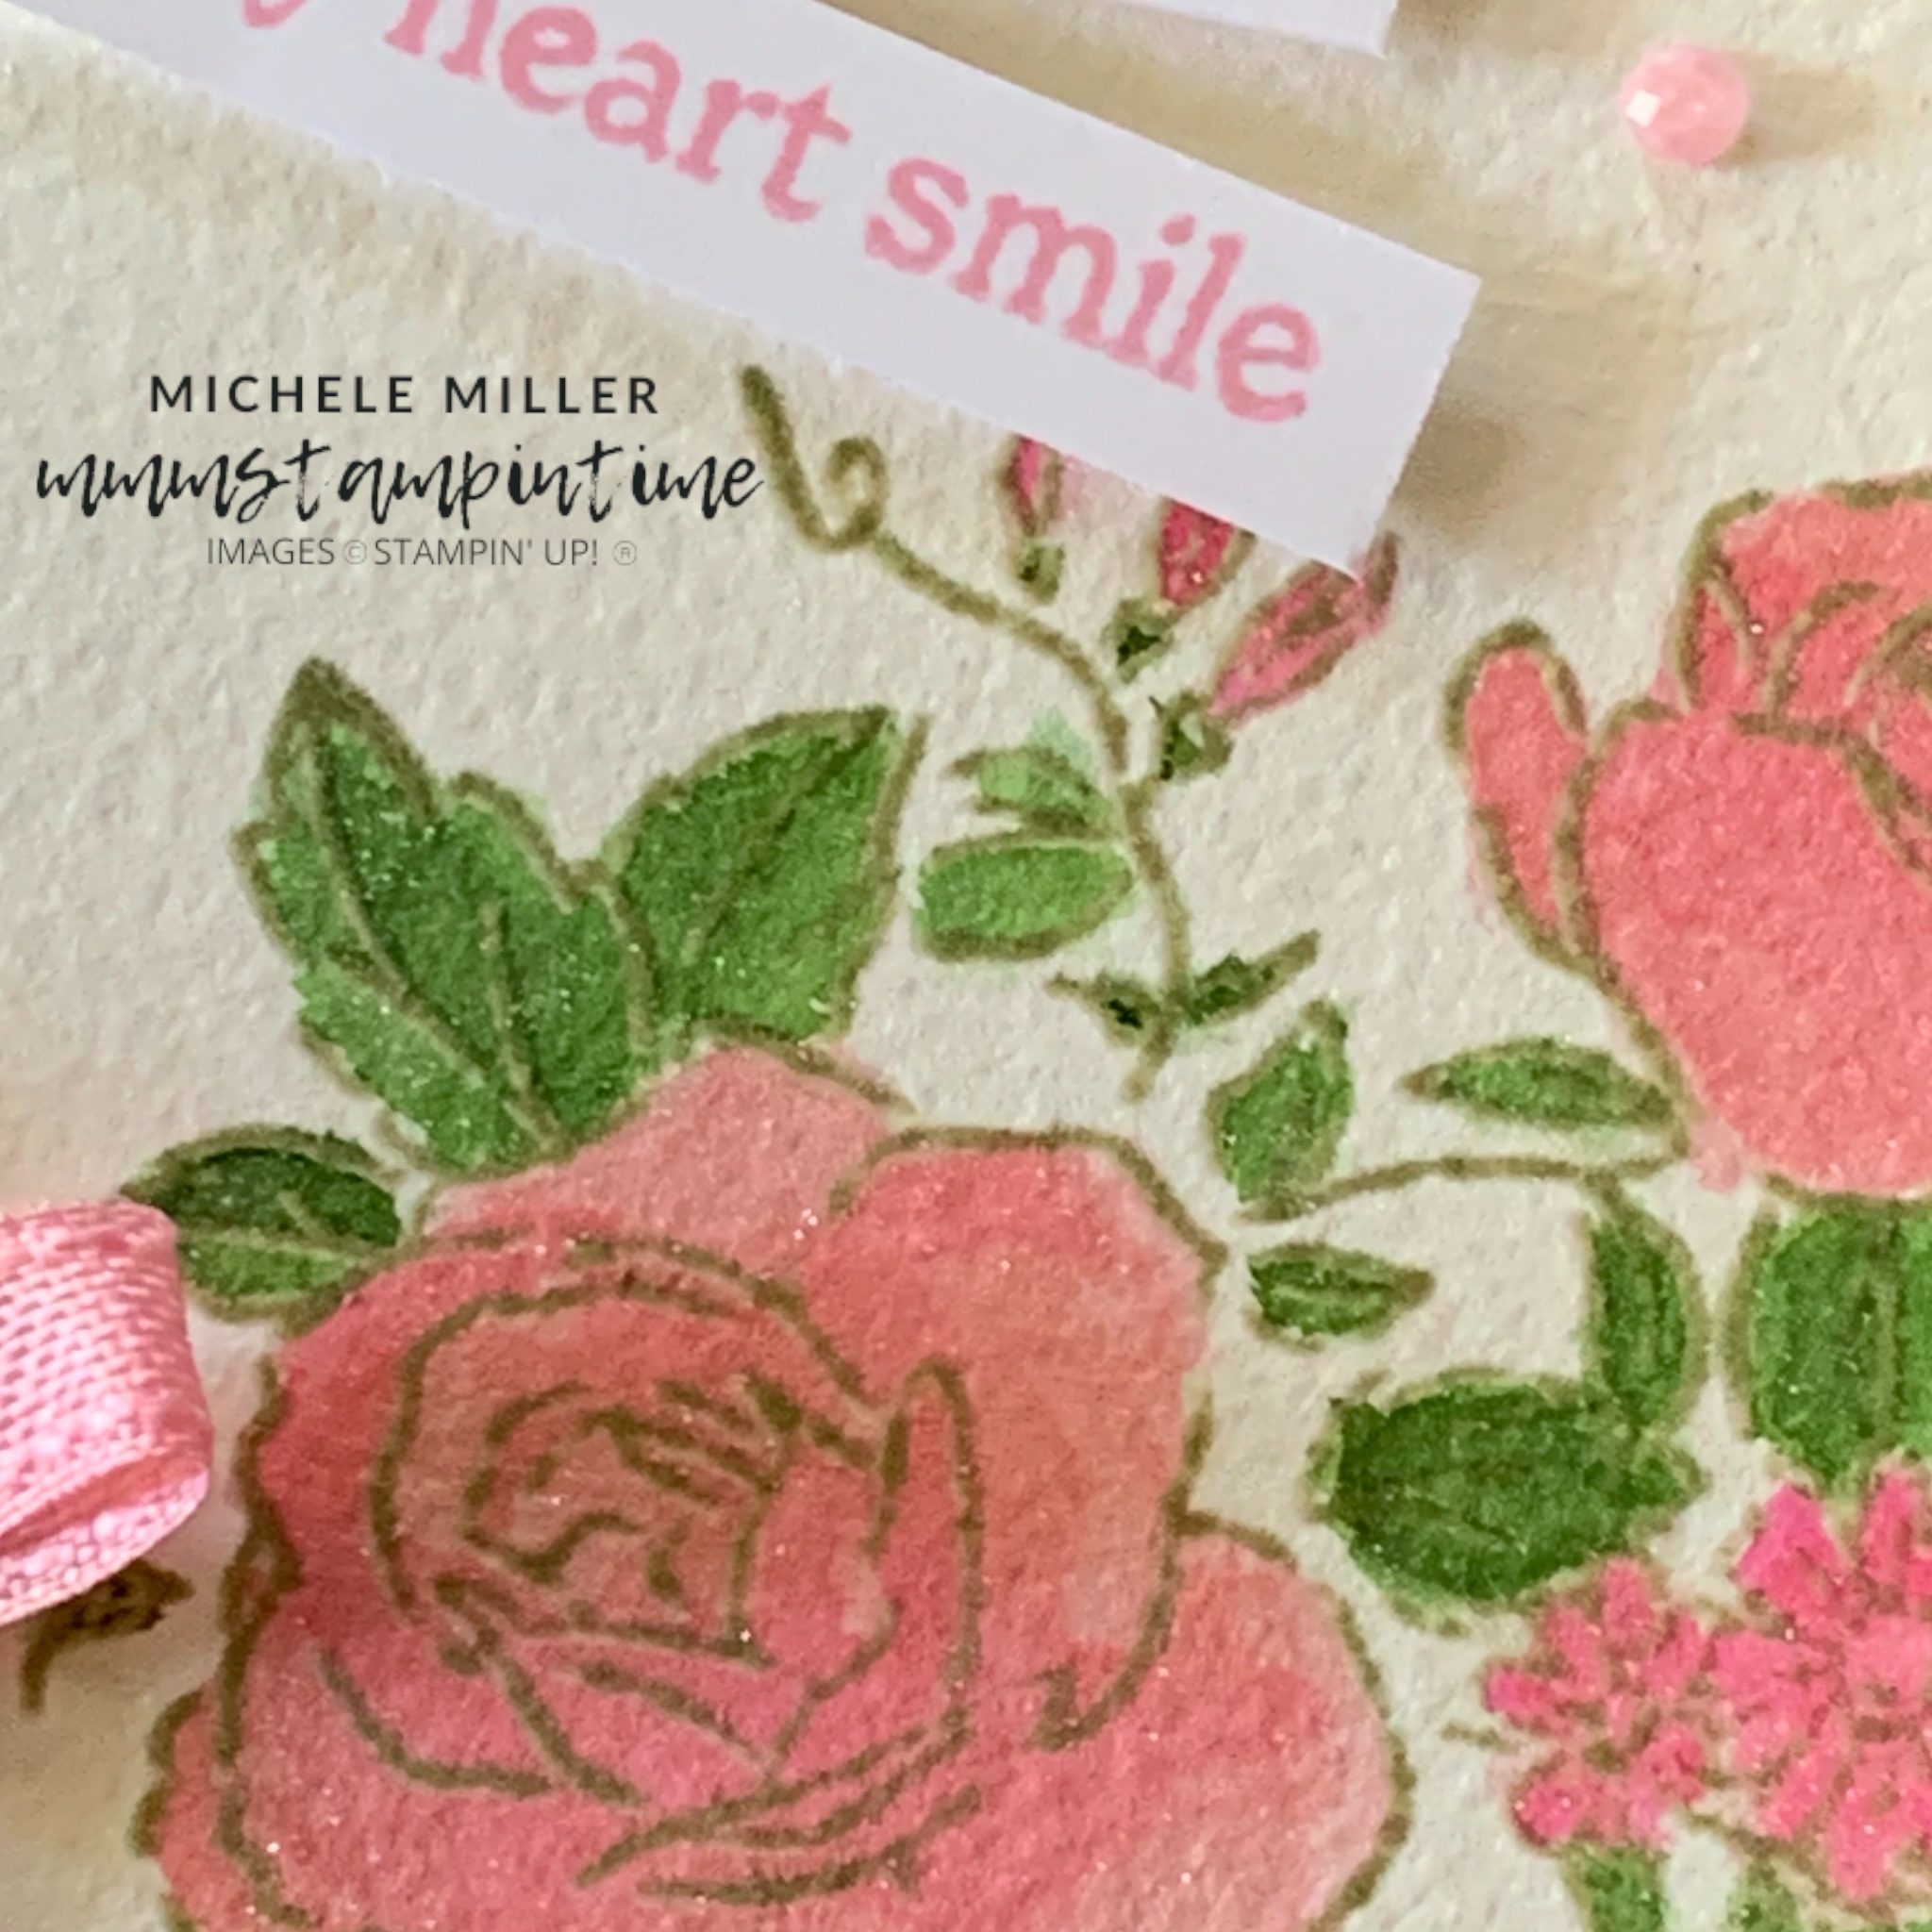
I am using the new Basic Beige Classic Stampin’ Pad to stamp the floral image, from the Layers of Beauty Stamp Set, onto a piece of Fluid 100 Watercolour Paper.

The Basic Beige was a little darker than I thought it would be – perhaps it would have been better on a piece of Basic Beige cardstock.

I used Pretty in Pink and Melon Mambo ink to water colour the flowers. The Water Painters are great colouring tools. The leaves are coloured using Garden Green.

After I finished water colouring the image, and letting it dry, I used Clear Wink of Stella to add some gorgeous shimmer.

I masked the greeting so that I could stamp the words in two seperate sections. After trimming down the greeitng, I attached it to the frot of the card with strips of Stampin’ Dimensionals.

A length of Pretty in Pink bordered Ribbon was tied into a bow and adhered to the card using a Mini Glue Dot.

I stamped three very small flowers on the card insert and on the back of the envelope.

Finally, I added three of the Pretty in Pink gems from the 2024-2025 In Colour Shimmer Gems pack.

Tomorrow I have a beautiful anniversary card to share with you.

Until then, happy stamping.

If you live in Australia, you can order any of the products I used to make this card by going to my online store. As you read through this post, you will see the products I used for this project. THe new items are available from May 1st.
Posted on Leave a comment

IT’S MONDAY & THAT MEANS IT IS TIME TO HIGHLIGHT SOME NEW STAMIN’ UP! PRODUCTS

This week I want to showcase one of the soon to be released new Stamp’ Up! products – Layers of Beauty Bundle and Decorative Masks.

There are five masks in the Decorative Masks bundle.

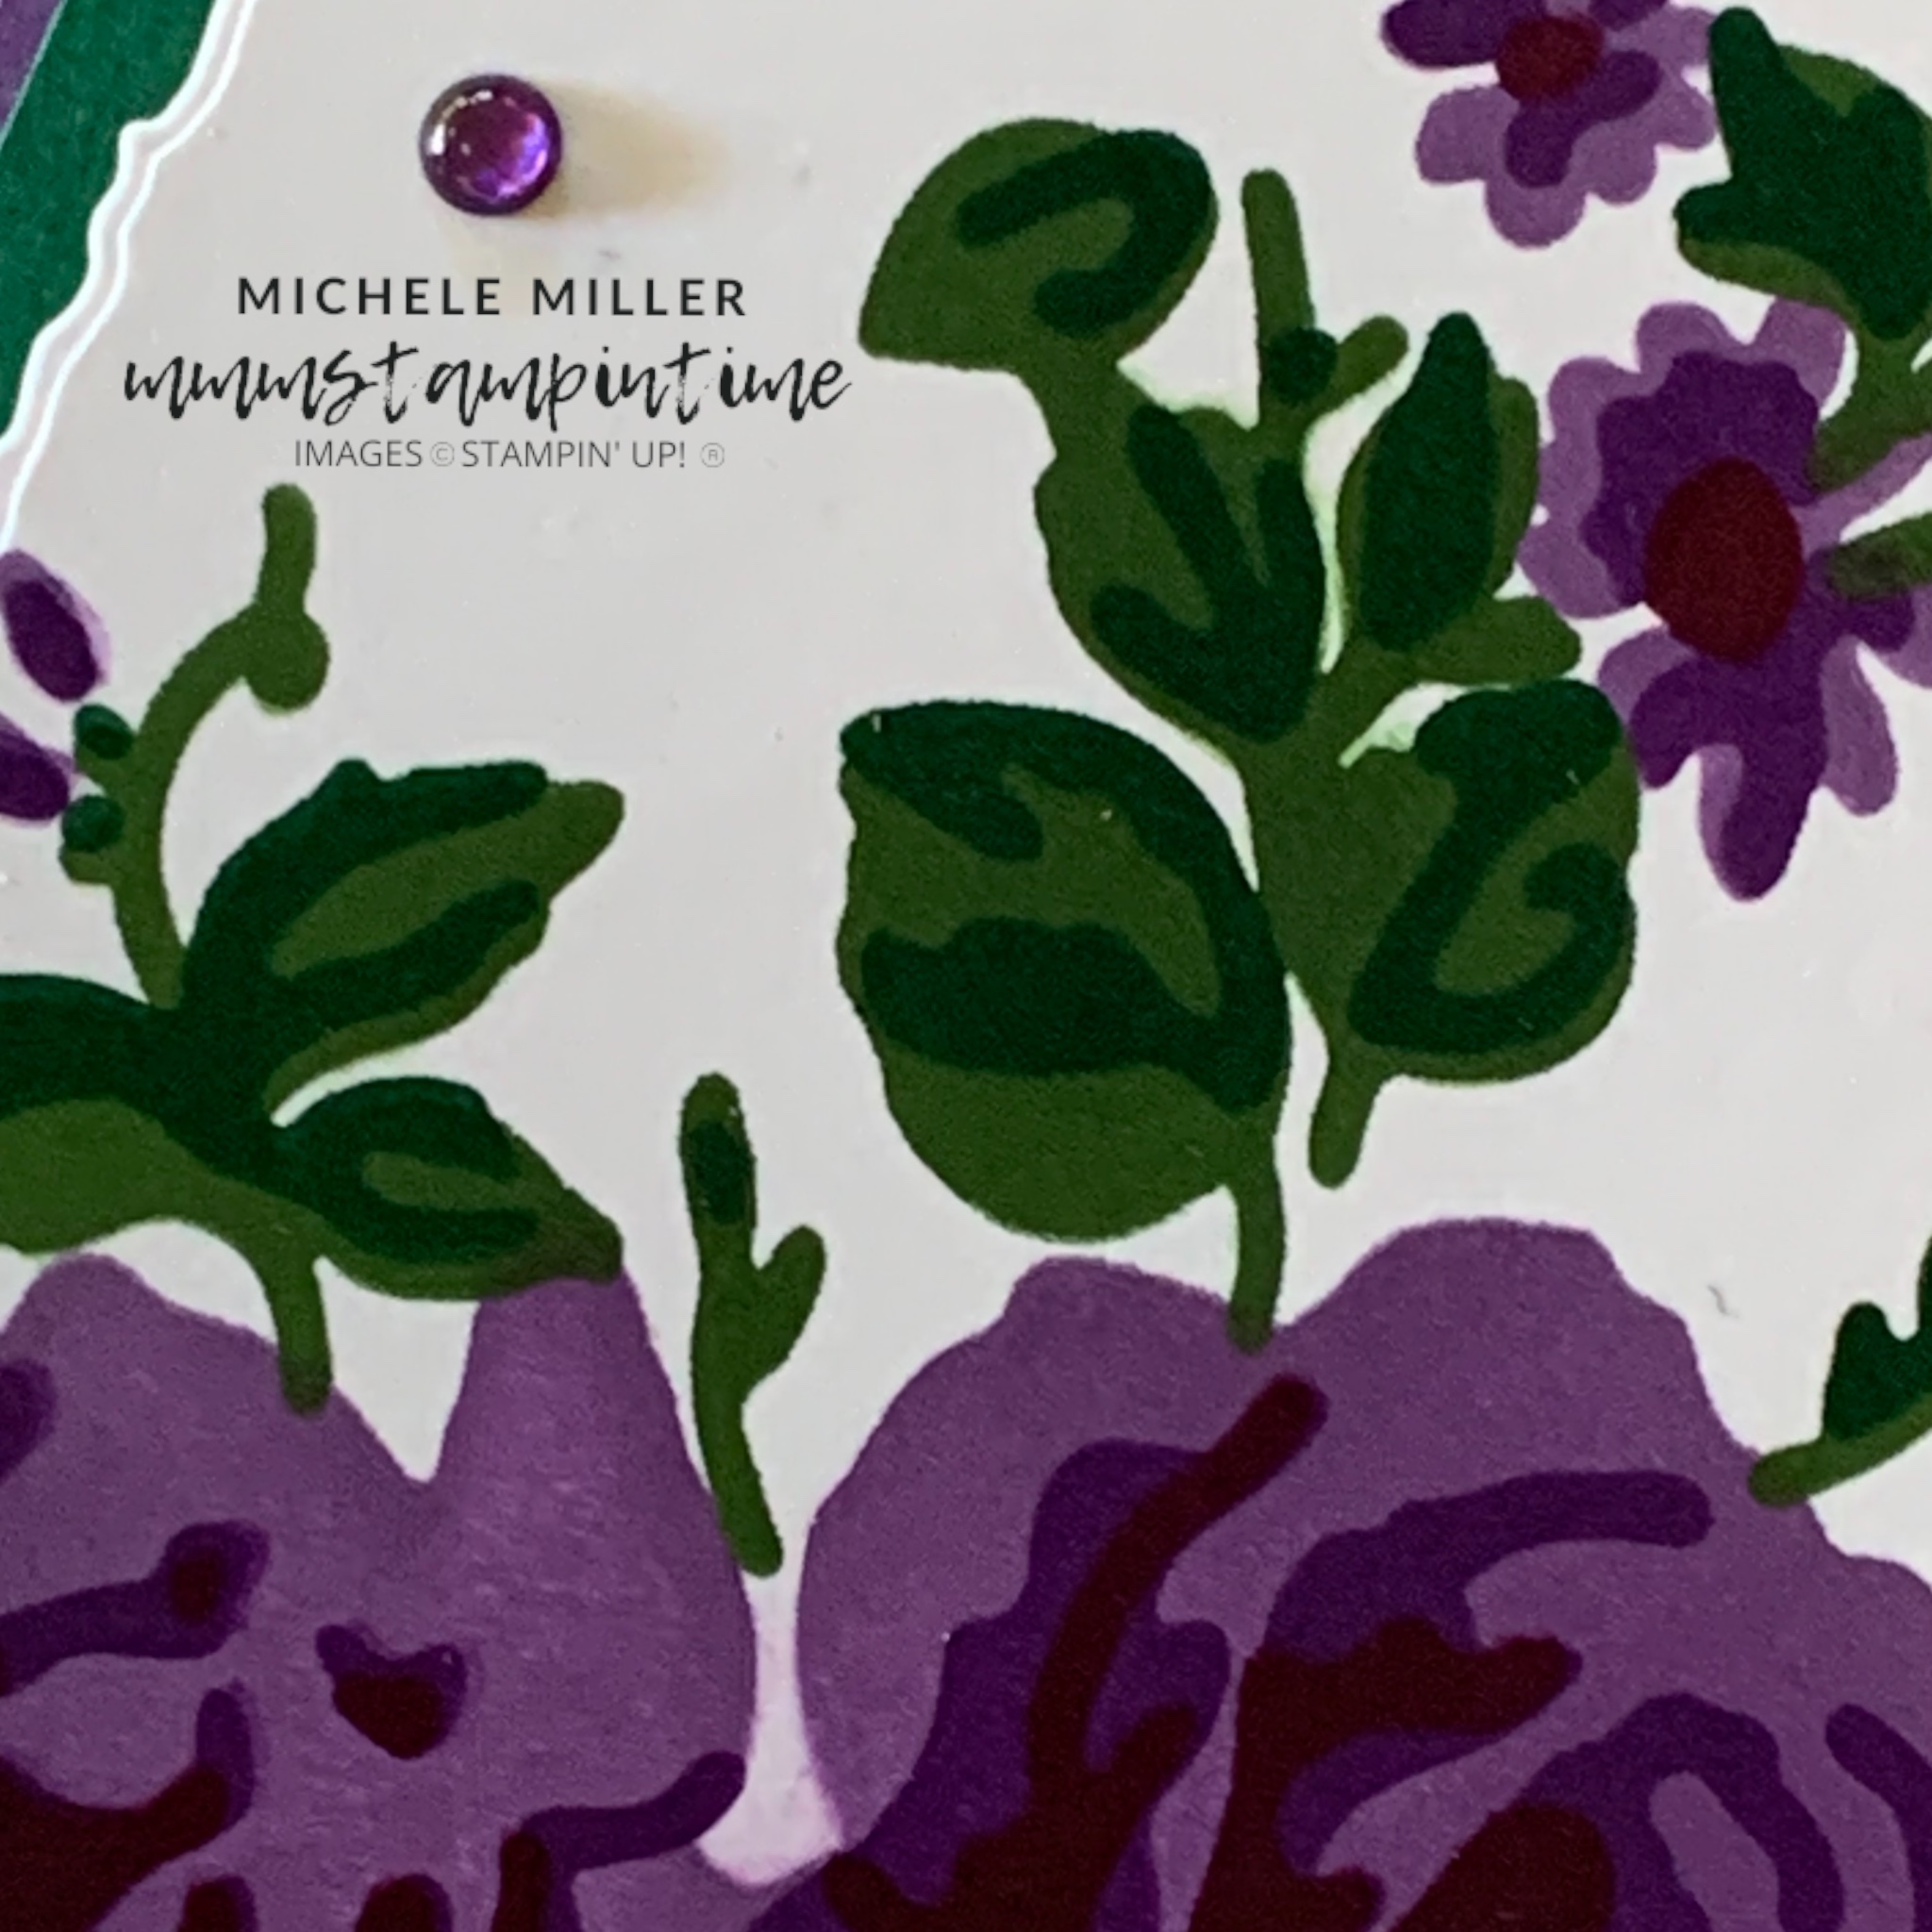
For my first card I chose Blackberry Bliss, Gorgeous Grape and Highland Heather for the flowers and Garden Green and Shaded Spruce for the leaves.

After using my Blending Brushes to colour the flowers and leaves, I cut the Basic White layer with the largest of the Rectangle Deckled Dies.

I added this panel to a Gorgeous Grape card base and Shaded Spruce layer.

The greeting was stamped with Versamark and then heat embossed with White Embossing Powder.

I coloured a length of Silver & White Sheer Ribbon with the Dark Shaded Spruce Stampin’ Blend. After cutting the narrow edge from the ribbon, I frayed the remaining length and adhered it to the embossed panel. Then I used Stampin’ Dimensionals to pop the greeting layer up from the card front.

The narrow ribbon edge was then tied into a bow and attached with a Mini Glue Dot.

I stamped a small flower image on the cardinsert and envelope.

Finally, I added some Glossy Dots to the card front.

Tomorrow I have a water coloured floral image to share.

Until then, happy stamping.

If you live in Australia, you can order any of the products I used to make this card by going to my online store.

fi