Posted on Leave a comment

TODAY IS TUESDAY & IT’S TIME FOR SOME TIPS & TECHNIQUES

Today I wanted to suggest that you look for ways to use a more that one stamp set for projects.

I started these cards wanting to use the paintbrush stamp to create colourful projects. This idea then evolved into a rainbow of paintbrushes.

Next idea was a toss up between some paint pots or painted strips. In the end, I went with both ideas.

Then I needed to find other stamp sets that would help me to develop these ideas.

For the paint pots, I chose the Planted Paradise Stamp Set … for the painted strips, I used the Of Art & Texture Stamp Set.

I wanted the word ‘rainbow’ to appear on one of the cards and the Just My Type Stamp Set was perfect.

Here are the results.

TIP: I die cut a paintbrush and used it as a cutting guide. After stamping several brushes, I placed the guide over the stamped image until I was pleased with the border around the brush. A piece of sticky note strip held the guide in place. Then I placed the die inside the guide and cut out the brush.

I used Stampin’ Blends to colour the brush handle and then stamped the colour on the end of the bristles.

The paint pots were stamped in Orchid Oasis, Poppy Parade, Crushed Curry, Granny Apple Green and Lost Lagoon. Then I fussy cut the pots.

The Lost Lagoon card base had a panel of the checked Designer Series Paper attached.

The paint pots were placed on the DSP using dimensionals. Then I tucked the brushes just inside the pots and glued them down.

I stamped DAD on the card insert and a brush on the envelope. Finally, the greeting from the Trusty Tools Stamp Set, was stamped, trimmed and popped on the card.

I used two unrelated stamp sets for this first card yet they worked so well together.

The second card today uses three.

I ran a length of sticky note tape, across a Basic White card panel, to act as a mask. Then I used one of the Of Art & Texture images to ‘paint’ the five colours across the bottom of the panel.

After removing the sticky strip I placed the coloured paintbrushes above the corresponding stamped colour.

For these brushes I decided to also colour the bristles. I definitely prefer these brushes to those on the first card.

TIP: Stamp a greeting like the one I used from the Just My Type Stamp Set in more than one colour. Then the greeting can be cut into strips and the colours can be interchanged.

I used Stampin’ Dimensionals to lift them up from the card front.

The brush was stamped on the card insert and the back of the envelope.

I added some of the Lost Lagoon gems from the Tinsel Gems Three Pack to add some bling to the card.

I forgot to incude one of the stamp sets in this photo – so, this is one from the catalogue.

There are so many different stamp sets that work so well together. The combinations are only limited by your imagination.

I’ll have something completely different for you tomorrow.

Until then, happy stamping.

If you live in Australia, you can order any of the products I used to make this card by going to my online store. Just click on any of the images below

Product List
Paper Snips
[103579]
$19.25
Posted on Leave a comment

Colour INKspiration #151 – Just My Type

Welcome back for another Colour INKspiration challenge. This inspiration picture which has inspired our colour palette was chosen by Crew Member, Cathy Pinchbeck.

 Picture credit – https://www.jenteephotography.com/post/moroccan-inspired-bridal-shoothttps://www.jenteephotography.com/post/moroccan-inspired-bridal-shoot

As well as the chosen colour combination for #CI150, Petal Pink, Balmy Blue, Boho Blue and Pecan Pie, you may also add Basic White, Very Vanilla, Crumb Cake, Basic Black, and metallics to your project. We also allow Ivory, Bronze and Natural Tones in Stampin’ Blends. If you don’t have the colours in our palette, feel free to use the closest Stampin’ Up! substitute.

To get your creative ideas flowing make sure you check out the Crew’s Projects in the CI#151 album. 

My contribution features the Just My Type Stamp Set and the 2023-2025 In Colour Treat Bags.

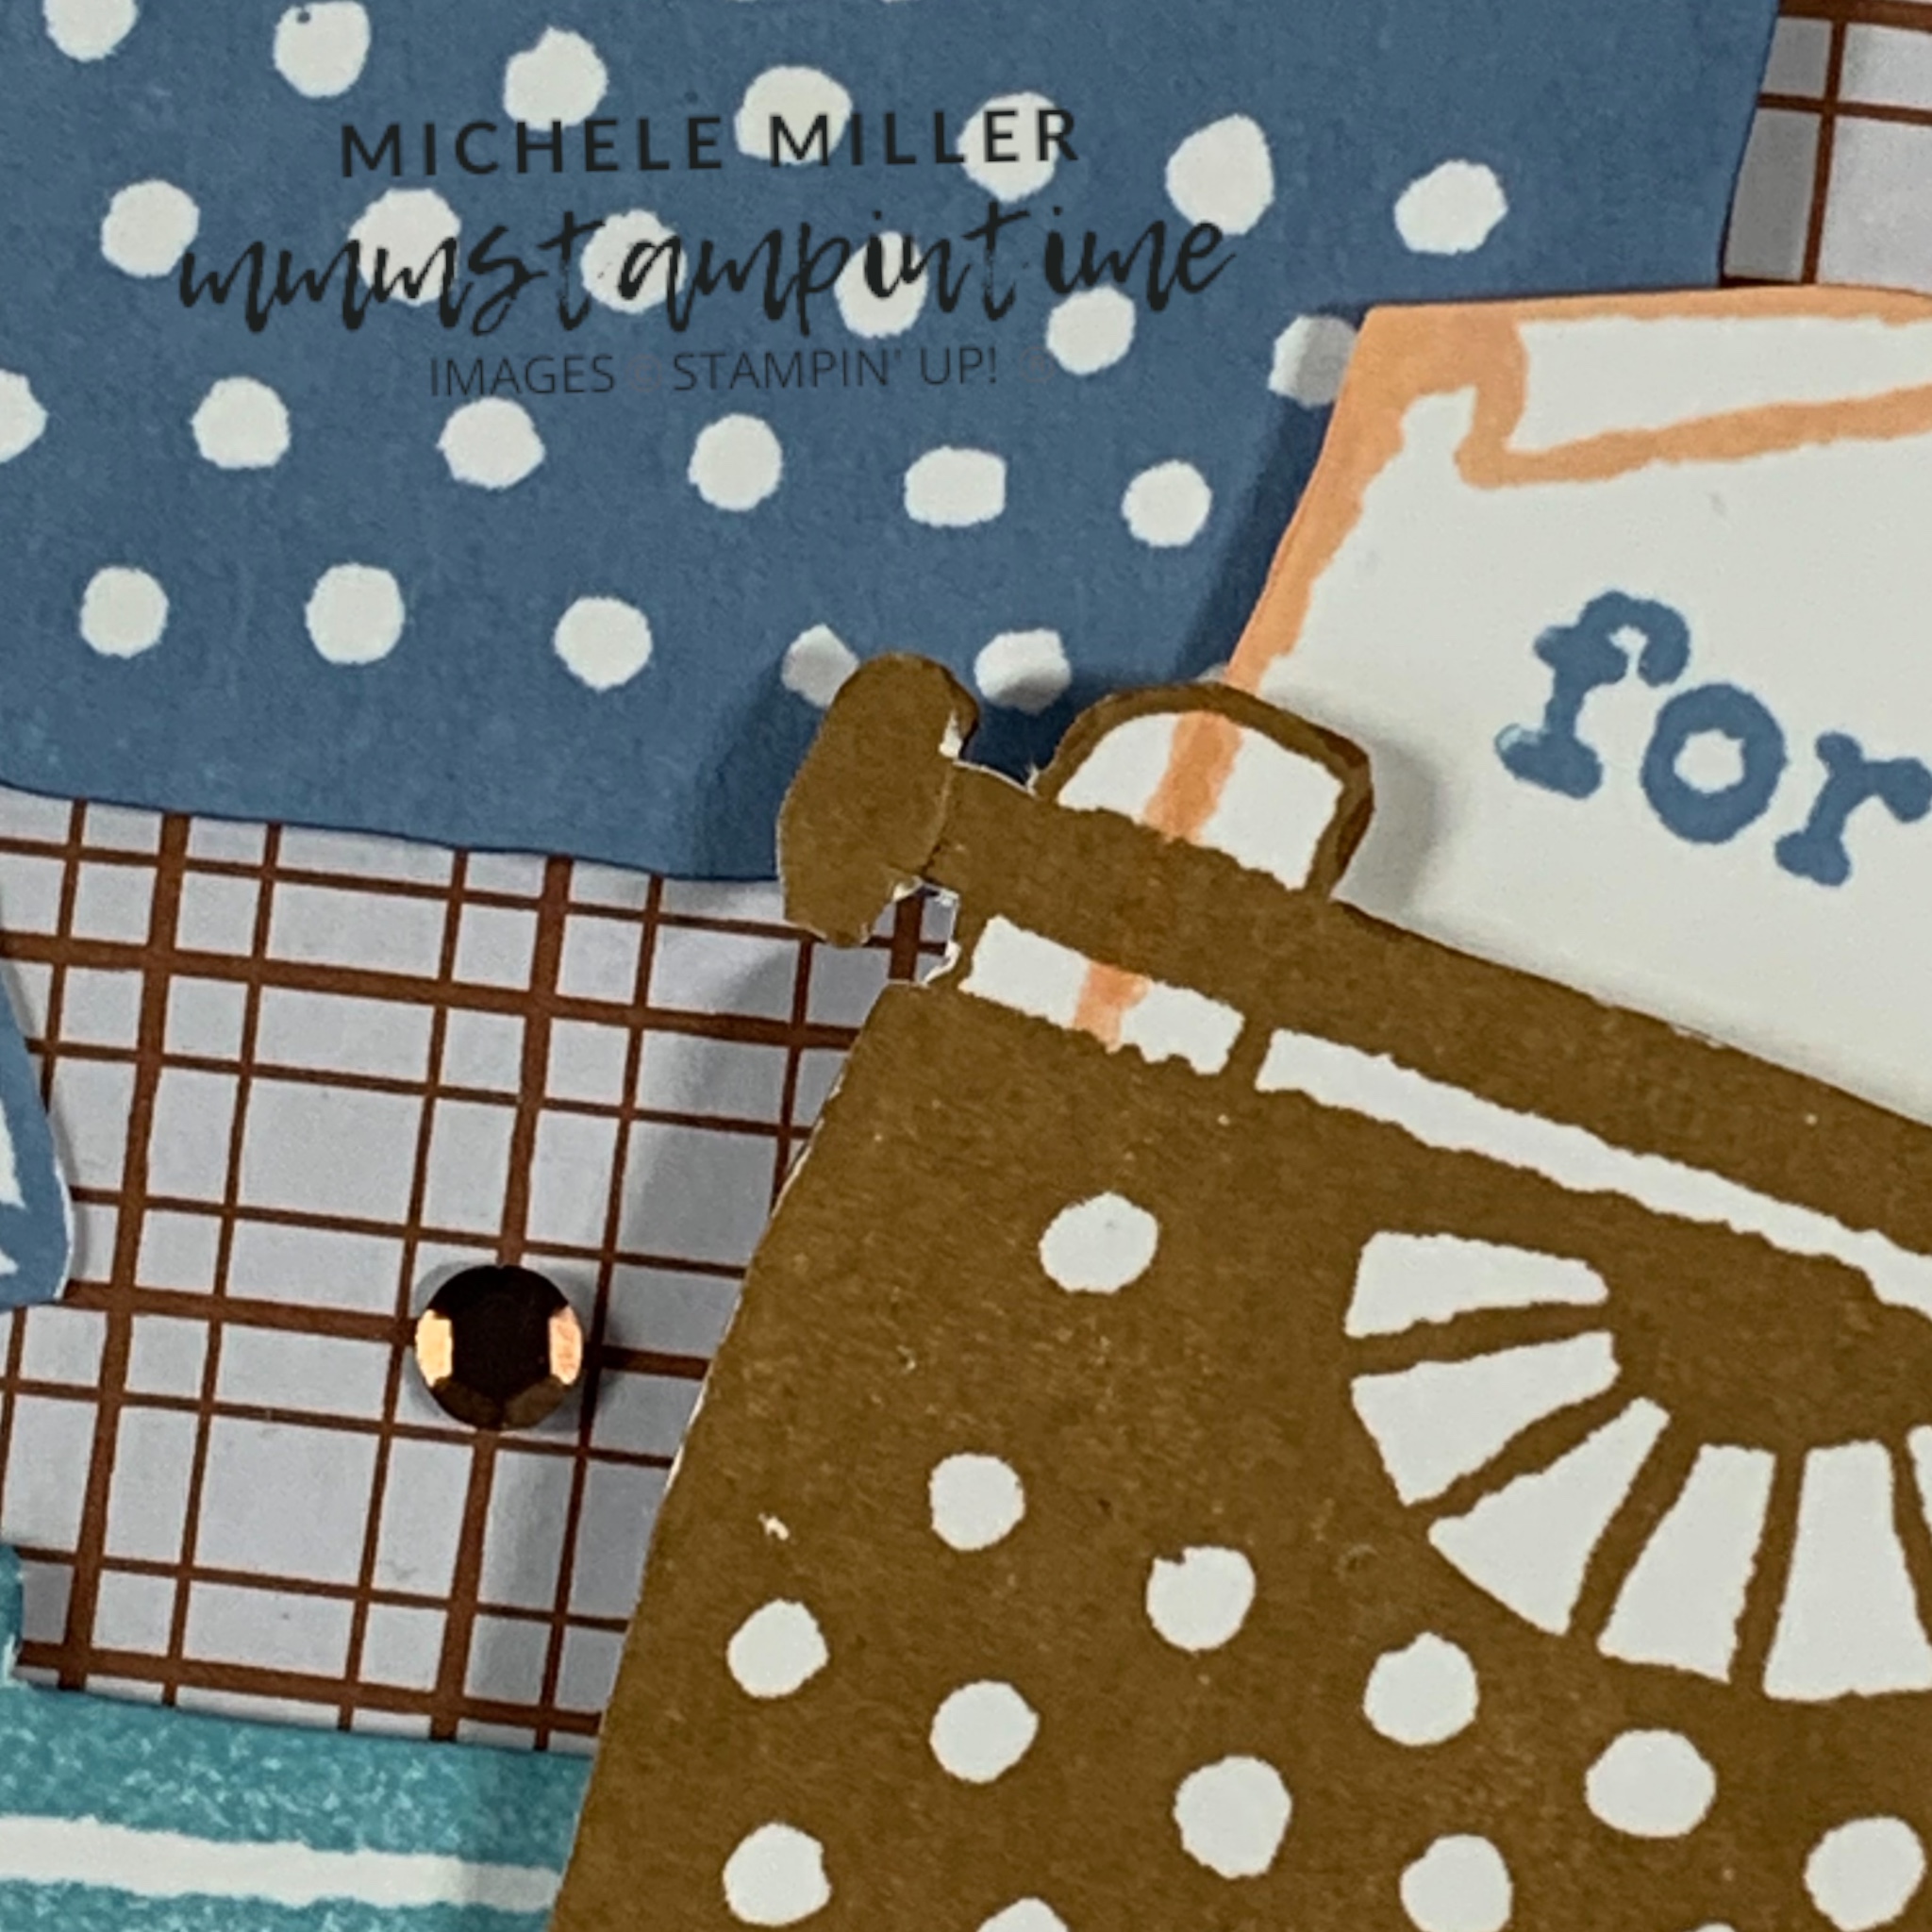
I decided to use the Copper Clay paper treat bag from the 2023-2025 In Colour Treat Bags because it is so close in colour to the Peca Pie cardbase I have chosen.

The paper bag was trimmed down to adhered the front of the cardbase.

Using the Just My Type Stamp Set, I stamped three typewriters in Balmy Blue, Boho Blue and Copper Clay. Then they were each fussy cut.

I took a small piece of Basic White cardstock and stamped the paper image in Petal Pink, ensuring the outside lines of the paper were stamped through the feed rollers. Then I fussy cut the typewriter paper and placed it behind the Pecan Pie typewrited.

Stampin’ Dimensionals were used to attach the Balmy and Boho Blue typewriters to the card front. Double Dimensionals were used to really pop the Copper Clay typewriter up off the card.

I stamped the small and super cute envelope several times and fussy cut them to add to the card front.

On the card insert and back of the envelope I masked and stamped three envelopes.

Finally, I attached some Neutrals Adhesive-Backed Sequins to add that blingy element to the card.

Today is the 4th of July but this post is scheduled for the 23rd of August. This is the first time in such along, long time that I am scheduling specific posts so far in advance. Woohoo!

Now, I just need to go back and create some more projects to post in early July – I hope you will like them.

Until them, happy stamping.

If you live in Australia, you can order any of the products I used to make this card by going to my online store. Just click on any of the images below.

Product List
Paper Snips
[103579]
$19.25
Posted on Leave a comment

YOU ARE JUST MY TYPE

I made these cards for my Coffee & Card Class this week.

It was time to share with the ladies, in attendance, the magic of the Stamparatus and the hinge step technique. Although the Stamparatus is now retired, I will help any of them to find one that someone has to sell.

As you can see, the two samples I made vary in the colours I used and some of the stamps from the set.

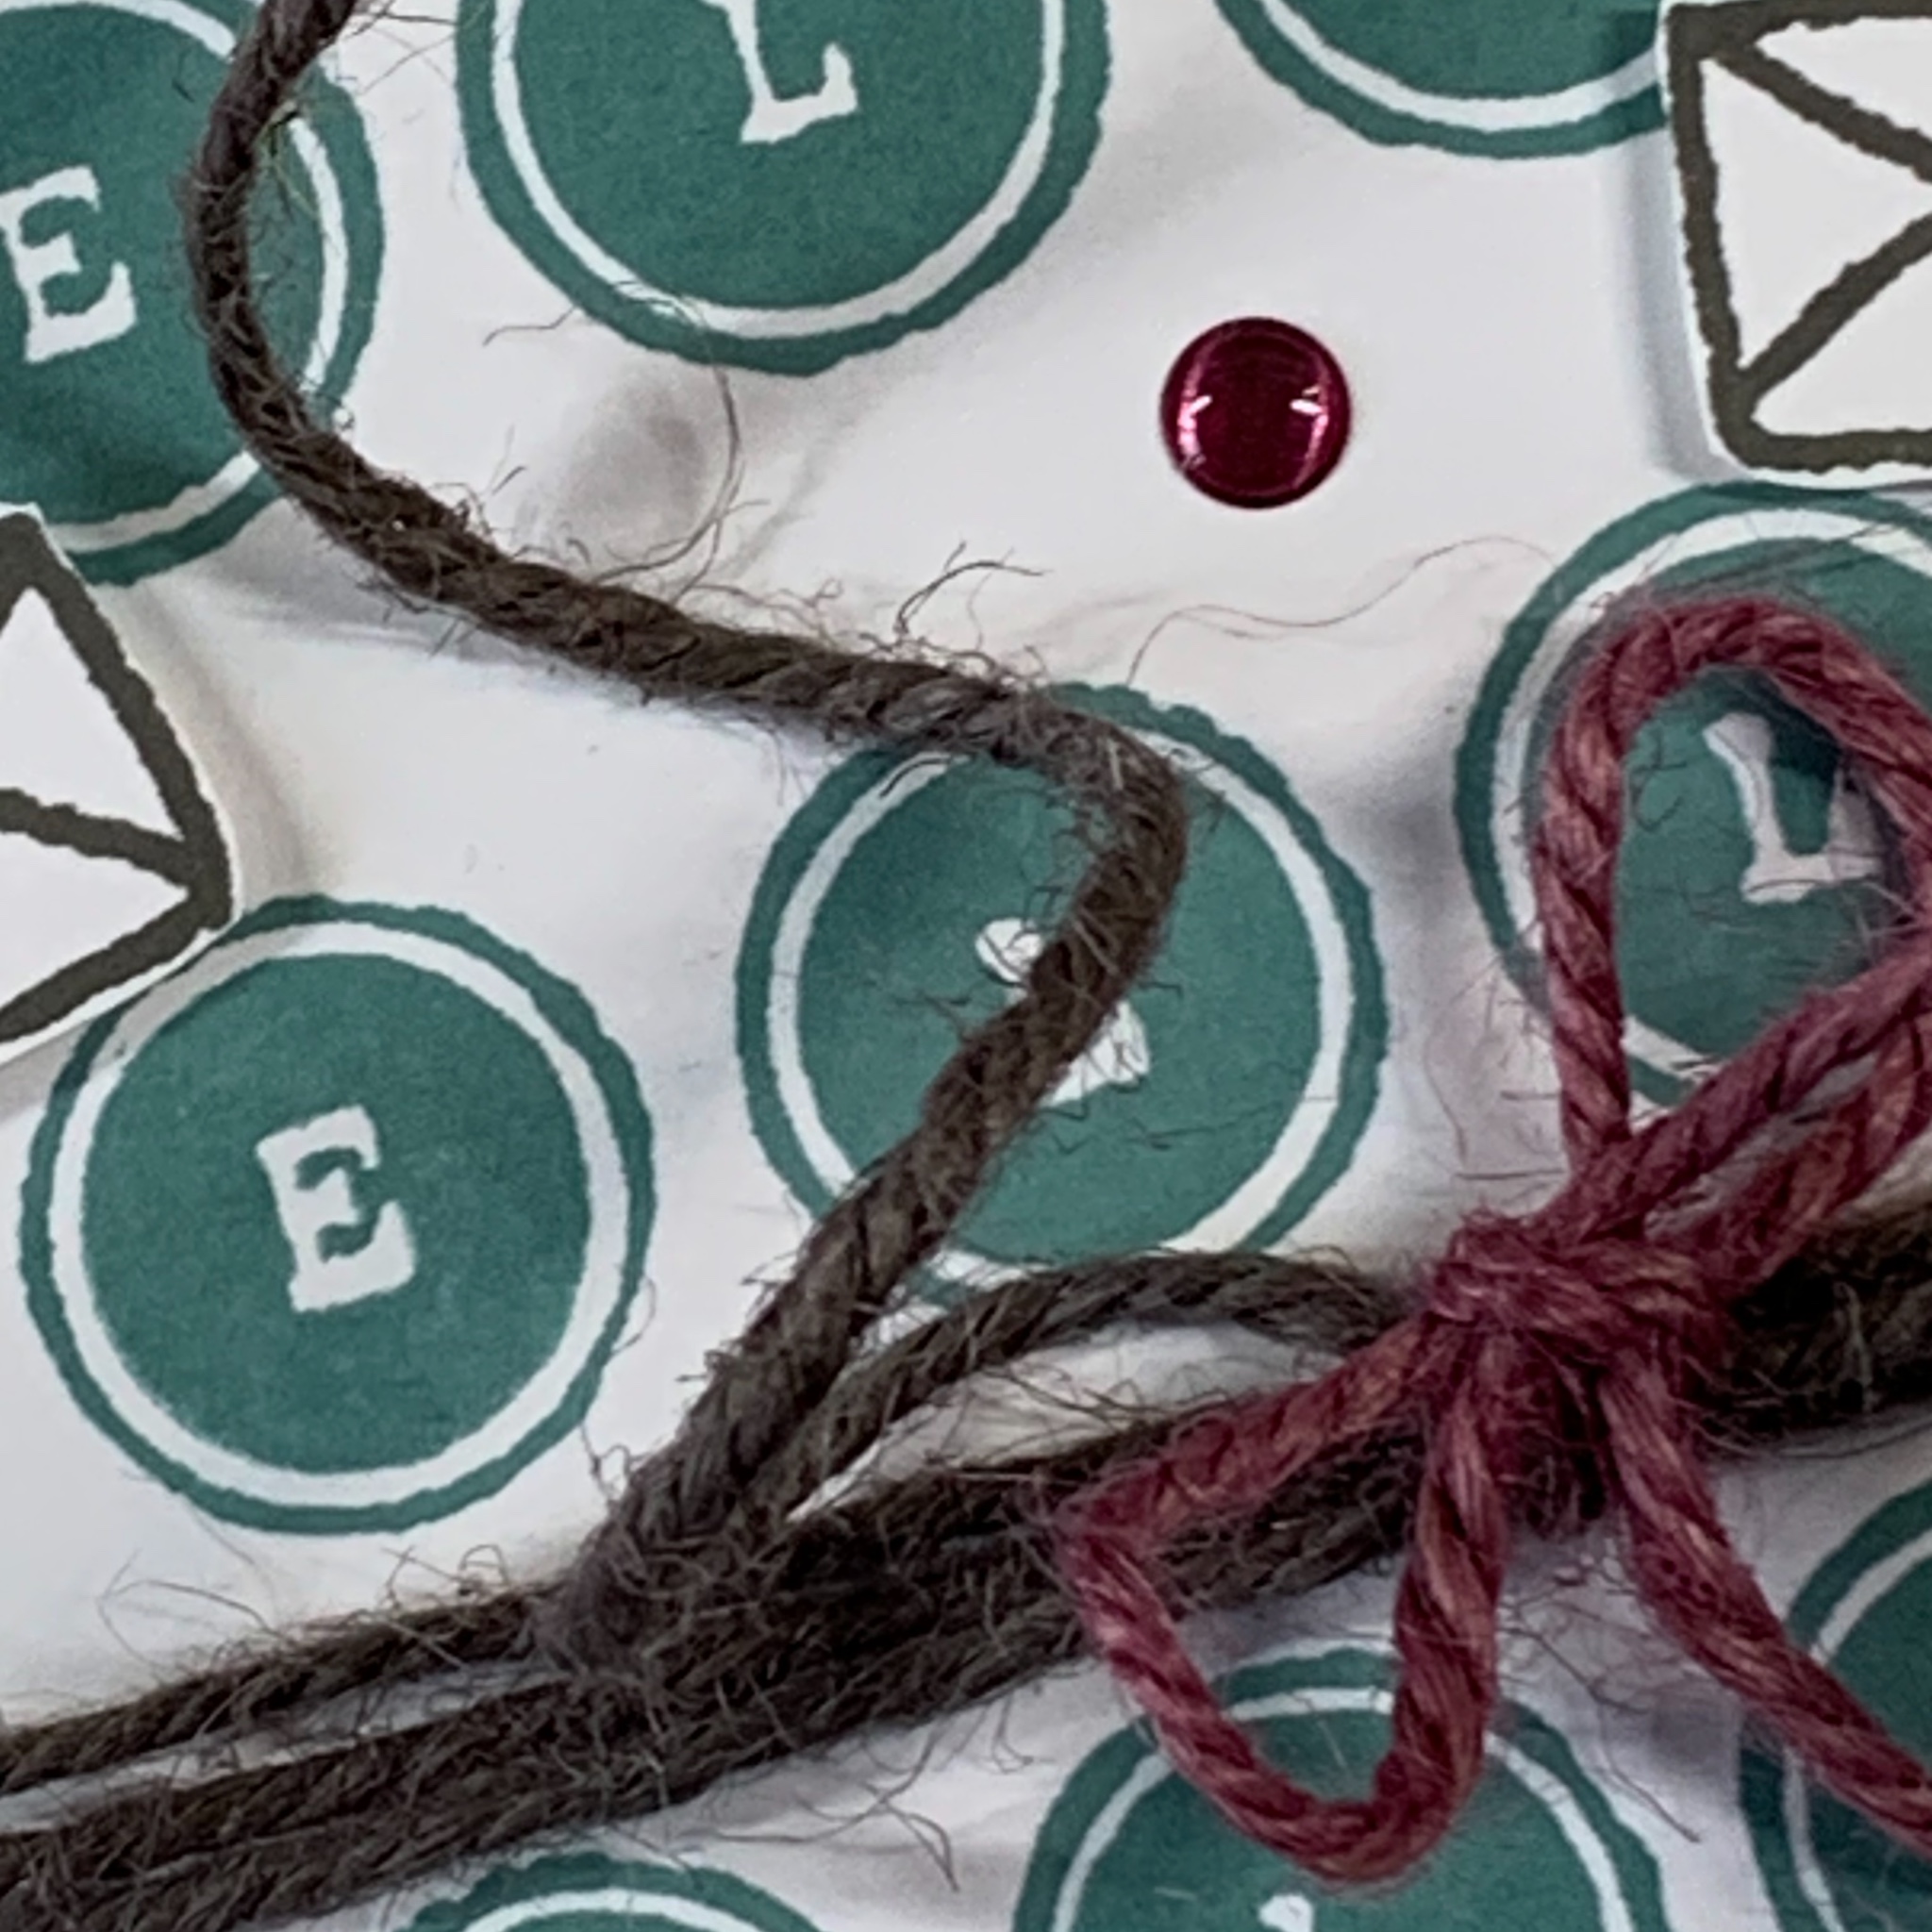
I chose Lost Lagoon, Moody Mauve, Pebbled Path and Wild Wheat. The trim is from the 2023-2025 In Colour Jute Trim and the bling is from the the same In Colour Dots.

The paper in the typewriter is longer than the image on the stamp. Fortunately, because it is a photopolymer stamp, I was able to turn it around and stamp the paper a second time. THis gave me more space to stamp the words and images.

Three lengths of Pebbpled Path jute trim were wrapped around the Basic White layer and secured with Tear & Tape.

Then I tied a shorter length of the same trim across the three stands. Then I added a length of a different colour and tied a bow.

I like the way the jute trim holds the curls from being wrapped around the cylinder.

After the paper was stamped and adhered behind the typewriter rollers, I used a matching Stampin’Write Marker™ to draw in the missing sides.

There are so many colour combinations that could be used with this layout and product bundle.

If you live in Australia, you can order any of the products I used to make this card by going to my online store. Just click on any of the images below.

Product List
Paper Snips
[103579]
$19.25
Stamparatus
[148187]
$85.50