Posted on Leave a comment

HERE IS MY GLOBAL DESIGN PROJECT #GDP352 SUBMISSION

This week, the GDP team have a CASE project to inspire our creativity.

We are challenged to CASE a Susan Wong project. If have not seen Susan’s creative projects before, you really need to start following her – wow, wow, wow!

Make sure that you click on the image below and you will go directly to the GDP website to see all the projects the team have created this week.

For my CASE, I am working with colours and shapes.

I started with Coastal Cabana, Flirty Flamingo and Mango Melody cardstock and then used the Stylish Shapes Dies to cut the hexagonal borders. After I adhered the three borders to a base layer of Basic White cardstock, I embossed it using the Hive 3D Embossing Folder.

Multipurpose Glue was used to position the embossed layer, diagonally, on the card front. When the glue had dried, I was able to trim off the overhanging embossed white cardstock.

Then I added some more die cut shapes to the card front, using Stampin’ Dimensionals.

The greeting, from the Handmade Wishes Stamp Set, was stamped in Flirty Flamingo onto Flirty Flamingo cardstock. This was then cut using one of the Stylish Shapes Dies.

Before adding this greeting hexagon to the card, some Basic White Essentials Twine was looped and secured in place. Dimensionals ensured this hexagon popped up from the card front.

Iridescent Pearls Basic Jewels were coloured using the Dark Flirty Flamingo Stampin’ Blends Pen. I coloured three large and three small jewels and added them to the card.

I need to be honest and say that I have no idea what I will be creating and sharing tomorrow.

Until then, happy stamping.

If you live in Australia, you can order any of the products I used to make this card by going to my online store. Just click on any of the images below.

Product List
Paper Snips
[103579]
$19.25
Posted on Leave a comment

COLOUR INKSPIRATION CHALLENGE #CI115

#CI114 was amazing. It was my first time as part of the design team and I loved the opportunity to really take time to see the projects other paper crafters were sharing. It was also a way to slowly start adding comments to various projects. With #CI115, my goal is to leave a comment for every card shared.

The #CI115 Challenge is a gorgeous combination of familiar colours. If you have ever wandered down the streets of so many European cities and towns, these are the colours you would have seen.

May be an image of text that says '#115 So Saffron Bumblebee OO Cajun Craze Gray Granite'

INKspired to join the challenge? It’s so easy. Firstly, get some INKspiration by checking out all of the creations of the Colour INKspiration Crew in the challenge album on our Facebook page. Then you have 12 days from today to make and upload your creation to the Facebook Colour INKspiration Group. You don’t have to have a blog to participate but if you do you can link back to your post. Make sure you use all of the challenge colours. You can also use neutrals such as Basic White, Very Vanilla, Crumb Cake, Sahara Sand and Basic Black as well as Metallics.

Not a member of the Colour INKspiration Facebook group yet? Just click here and ask to join Colour INKspiration, add the group to your favourites and share it with your crafty friends so they can join in the fun too. We can’t wait to see what you create with these gorgeous colours.

This is the card I created using the colour palette.

For this card I used the Honeybee Home Bundle, Hive 3D Embossing Folder and Beautiful Shapes Dies.

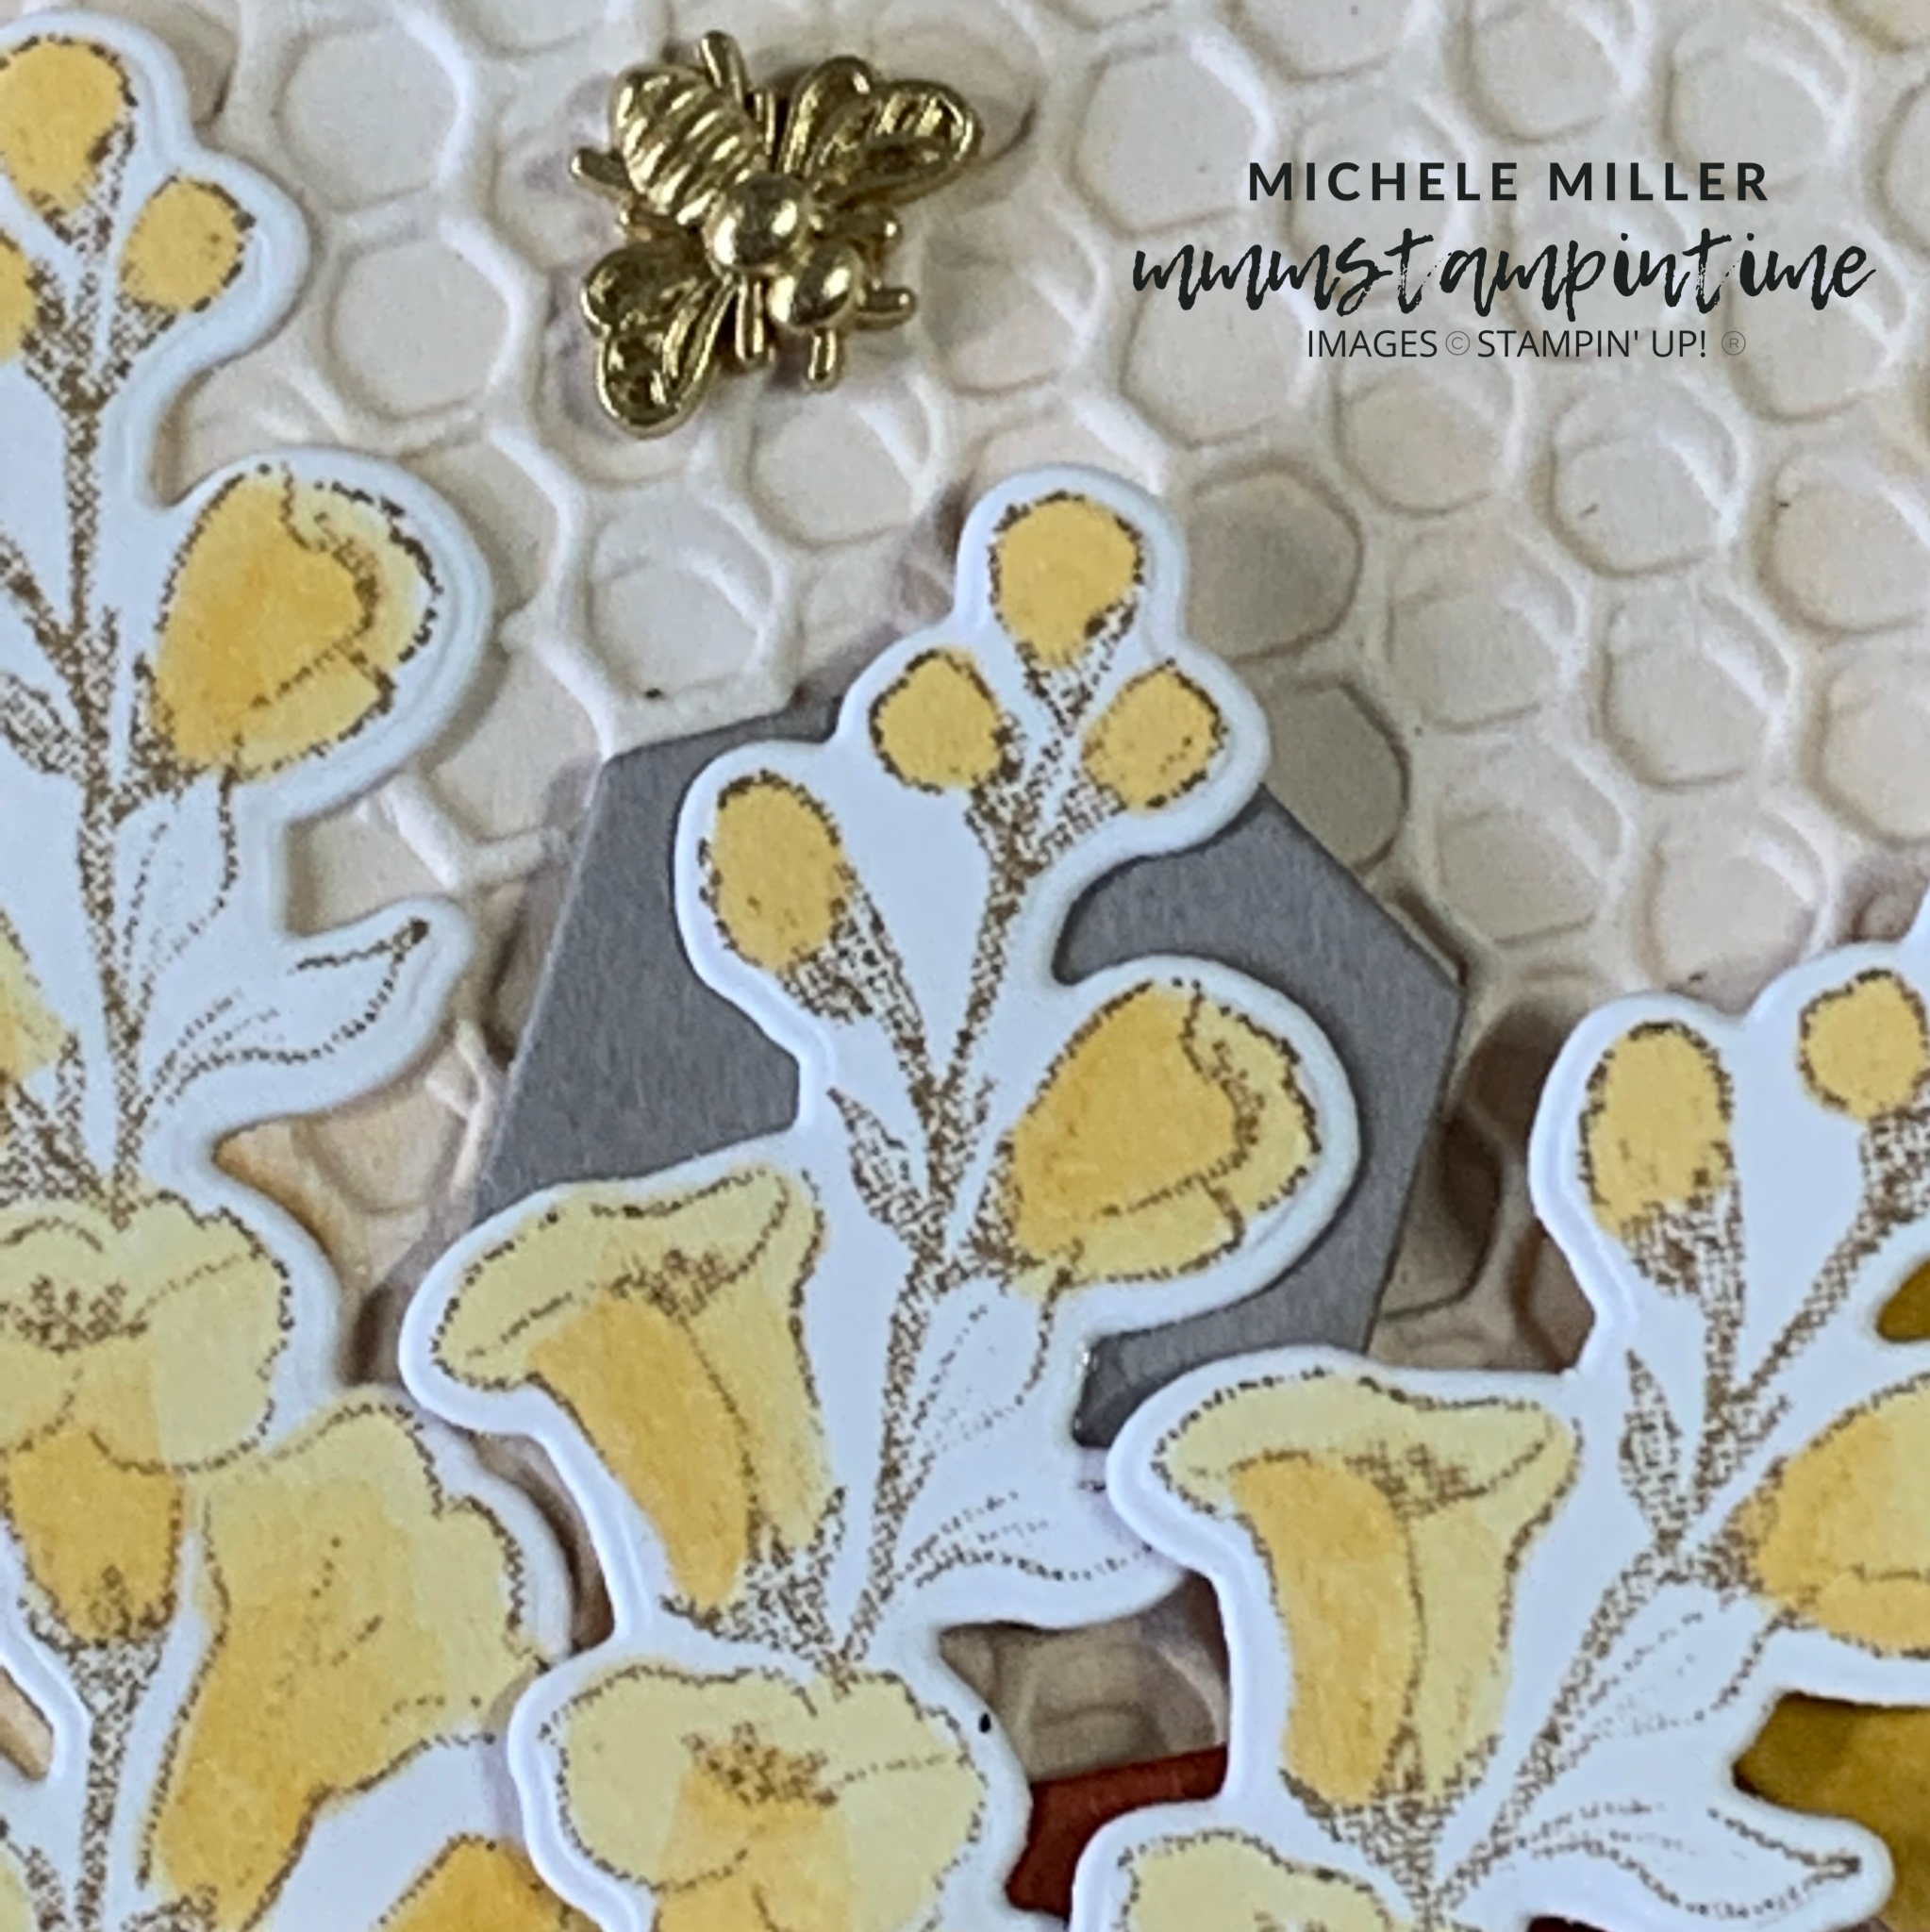
I embossed piece of Simply Marbleous DSP and then attached the die cut hexagon shapes to it using Stampin’ Dimensionals.

Then I stamped to stem of flowers using Gray Granite and coloured the flowers with Bumblebee and So Saffron Stampin’ Write Markers™. I layered these stems, at differing heights, on the card.

I tied a bow using a length of Bumblebee Gingham Ribbon and wrapped it around the embossed base layer, securing it on the back using Tear & Tape.

The sentiment was stamped using Crushed Curry ink on the same colour of card stock. I trimmed this layer to the size I used and popped Stampin’ Dimensionals on the back.

The card insert and envelope were both stamped using the same flower stem image. My last step was to attach a Bumblebee Trinket to the front of the card.

I am so happy with the way the larger hexagonal shapes blend in with the embossed DSP.

I have transformed a European streetscape to a hexagonal, floral card.

I cannot wait to see what you create and share.

Until our next Colour INKspiration challenge, happy stamping.

If you live in Australia, you can order any of the products I used to make this card by going to my online store. Just click on any of the images below.

Product List
Paper Snips
[103579]
$17.00
Posted on Leave a comment

BEES, HIVES & BLESSINGS OF HOME

Last Thursday, Friday and Saturday I attended the Stampin’ Up!® OnStage Online event with some of my demonstrator friends. We were able to see some of the products that are featured in the 2022 January – June Mini Catalogue and we were able to make some projects using some of them.

For a few short days during and after the event, attendees were able to pre-order a limited range of some of these new products. It is always a treat to have new products to ‘play’ with.

Today I have a card that I have made using some of the products from the Heart & Home Suite Collection. I was able to order the Blessings of Home Bundle, Heart & Home 12″x 12″ Designer Series Paper, Classic Matte Dots and 3/8″ Denim Ribbon for the Online event. Then I added the Honeybee Blooms Dies and Hive 3D Embossing Folder to my pre-order and they arrived just in time this card.

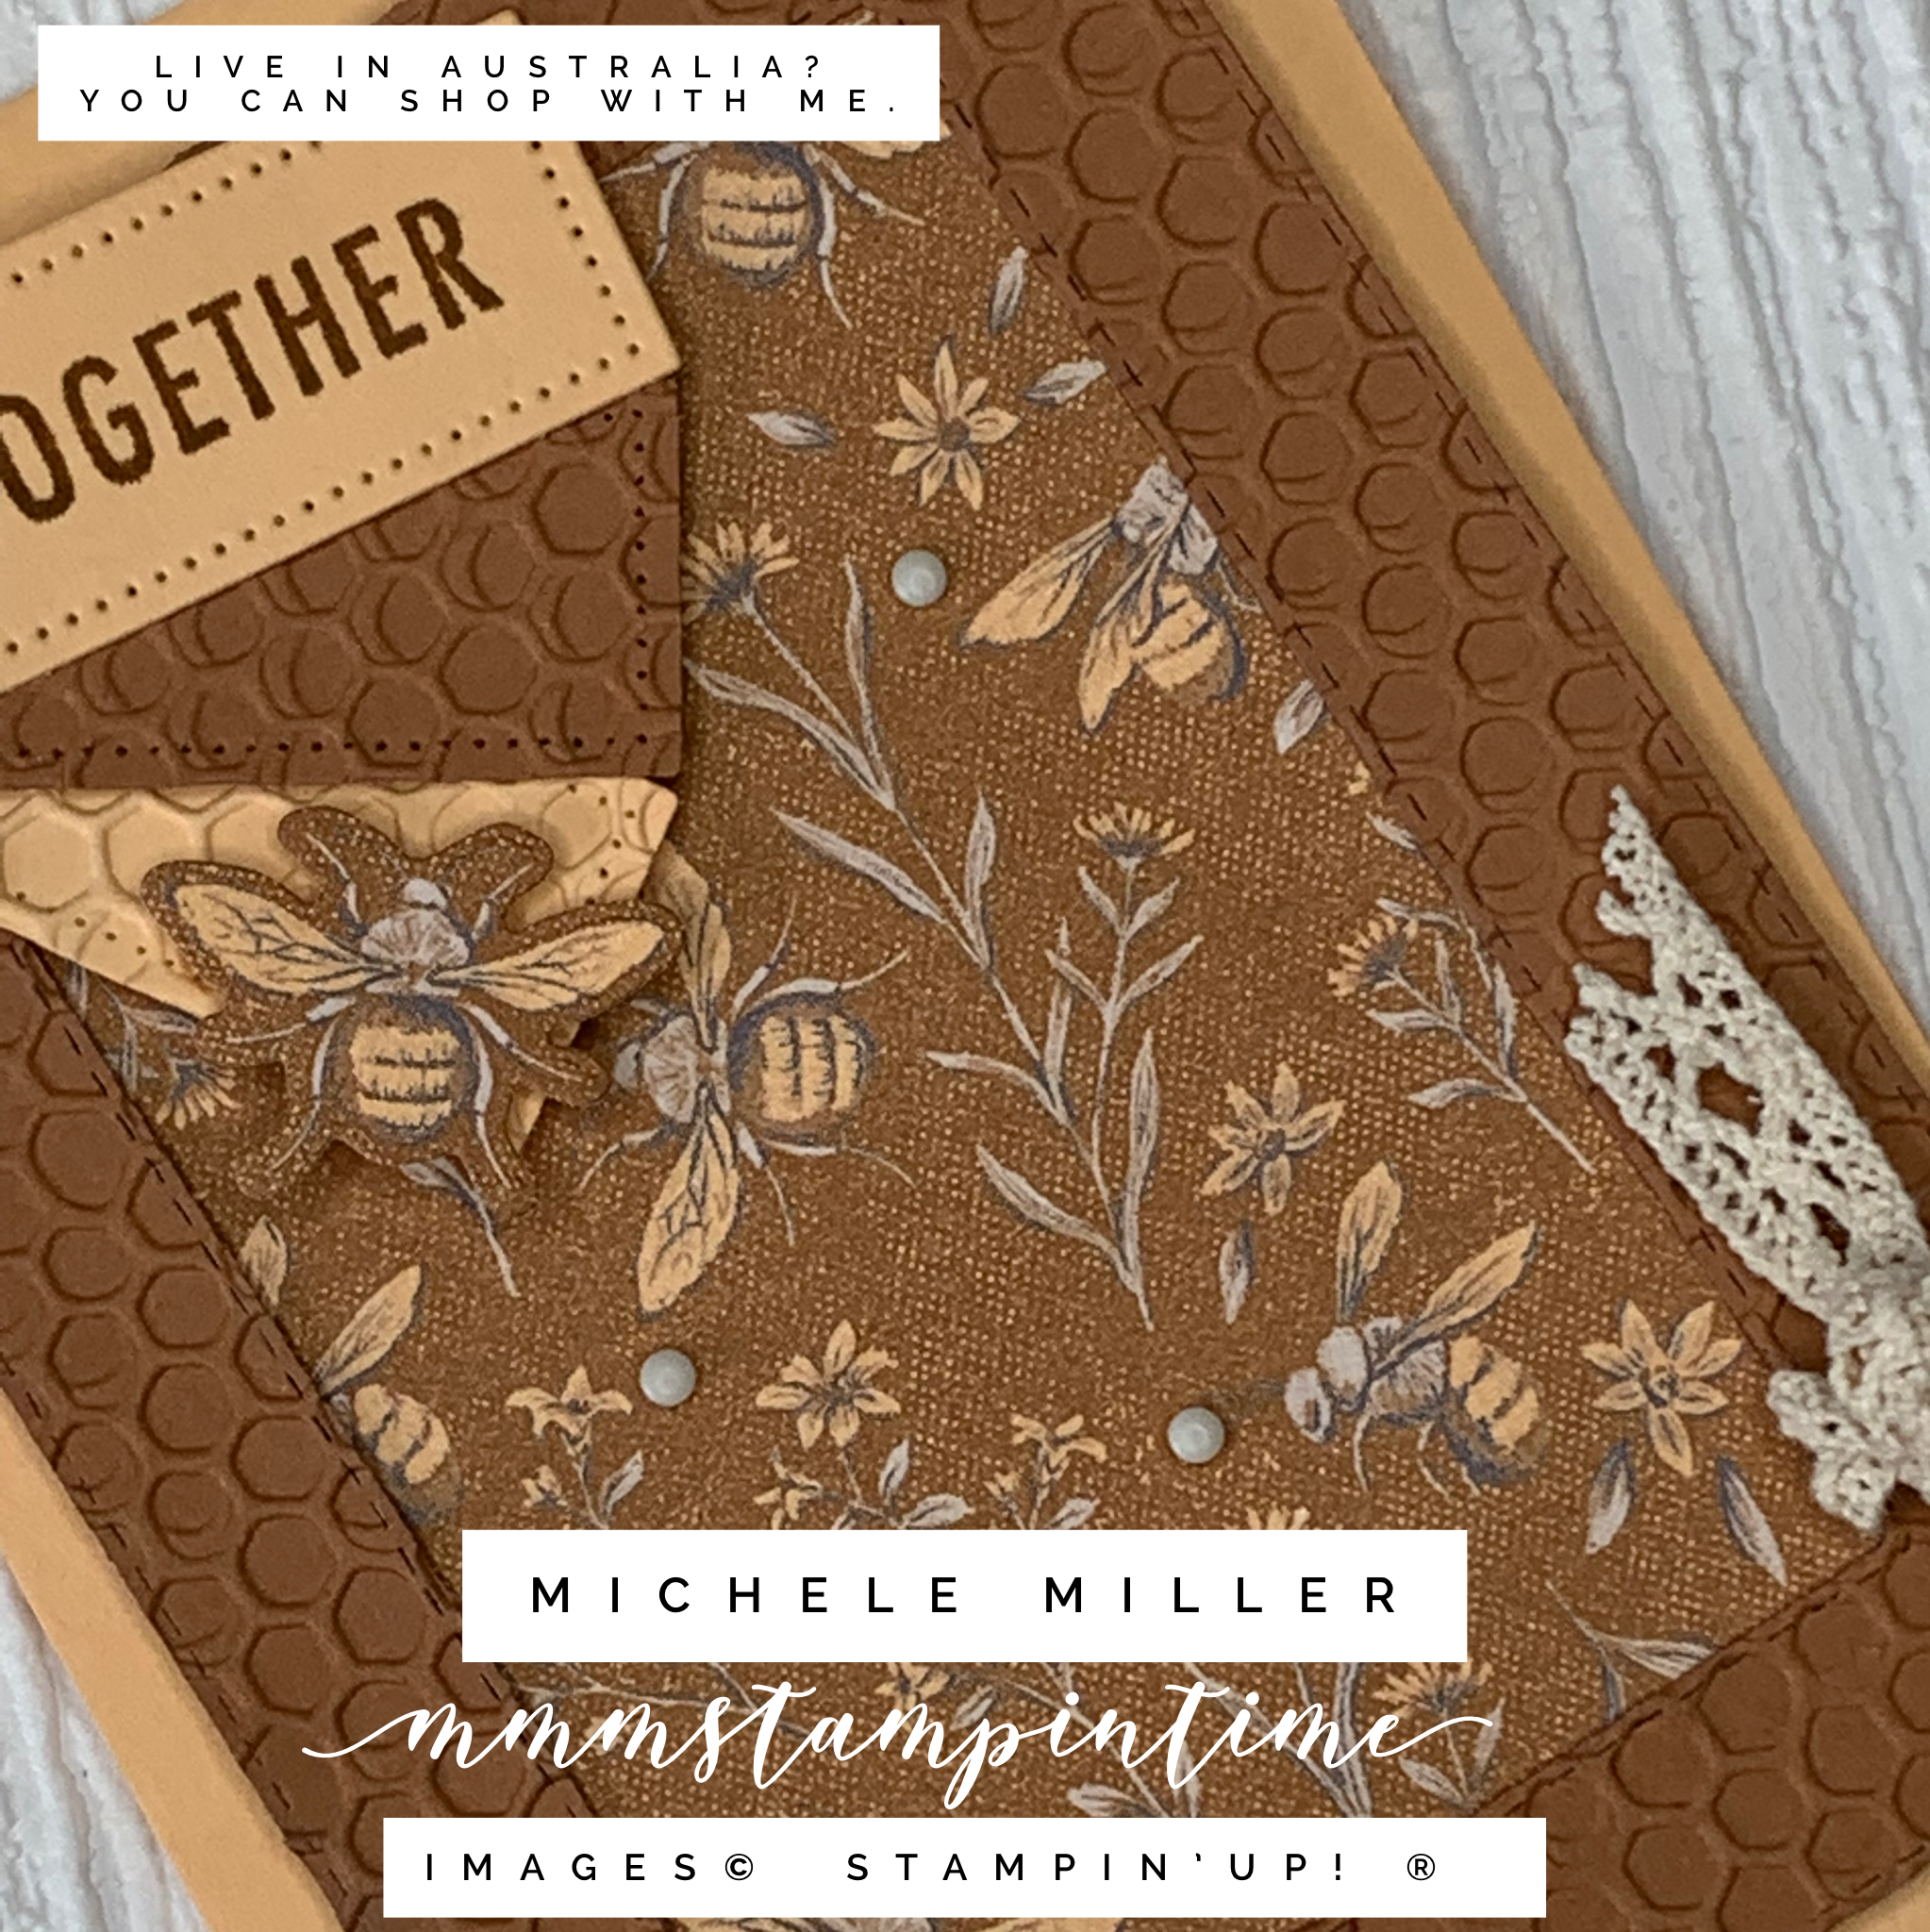
The bee and floral design from the Designer Series Paper collection was the starting point for this card. The two dominant colours in this DSP are Cinnamon Cider and Pale Papaya.I decided to make a Cinnamon Cider frame, using two of the Stitched Rectangle Dies, to surround the DSP. The frame was embossed with the Hives 3D Embossing Folder. The texture created by this embossing folder is so distinct.

Before attaching the DSP to the frame, I took a short length of Diamond Weave Ribbon and tied a loose knot around the lower right hand side.

The framed DSP was then attached to the Pale Papaya card base, using Stampin’ Dimensionals, and positioned on an angle.

I used one of the stamps, from the Blessings of Home Stamp Set, and masked off the top part of the sentiment so that only ‘together’ was stamped. This was stamped in Cinnamon Cider on Pale Papaya cardstock.

The sentiment was then cut using the smallest of the angled Tailor Made Tags Dies. I cut two more of these dies, one in each colour. Then they were embossed with the same Hives 3D Embossing Folder. With a small piece of Adhesive Sheet on the back of a scrap of Cinnamon Cider cardstock, I cut one of the reinforcement shapes.

The three Tailor Made Tags were overlapped and adhered together. For this card they were only slightly splayed. For the card I made during my Facebook Live today, I splayed them further apart to show the embossed texture more clearly.

A length of the Diamond Weave Ribbon was cut in half lengthways, folded in half and threaded through the eyelet and the ends looped through. This cut ribbon has a great frayed texture. The three overlapping tags were then added to the card front with Stampin’ Dimensionals.

The Honebee Blooms Dies includes a super cute bee die. I used this to cut one of the bees from the DSP. A Stampin’ Dimensional was placed behind the bee and attached to the card front.

The card insert has a 1/2″ strip of the DSP and I also adhered DSP to the back flap of the envelope. The card front also has some of the new Classic Matte Dots added. These dots are white, vanilla, gray and black. Each colour comes in two sizes.

Although the Pale Papaya card base is a light colour I always prefer to add a piece of Basic White or Very Vanilla cardstock as an insert. I think it gives my cards a quality finish.

This is a close up image of my Facebook Live card. You can really see the detailed texture from the Hives 3D Embossing Folder in this image. You can also see the difference when the tags are spread further apart … and the ‘texture’ of the Designer Series Paper background.

The card insert and envelope, for my second card, were stamped with one of the floral images from the Blessings of Home Stamp Set.

In this product image you can see the Hives 3D Embossing Folder and Honeyee Blooms Dies that I was able to pre-order and use for this project. I’m not sure why I forgot to add the stamp set to this product image.

I am using a new ring light for my photography and am still working through some teething issues. Hopefully, I can figure out how to lose the reflection of the rong light from shiny surfaces.

For this card there is no white in sight, but I still think that it looks pretty good! What do you think?

Until next time, happy stamping.

If you live in Australia, you can order any of the products I used to make this card by going to my online store. Just click on any of the images below.

Because some of the products I have used to make this card are not yet available to customers, I am not able to show them at this time. As soon as product images go live, I will create this section.

Product List
Paper Snips
[103579]
$17.00