Posted on Leave a comment

FUN FOLD FRIDAY IS BACK AGAIN

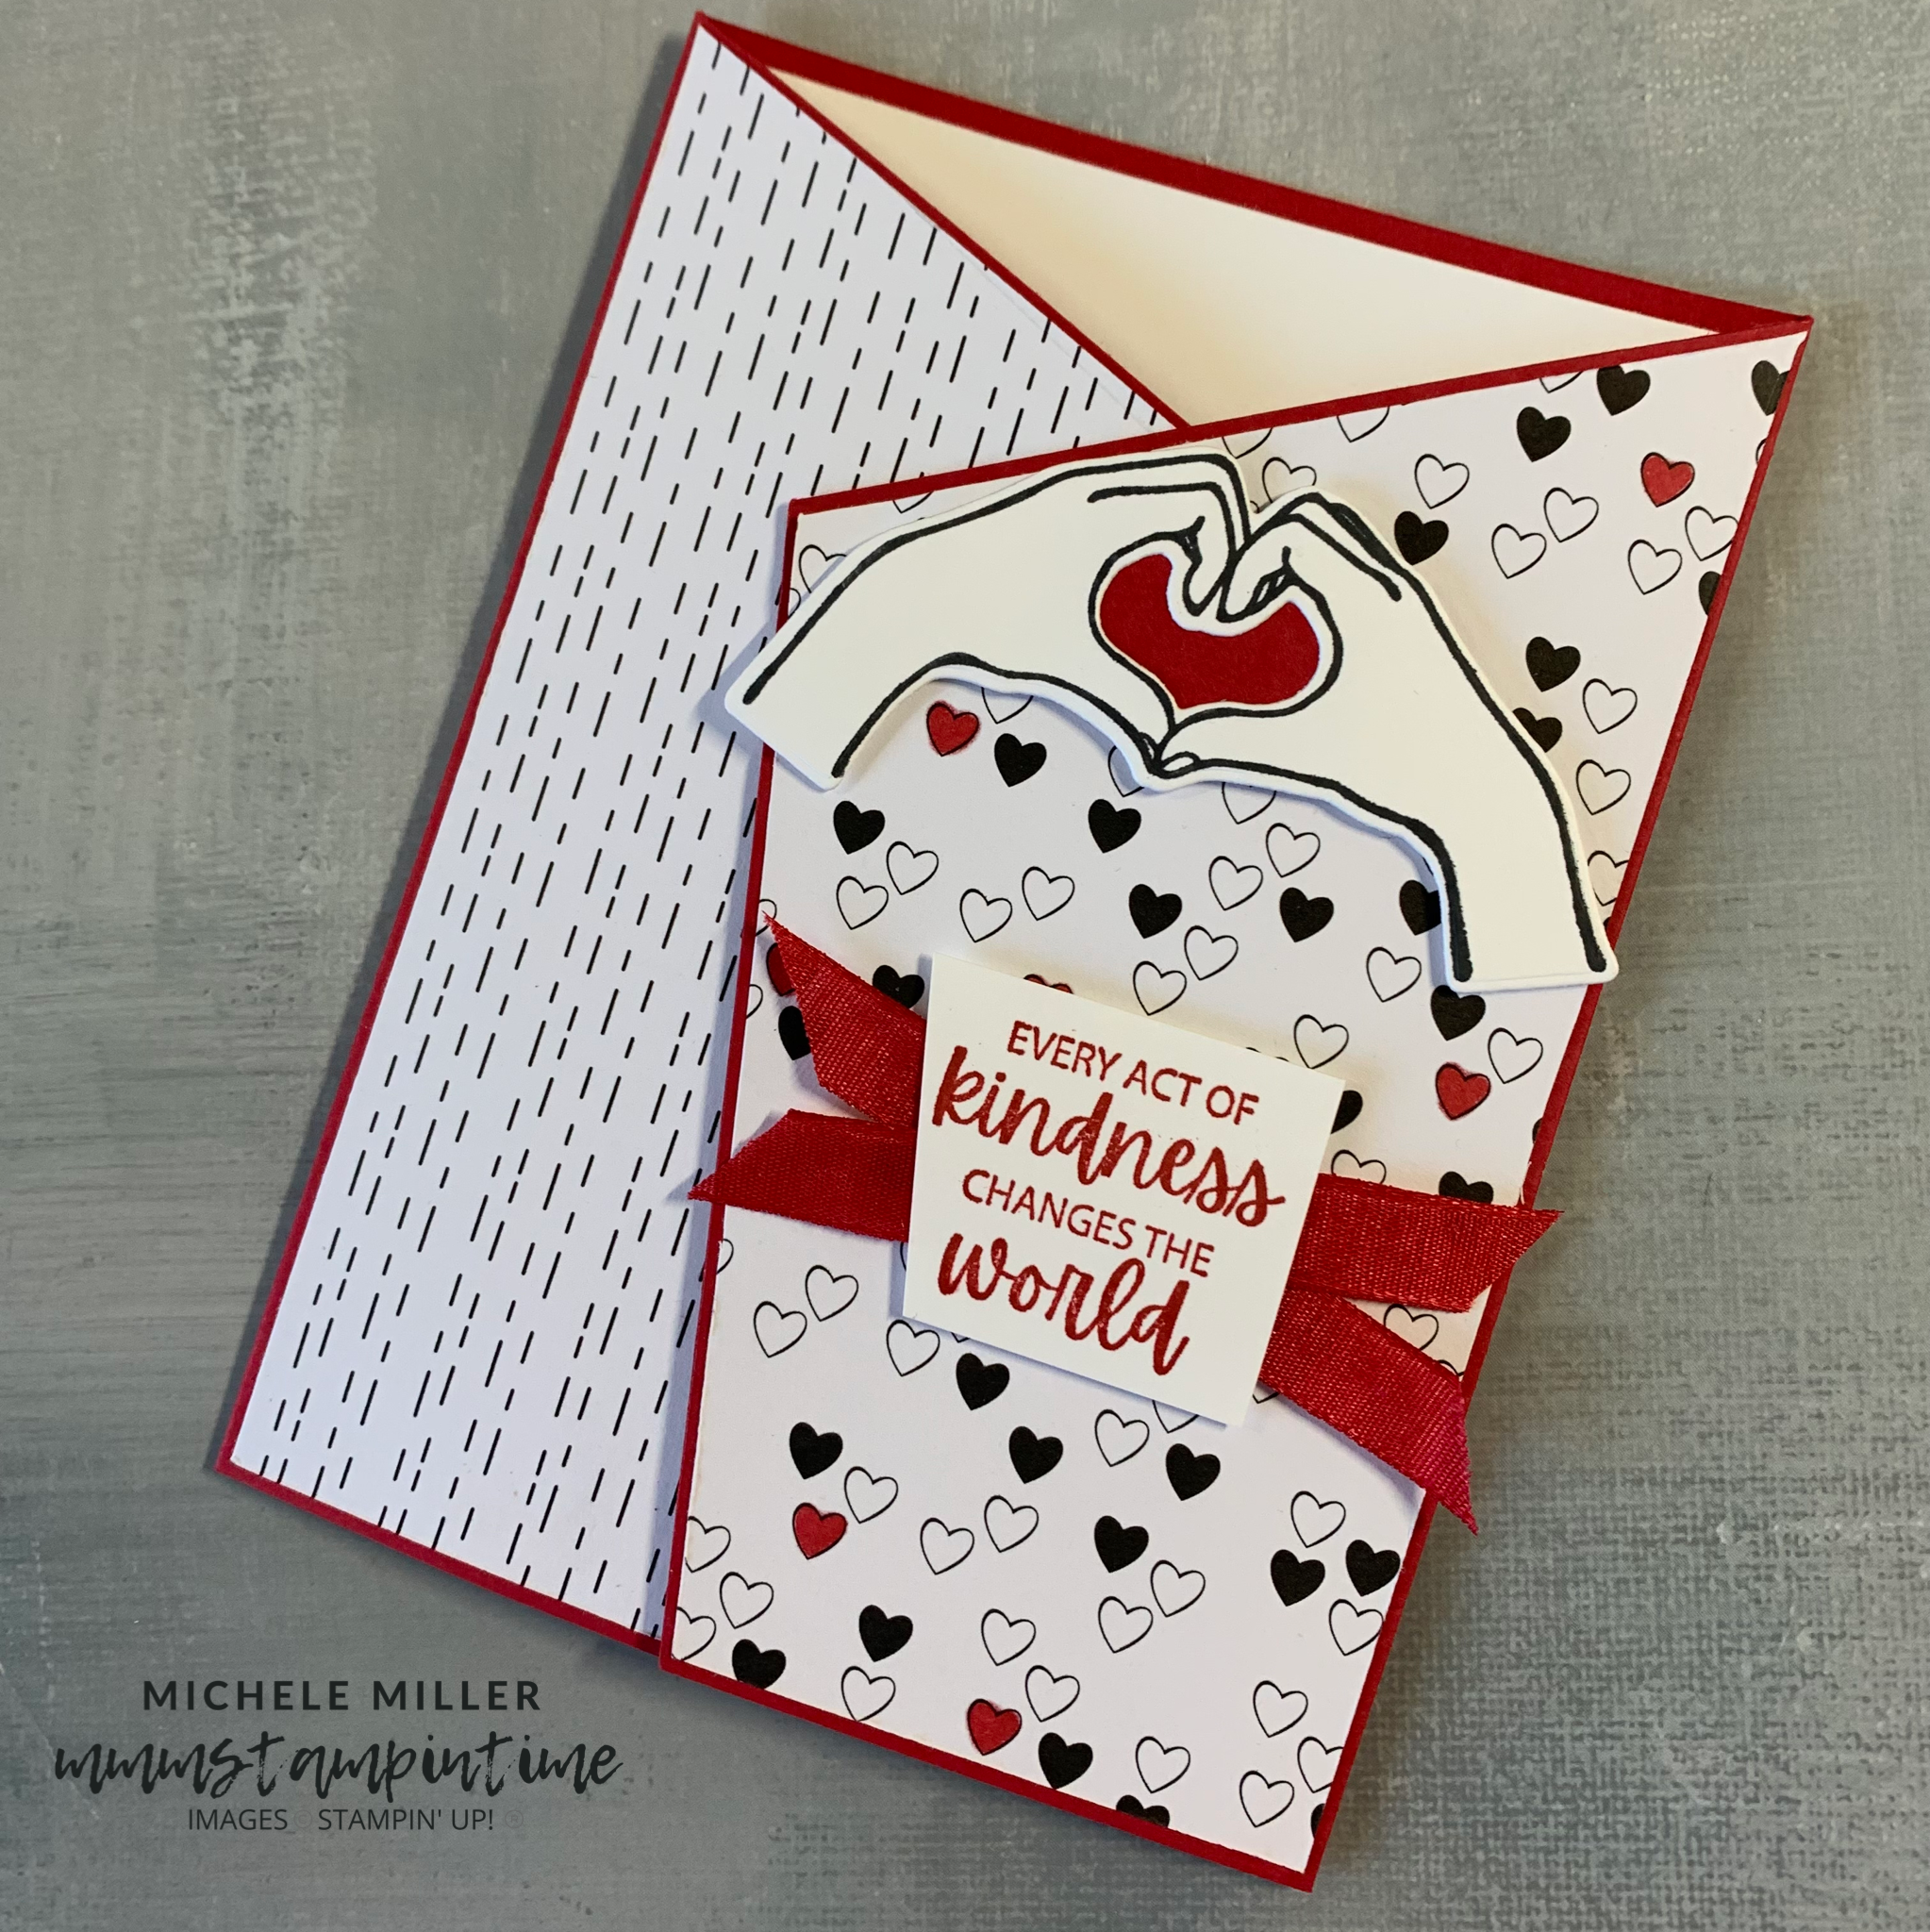
Today I have a Peekaboo Slider Card to share with you.

This is the first time I have made this fun fold card. I did some online research looking at Pinterest, Google images and YouTube. After seeing a couple of different styles, I opted for one that Lisa Curcio demonstrated in 2020. I adjusted her measurements to suit A4 cardstock.

Friday also means that this is the last project using the All Together Collections.

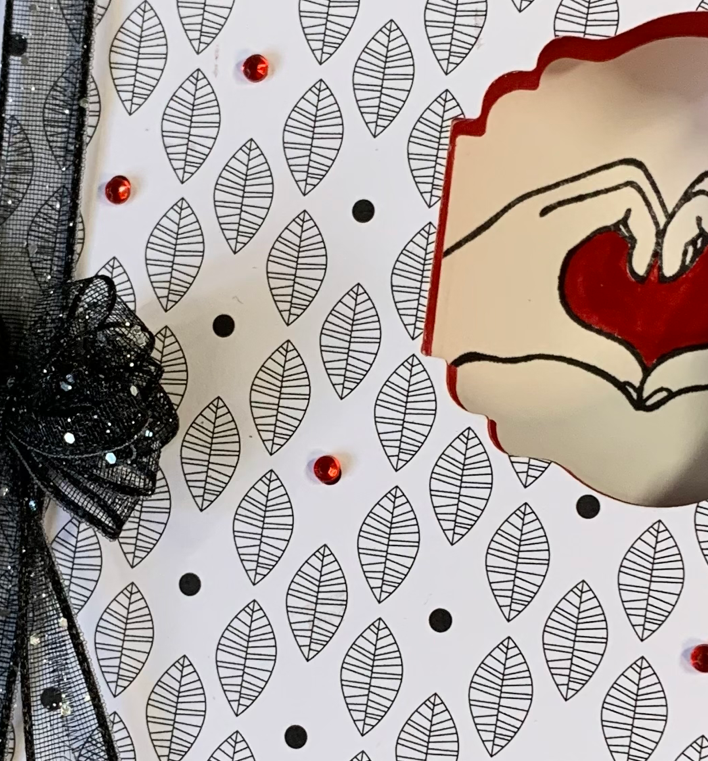
Lisa used a 2″ circle punch that is now retired so I swapped it for the Label Me Lovely Punch.

This card is made up of three separate pieces.

The first Real Red piece measures 8-1/8″x 4-1/8″ and is scored at 2-3/4″. It forms the front of the card and the slider piece that the sentiment is stamped on. A piece of All Together Designer Series Paper was adhered to the front before the top right hand corner was punched out.

The inside Real Red piece measures 8-1/4″x 4-1/8″ and is scored at 4-1/8″.

The back Basic White panel meaures 6″x 4-1/8″ and is scored at 5-3/4″.

The front and both sides of the inside panel are punched in the same place – so that you can see straight through them.

When you open the card, the 2-3/4″ Real Red section from the front panel slides across revealing a stamped sentiment. It was stamped on Basic White cardstock and punched out before being adhered directly in the space from the inside piece.

The inside Real Red piece had a piece of DSP adhered to the left hand half. I also attached a small panel of Basic White cardstock for a personal message to be written.

The leaf design on this DSP is my favourites from this collection. Lots of white space, beautifully shaped leaves, simple line drawing style and lots of black dots.

This view gives you an idea of how the three pieces of cardstock are connected. After all the DSP is adhered and the three identical spaces are punched out, this is how they are joined: the left hand side of the Real Red inside panel is glued along the right hand side front card panel, and then the 1/4″ scored area of the Basic White card back is adhered to the back of the right hand half of the Real Red card insert.

I have project on my list of new video tutorials to make. It should be easier to follow how to assemble the card by watching rather than the scant information above.

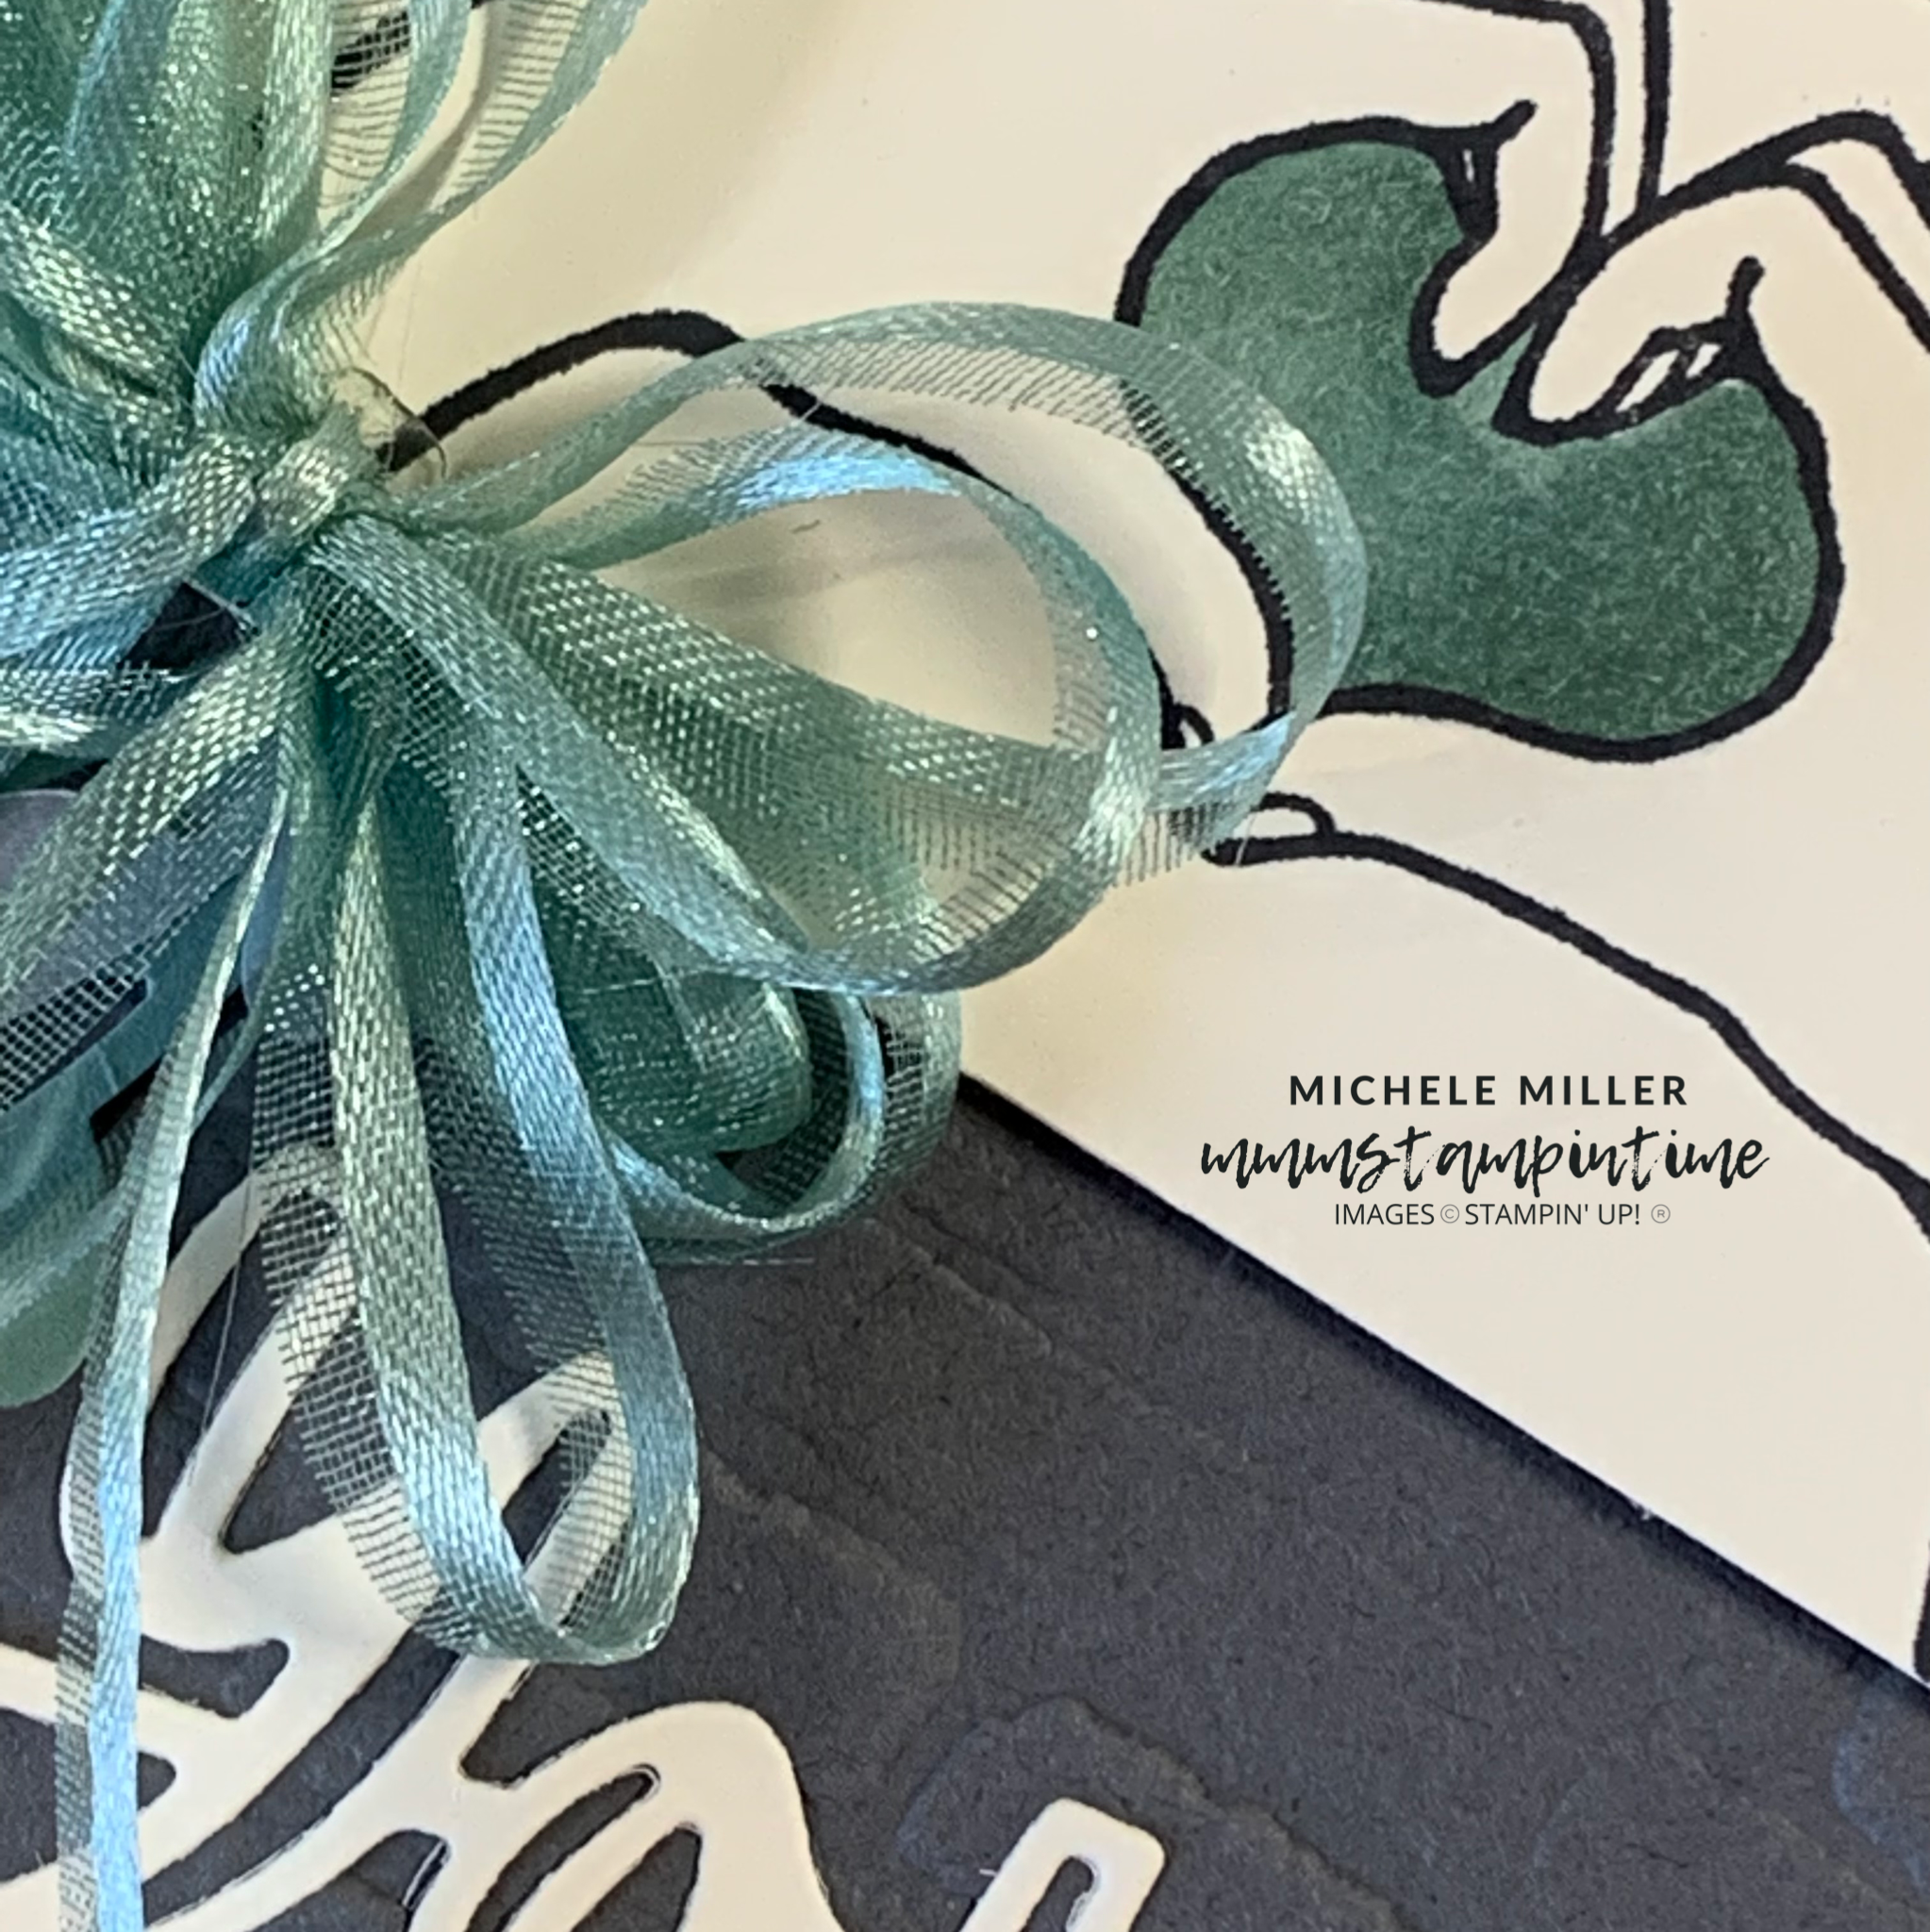
I used the Black Glittered Organdy Ribbon to create a #tammybow. A length of the same ribbon was wrapped around the card front and secured inside. The #tammybow was then attached using a Mini Glue Dot.

From tomorrow, I am going to vary my usual routine. I will still keep the daily project themes but will feature a stand alone stamp set from the 2022 January – June Mini Catalogue.

For #simplestamping Saturday and Step It Up Sunday, I will be featuring the Host Stamp Set Mischievous Mice.

Until then, happy stamping.

If you live in Australia, you can order any of the products I used to make this card by going to my online store. Just click on any of the images below.

Product List
Paper Snips
[103579]
$17.00
Posted on Leave a comment

ON TO PROJECT #3 & ANOTHER Colour INKspiration CHALLENGE

For those of you who love stamping and beingencouraged to move outside of your comfort zone, then I recommend that you participate in the Colour INKspiration colour challenges. There are two each month and are a great way to get you creating.

May be an image of text that says 'COLOUR INKSPIRATION Challenge guidelines X Create a NEW project specifically for the challenge. × Use all challenge colours or close substitutes) unles stated. × Upload only ONE photo per entry to the challenge wall and NOT in an album.'

I loved the image that inspired the challenge colours for #CI118. Although I must confess that tring work these colours in with my featured products, this week, was a little challenging.

May be an image of text that says '#118 Very Vanilla Soft Succulent Garden Green Basic Gray SPIKATON SPIRATION'

So my card could best be described as “Here Together” meets #CI118. I hope you like it.

I built up the card by starting with a Very Vanilla base with a Basic Black layer. Then I adhered a Garden Green layer under a Basic Gray piece of cardstock. This green and gray combination was then embossed using the Brick & Mortar 3D Embossing Folder.

My next step involved attaching Adhesive Sheet to the back of a piece of Very Vanilla cardstock and die cutting the “You Matter”, from the Here For You Dies. I removed the backing from the adhesive sheet and positioned these words on the card front.

I stamped the “heart hands” on a piece of Very Vanilla cardstock and trimmed it down to the size you see. Then I used my Dark Soft Succulent Stampin’ Blend to colour the heart shape.

Before attaching this sentiment piece to the card front, I punched some White Vellum and Soft Succulent leaves, using the Sprigs Punch. After these leaves were positioned, I added the sentiment panel using Stampin’ Dimensionals.

Finally, I tied a #tammybow from a length of Soft Succuent Open Weave Ribbon and secured it in place using a Mini Glue Dot.

By then end of this week I will have 14 projects using the All Together Collection. I still have so much more to learn about the Natural Tones Stampin’ Blends Collection and how they can be used to achieve a wide and rich variety of colour.

One more project to come today – one for the Freshly Brewed Project blog hop.

Until thin, happy stamping.

If you live in Australia, you can order any of the products I used to make this card by going to my online store. Just click on any of the images below.

Product List
Sprig Punch
[148012]
$31.00
Paper Snips
[103579]
$17.00
Posted on Leave a comment

MY FRESHLY BREWED PROJECT IS MY CARD #2 THAT I HAVE TO SHARE WITH YOU TODAY

The Freshly Brewed Project Crew have a new theme each week. Although I have not shared in recent weeks, I am back today.

Our challenge this week was to create an angled trifold card, inspired by Lee-Ann Greff’s creation. I adjusted some of the measurements so that my card worked with our A4 cardstock and C6 envelopes.

And, for the record, I am still featuring the All Together Collection.

I cut the Real Red card base using my adjusted measurements.

Using two designs from the All Together 6″x 6″ Designer Series Paper, I cut paper for the left and right hand fronts of the card.

Between the cardstock and designer paper, I adhered small magnets that ensure the flaps close securely.

The “heart hands” were stamped and die cut. I attached a small scrap of Real Red cardstock behind the heart shape between the hands.

After attaching Stampin’ Dimensionals behind the stamped and cut hands, this shaped was attached to the card front, covering the magnet on the right hand flap.

The small heart was stamped on the card insert and envelope.

The sentiment was stamped on to a piece of Basic White cardstock and cut to match the shape of the card’s right hand panel.

Two short lengths of Real Red Faux Linen Ribbon were secured behind the sentiment panel, using Stampin’ Seal+. Stampin’ Dimensionals were then used to pop this panel up on the card front.

This angled trifold card has been a great project to use with these products.

Make sure that you hop along to see what the other Freshly Brewed Project Team members have been creating –

I am looking forward to using the card design many more times with different stamps and Designer Series Paper. What would you use it with?

Tomorrow is 3D Thursday and I have a fabulous triangular gift box to share with you.

Until then, happy stamping.

If you live in Australia, you can order any of the products I used to make this card by going to my online store. Just click on any of the images below.

Product List
Paper Snips
[103579]
$17.00