Posted on Leave a comment

TECHNIQUE TUESDAY – TIME TO TRY ANOTHER TRICK

As I work my way through the myriad of card making techniques, I am rediscovering some that I have not used in such a long time.

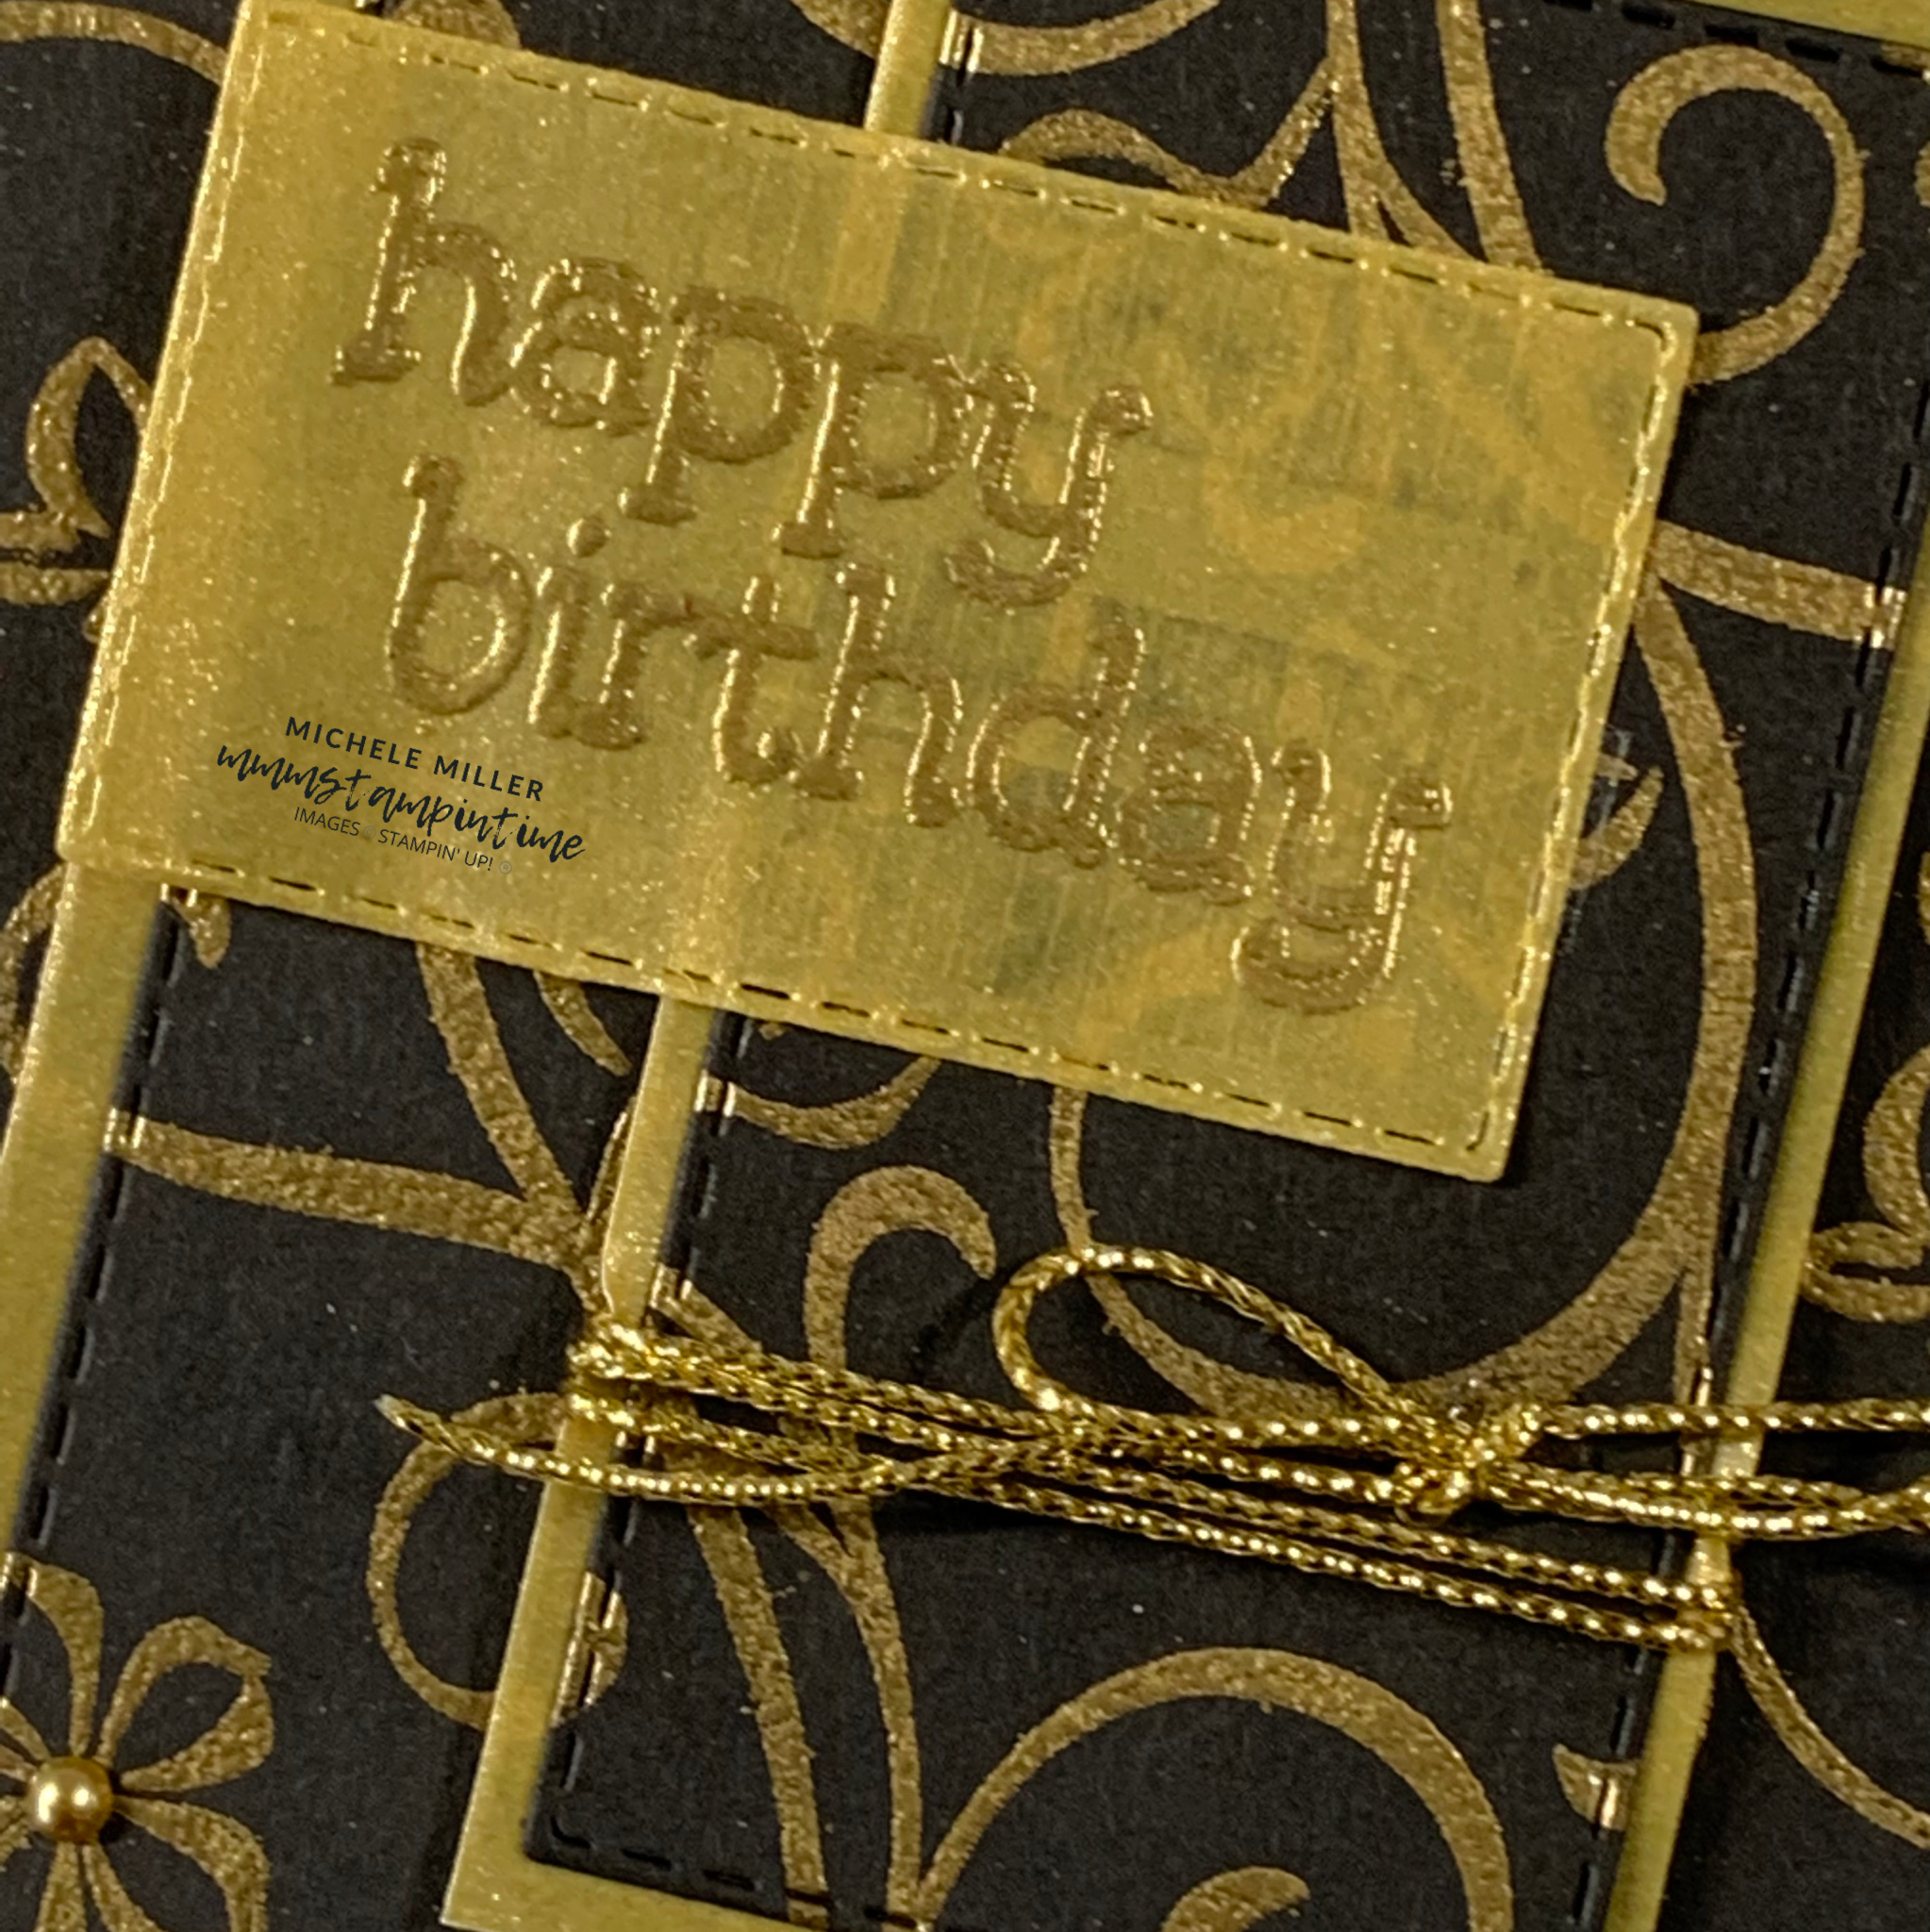
Today’s Technique Tuesday is all about the Triple Layer Card Technique.

Remember that this week I am featuring the Sentimental Swirls Stamp Set. It is great – it has 27 stamps – one major swirl image and four versatile greetings. There are two small swirls that can be used to extend the main swirl.

Then there are 20 more, small stamps – 10 are outline images and 10 are infill stamps. They include two different floral styles, five different leaf styles and a bird. This ensures an amazing range of combinations for all of your projects.

For this card I used just 5, of the 27, stamps. The images were stamped, in stages, using Versamark. Gold embossing powder was sprinkled over the stamped image and heat embossed. This process was repeated until I was happy with the overall image.

The Triple Layer Technique involves cutting the 5-5/8″x 4″ stamped and embossed panel into three, separate rectangle. I used my Stitched Rectangle Dies to do this.

I measured the two smaller rectangles and calculated the sizes of Gold Shimmer Vellum needed to adhere to the back of those two pieces. As soon as these two layers were assembled, I was able to add the three layers to the card base. The largest was adhered diectly on to the base. The next two layers were both added using Stampin’ Dimensionals to layer them up.

Before the smallest layer was added, I wrapped a length of gold Simply Elegant Trim several times around it and tied a bow.

The birthday greeting was heat embossed on a piece of Gold Shimmer Vellum using gold embossing powder. IT was secured on the card front using Stampin’ Seal+.

The small flower was stamped on the card insert and envelope, using Versamark and gold embossing powder.

The final step was to add some gold Metalic Pearls.

I think this has turned out to be a very elegant birthday card. What do you think?

Tomorrow is Wednesday and that means that it is time to share What’s Happening this Wednesday. Wednesday is my day to share blog hops and challenge projects.

Until then, happy stamping.

If you live in Australia, you can order any of the products I used to make this card by going to my online store. Just click on any of the images below.

Product List
Heat Tool
[129056]
$50.00
Paper Snips
[103579]
$17.00
Posted on Leave a comment

STRAWBERRY MILKSHAKE

Hello and thanks for popping by. I have a very sweet treat to share with you today.

Today’s project was inspired by a block of chocolate I found when I was shopping the other day.

I was drawn to the colour of the chocolate – rich pink with a black and gold label. I knew that I could make a great gift box to pop it inside and give as a gift. The Kokopod chocolate is made in Queensland and is made with strawberry dust blended into white chocolate. There’s also some strawberry dust sprinkled on the front of the block.

I knew that I would use a piece of the Expressions in Ink Specialty Designer Series Paper to make the gift box. The birthday greeting, from the Sweet Strawberry Stamp Set, on the label was heat embossed in gold. The label was cut using one of the Tasteful Labels Dies. I made the strawberry in the same way before punching it out using the Strawberry Builder Punch. The label had Stampin’ Dimensionals positioned on the bottom half of the back so that the flap could fit under the top half.

I used the Detailed Trio Punch to round off the corners of the flap. To finish off the label I added some gold Metallic Pearls.

Who would give this sweet treat to? Who, do you know, would like a strawberry milkshake chocolate?

Happy stamping.

If you live in Australia, you can order any of the products I used to make this card by going to my online store. Just click on any of the images below.

Product List
Heat Tool
[129056]
$50.00
Paper Snips
[103579]
$17.00
Posted on Leave a comment

POST KNEE – PROJECT THREE

Hello and thank you for popping by. I may have been M.I.A. for a week but I am so excited to share another project with you – I hope that you like it!

For today’s card, I decided to use the Elegantly Said Bundle – a stamp set and punch bundle. I also used the Designer Series Paper from the Suite.

ELEGANTLY SAID BUNDLE (ENGLISH)

Here is the card that I made.

For this project, I started by cutting 1-3/4″ strips of Basic Black cardstock. I trimmed short, narrow wedges from each end of the cardstock so that I could easily slide the narrow end into the punch to cut just this shape. Then I used my Paper Trimmer to cut three of the pieces at 3″. I kept the fourth piece to use later for the sentiment.

I used Versamark, White Embossing Powder and my Heat Tool to stamp the floral image on each Basic Black piece. Once done, I used Stampin’ Blends to colour each floral image – Daffodil Delight, Fresh Freesia, Polished Pink and Soft Succulent. The Polished Pink was much brighter than the other two colours, so I used the Colour Lifter to tone back the pink a little.

Before I attached these elements, to the layer of Simply Elegant Designer Series Paper, I wrapped a length of Soft Succulent Open Weave Ribbon around the DSP. There are tiny slivers of the ribbon peeking from between the stamped elements. The sentiment was also stamped and heat embossed before being trimmed back to a much smaller size and attached to the card front. I tied a small bow using a length of Soft Succulent Open Weave Ribbon and attached it, as you can see, using a Mini Glue Dot. The final touch was to add three areas of 2021-2023 In Colour Jewels.

These are some of the products I used to make this card. What do you think?

If you live in Australia, you can order any of the products I used to make this card by going to my online store. Just click on any of the images below.

Product List
Heat Tool
[129056]
$50.00
Paper Snips
[103579]
$17.00