Posted on Leave a comment

STAMPIN’ SATURDAY – TIME FOR SOME MORE SHARING

Today I have a project that I created for this week’s Global Design Project. GDP #427 is a theme challenge.

This challenge is perfect given that I have been featuring the Adoring Hearts Bundle all week.

I decided to create a bespoke 6″ x 6″ card.

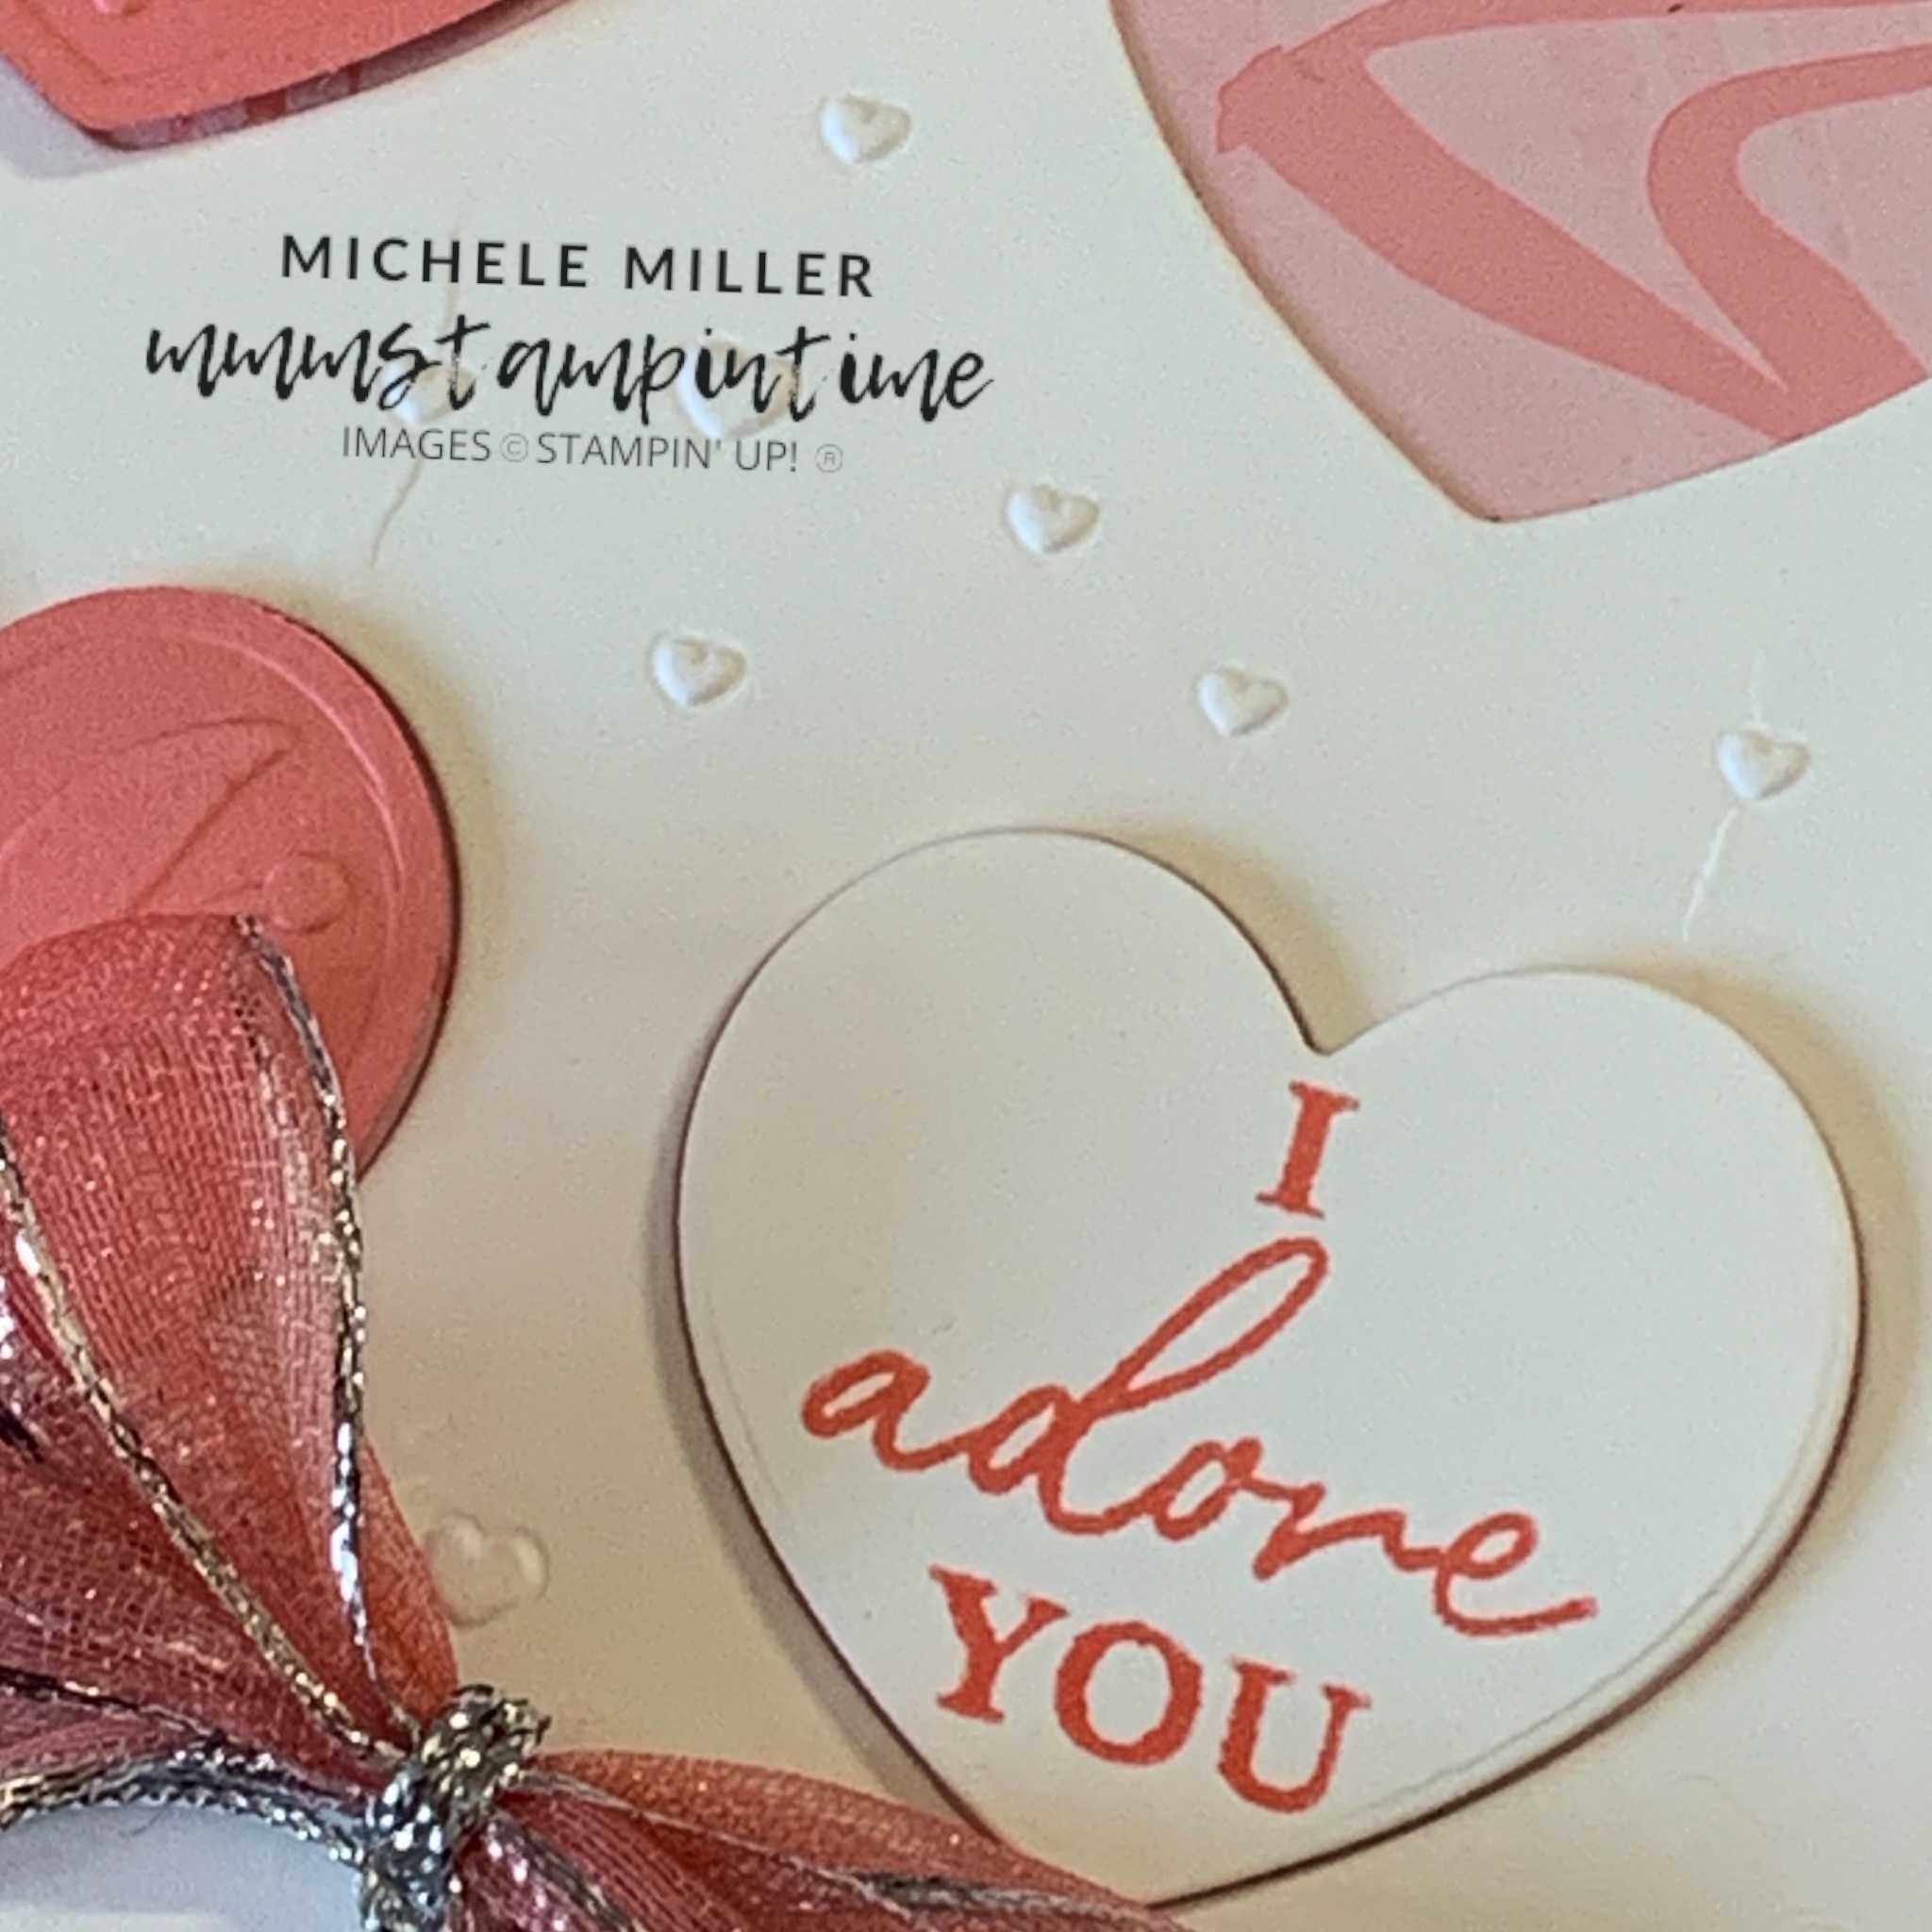
I started with a Flirty Flamingo card base because I wanted to use the marbled pink paper from the Designer Series Paper bundle.

A piece of Thick Basic White card was cut to 5 3/4″ x 5 3/4″ and embossed and die cut using the Adoring Hearts Hybrid Embossing Folder.

The marbeld DSP was adhered behind the die cut white panel. These two layers were then adhered to the card base.

A 6″ x 6″ piece of Flirty Flamingo was also embossed and die cut with the Hybrid Embossing Folder – this gave me nine beautifully embossed and die cut hearts.

I chose four Flirty Flamingo hearts and positioned them in some of the open spaces using Stampin’ Dimensionals to lift them up from the card front.

I also cut a single white heart and stamped the greeting on it usinf Flirty Flamingo ink.

Five, of the nine, die cut heart spaces are filled and the other four reveal the Designer Series Paper.

I used my Dark Flirty Flamingo Stampin’ Blend to colour a length of Silver & White Sheer Ribbon. This coloured ribbon and a length of silver trim, from the Simply Elegant Trim pair, were folded into a multiple layered ribbon. After it was tied off and secured, I secured it to the card front using a Mini Glue Dot.

An other length of coloured ribbon was attached to the card insert, before being adhered in place.

A second 12″ x 12″ piece of the same marbled Flirty Flamingo DSP was used to create a unique envelope for this card.

Tomorrow is Sunday and my day of rest.

On Monday, I will introduce another new Stampin’ Up! bundle to showcase for the week.

Until then, happy stamping.

If you live in Australia, you can order any of the products I used to make this card by going to my online store. Just click on any of the images below.

Posted on Leave a comment

SATURDAY STAMPIN’ – TIME FOR SOME MORE SHARING

Today I have a card that I have created for this week’s Global Design Project and for Stampin’ Through the Catalogue.

Stampin’ Through the Catalogue is featuring the Bee Mine products and the Global Design Project is a layout challenge.

I played with the Bee Builder Punch to create a new shake for the greeting I chose to use.

I cut a strip of Basic White card stock that was 1 1/8″ wide. One end was inserted into the punch and then turned around a nd punched at the other end.

I was so pleased that this greeting panel turned out so well.

This is how the card came together.

I started by stamping the honeycomb image, in Daffodil Delight, onto the Daffodil Delight card base.

The checkered paper is one the designs in the Bee Mine Designer Series Paper. I wrapped some black twine, from the Baker’s Twine Essential Pack, around the DSP and tied a bow.

By adding Stampin’ Dimensionals to the back the DSP I was able to lift it up from the card front to achieve some height.

After punching out the white panel I stamped the greeting and secured it, above the twine, with dimensionals.

The bee was stamped, punched and assembled before adding it to the card.

The card insert and envelope also had the honeycomb image stamped.

The final touch was to add some large black Classic Matte Dots to the card.

This has been a fun week featuring the Bee Mine products from the new Mini Catalogue.

Starting on Monday, I will be introducing a new collection of products. I’ll also have some information about how you can earn coordinating paper from the Sale-a-bration Brochure.

Until then, happy stamping.

If you live in Australia, you can order any of the products I used to make this card by going to my online store. Just click on any of the images below.

Product List
Posted on Leave a comment

GLOBAL DESIGN PROJECT COLOUR CHALLENGE #413

I enjoy taking part in the GDP Challenges because they inspire me to create outside my usual style or colour preferences.

These colours are darker than I would normally combine. Fortunately, they immediately made me think of New Year Eve’s fireworks.

The new Light the Sky Bundle is perfect for what I had in mind!

The first step was to stamp the fireworks images onto Basic White cardstock. I used Cajun Craze and Pumpkin Pie Classic Stampin’ Pads then stamped them again using Versamark. After sprinkling Clear Embossing Powder over the Versamark image, I used my heat tool to set the powder and give the image a wonderful shine.

Next, I used a Small Blending Brush to colour each of the die and fussy cut fireworks images with Tuxedo Black Memento Ink. Now the fireworks had a night sky background.

As soon as all the firworks were finished, I started on the card itself.

I used a Basic Black card base and adhered a panel of the Silver Adhesive Backed Glimmer Paper to it.

Another panel of Basic Black card, the same size as the card front, was run through my Stampin’ Cut & Emboss Machine using the largest die from the Light the Sky Dies set. Using black dimensionals, I lifted this panel up off the silver glimmer paper.

My next step was to attach the fireworks across the front of the card – some were placed directly on the card while others were popped up using Stampin’ Dimensionals.

The greeting was created in the same way.

The black Adhesive Backed Sparkle Gems were perfect for this project.

Over the next week I have some Christmas projects to share with you.

Until then, happy stamping.

If you live in Australia, you can order any of the products I used to make this card by going to my online store. Just click on any of the images below.

Product List
Heat Tool
[129056]
$54.00
Paper Snips
[103579]
$19.25