Posted on Leave a comment

GLOBAL DESIGN PROJECT COLOUR CHALLENGE #413

I enjoy taking part in the GDP Challenges because they inspire me to create outside my usual style or colour preferences.

These colours are darker than I would normally combine. Fortunately, they immediately made me think of New Year Eve’s fireworks.

The new Light the Sky Bundle is perfect for what I had in mind!

The first step was to stamp the fireworks images onto Basic White cardstock. I used Cajun Craze and Pumpkin Pie Classic Stampin’ Pads then stamped them again using Versamark. After sprinkling Clear Embossing Powder over the Versamark image, I used my heat tool to set the powder and give the image a wonderful shine.

Next, I used a Small Blending Brush to colour each of the die and fussy cut fireworks images with Tuxedo Black Memento Ink. Now the fireworks had a night sky background.

As soon as all the firworks were finished, I started on the card itself.

I used a Basic Black card base and adhered a panel of the Silver Adhesive Backed Glimmer Paper to it.

Another panel of Basic Black card, the same size as the card front, was run through my Stampin’ Cut & Emboss Machine using the largest die from the Light the Sky Dies set. Using black dimensionals, I lifted this panel up off the silver glimmer paper.

My next step was to attach the fireworks across the front of the card – some were placed directly on the card while others were popped up using Stampin’ Dimensionals.

The greeting was created in the same way.

The black Adhesive Backed Sparkle Gems were perfect for this project.

Over the next week I have some Christmas projects to share with you.

Until then, happy stamping.

If you live in Australia, you can order any of the products I used to make this card by going to my online store. Just click on any of the images below.

Product List
Heat Tool
[129056]
$54.00
Paper Snips
[103579]
$19.25
Posted on Leave a comment

GLOBAL DESIGN PROJECT #GDP344

I missed last week’s #GDP343 Challenge and am so pleased to be back this week enjoying the challenge.

This week it is a CASEing a card challenge.

I decided to CASE the general layout from Charlet’s card.

The Hues of Happiness Suite is my focus this week so I have used these products for this project.

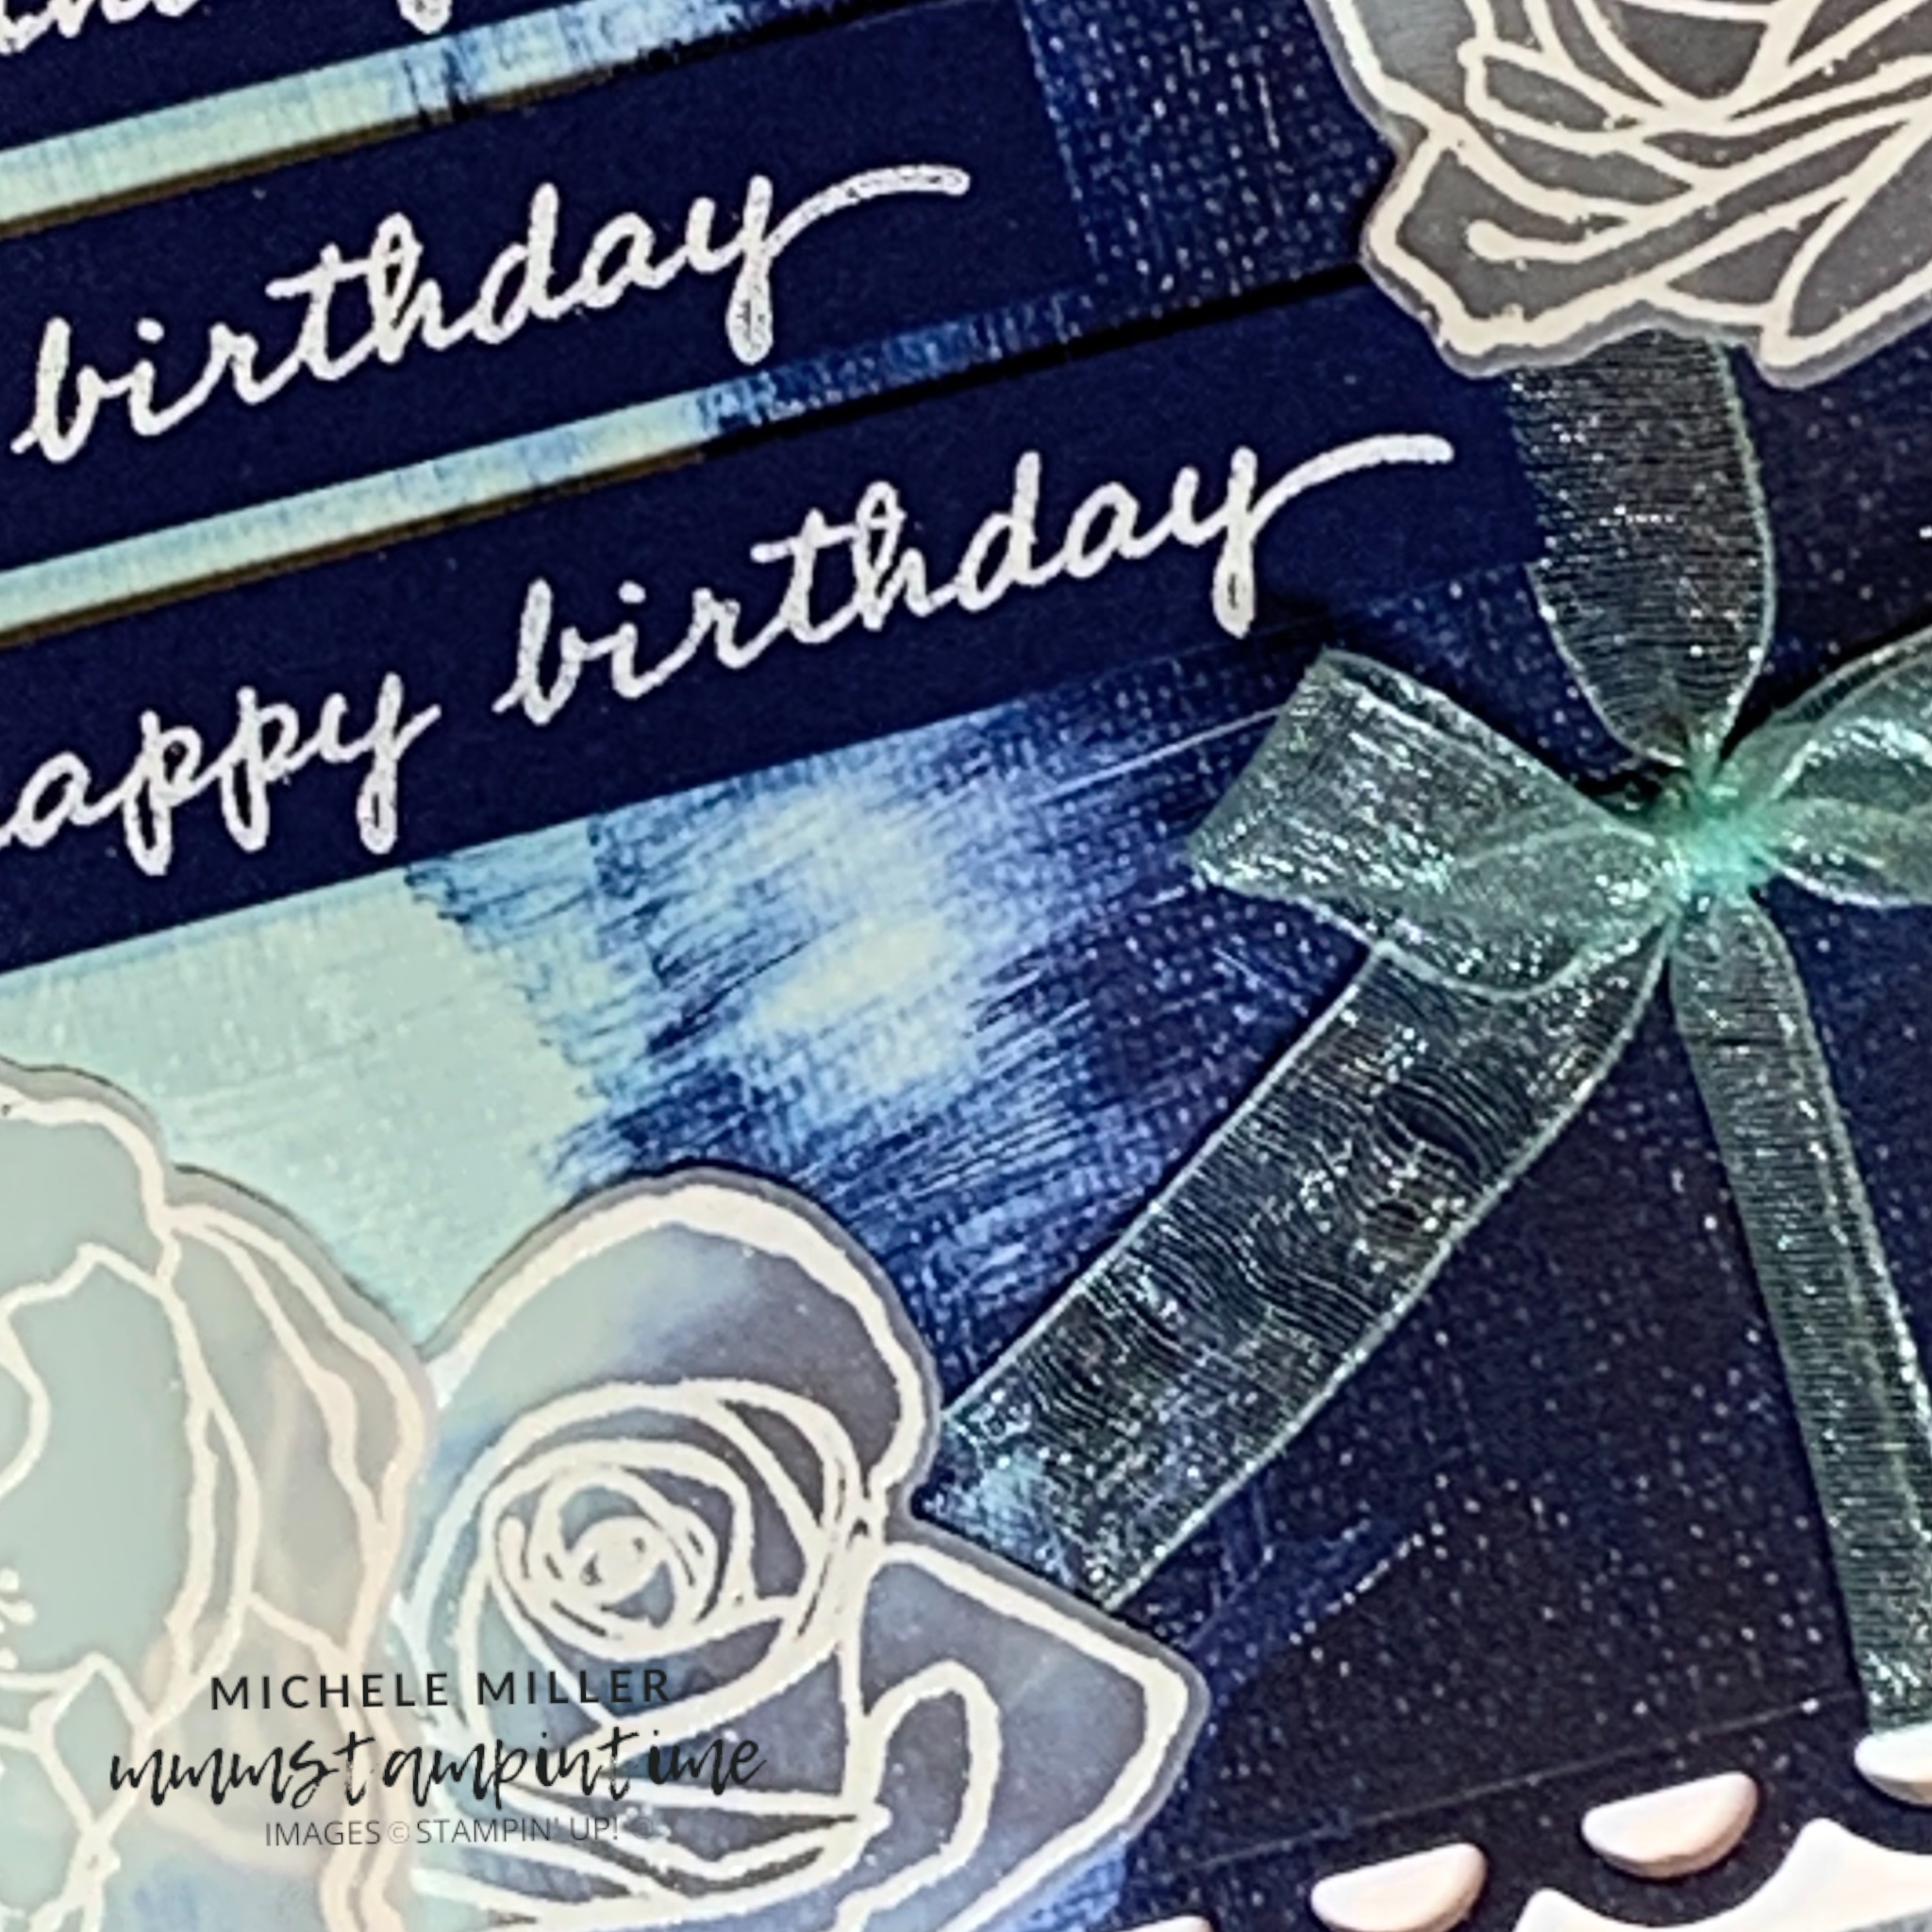
I selected this piece of Pool Party through to Night of Navy Designer Series Paper from the Hues of Happiness DSP pack to cut the largest shape from the Scalloped Contours Dies.

A length of Pool Party 3/8″ Sheer Ribbon was threaded through two of the scallop semi-circles and tied in a bow. Then I added Stampin’ Dimensionals to the back of this panel and popped it up on the Basic White card base.

The three flowers were stamped using Versamark and then heat embossed with white embossing powder before I cut them with the Blossoming Happiness Dies.

I used one Mini Glue Dot to attach each flower to the front of the card.

Just like Charlett’s card, I stamped a sentiment three times and used white embossing powder on a Night of Navy background. Each birthday greeting was cut into three strips and added to the card front.

I enjoy taking part in the GDP Challenges because it always stretches me creatively – the GDP team is so creative!

Later today I will have a Colour INKspiration project to share.

Until then, happy stamping.

If you live in Australia, you can order any of the products I used to make this card by going to my online store. Just click on any of the images below.

Product List
Heat Tool
[129056]
$53.00
Paper Snips
[103579]
$19.25
Posted on Leave a comment

FLOWER POWER

Hello everyone. Thanks for taking the time to pop by to check out today’s project.

Today I have a card for this week’s Global Design Project theme challenge – #303 is all about Flower Power.

For my card I decided to use the Sweet as a Peach Stamp Set.

I started by stamping the flowers. To do this, I used sponge daubers to apply the colours to each flower before stamping onto Shimmery White cardstock. The coordinating dies from the Peach Dies set were used to cut the flowers. I also stamped and die cut some of the leaves.

I used a Basic Black card base and adhered a panel of paper from the You’re a Peach Designer Series Paper pack.

The Paper Lattice piece was popped up onto another piece of Basic Black cardstock using Black Stampin’ Dimensionals. Then the black panel also popped up with dimensionals.

Some of the flowers had some leaves attached to the back. Then I started attaching the flowers and had them cascade down the lattice.

The birthday greeting was stamped in Calypso Coral ink and was then cut using one of the Stitched Rectangle Dies. Guess what? It has double dimensionals holding it up.

I added some Elegant Faceted Gems and a small bow of Pale Papaya Open Weave Ribbon that was cut in half. The last thing I did was to paint some Clear Wink of Stella across all the flowers and leaves.

I really like the Paper Lattice pieces. They are going to be so much fun to create with.

What do you think? Have you used the Paper Lattice pieces yet?

Until tomorrow, happy stamping.

If you live in Australia, you can order any of the products I used to make this card by going to my online store. Just click on any of the images below.

Because some of the products I have used to make this card are not yet available to customers, I am not able to show them at this time. As soon as product images go live, I will create this section.

Product List
Peach Dies
[155829]
$40.00
Paper Snips
[103579]
$17.00