Posted on Leave a comment

A CHRISTMAS GIFT CARD BOX

I made a gift box and six 3″x 3″ gift cards during my Facebook Live this week.

This project features the Gingerbread & Peppermint Suite.

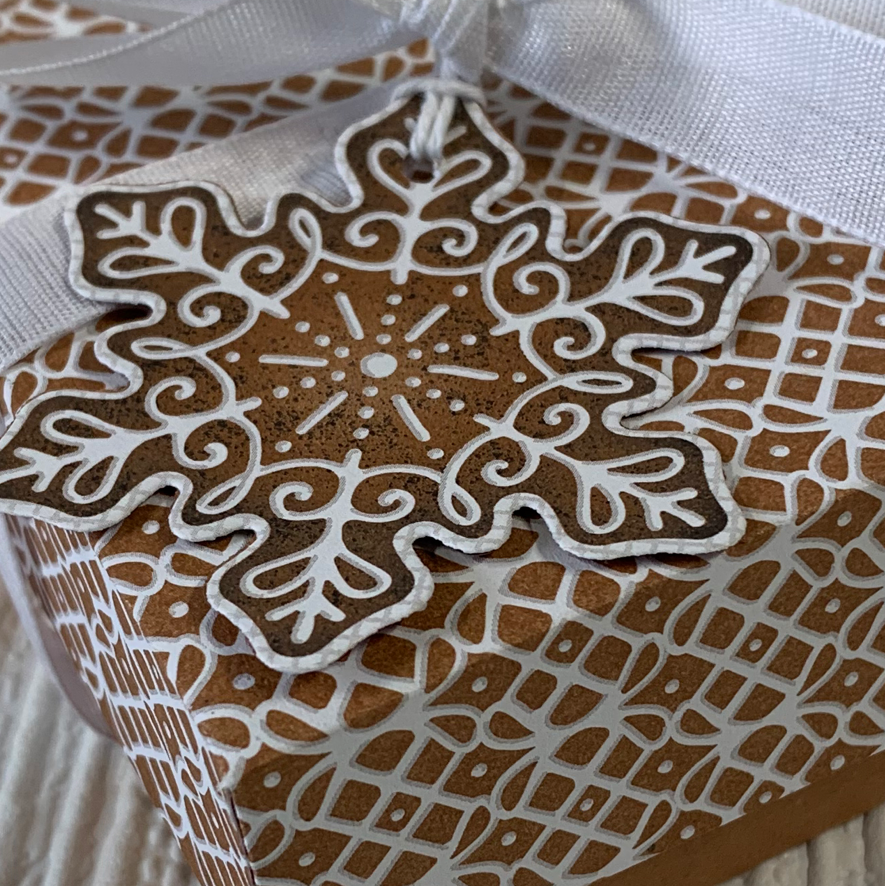
This simple lidded gift box has a Cinnamon Cider base and a ‘iced gingerbread’ Designer Series Paper lid. The sample gift I made was too small to hold the small square envelopes that fit the 3″x 3″ gift cards.

Not to waster this smaller gift box, I’m going to find some Christmas gingerbread treats to pop inside.

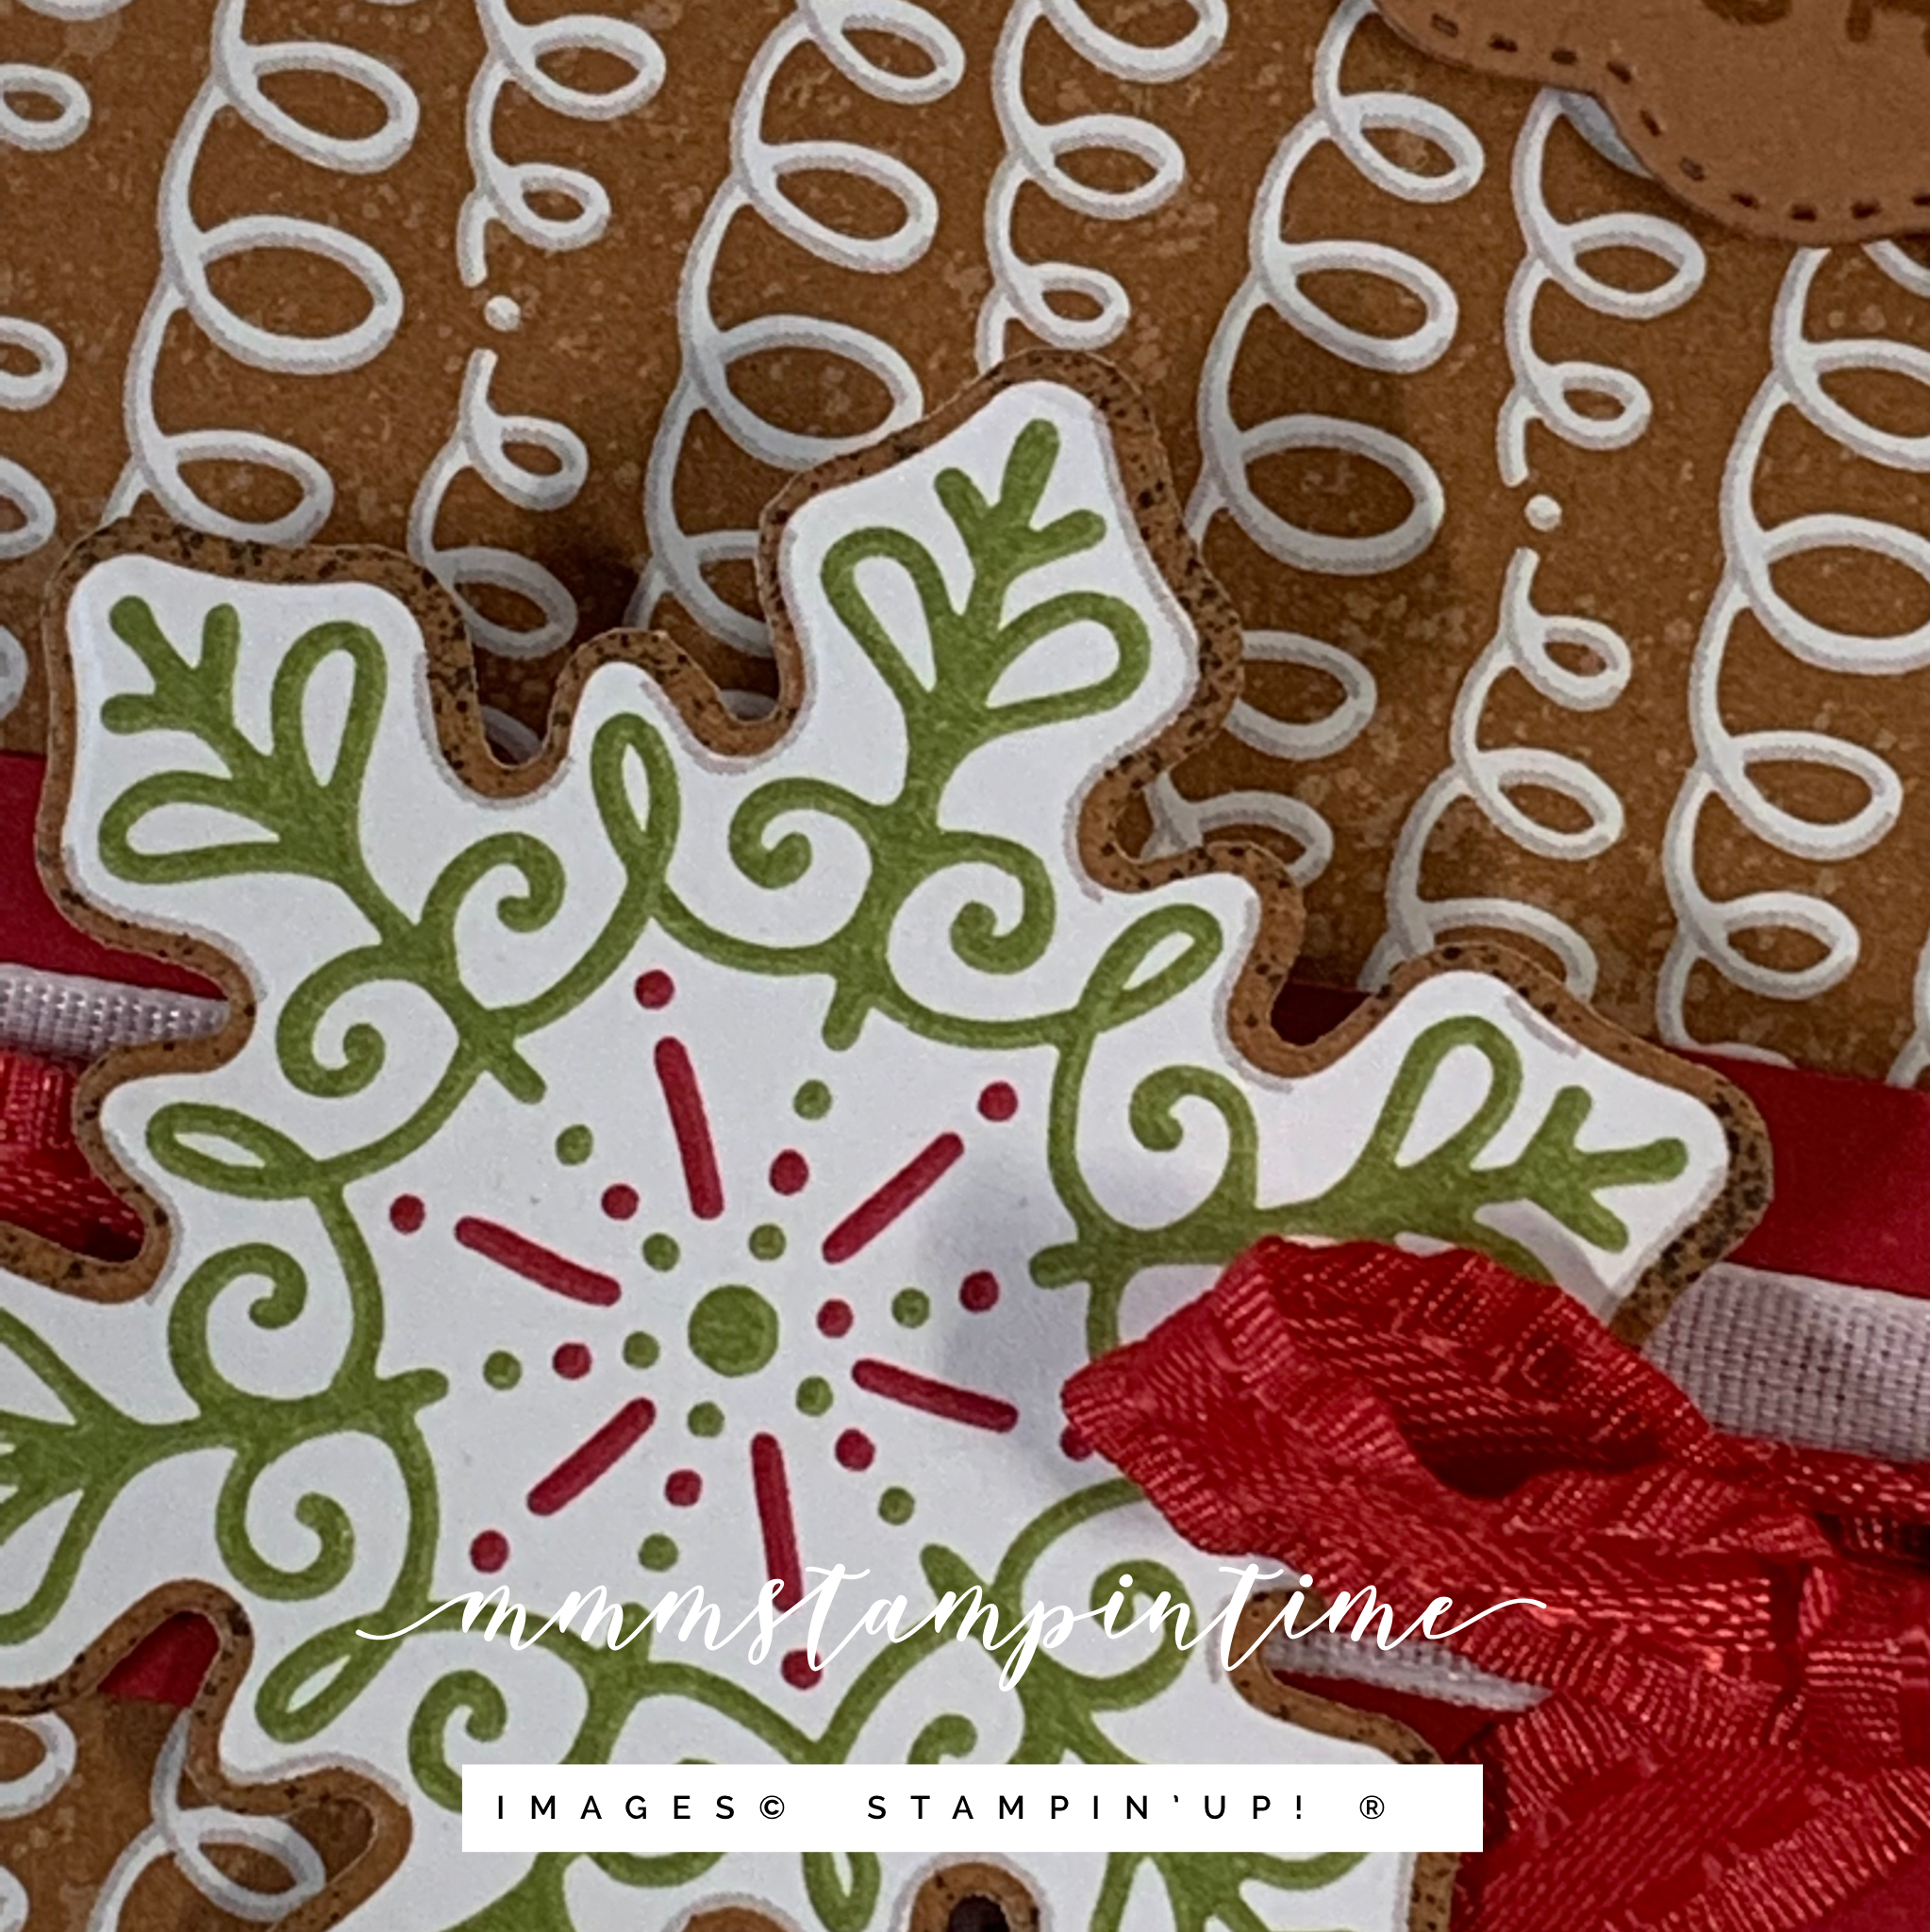
The gingerbread snowflake, cut from some of the DSP, also has a second snowflake cut from Cinnamon Cider adhered on the back. This was perfect for stamping ‘to’ and ‘from’.

Untie the bow and remove the lid to find six unique Christmas gift cards inside.

These are cards made for this gift box. One is a shaker card that has the Gingerbread & Peppermint Acrylic Shapes inside.

FOr the greetings I used Frosted Gingerbread, Be Jolly and Delivering Cheer Stamp Sets.

After my Facebook Live I decided to make a second gift box using some different paper from the Gingerbread & Peppermint DSP.

Three of the cards in this box are the same as the first box but the other three are some different.

I am looking forward to gifting these boxes before Christmas so the recipients can use the gift cards on their gifts.

This collection of products, from the Gingerbread & Peppermint Suite, is amazing to play with. Over the last week have made lots of projects using this Suite. I hope that you have enjoyed them all.

Until next time, happy stamping.

If you live in Australia, you can order any of the products I used to make this card by going to my online store. Just click on any of the images below.

Product List
Paper Snips
[103579]
$17.00
Posted on Leave a comment

FANCY FOLD – ANGLED CARD FRONT

Today I have one more card to share from my Gingerbread & Peppermint Suite stamping session. My last project, which I’ll share with you tomorrow, is a 3D one.

For this card I used an angled front technique, which is popular at the moment.

I started with a piece of Real Red card cut to 11-1/4″x 5-3/4″ and scored it along the long side at 3-3/4″ and 7-1/2″. To angle the top edges I measured down 1-1/2″ and used my Paper Trimmer to cut cut from the score line to the 1-1/2″ mark. The same was done for the bottom sides but only measured in 1″.

Then I cut the DSP to ensure there was a 1/16″ area of Real Red card framing it.

For the card insert I added a strip of DSP ensuring that, when the card is closed, no Basic White card can be seen.

I stamped the greeting, from the Frosted Gingerbread Stamp Set, in Cinnamon Cider ink on the same coloured card. Then I used one of the Pretty Pillow Box Dies to cut the greeting. A few Stampin’ Dimensionals were then used to pop it up on the left hand card panel.

Then I made a bellyband to hold the card closed by cutting a 1″ wide length of Real Red card and attached some white 1/2″ Faux Linen Ribbon to the card. After the band was wrapped and secured around the card I added some Real Red Mini Ruffled Ribbon and tied it off with a bow.

I die cut two of the coloured snowflakes and attached one to the bellyband and one to the front of the envelope.

This is a fun fold card technique that I’ll definitely be making again. What do you think? have you made this one before?

Until next time, happy stamping.

If you live in Australia, you can order any of the products I used to make this card by going to my online store. Just click on any of the images below.

Product List
Paper Snips
[103579]
$17.00
Posted on Leave a comment

GINGERBREAD SNOWFLAKES

After spending most of Sunday stamping and card making I was left with six projects and a very messy desk! I have shared three of these projects with you already this week. Today’s project is number 4 and it has more features than yesterday’s simple card.

When I decide to make several projects using one suite, in one stamping session, I gather up one or two sheets of the coordinating card stock and the coordinating Classic Stampin’ Pads.

I chose to use an Old Olive base for this card.

Rather than use Cinnamon Cider for the embossed panel, I chose the Kraft 6″x 6″ Paper from the Gingerbread & Peppermint Suite. This panel was cut to 5-3/4″x 2-1/2″ and was run through my Mini Stampin’ Cut & Emboss Machine using the snowflake folder from the Wintry 3D Embossing Folders Bundle.

I tied a loose knot in a length of Cinnamon Cider Ribbon and wrapped it around the embossed panel.

Then I took a sheet of the DSP with the gingerbread snowflakes and cut around several of the snowflakes so that I could cut them out using the coordinating die from the Gingerbread Dies.

The snowflakes had Stampin’ Dimensionals attached to give the card some height. As you can see, the snowflakes were scattered across the card front with some being cut to align with the edges of thecard.

The ‘happy holidays’ greeting is from the Frosted Gingerbread Stamp Set and it was stamped using Old Olive. I trimmed down the greeting and popped it up with a couple of dimensionals.

I stamped the matching snowflake image onto the card insert and envelope using Cinnamon Cider ink.

Then my last step was to add some Silver Epoxy Essentials to the front of the card.

These are most of the products I used for the six projects – so not all of them were used for this card.

Hmmm – I like this card! What do you think?

Until next time, happy stamping.

If you live in Australia, you can order any of the products I used to make this card by going to my online store. Just click on any of the images below.

Product List
Paper Snips
[103579]
$17.00