Posted on Leave a comment

FUN FOLD FRIDAY

The title says it all. Today is the day to share another FUN FOLD CARD with you.

Today, I have a card that was inspired by a Dawn Olchefski creation. I adapted her Origami Shadowbox Fold card to suit A4 measurements and the Flowering Fields Designer Series Paper I have chosen for this card. This is Dawn’s card.

And, here is my adaptation.

After selecting the DSP design, I prepared the Mango Melody card base.

The Basic White background layer was embossed using the Timeworn Type 3D Embossing Folder. Then I adhered a piece of the DSP and a strip of Evening Evergreen cardstock over the embossed white background.

The envelope and card insert both have 1/2″ strips of the Designer Series Paper added.

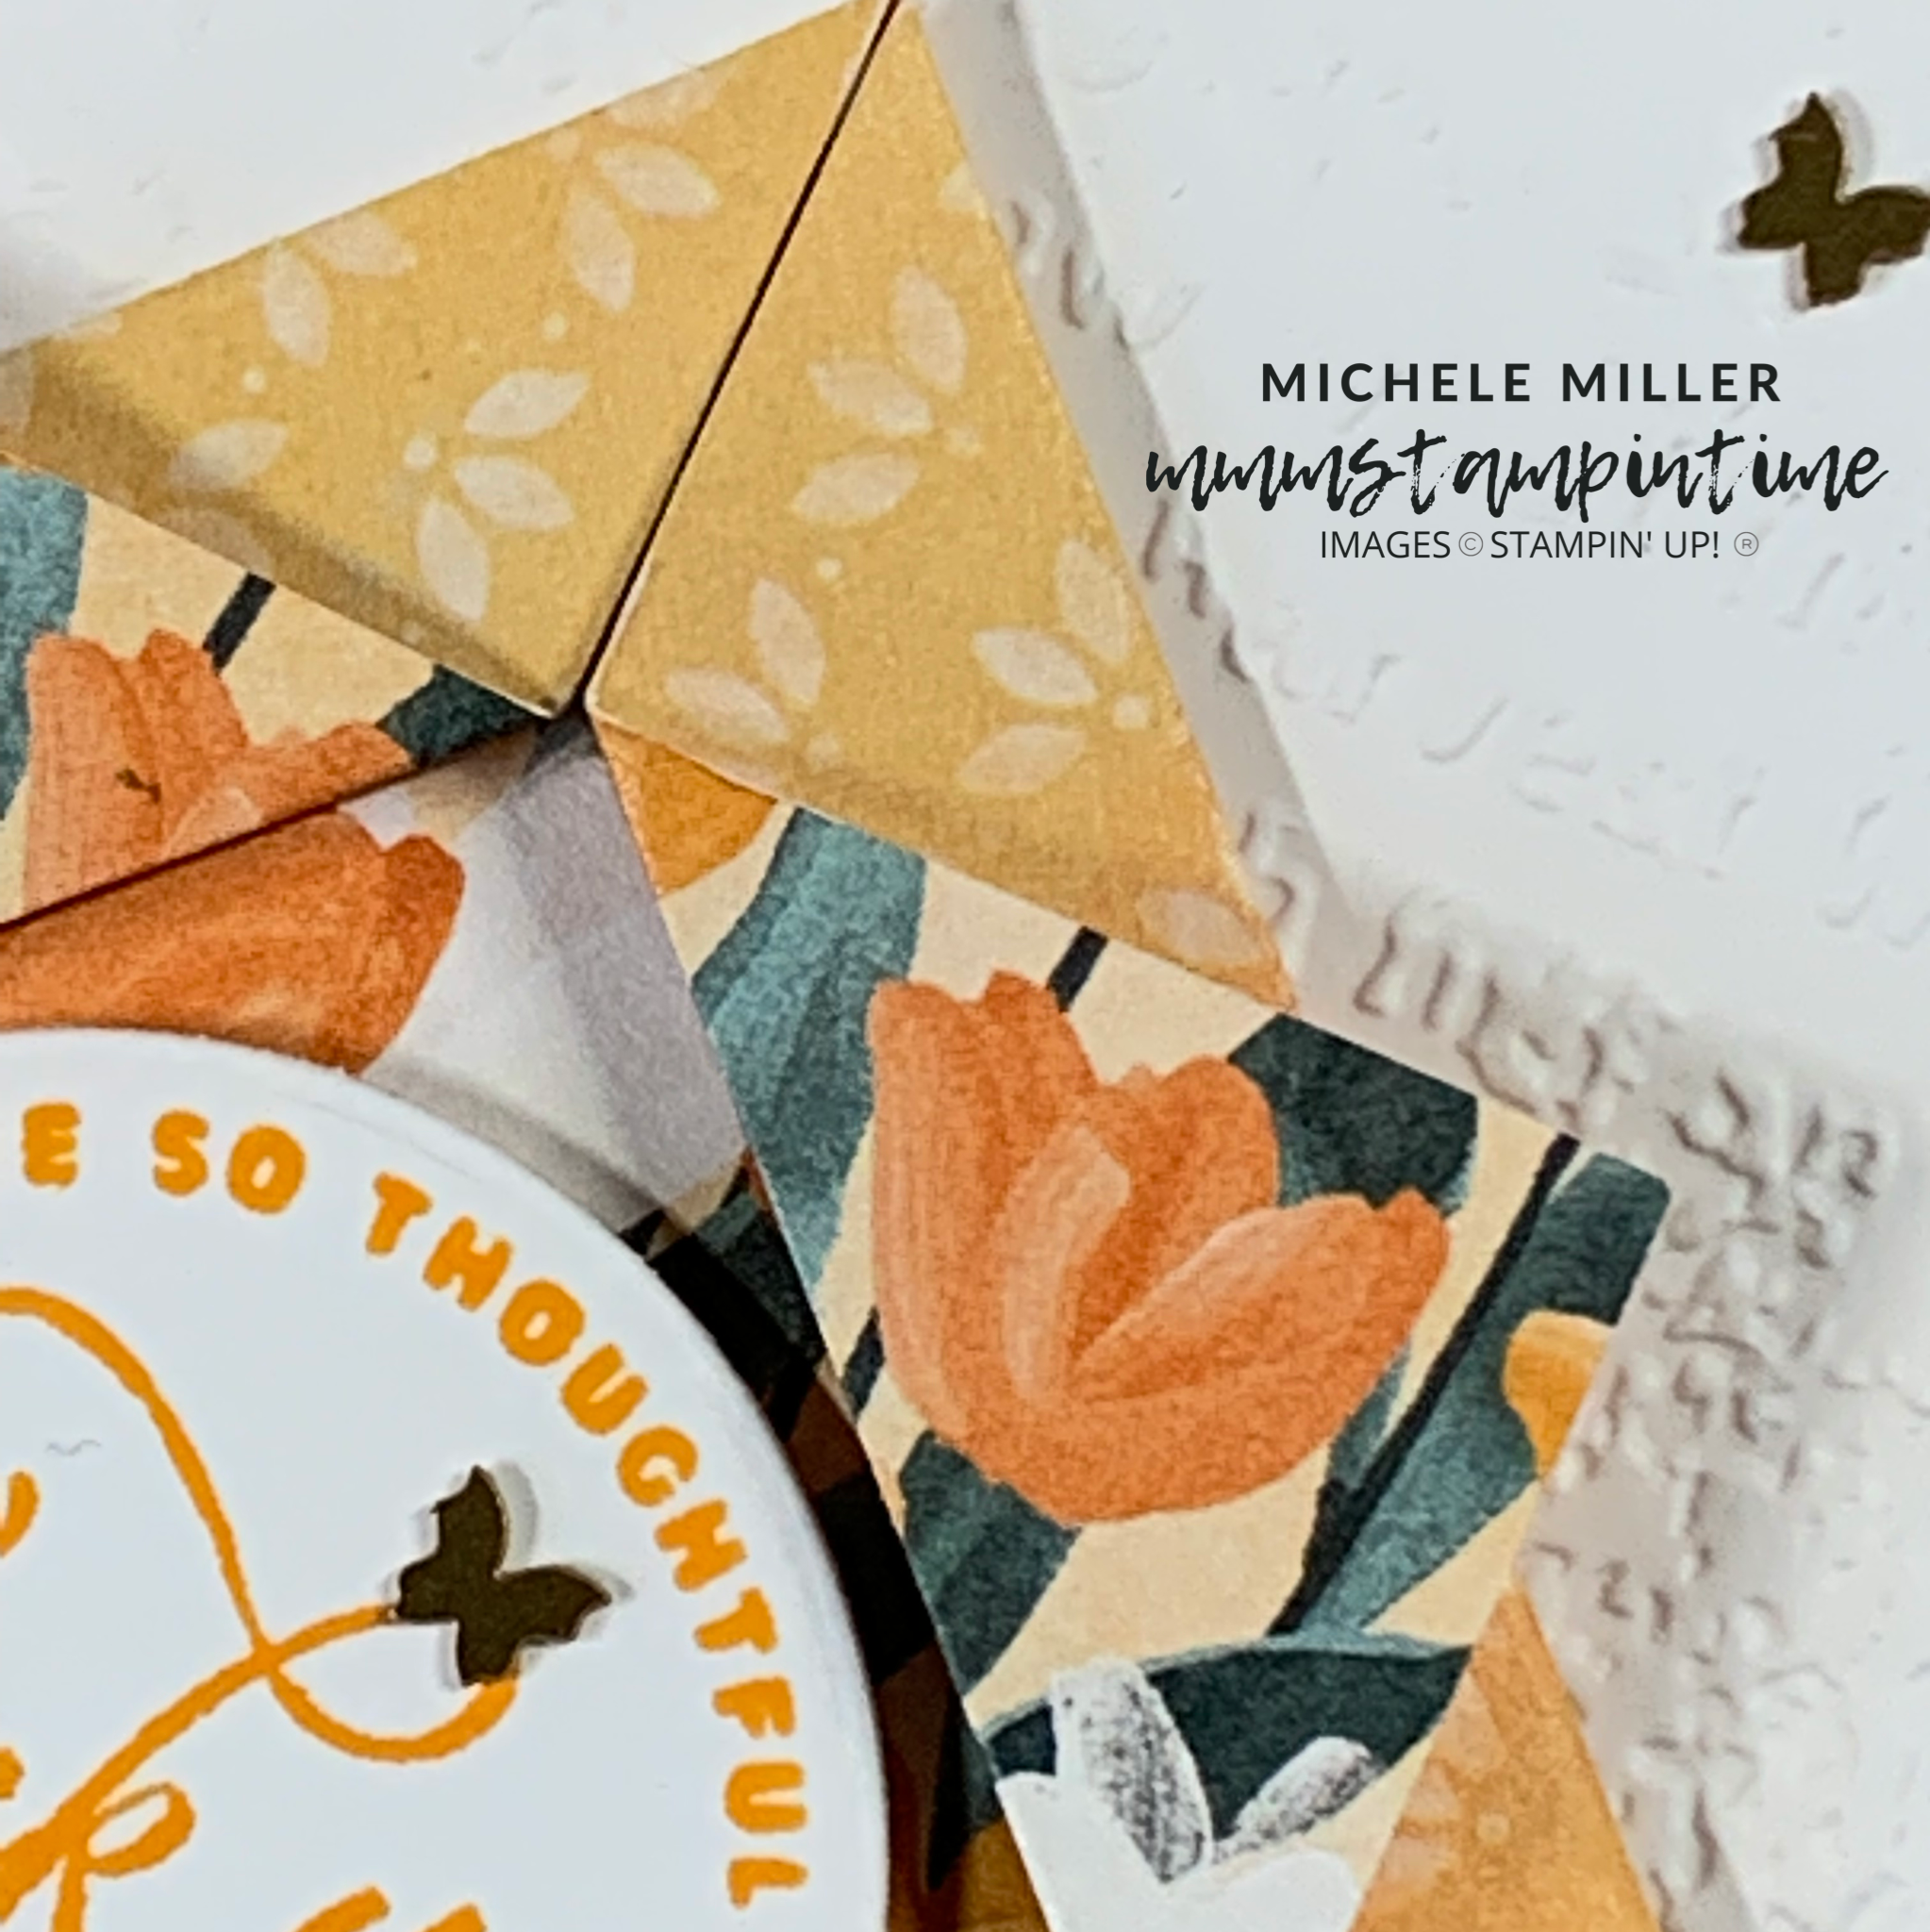
For the origami shadowbox fold, I cut a piece of the DSP to 6″x 6″. I marked the centre and then brought each of the four corners up to that point. A bone folder was used to crisply burnish the folded edges. To finish the fold, the corners were then turned back until they were 1/4″ past the first burnished edge. These folds were also burnished.

Stampin’ Dimensionals were used to pop up the origami fold up on the card front.

The ‘thank you’ greeting was stamped in Mango Melody and cut using one of the Layering Circles Dies. THis piece also had dimensionals attached so that it would sit up in the centre space of the origami fold.

To finish the card I added a bow tied from the Evening Evergreen Windowpane Check Ribbon and some Brushed Brass Butterflies.

This was a fun card to make and the last project featuring the Flowering Fields Collection for this week’s schedule.

Tomorrow I will introdcue the new weekly focus suite with my Simple Stamping Saturday projects.

Until then, happy stamping.

If you live in Australia, you can order any of the products I used to make this card by going to my online store. Just click on any of the images below.

Product List
Paper Snips
[103579]
$17.00
Posted on Leave a comment

FUN FOLD FRIDAY IS HERE AGAIN!

Today’s fun fold card is a CENTRE STEP CARD. I have adapted the measurements I found on the internet to use a piece of cardstock measuring 11-1/2″x 4-1/8″ (29.3cm x 10.5cm).

I am also continuing to use some of the product Artfully Composed Suite.

Here is a diagram of my template.

I started with an Evening Evergreen cardbase and prepared it using the instructions above. Then I cut the two vertical lines that are 3/4″ in from the left and right hand sides. The cut started 1″ above the bottom of the cardbase and stopped 5″ from the top.

The three shorter horizontal lines were scored so that they can bend to create the steps.

Another horizontal was scored in the centre panel at the halfway point – 5-3/4″.

Then I cut the Designer Series Paper panels to adhere tp the front of the card. The paper for the centre panel measures 5-3/8″x 2-1/2″. The two narrow side pieces each measure 4-5/8″x 5/8″. The two small rectangles in the bottom corners measure 7/8″x 5/8″.

For the leaf embellishments I started by stamping a piece of Basic White cardstock with Calypso Coral, Just Jade and Pear Pizzazz. Then I cut out the solid leaf using one of the Tropical Layers Dies. I also cut one of the leaf shapes from a piece of Calypso Coral cardstock. Both of these shapes were then given added texture using the stripes folder from the Stripes & Splatters 3D Embossing Folders.

Then I cut a third leaf using a piece of Evening Evergreen cardstock. The leaves were overlapped and glued together before adding it to the front of the card.

I added a Basic White insert inside the card. It measures 4-7/8″x 4″ and it has a 1/2″ strip of the Calypso Coral DSP attached. A second strip was added to the front of the envelope.

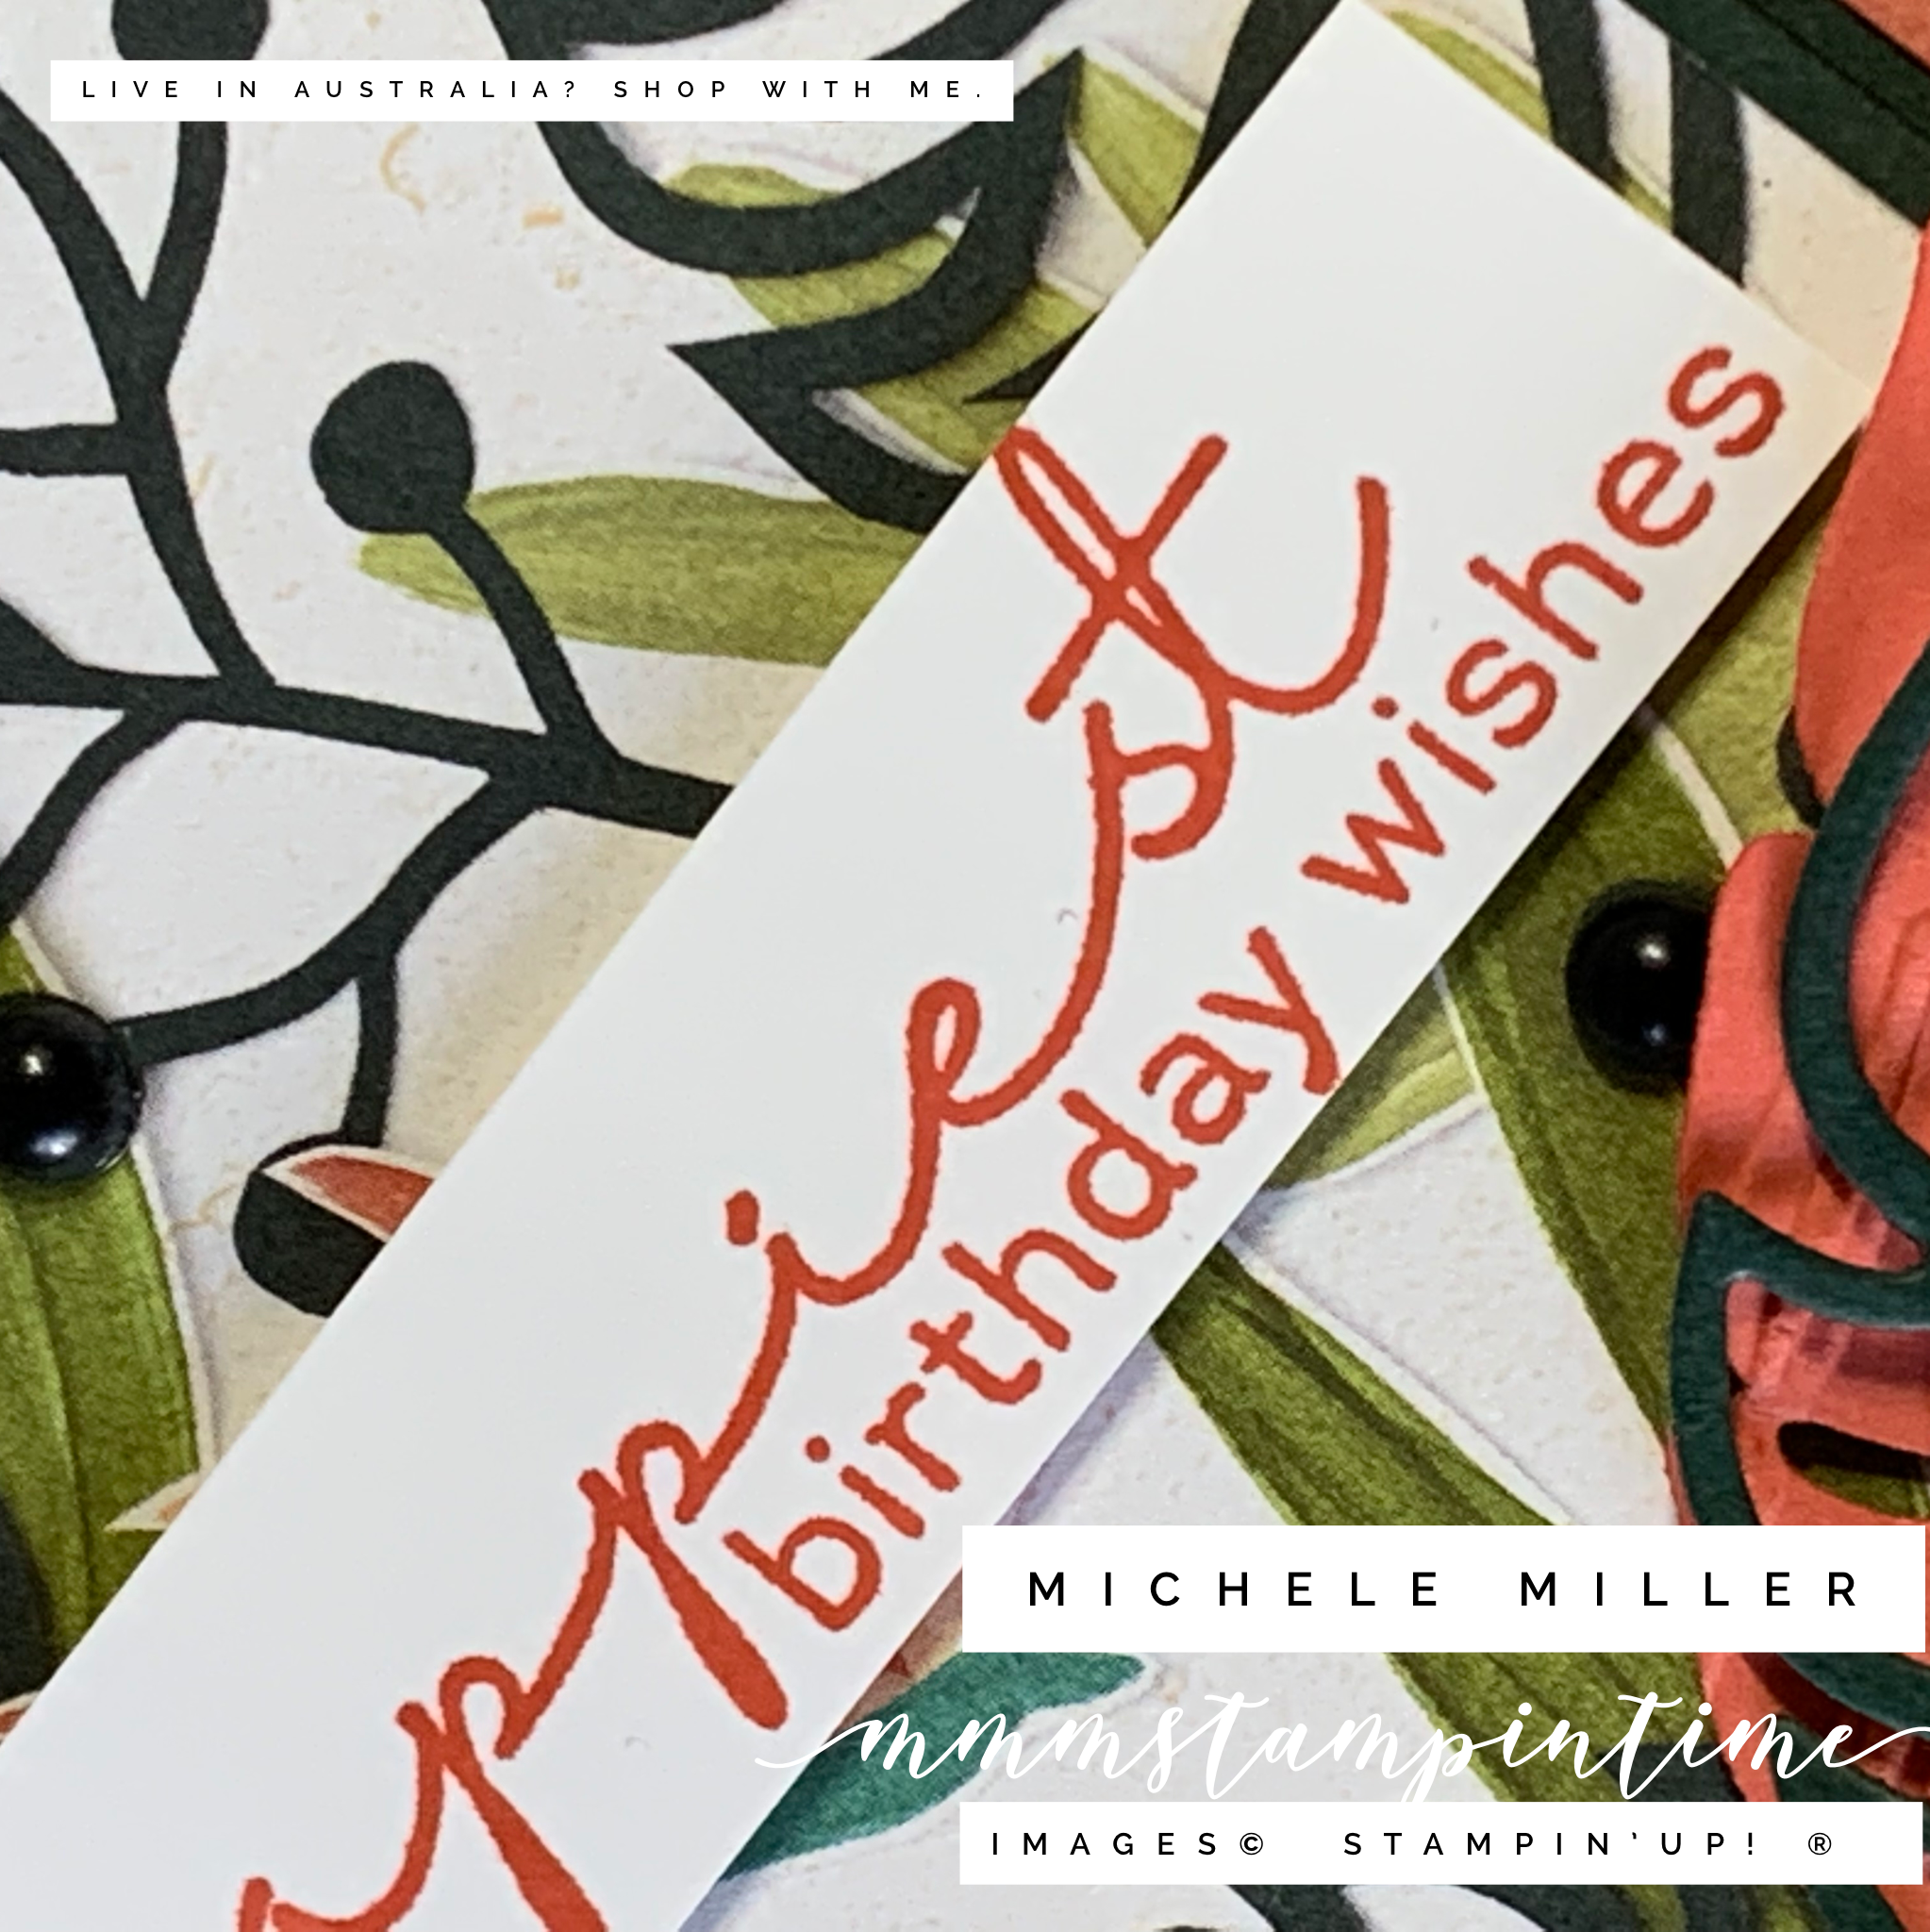
The birthday greeting, from the Artfully Layered Stamp Set, was stamped and trimmed down to add to the card front.

To finish off the card I added some Matte Black Dots across the front of the card.

I wonder if you have noticed that I have some new background sheets that I am using in my photos. What do you think of them?

This week I featured the Artfully Composed Suite and from tomorrow, I will showcase another suite.

Until tomorrow, happy stamping.

If you live in Australia, you can order any of the products I used to make this card by going to my online store. Just click on any of the images below.

Product List
Paper Snips
[103579]
$17.00
Posted on Leave a comment

FRIDAY IS FUN FOLD DAY

It never ceases to amaze me how many different card folds there are and how many I am yet to make.

Today’s card is one that I can tick off my list of fun folds to try. It is a Floating Bridge Card. I adapted some templates I found so that the card I made so that it would fit perfectly in a C6 envelope.

The card base measures 6″x 4-1/8″ and is scored at 1-1/4″ and 2-1/2″ in from each narrow end. The score lines were burnished using a Bone Folder.

The four strips of Designer Series Paper that is glued to the scored panels were cut to 4″x 1-1/8″.

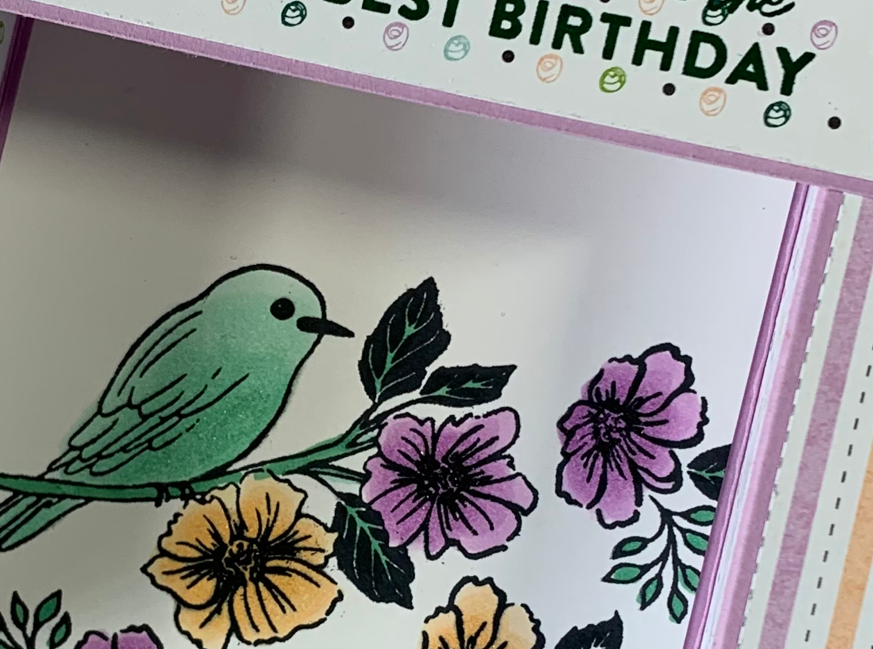
The Basic White panel with the stamped and coloured bird and flower images measures 4″x 3-3/8″. A second Basic White piece was cut, stamped and adhered to the back.

The piece of cardstock for the floating bridge measures 6″x 1-1/4″ and the DSP layer measures 5-7/8″x 1-1/8″. The birthday greeting was stamped, in Shaded Spruce, directly on the DSP.

The card folds flat to pop inside the envelope.

Both the back panel and the envelope were stamped with one of the smaller flower images.

I used the Clear Wink of Stella to add some bling to the centre of each of the flowers.

This is a fabulous free bundle. Make sure you don’t miss the chance to earn it.

Tomorrow is Saturday and I will introduce a new product suite or bundle to feature for a week. I hope you are enjoying my new schedule of posts. Let me know what you think.

Until then, happy stamping.

If you live in Australia, you can order any of the products I used to make this card by going to my online store. Just click on any of the images below.

Product List
Paper Snips
[103579]
$17.00