Posted on Leave a comment

FUN FOLD FRIDAY

The title says it all. Today is the day to share another FUN FOLD CARD with you.

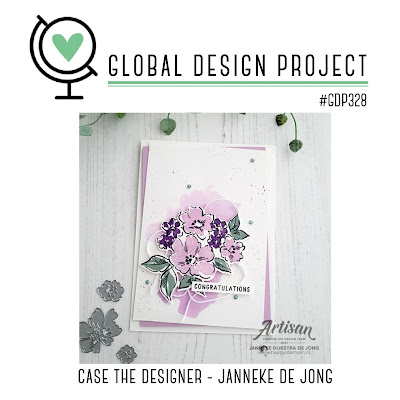
Today, I have a card that was inspired by a Dawn Olchefski creation. I adapted her Origami Shadowbox Fold card to suit A4 measurements and the Flowering Fields Designer Series Paper I have chosen for this card. This is Dawn’s card.

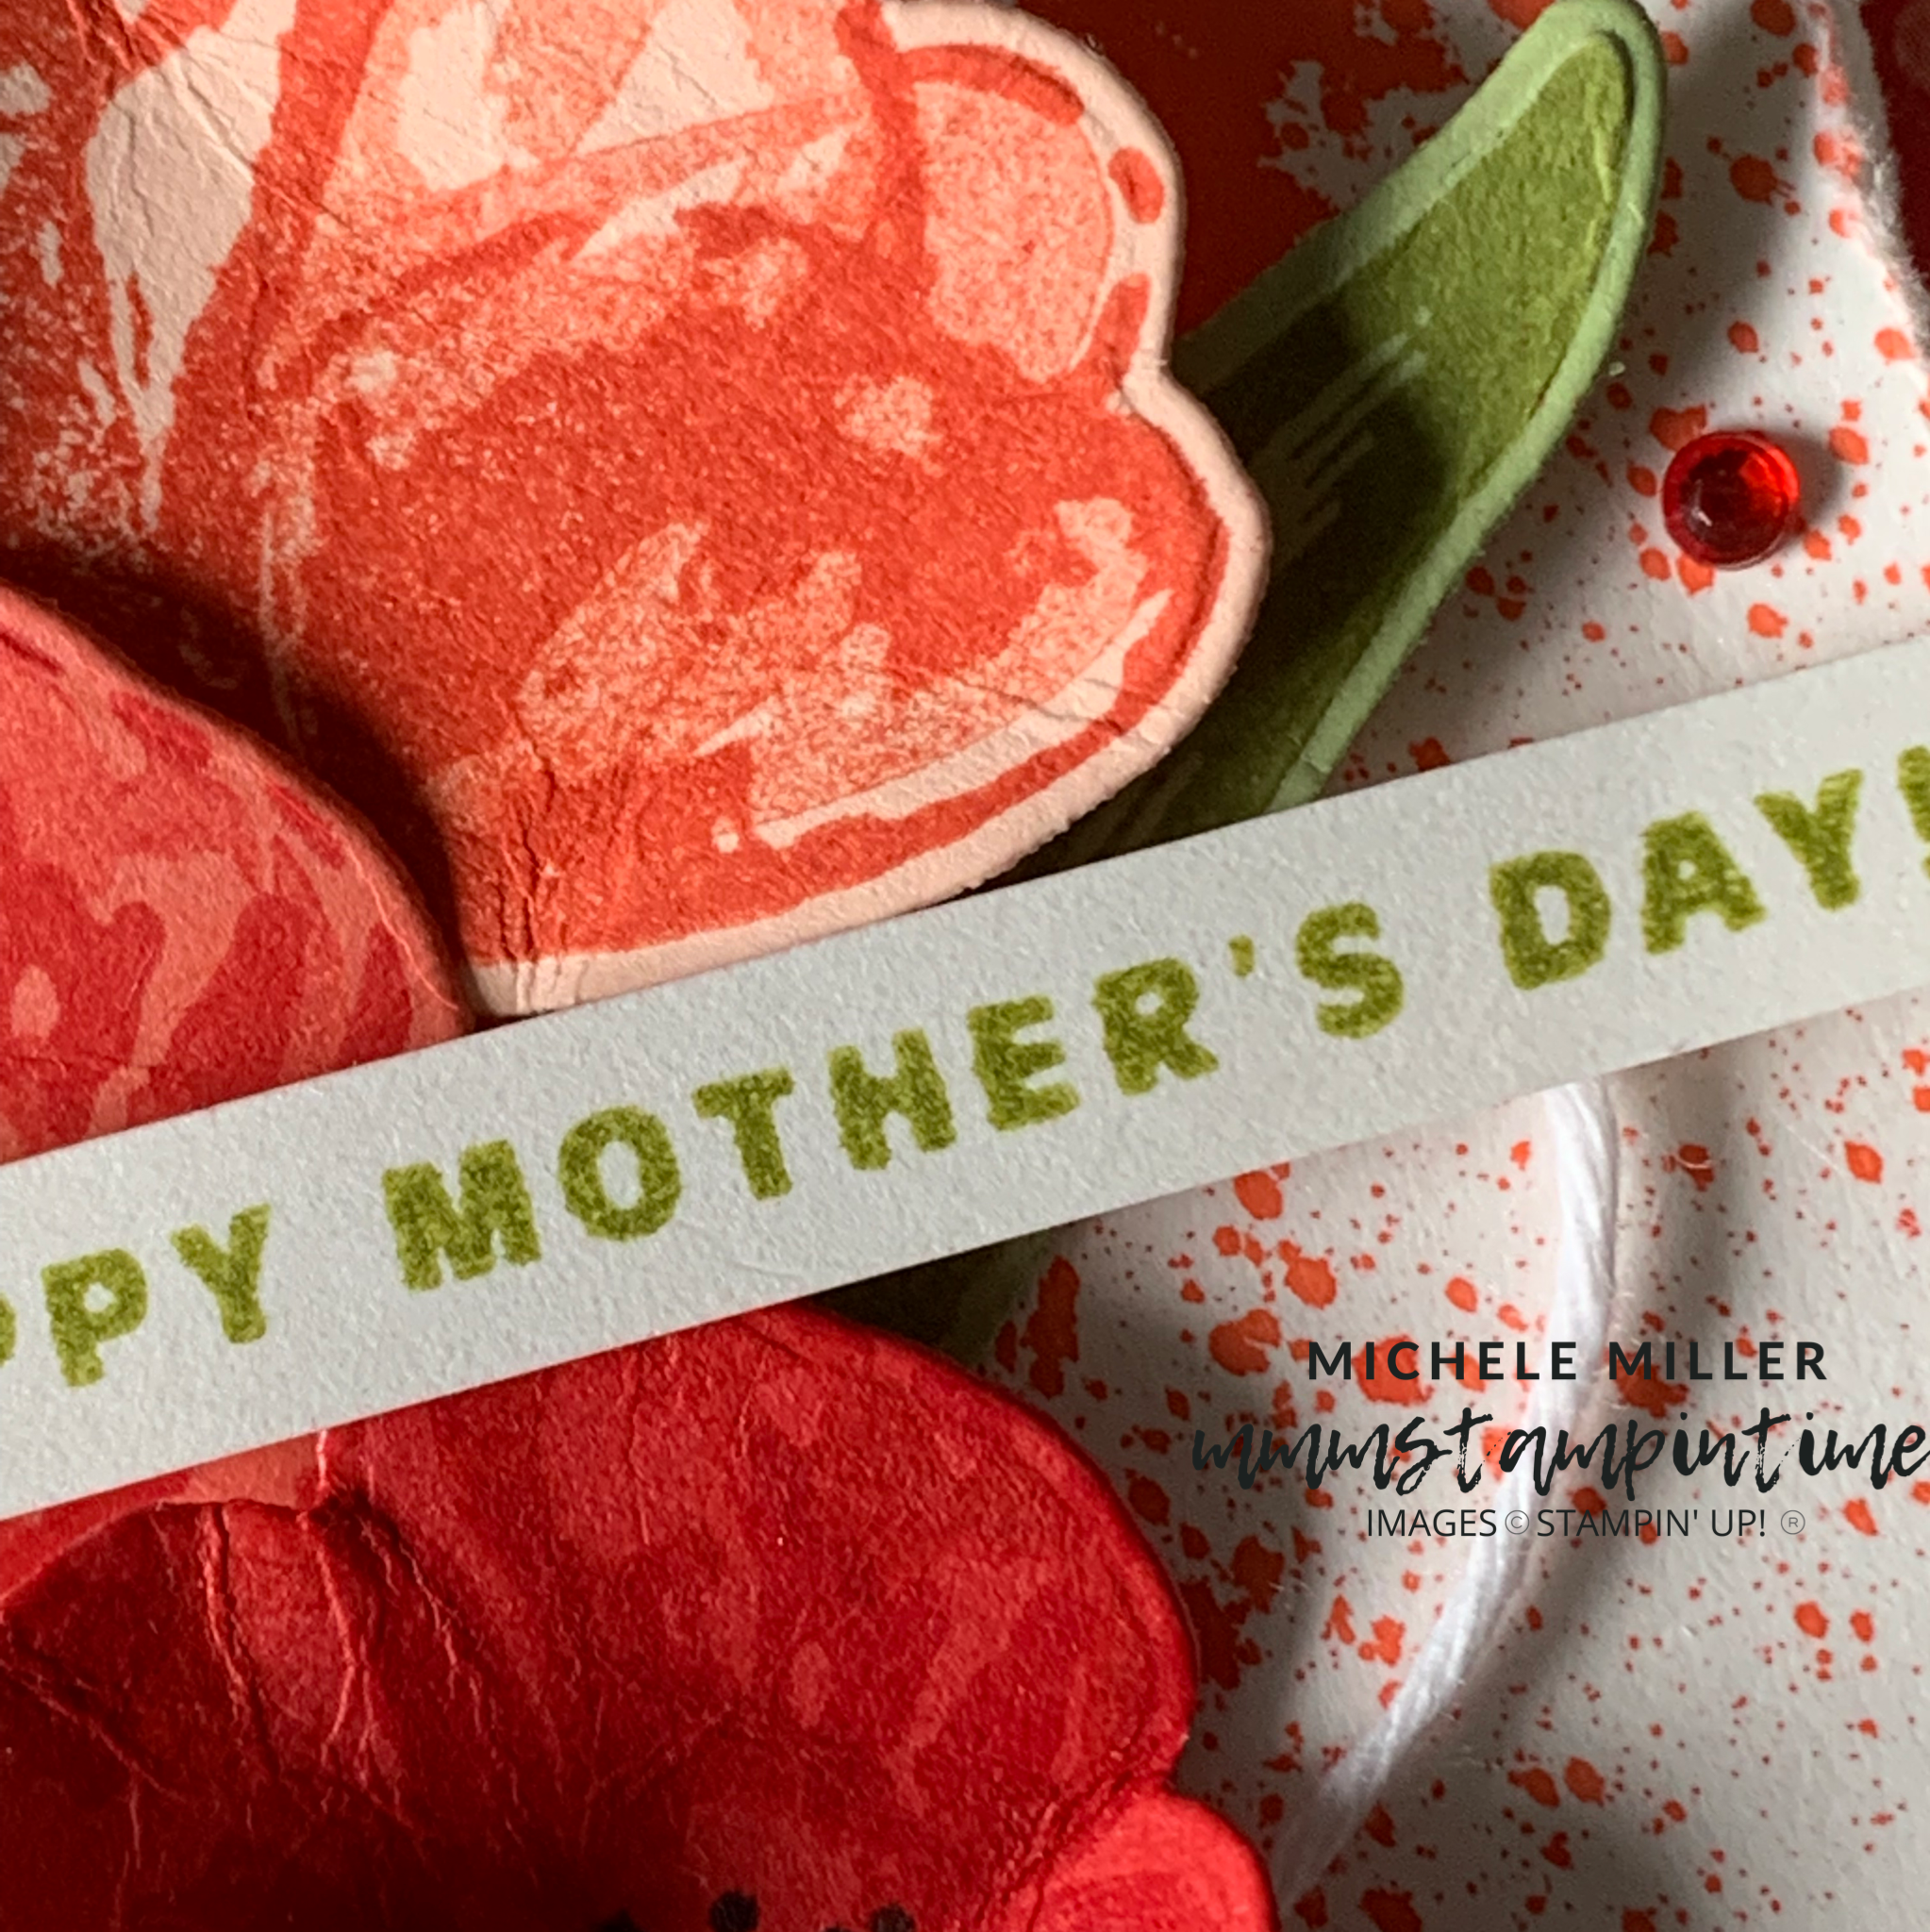
And, here is my adaptation.

After selecting the DSP design, I prepared the Mango Melody card base.

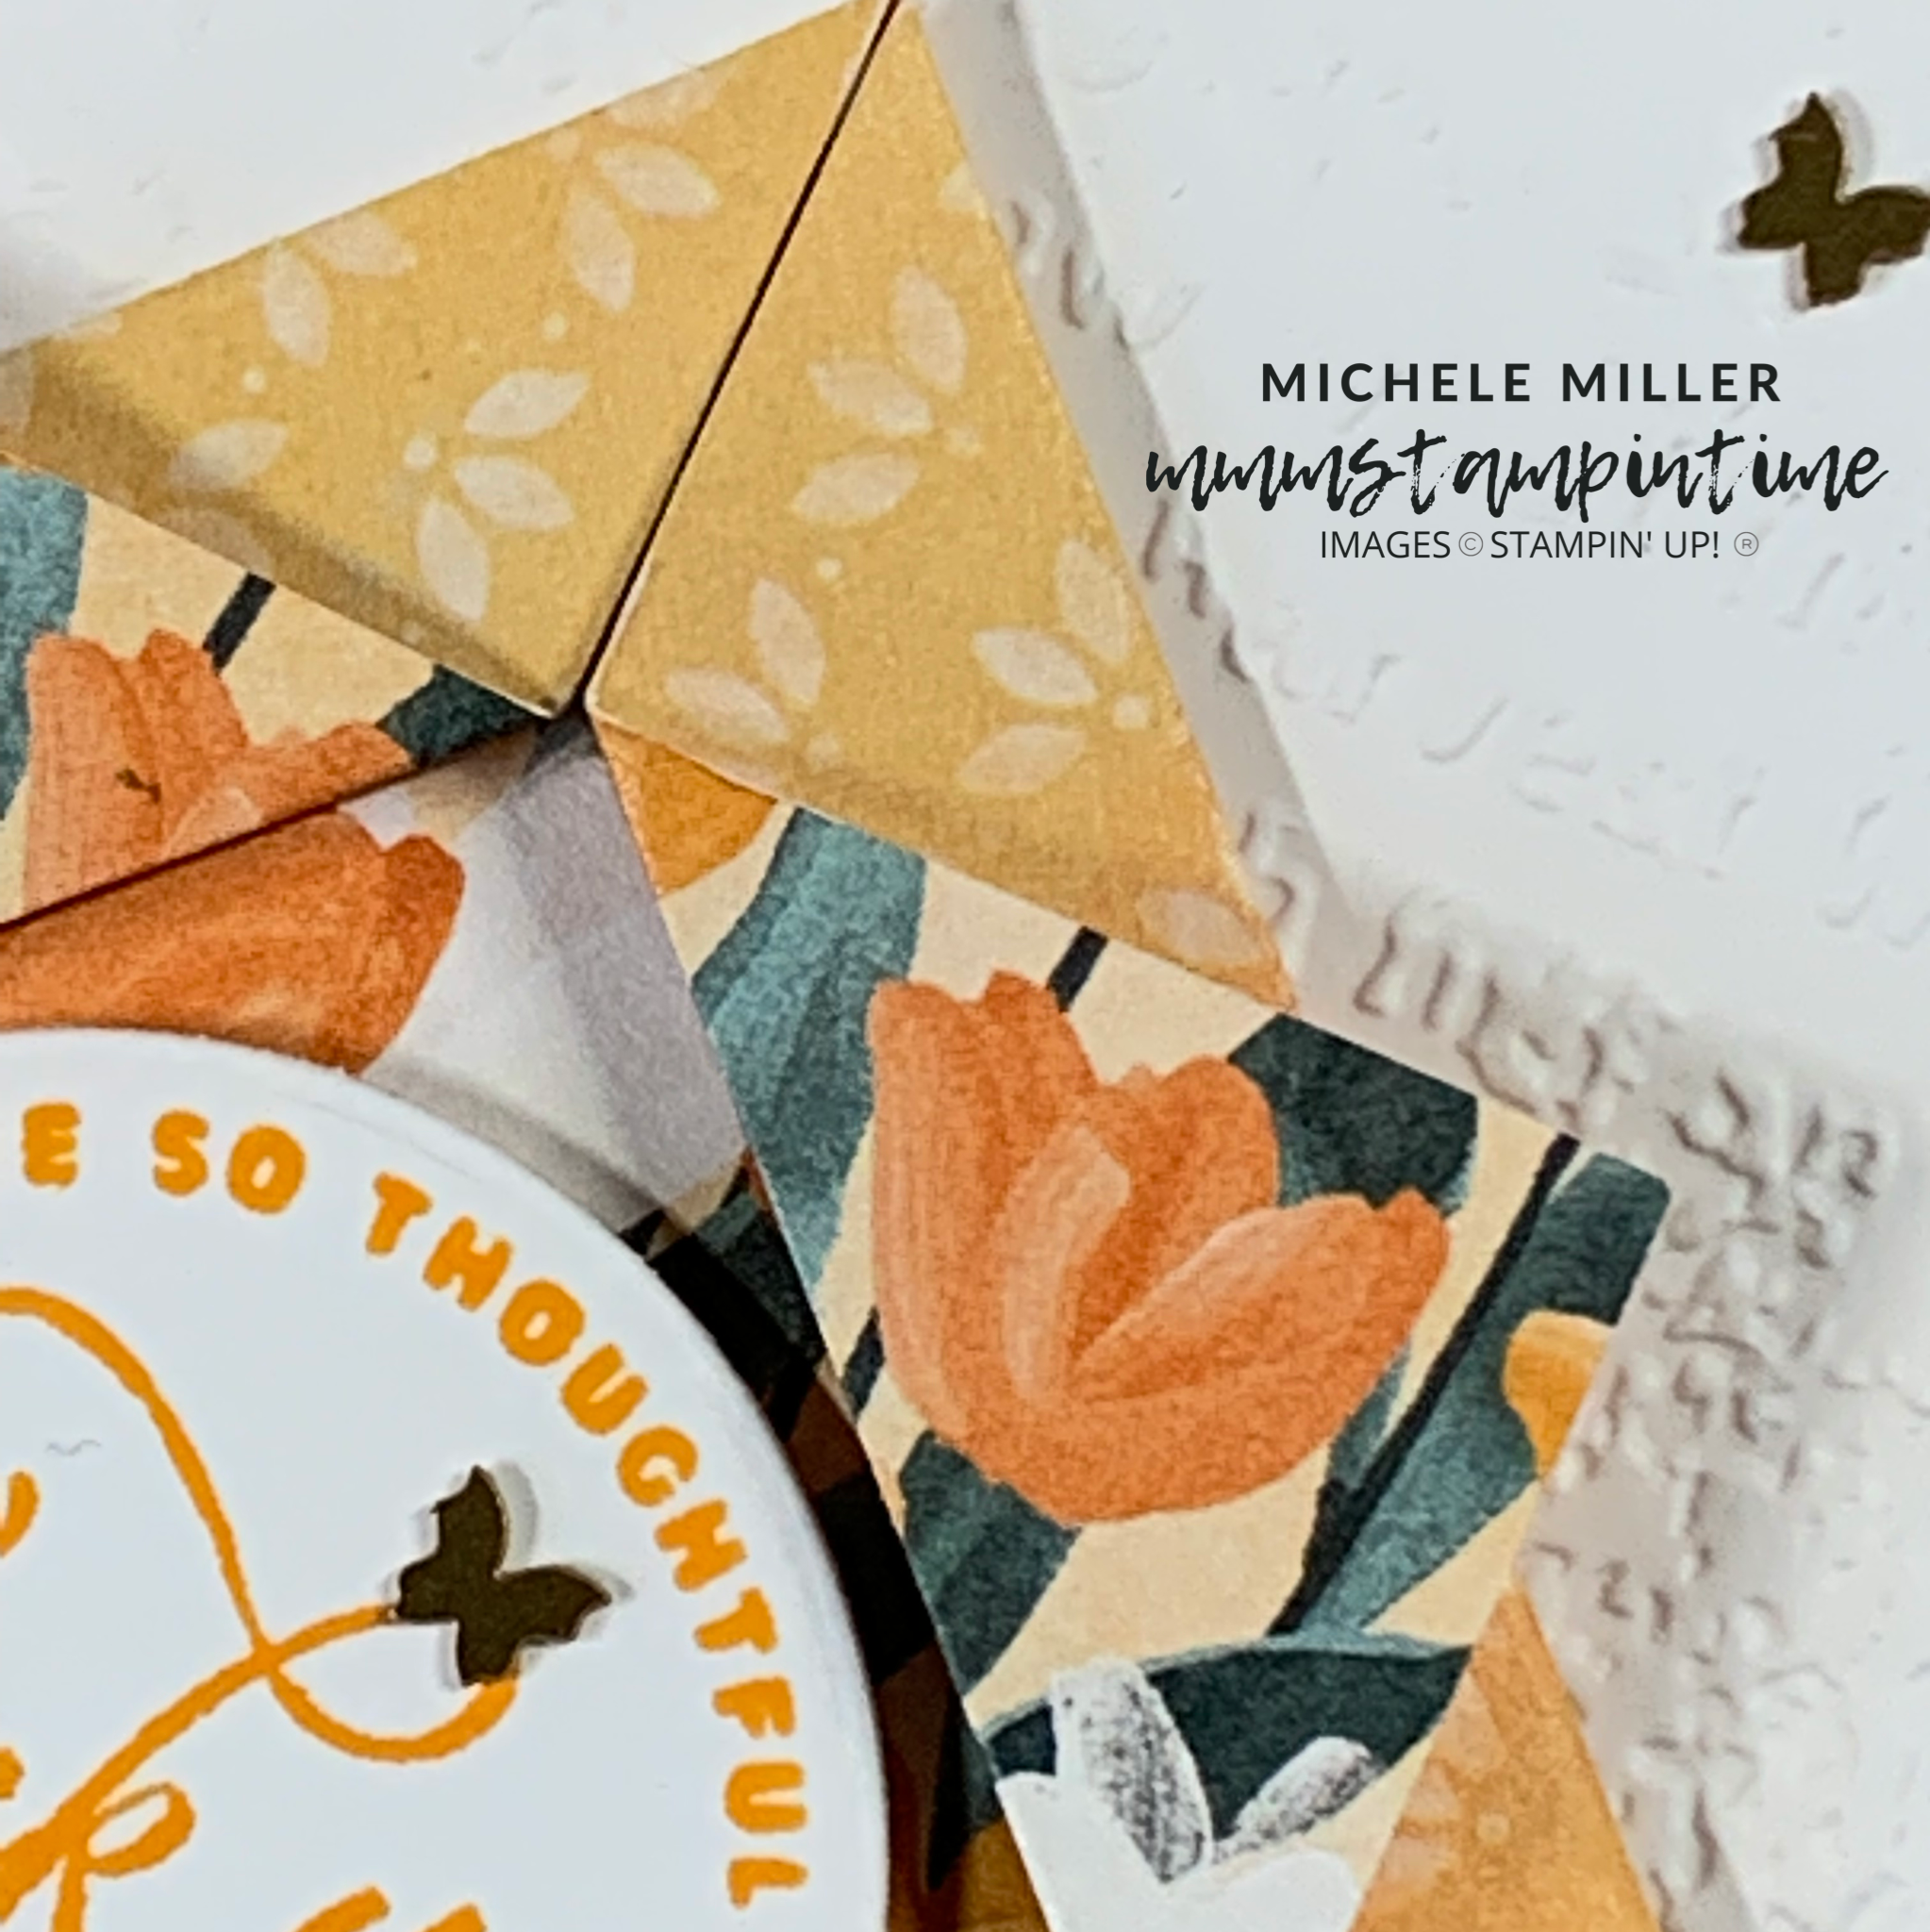
The Basic White background layer was embossed using the Timeworn Type 3D Embossing Folder. Then I adhered a piece of the DSP and a strip of Evening Evergreen cardstock over the embossed white background.

The envelope and card insert both have 1/2″ strips of the Designer Series Paper added.

For the origami shadowbox fold, I cut a piece of the DSP to 6″x 6″. I marked the centre and then brought each of the four corners up to that point. A bone folder was used to crisply burnish the folded edges. To finish the fold, the corners were then turned back until they were 1/4″ past the first burnished edge. These folds were also burnished.

Stampin’ Dimensionals were used to pop up the origami fold up on the card front.

The ‘thank you’ greeting was stamped in Mango Melody and cut using one of the Layering Circles Dies. THis piece also had dimensionals attached so that it would sit up in the centre space of the origami fold.

To finish the card I added a bow tied from the Evening Evergreen Windowpane Check Ribbon and some Brushed Brass Butterflies.

This was a fun card to make and the last project featuring the Flowering Fields Collection for this week’s schedule.

Tomorrow I will introdcue the new weekly focus suite with my Simple Stamping Saturday projects.

Until then, happy stamping.

If you live in Australia, you can order any of the products I used to make this card by going to my online store. Just click on any of the images below.

Product List
Paper Snips
[103579]
$17.00
Posted on Leave a comment

THURSDAY IS MY 3D PROJECT DAY

The new product focus this week is the Flowering Fields Suite Collection. For my 3D project, I wanted to make a gift bag to pop a tulip bulb into. I think this would be a great gift for a gardening friend.

I am delighted by how well this gift bag turned out.

Here’s a template to help you make it.

So, time to check it out!

Oops, I forgot to pop the Label Me Fancy Punch in the photo. I used it to punch the space to thread the ribbon through.

The gift bag has panels of Flowering Fields Designer Series Paper on the front and back. I carefully cut a matching piece of DSP for the front flap. In my Facebook Live, and a soon to be added Youtube Video Tutorial, I will share how to achieve this.

The bag was made using a 9″x 7-1/2″ piece of Evening Evergreen cardstock. After cutting, scoring and adding the DSP, the bag comes together so well.

I used the Label Me Fancy Punch to punch out the space for the Evening Evergreen Chevron Weave Ribbon. The ribbon was secured to the base of the gift bag. Once secured, the ribbon was tied with a simple double knot and trimmed.

I used the ‘thank you’ sentiment from the Flowering Tulips Stamp Set and cut it using one of the Layering Circles Dies. Then I cut a background scalloped circle to place behind the circle. After these two pieces were glued together, I popped Stampin’ Dimensionals on the back to lift it up off the front of the gift bag.

I haven’y bought the tulip bulbs yet, but I’m sure that at least one will fit inside the gift bag.

What do you think? A good gift?

Tomorrow is Friday and I will have a great Fun Fold card to share with you.

Until then, happy stamping.

If you live in Australia, you can order any of the products I used to make this card by going to my online store. Just click on any of the images below.

Product List
Paper Snips
[103579]
$17.00
Posted on Leave a comment

WELCOME TO WEDNESDAY

Wednesday is the day to share my weekly Global Design Project creation. This week it’s #GDP328 and the challenge is to CASE the card designed by Janneke De Jong.

CASE = Copy And Selectively Edit

To CASE Janneke’s card, to make it my own, I could use the stamp set, the colors, the layout, the theme or the images. I decided to feature tulips, splatters and the paper layers.

I thought that I would make a card for Mother’s Day and I used the greeting from the Flowering Tulips Stamp Set.

The tulips were stamped on coloured cardstock – Calypso Coral and Poppy Parade, using the colour inks and some stamping off as well. The flowers were cut using the Tulip Dies. I also stamped and cut some leaves.

I distressed the edges of a piece of Shimmery White cardstock before spritzing it with a combination of Poppy Parade refill and alcohol.

After cutting a piece of the Flowering Fields 12″x 12″ Designer Series Paper, I layered it with the spritzed paper and adhered it to the Pear Pizzazz card base. I like the impact angled papers look on the front of the card.

Loops of white twine, from the Baker’s Twine Essentials Pack, were attached to the spritzed layer. Then the tulips and leaves were arranged so they look like they are cascading down the card.

After the greeting was stamped and trimmed, I used Stampin’ Dimensionals to pop it up over the flowers.

The envelope and card insert both had strips of the red spotted DSP added to complete the look.

The final step was to add some Red Rhinestone Basic Jewels to the card front.

If you live in Australia, you can order any of the products I used to make this card by going to my online store. Just click on any of the images below.

Product List
Paper Snips
[103579]
$17.00