Posted on Leave a comment

VALENTINE’S DAY 3D PROJECTS TO SHARE TODAY

This week I have been including some love songs in each post because this week’s theme is Valentine’s Day.

I found a song from Nirvana entitled Heart-Shaped Box – perfect for today’s 3D projects.

The first is a Lindt chocolate filled gift box.

I used one of the Hearts of Elegance Dies to crete a window for the gift box lid and placed a panel of Window Sheet inside the lid. It was secured with Stampin’ Seal +.

The heart image and greeting were stamped using Poppy Parade and then cut. I seem to be getting better at my fussy cutting skills!

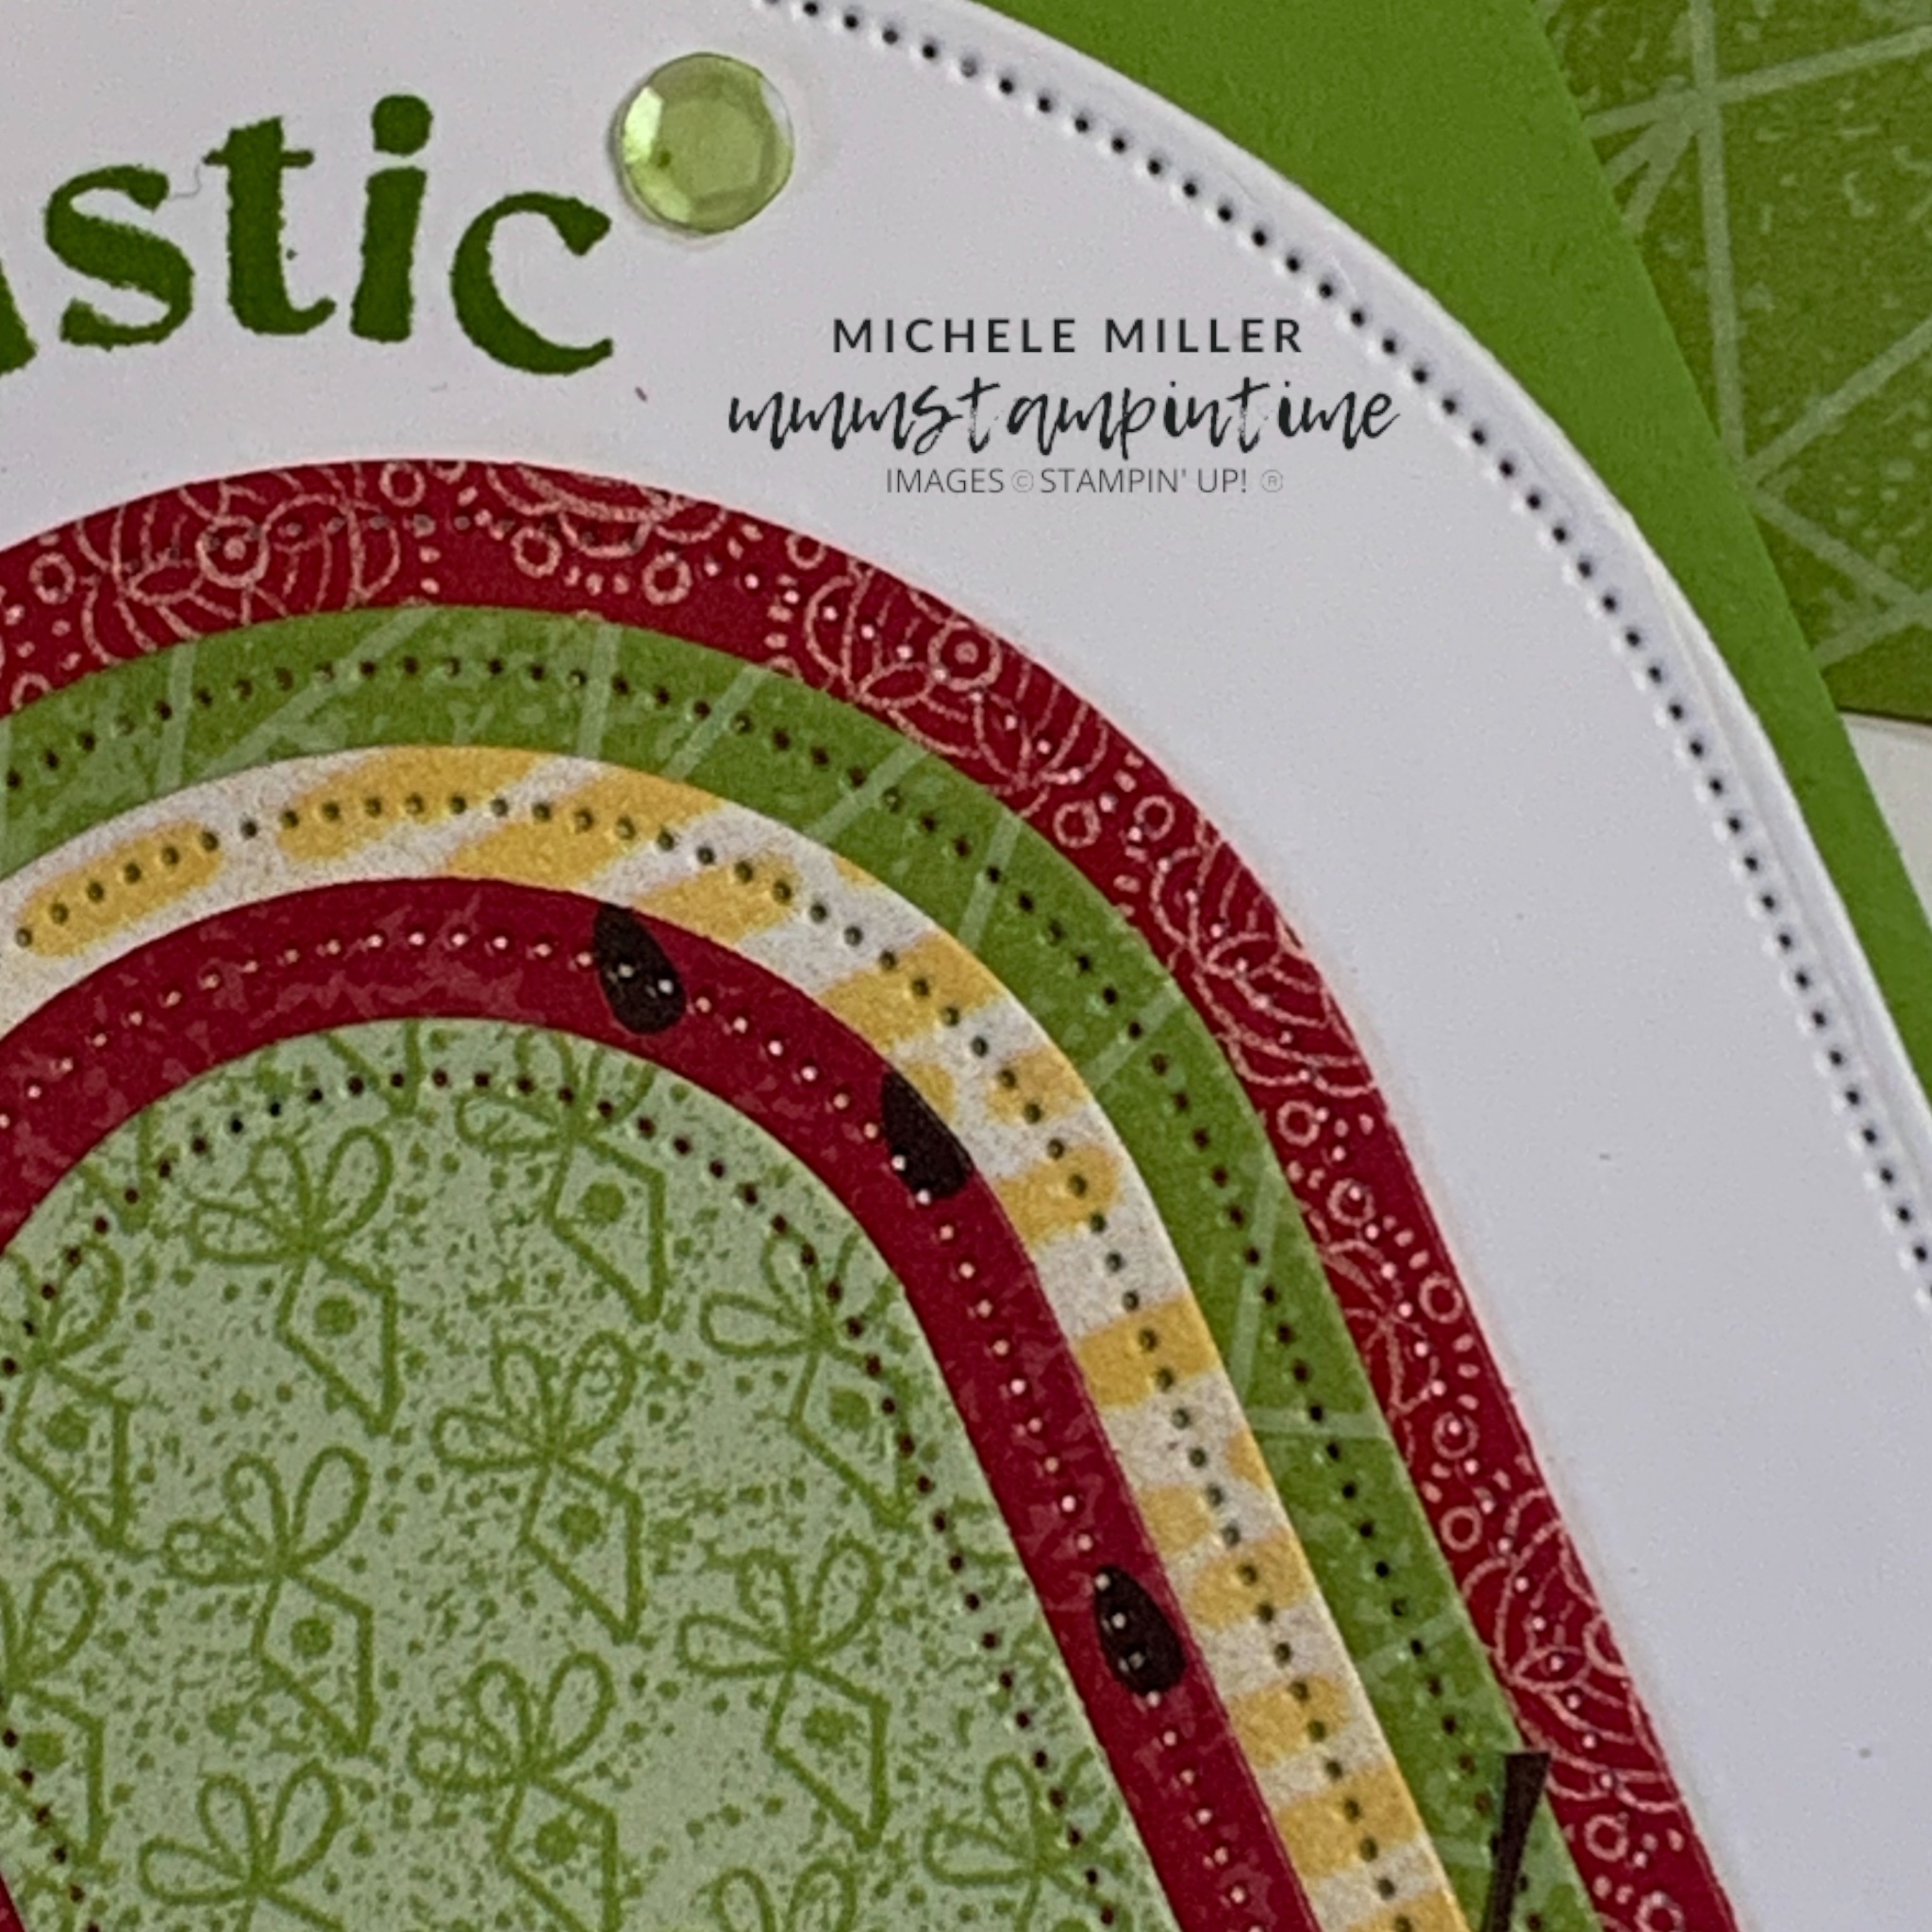
The next project is a gift tag.

I found this Valentine’s Day biscuit when I was shopping last week and thought it would be perfect to add a gift tag to it.

Using the Everyday Arches helped to make a lovely looking layered tag.

The gold Open Weave Trim made a soft bow.

The last two projects for Valentine’s Day are ready to share with you tomorrow.

Until then, happy stamping.

If you live in Australia, you can order any of the products I used to make this card by going to my online store. Just click on any of the images below.

Product List
Paper Snips
[103579]
$21.00
Posted on Leave a comment

MY FINAL FRUIT SALAD CARD FOR THE WEEK

For this card I decided to combine the Everyday Arches Bundle with the Fruit Salad DSP.

I chose a Granny Apple Green card base and then cut the largest of the Everyday Arches dies in Basic White card.

The arched greeting was carefully positioned to fit the large arch. It was stamped in Granny Apple Green.

Then I cut 5 arches, each in a different design of the DSP.

They were layered and adhered together before I added it to the Basic White arch.

After fussy cutting some of the fruit, from the DSP, I attached them to the layered arches using glue and dimensionals.

I added a strip of the DSP to the card insert and the back of the envelope.

Finally, I coloured some of this week’s sequins using both Daffodil Delight and Granny Apple Green Stampin’ Blends pens. They were added to the card front in pairs.

Monday I will have some new projects to share with you.Until then, happy stamping.

If you live in Australia, you can order any of the products I used to make this card by going to my online store. Just click on any of the images below.

Product List
Paper Snips
[103579]
$21.00
Posted on Leave a comment

TIME FOR #179 COLOURinkSPIRATION CHALLENGE

I am always amazed by the colour combinations each Colour INKsiration Challenge throws at us … and, they are usually a combination that I would not have thought to use.

For this challenge I decided to use one of the upcoming product bundles from the January – April Mini Catalogue … EVERYDAY ARCHES.

One of the benefits of joining Stampin’ Up! is that you have the opportunity to see new catalogies and products before they go live to customers. During a preorded period, you will be able to buy new products and create with them before customers … and, as a ‘demonstrator’, you will enjoy a minimum 20% discount on most products.

Here is the project I created for this challenge.

I die cut the five challenge colours using the five smallest arch shaped dies. Then I layered and adhered them together.

Using the second largest arch die, I cut a Basic White arch and stamped the greeting in Shaded Spruce.

The layered, coloured arches were then added to the white arch using Stampin’ Dimensionals.

I created the Shaded Spruce ‘wreath’ by pulling up the threads on one side of the ribbon. When it was very tightly pulled up, I cut the ribbon on the other end and pulled the threds up from that end. Then I tied the threads together very tightly to form the wreath.

Then I adhered the wreath to the card front using Multipurpose Glue.

The greeting was stamped on the card insert and a die cut Shaded Spruce bow was adhered to the back of the envelope.

When I showed this card to my youngest daughter, she asked me to recreate it as a Christmas card … and, here is what I made for her.

I am looking forward to using this bundle to create many more projects.

Until my next project, happy stamping.

If you live in Australia, you can order any of the products I used to make this card by going to my online store. Just click on any of the images below.

When the upcoming catalogue goes live, I will return with product images and order numbers.