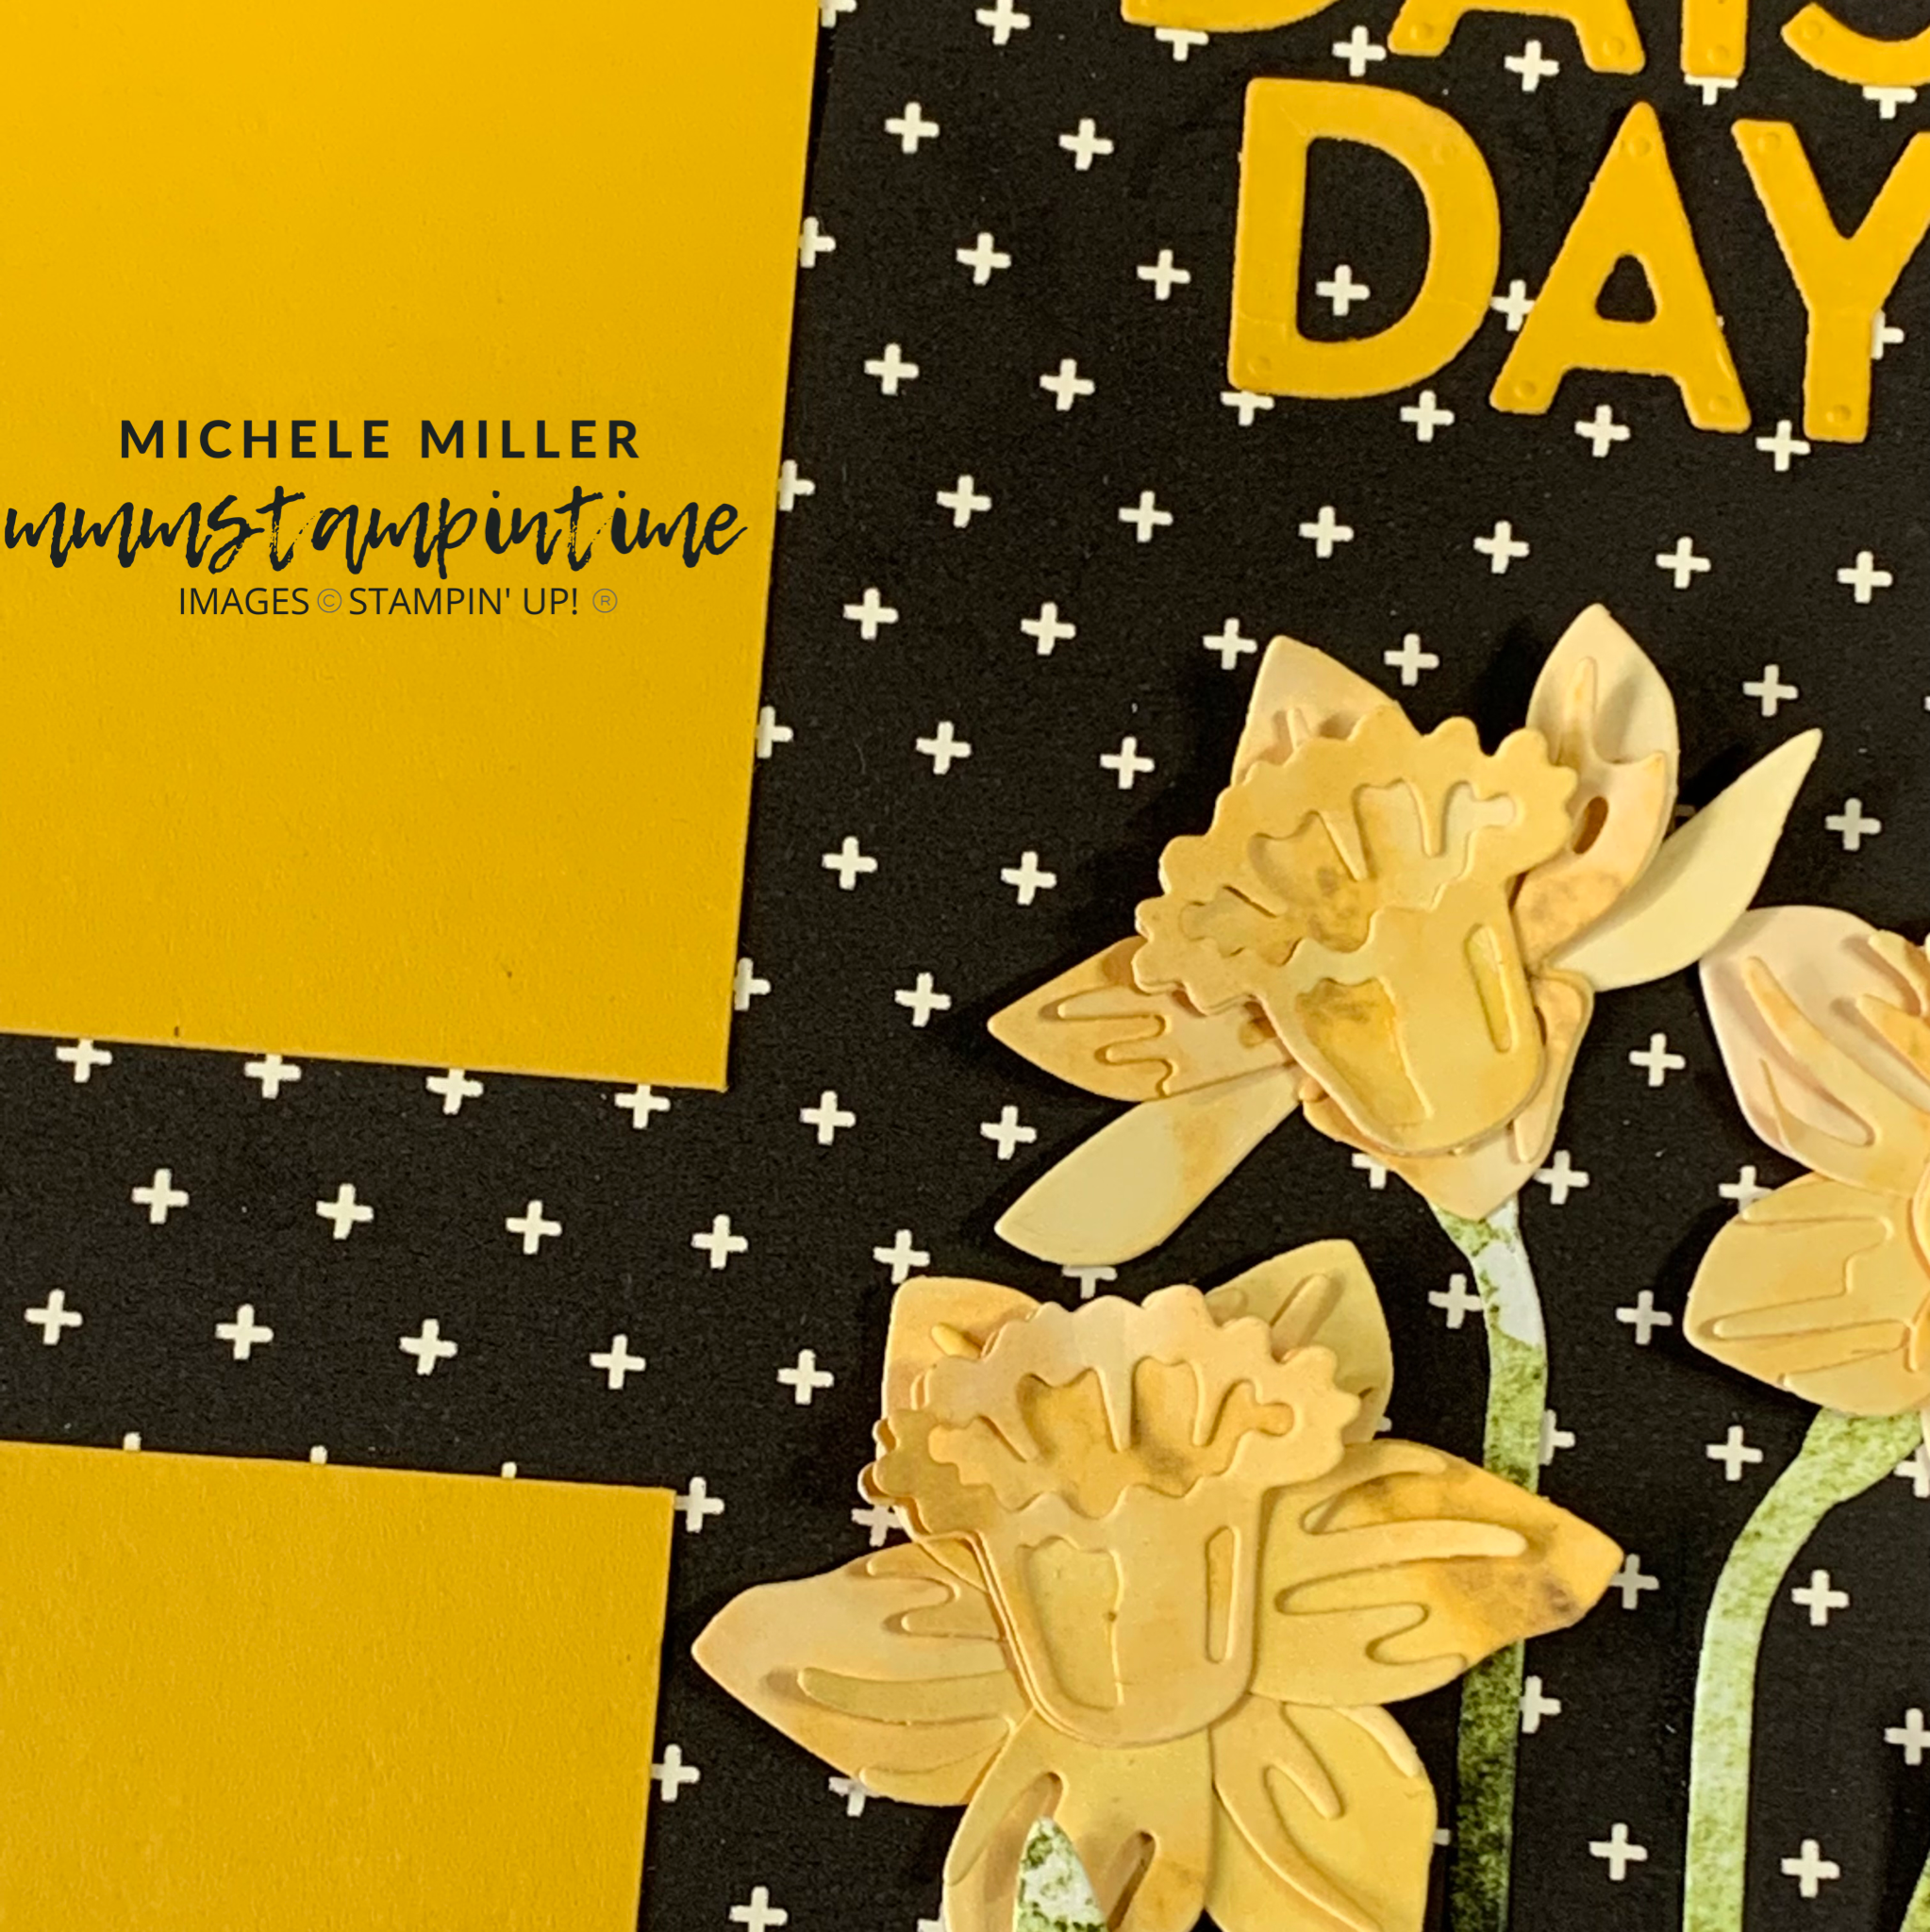
I have two techniques to share with you today. Using the Daffodil Daydream Bundle and Daffodil Afternoon 12″x 12″ Designer Series Paper, I decided to use the Whitewash technique and Mirror Image stamping technique.
Let me take you through some photos showing the mirror image stamping technique. I used my Whisper White Craft Stampin’ Pad before heat embossing White Stampin’ Emboss™ Powder.

I used the Silicon Craft Sheet so that I could make sure that I had a well inked image.

Then I carefully placed a piece of Crumb Cake cardstock over the stamped silicon sheet and pressed the stamp down firmly to transfer the ink onto the cardstock.

This makes sure that there is an image on the side of the cardstock needed to use the die to cut the mirror image.

Voila – a mirror image of the daffodil.
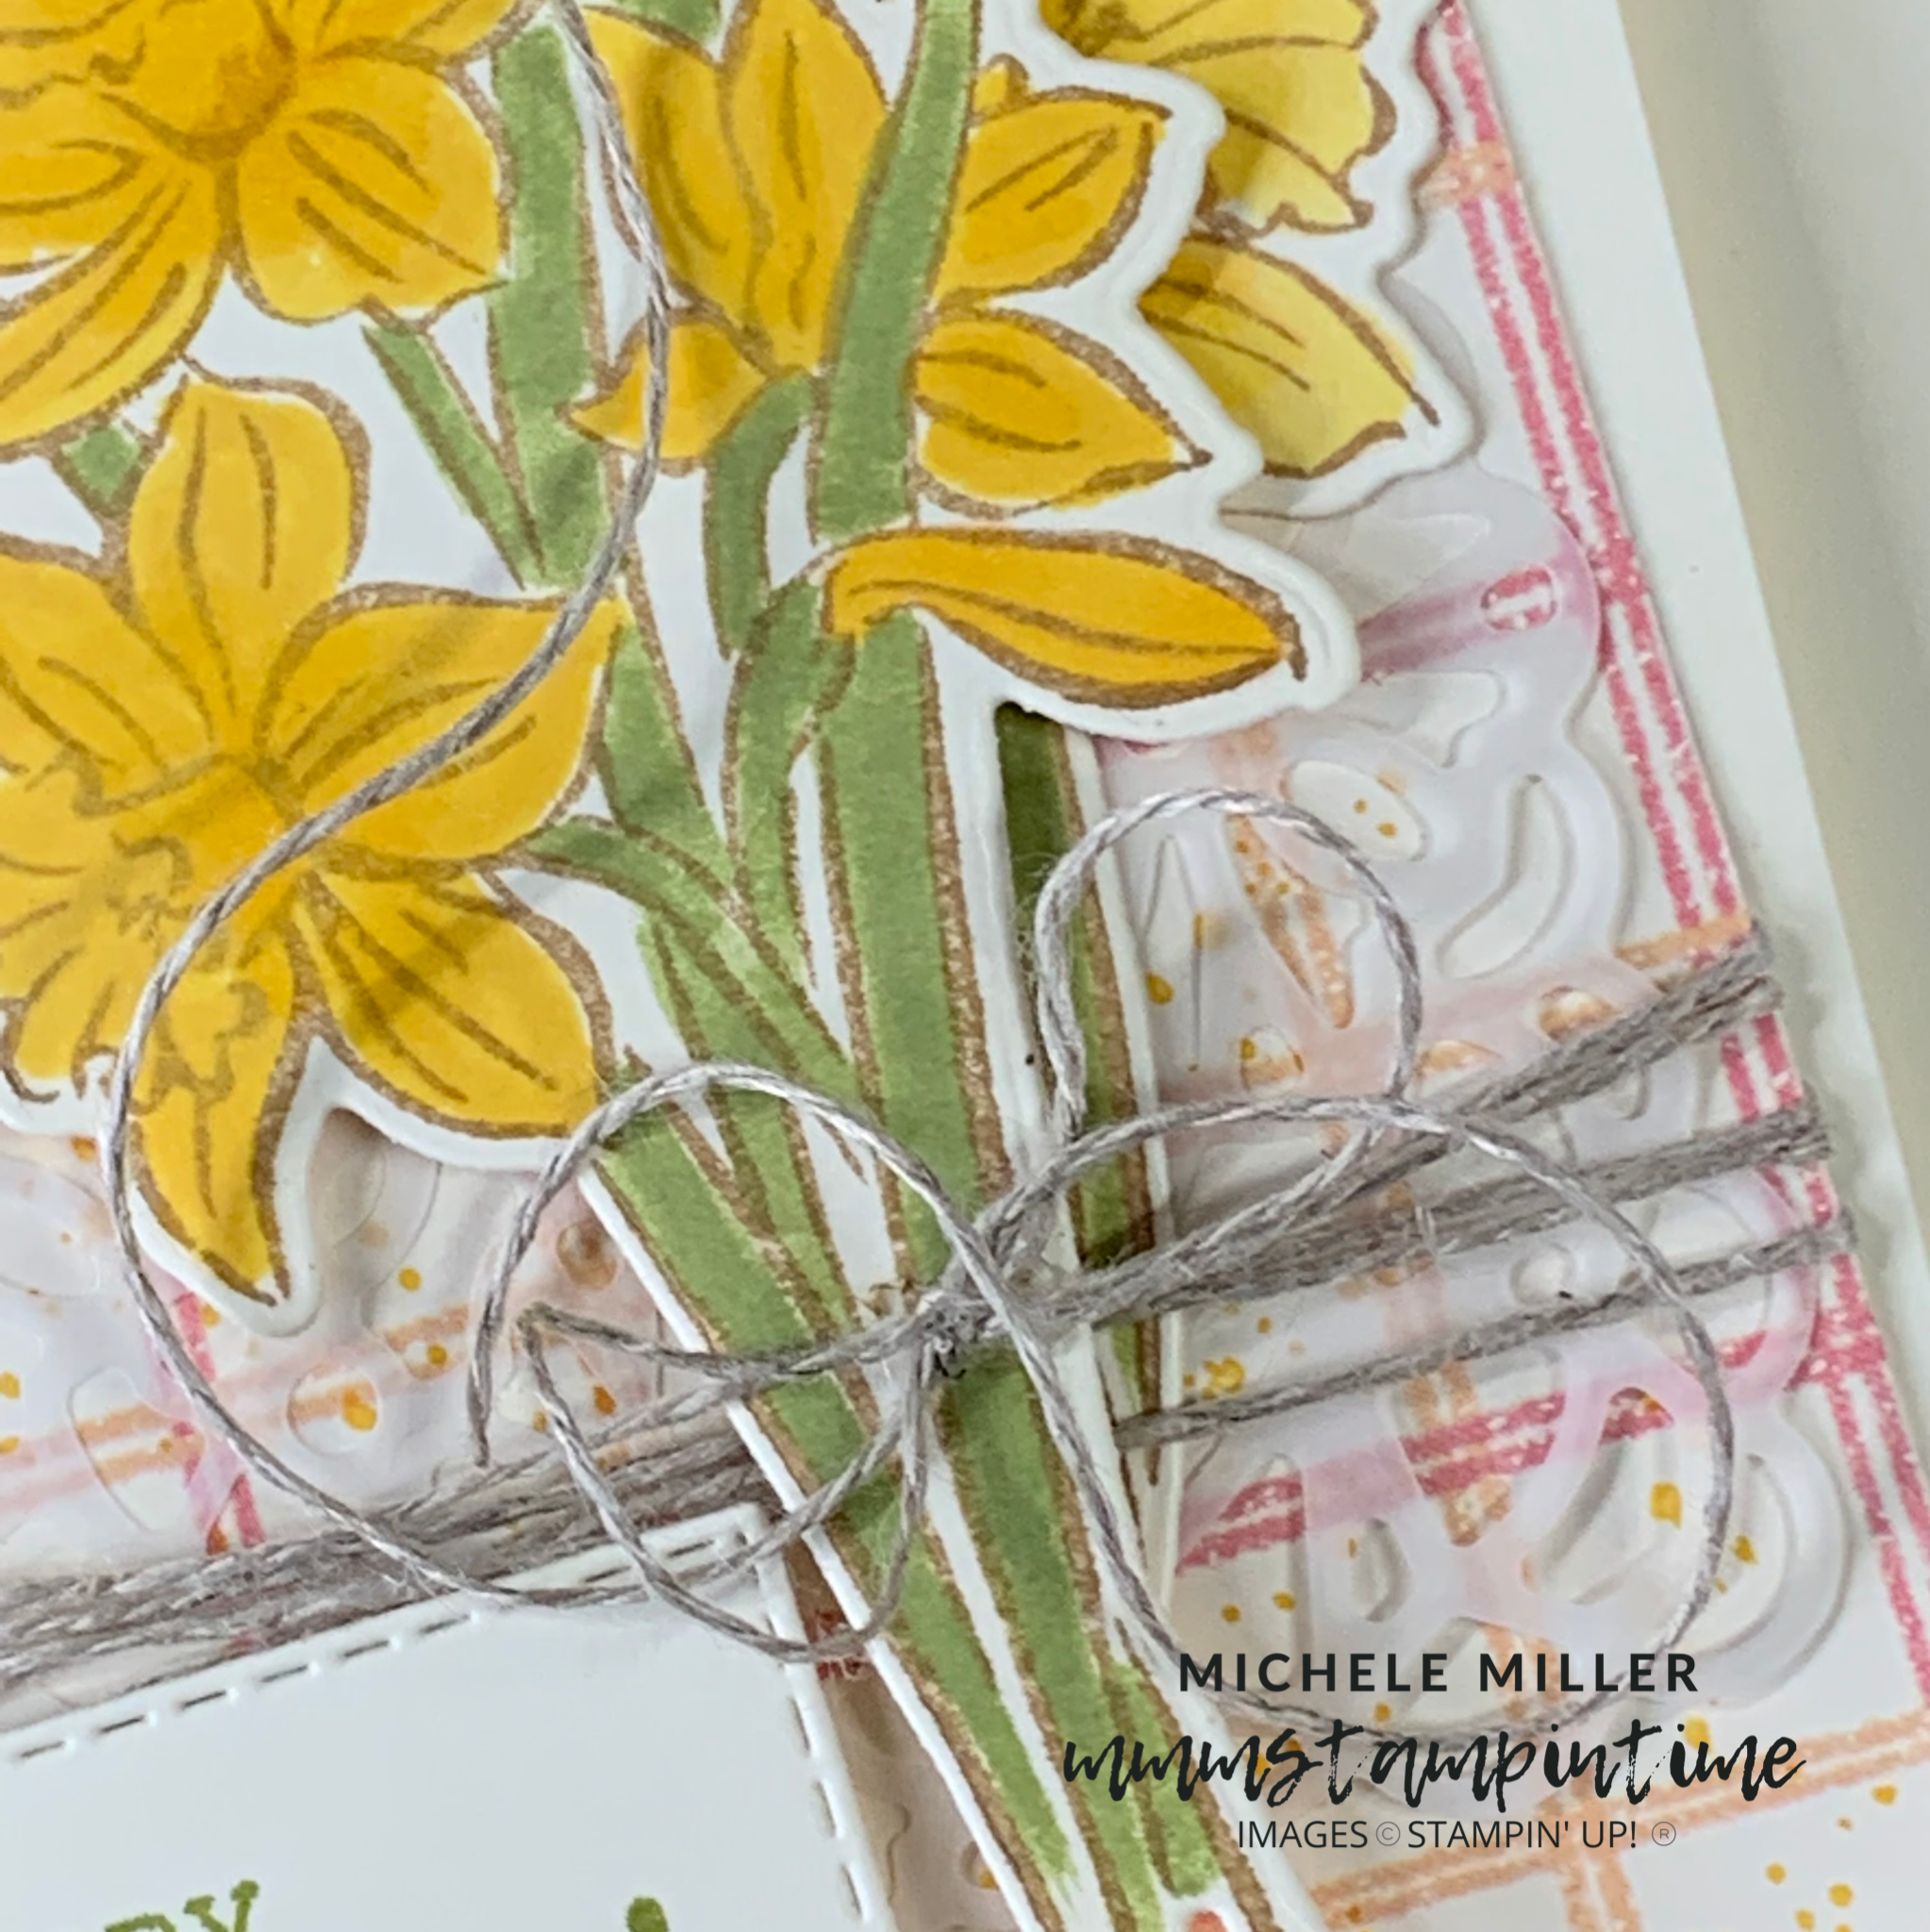
Here is the end result.

I stamped the daffodils on a larger piece of cardstock and used one of the Scalloped Contours Dies to cut the Crumb Cake panel. The mirror daffodil was die cut. Then I used the fine tip Water Painter to paint some Whisper White Craft ink in the images. I used my Heat Tool to dry the ink.
After cleaning the Water Painter, it was used to colour the flowers using Daffodil Delight and Pear Pizzazz.

I wrapped some Linen Thread several times around the scalloped panel and tied a bow.
The birthday greeting, from the Celebrating You Stamp Set, was stamped and heat embossed in the same way the flowers were. I cut this piece of card down so that I could cut two scallops at each end of greeting panel.
I used two designs from the Daffodil Afternoon DSP to layer up on the front of the Daffodil Delight card base.
After I popped up the scalloped layer on the card front, using Stampin’ Dimensionals, I added the birthday greeting and mirror daffodil.
I stamped the single daffodil image on the card insert and envelope in Daffodil Delight. The last step was to add some Elegant Faceted Gems.

It is always great to find different ways to combine new and existing products. The Scalloped Contours Dies were perfect for this project and I hadn’t used them in a while.
Tomorrow I will have three different projects to share with you.
Until then, happy stamping.

If you live in Australia, you can order any of the products I used to make this card by going to my online store. Just click on any of the images below.

 |  |  | ||
 |  |  | ||
 |  |  |  |  |
 |  |
")
 Designer Series Paper")