Posted on Leave a comment

WELL, WHAT’S HAPPENING THIS WEDNESDAY?

Well, today I have two cards to share with you. They are part of a gift box of five cards. I will share the gift box tomorrow and them three fun fold cards on Friday.

All five cards use the same paper from the Country Woods DSP, as well as Silver Foil and Shimmer Paper.

The first card is a simple portrait tent fold card. The card base is Basic Gray.

After attaching the DSP panel to the front of the card I stamped the sentiment on a strip of Basic Gray card. It was stamped with Versamark and heat embossed using the new WOW Black Embossing Powder. Then it was attached to the card front with Multipurpose Glue.

The flower tub was die cut from a small piece of Silver Foil. The FLOWER MARKET label was stamped using Staz On Jet Black ink. The ink was swiped across the urn to give it a tarnished effect. The stamped tub was then trimmed down and added to the card with Stampin’ Dimensionals.

Then I die cut many flowers from a piece of Petal Pink Glimmer Specialty Paper, from the Three Colour Glimmer collection, and added them to the tub.

The card insert and envelope flap were finsihed with the same DSP before some Petal Pink Foiled Gems were added.

The next card is a basic flip fold card that uses 3/4 of a piece of Basic Gray A4 card.

After cutting and scoring the card into thirds I began to work on the front.

I added a Silver Foil and then a DSP layer to the card front.

Then I used two of the smaller Deckled Circles Dies to cut Pretty Peacock and Vellum layers. The circles were adhered together and then trimmed to give a straight edge on the right hand side. The circles were then secured to the card front using Stampin’ Dimensionals.

I cut the taller urn from a piece of silver foil and then swiped Jet Black Staz On across it. Then it was added to the card front with dimensionals.

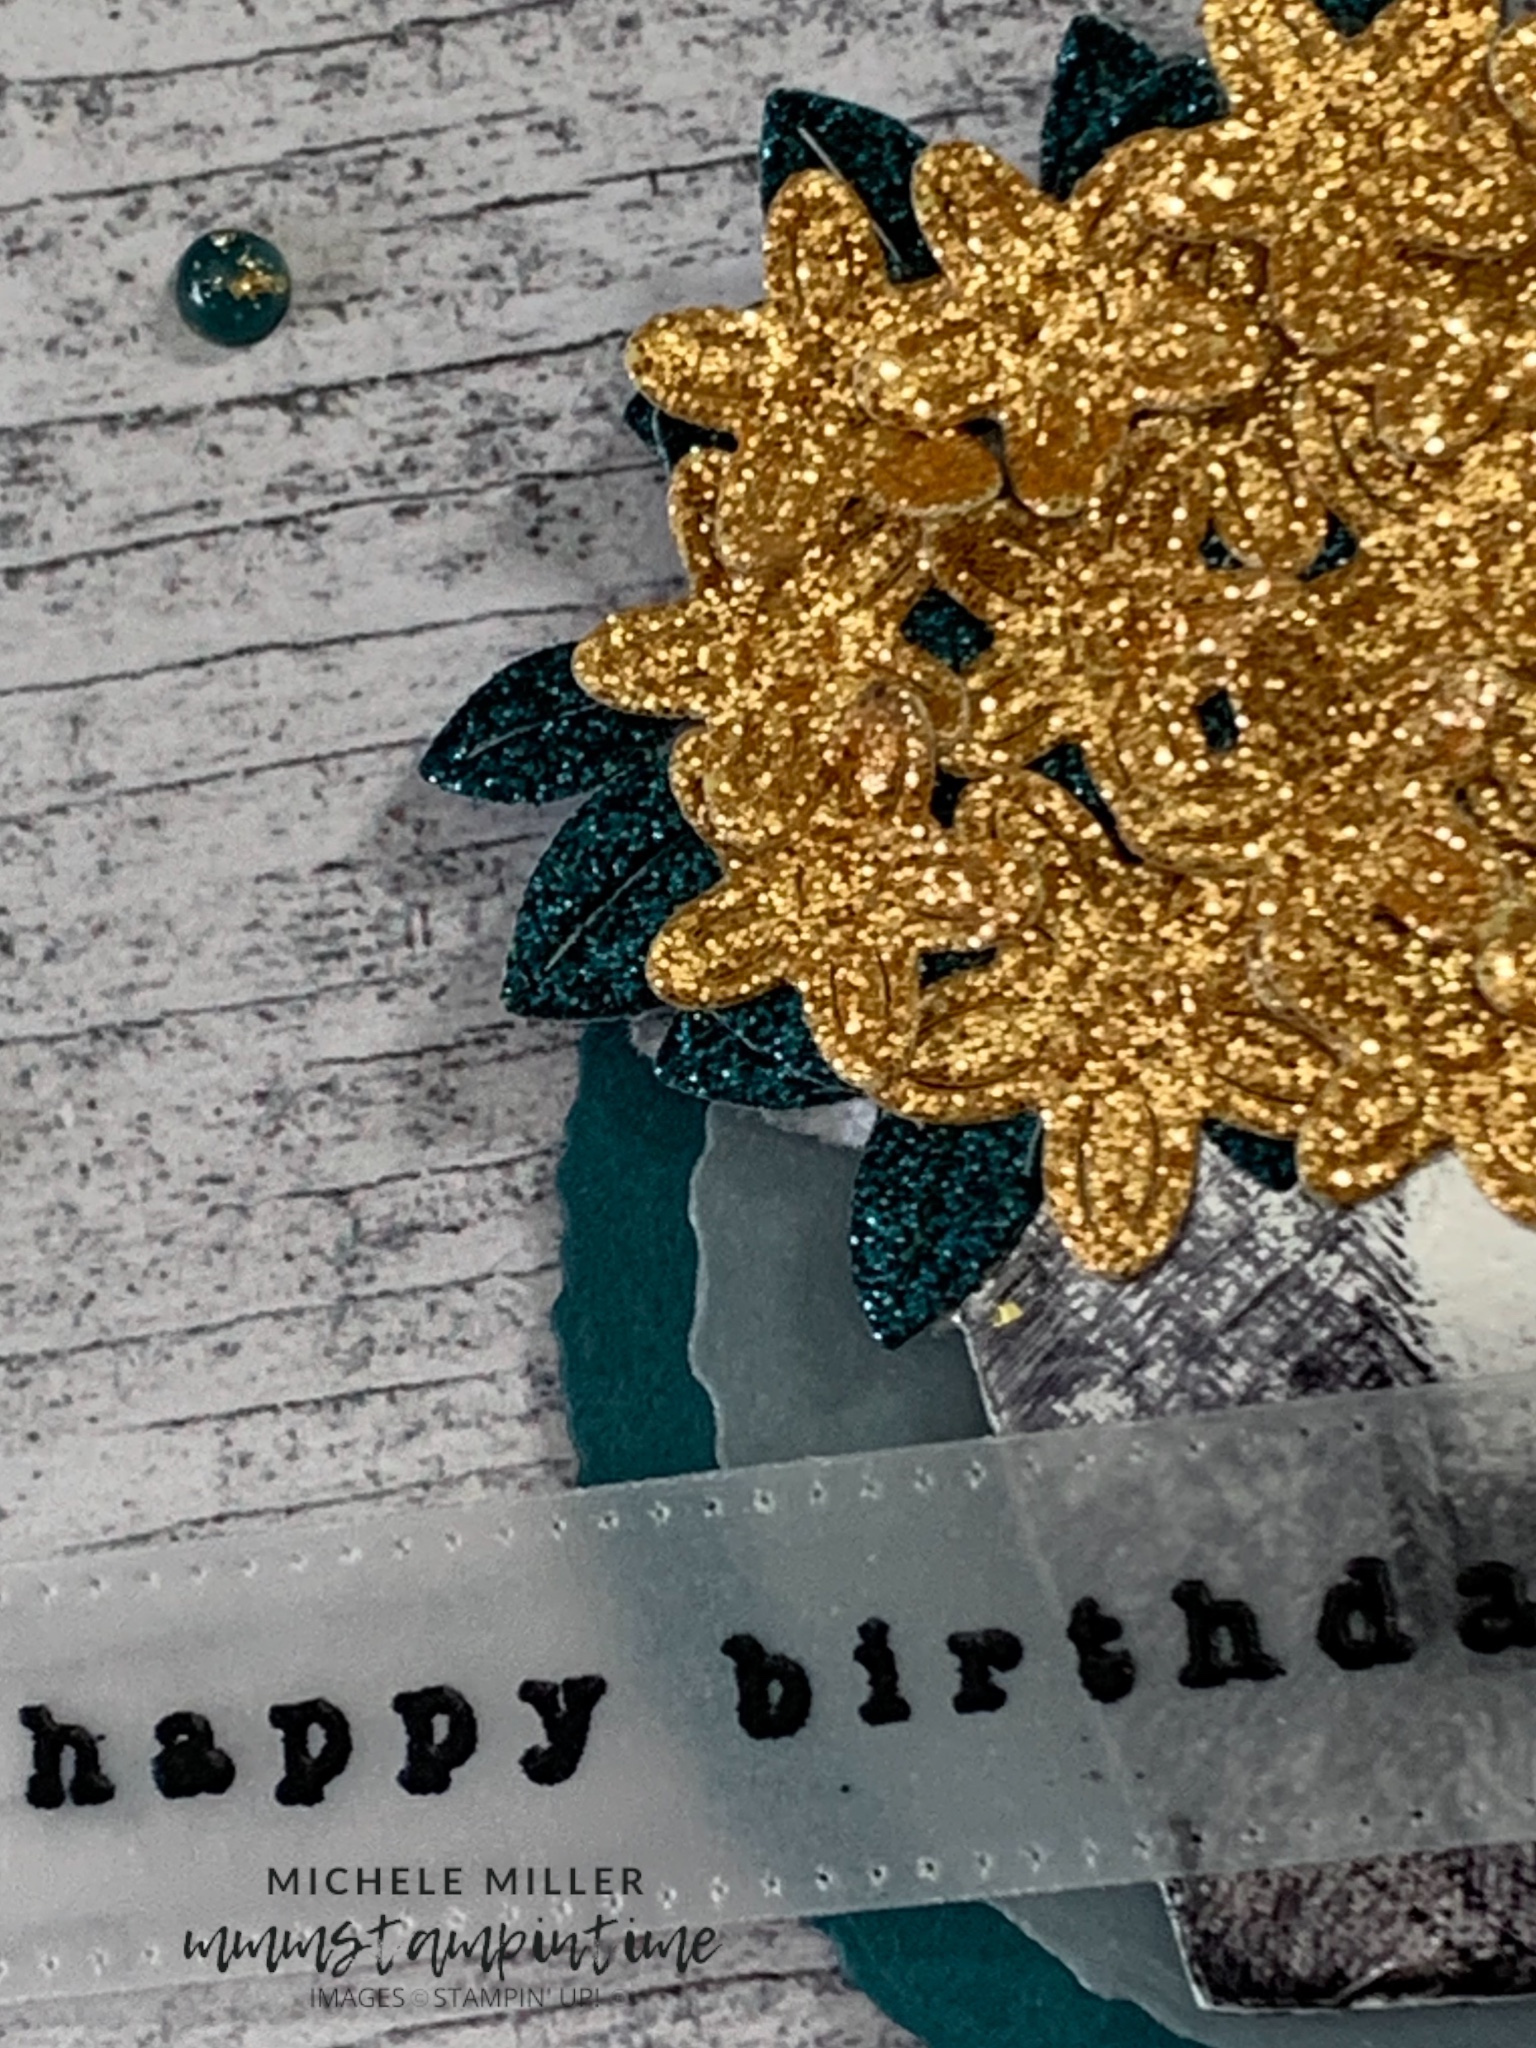
Several leaf branches were cut from Pretty Peacock specialty paper from the Three Colour Glimmer Paper collection. Even more flowers were cut from a strip of Peach Pie glimmer paper from the 2024-2026 In Colour Glimmer Specialty Paper collection.

The sentiment was stamped and embossed with the new WOW black embossing powder. It was cut with one of the banner dies from the Stylish Shapes Dies.

Then some Pretty Peacock Foiled Gems were added.

When the card is opened it reveals a gift card pocket which was made using the middle sized Pocket Thoughts die. It was embossed using the Eyelet 3D Embossing Folder. The gift card pocket was secured using Stampin’ Seal+.

The sentiment was also stamped and heat embossed before being adhered to the inside of the card. An extra Peach Pie glimmer flower was added.

Open the card up even further and you will find a place to write your own message.

The birthday sentiment was created again and die cut in the same way.

Tomorrow I will show you the gift box created to hold all five cards.

Until then, happy stamping.

If you live in Australia, you can order any of the products I used to make this card by going to my online store. Just click on any of the images below.

Product List
Heat Tool
[129056]
$56.00
Paper Snips
[103579]
$21.00
Posted on Leave a comment

TODAY IS TUESDAY & IT’S TIME FOR SOME TIPS AND TECHNIQUES

There are three cards today and they each use the same Curtain Fold Technique. I was inspired by a project Kayla Renee, an Australian Stampin’ Up! Demonstrator.

I adapted her card to create these three examples.

Curtain Fold cards are a great way to showcase both sides of a piece of Designer Series Paper.

The first card uses one of the Country Woods DSP designs. After cutting, scoring and folding the curtain section, I added it to the card front – Early Espresso base, Basic Beige layer, Early Espresso layer and a Basic Beige embossed layer. I used the Basics 3D Crosshatch Embossing Folder. I folded to far right corner of the curtain back to highlight the other side of the paper a little more.

The sentiment was stamped and then cut using the Labeled with Love die/punch. Some of the same DSP was used inside the card and the envelope flap before some Brushed Brass Butterflies were added.

The second card features a different piece of Country Woods DSP and a Pool Party cardbase. The Misty Moonlight panel had Craft Stampin’ Ink brushed across it.

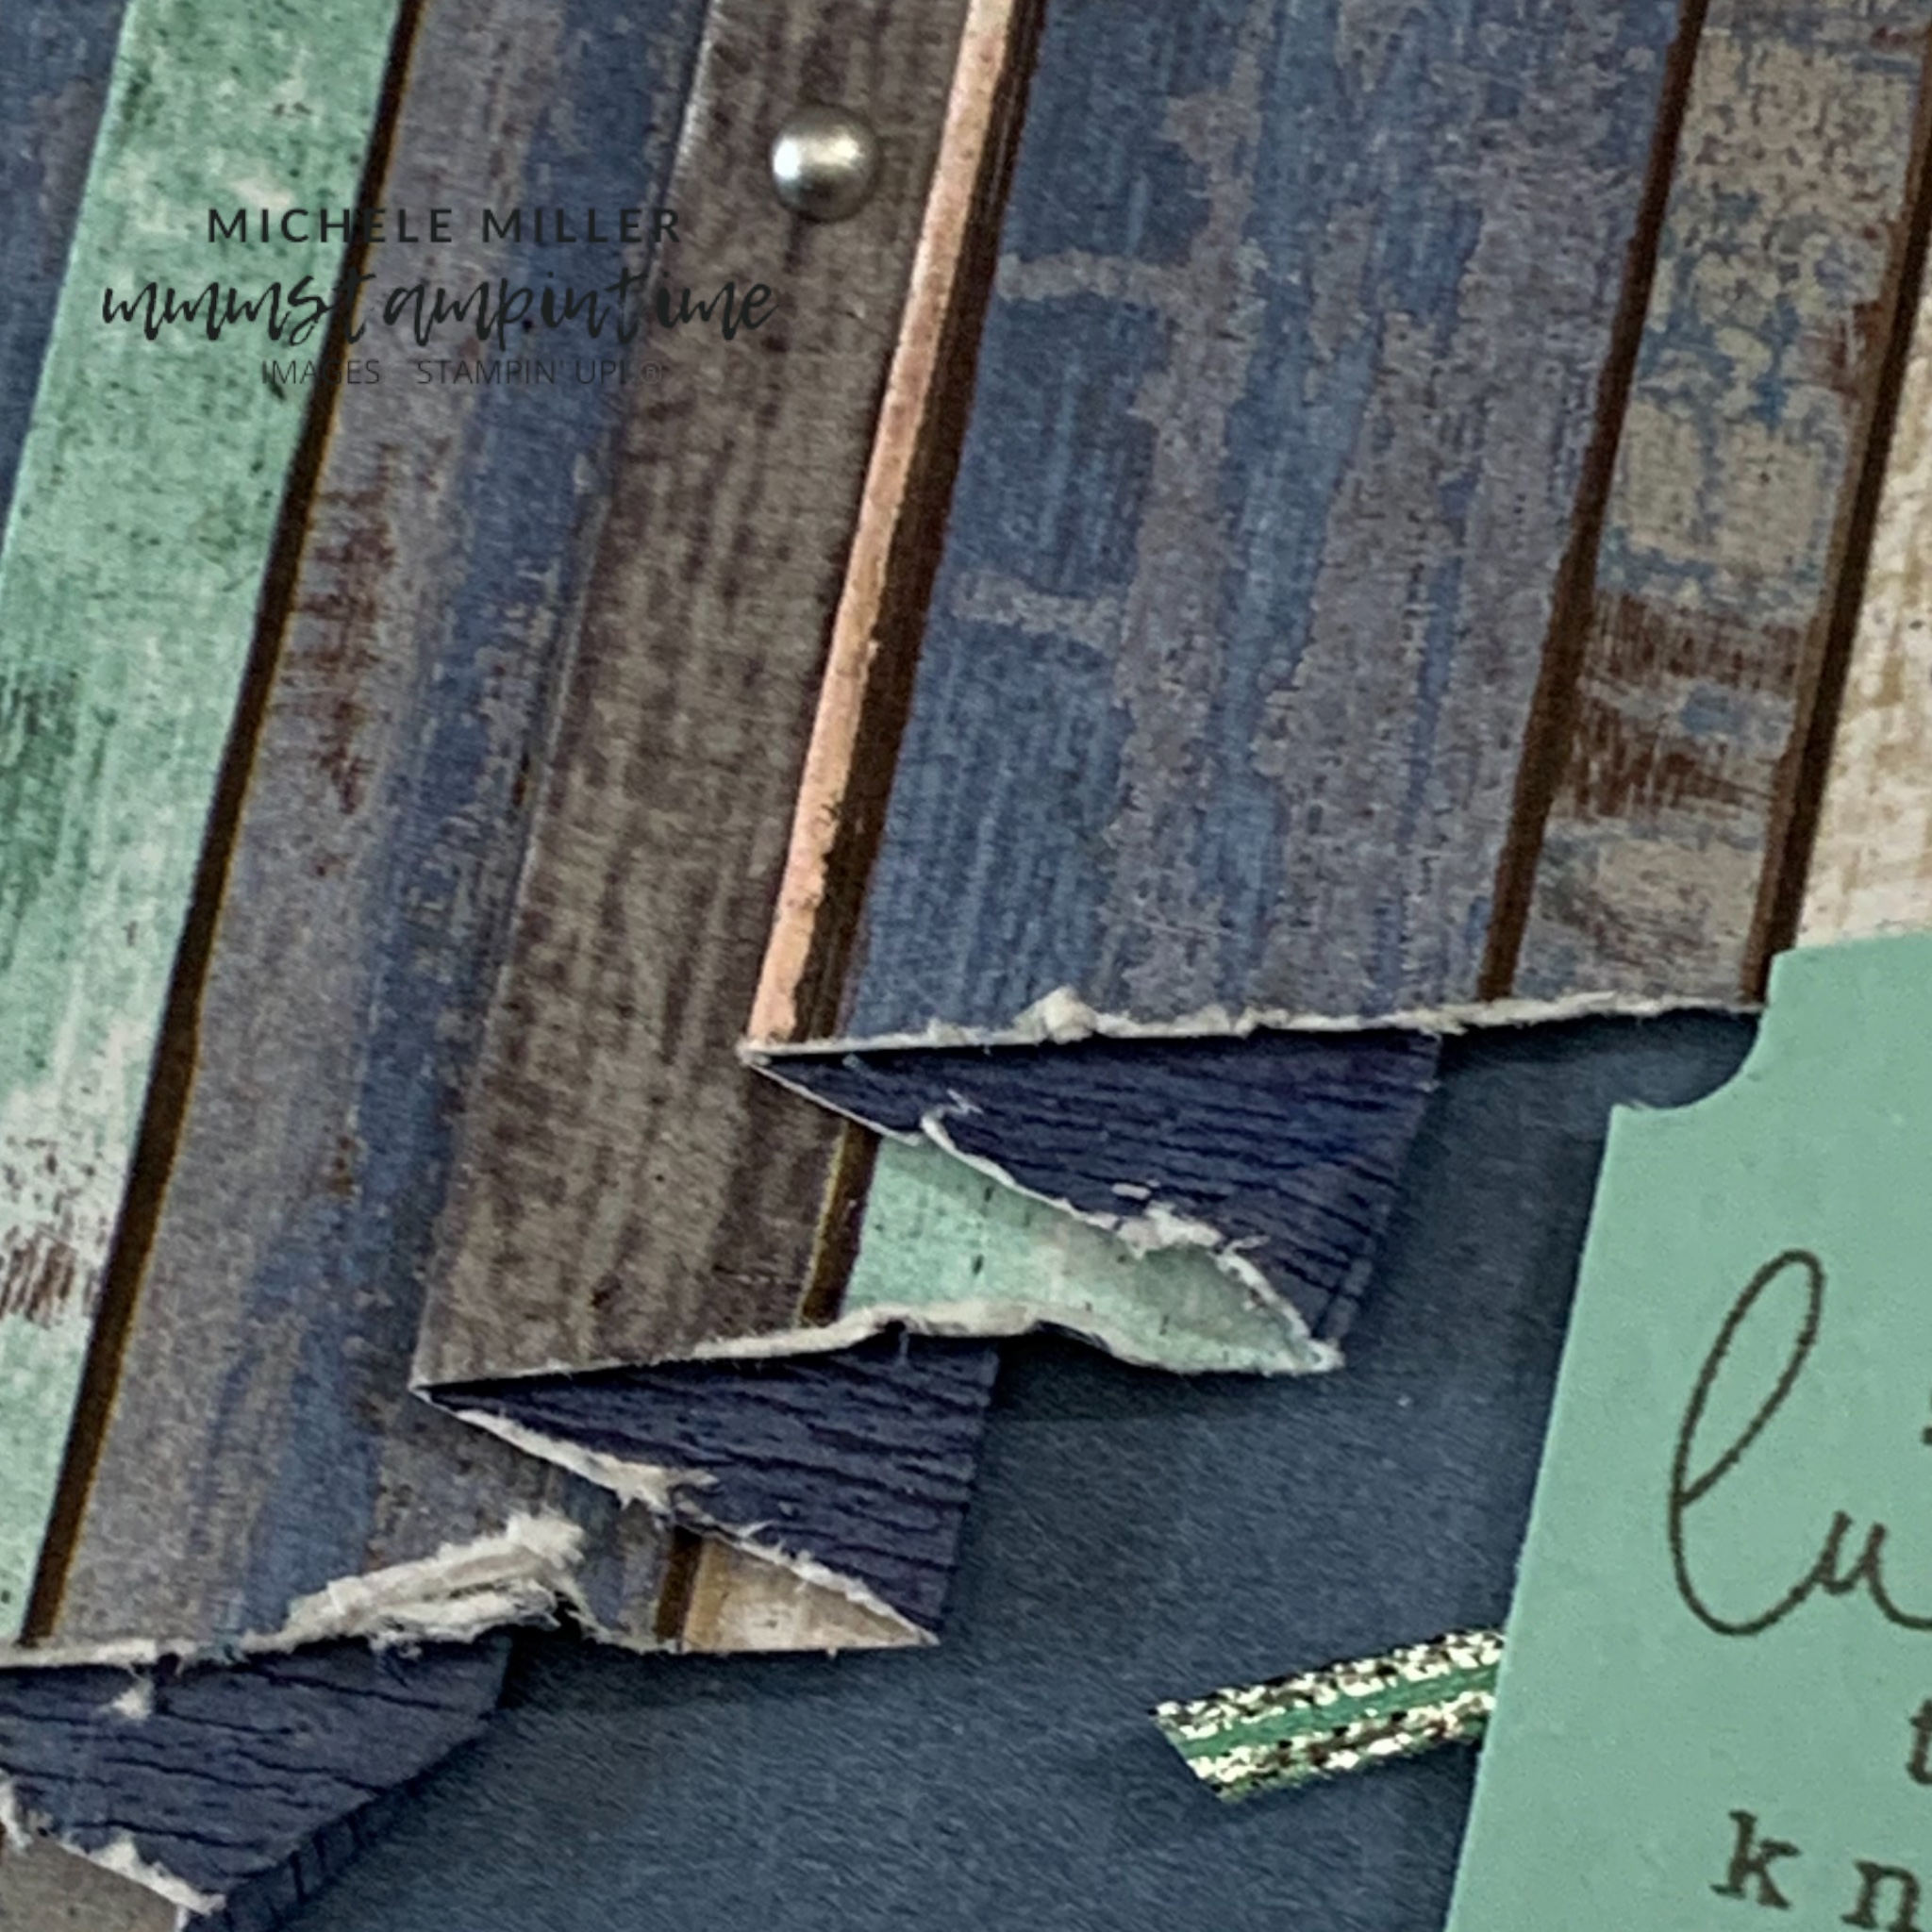
For the curtain I added a frayed vintage effect to the edge.

TIP: keep a pair of blunt paper snips on hand to use for this vintage technique.

The sentiment was created in the same way as the first card.

I coloured a length of Silver Trim, from the Combo Pack, using the dark Pool Party Stampin’ Blend. After cutting the trim into three even, angled lengths I secured them to the back of sentiment.

For this card I also used the same DSP for the card insert and envelope flap.

The finishing touch was to add some Smoky Slate Pearls to the frot of the card.

The third card features some of the Country Lace DSP. The curtain was then added to a card base made up of a Petal Pink base, Misty Moonlight layer and an Eyelet 3D embossed Petal Pink layer.

Strips of DSP finished the card insert and envelope flap before adding some Blooming Pearls bling.

I am sharing the pattern I used to create the curtain fold. It is an adaptation of Kayla Renee’s and it is in inches. I hope that find it useful.

If you find thefinished folded piece is longer than you need it is very simple to trim it down.

For the next three days I have a collection of five cards, four of them being Fun Fold Cards, as well as a Gift Box to hold them all.

Until then, happy stamping.

If you live in Australia, you can order any of the products I used to make this card by going to my online store. Just click on any of the images below.

Product List
Paper Snips
[103579]
$21.00
Posted on Leave a comment

IT’S MONDAY & THAT MEANS IT IS TIME TO KEEP HIGHLIGHTING SOME NEW STAMIN’ UP! PRODUCTS

Over the past week I have been sharing the projects I made using the Country Woods Suite Collection.

Today I have a Window Card to share with you.

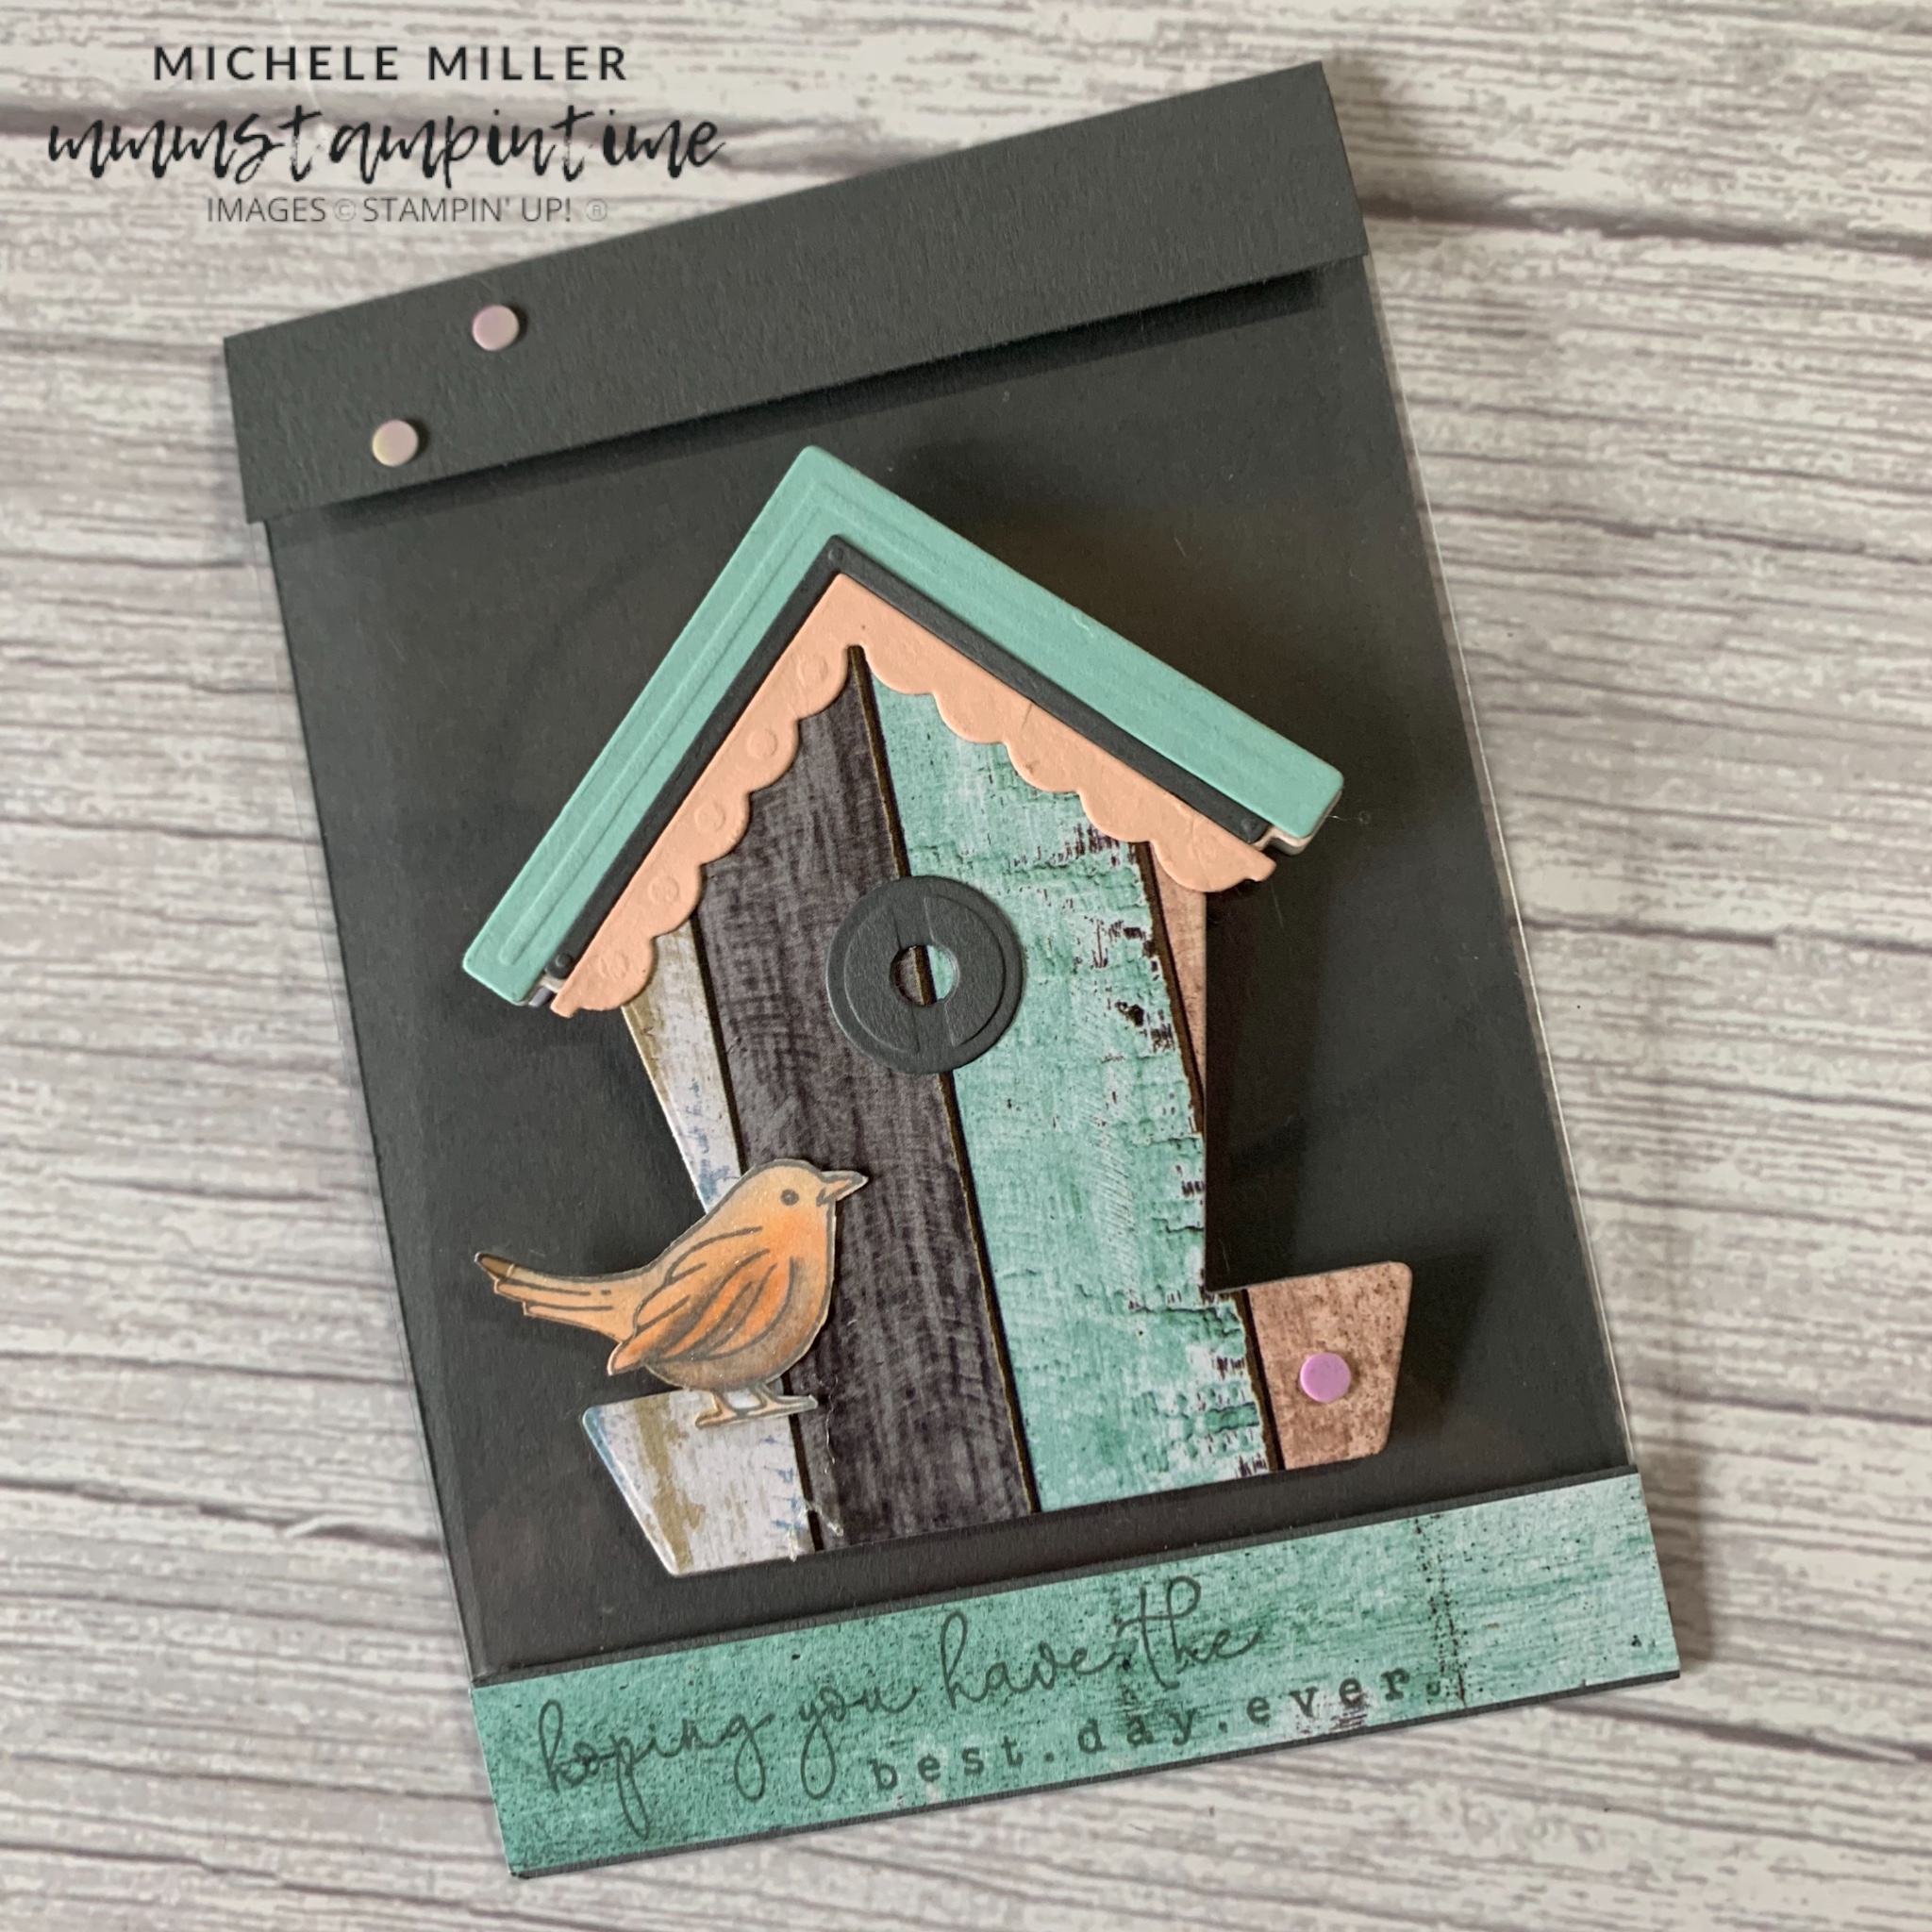
I started with a piece of Basic Gray card measuring 6 1/2″x 4 1/8″ and scored across the top at 3/4″. Then I attached a piece of 5 5/8″x 4 1/8″ Window Sheet using Stampin’ Seal+.

A 4 1/8″x 3/4″ strip of Basic Gray card was attached to the base of the window sheet, again using Stampin’ Seal+.

The birdhouse was cut from a piece of Country Woods Designer Series Paper. The roof line and birdhouse circular opening were cut from card that had Adhesive Sheet attached. Once the birdhouse was assembled I added Seal+ to the back of the house and secured it to the front of the window sheet.

The sentiment was stamped onto a strip of the same DSP and glued in place.

The bird was stamped, coloured and fussy cut before having Clear Wink of Stella brushed across it. Some Seal+ helped to secure it in place.

A few of the white Iridescent Adhesive-backed Discs were used to add some bling to the card.

I positioned the Basic White birdhouse directly behind the front birdhouse and onto the inside section of the card. A piece of the DSP was added also.

Tomorrow I have a collection of three cards to share with you.

Until then, happy stamping.

If you live in Australia, you can order any of the products I used to make this card by going to my online store. Just click on any of the images below.

Product List
Paper Snips
[103579]
$21.00