Posted on Leave a comment

STILL SHOWCASING THE COUNTRY WOODS SUITE COLLECTION

Here is another project I created for a Stampin’ Up! demonstrators’ team day.

I used one of the card templates featured on page 22 of the 2024-2025 Annual Catalogue. The first layout was the one I chose for this card.

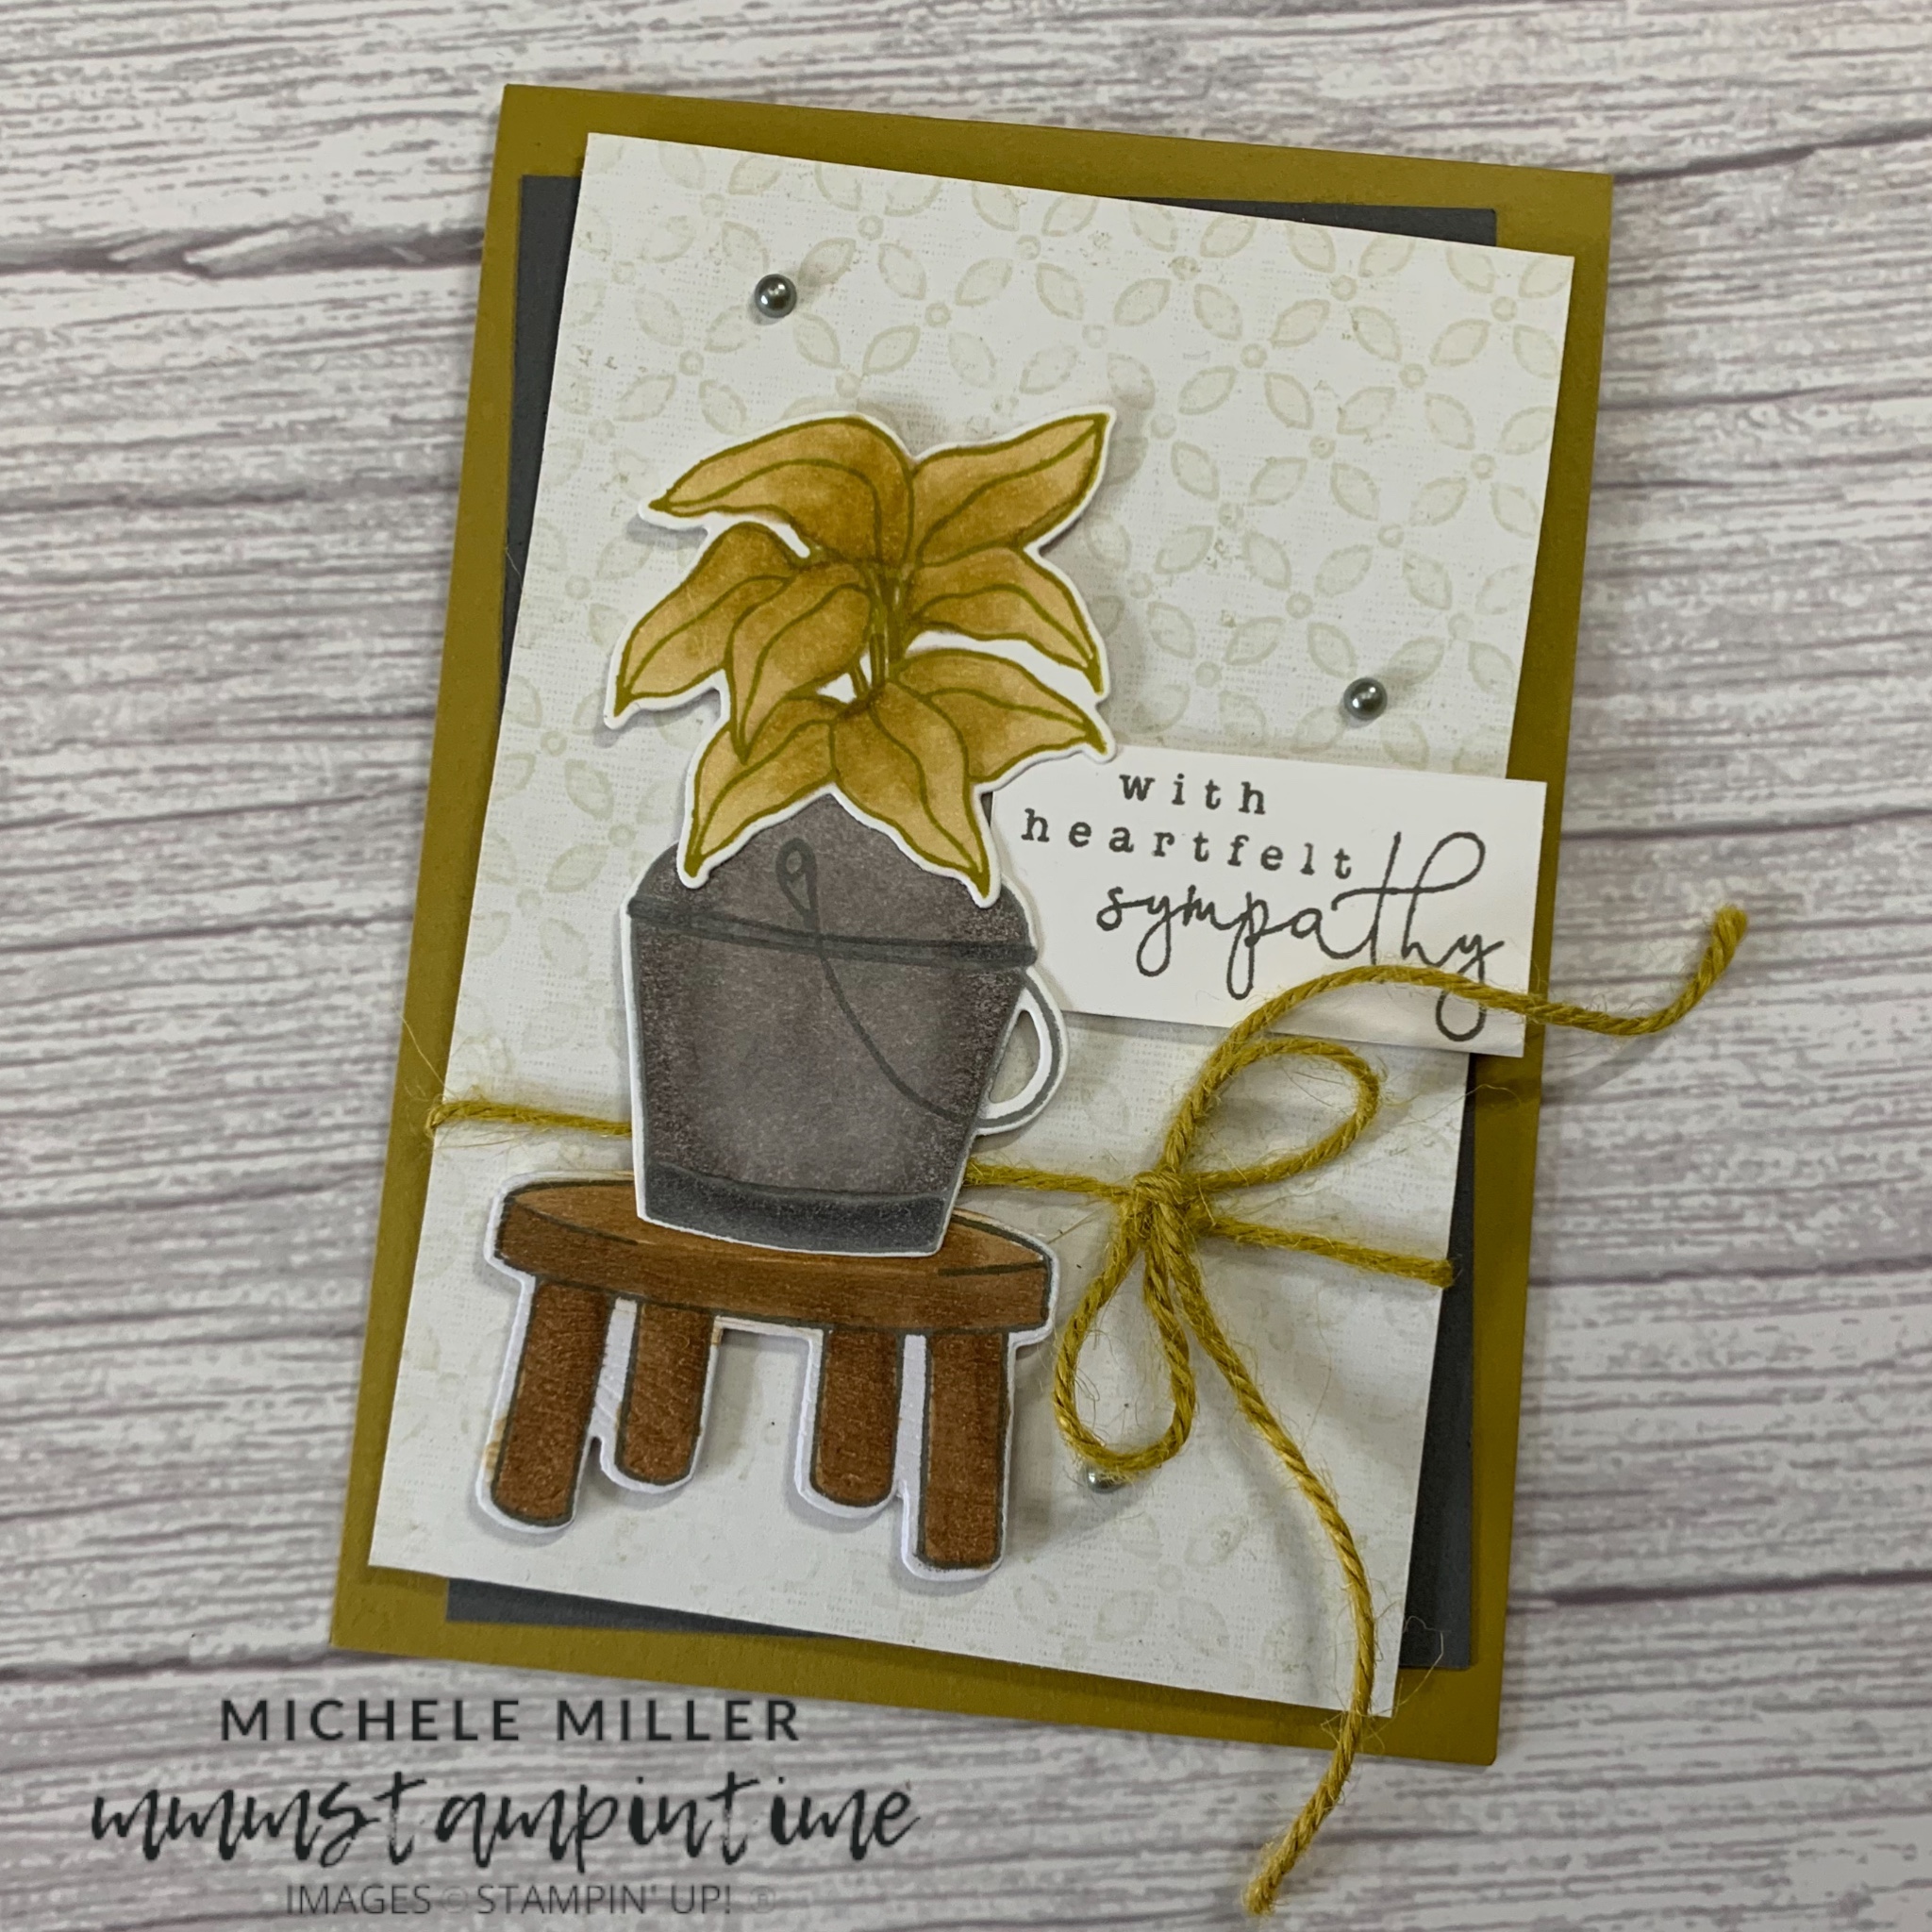
I have long held the practise of giving a plant, as a condolence, rather than flowers. So I delighted to use the Country Flowers Bundles and Country Lace Designer Series Paper to create a sympathy card.

While the colours look a little sombre, I think they work well for this card. I used a cardbase of Wild Wheat cardstock and layered a panel of Basic Gray card and a piece of the DSP which had some Wild Wheat 2023-2025 In Colour Jute Trim wrapped around it then tied in a bow.

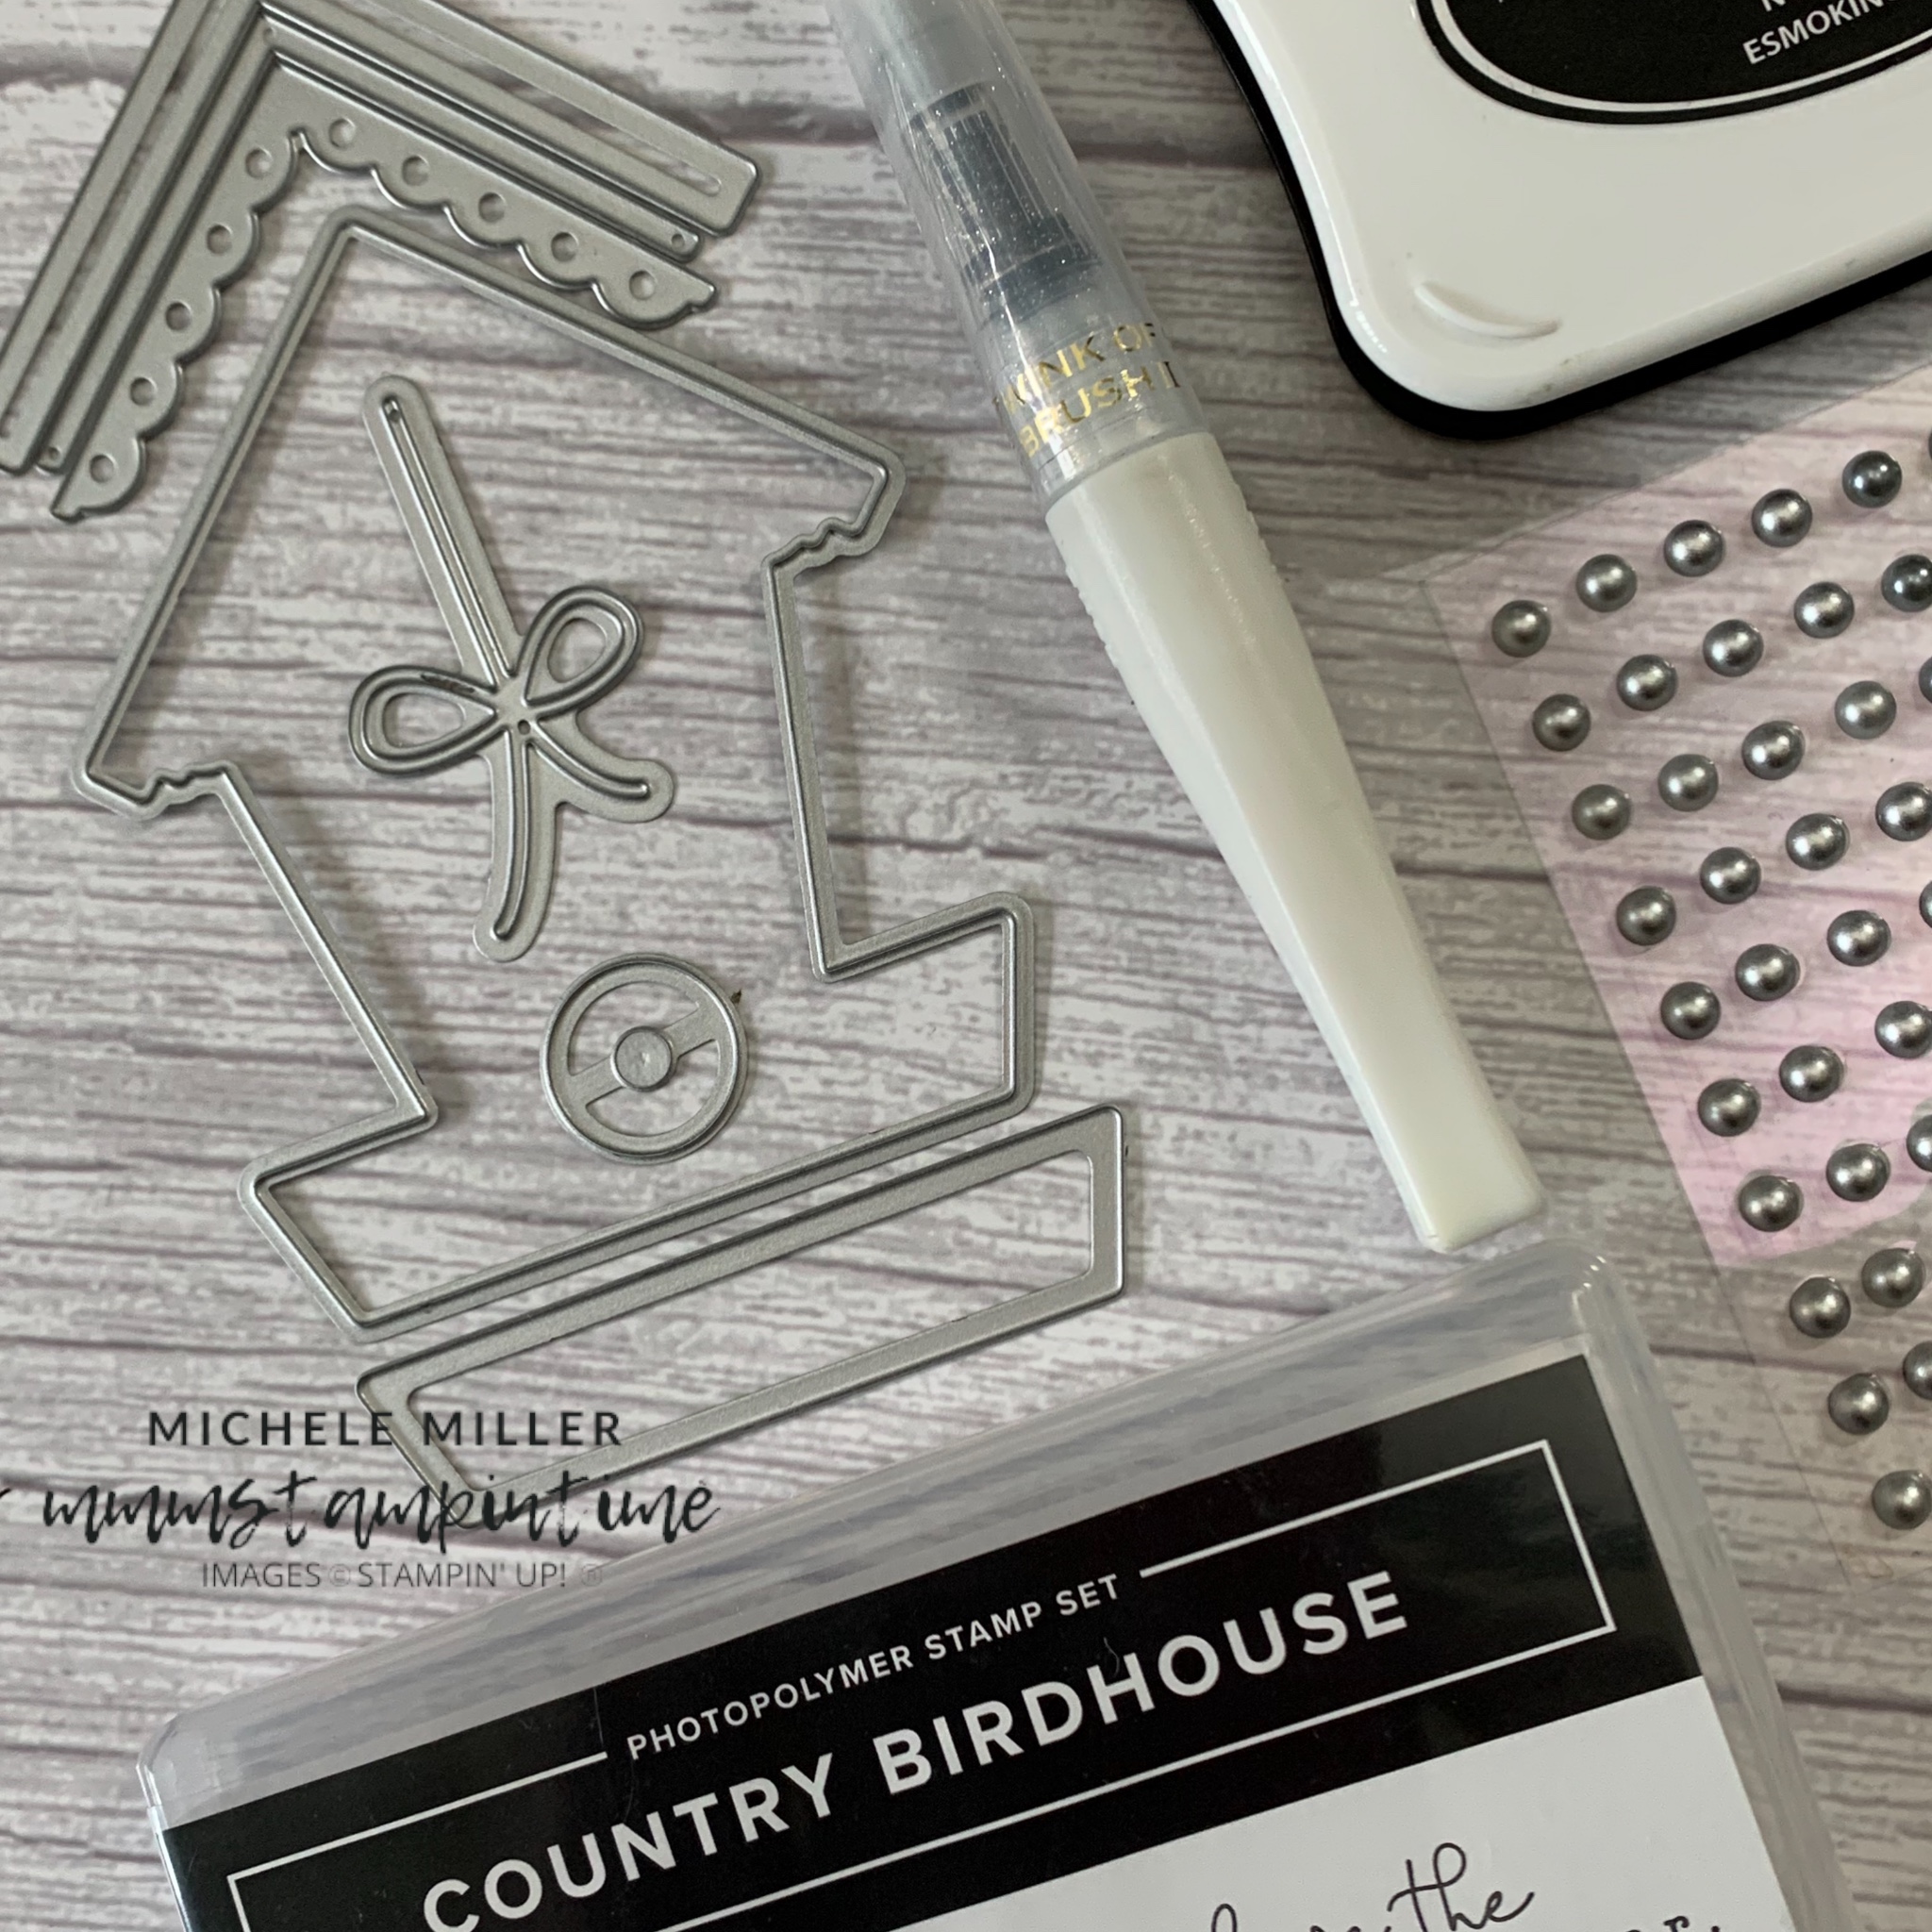
The images were stamped using Basic Gray, die cut and then coloured using Stampin’ Blends – Basic Gray, Smoky Slate, Wild Wheat and the Colour Lifter.

The stool image was stamped on a piece of Wood Textured Specialty Paper, giving the perfect fine wood grain texture for a piece of furniture on this scale. It was then coloured with Pecan Pie and a Blending Brush.

Each of the die cut and coloured pieces were then layered and adhered to the card front using Stampin’ Dimensionals.

The final touch was to add some of the Basic Gray and Smoky Slate Pearls to the card.

I don’t believe any of us want to have too many sympathy cards in our collection but just enough to not need to make one in urgency.

Tomorrow’s card uses more of the Wood Textured Specialty Paper – an unsung hero from the Annual Catalogue.

Until then, happy stamping.

If you live in Australia, you can order any of the products I used to make this card by going to my online store. Just click on any of the images below.

Product List
Paper Snips
[103579]
$21.00
Posted on Leave a comment

IT’S FRIDAY AND TIME FOR SOME FEATURES AND A FUN FOLD CARD

Today’s project share gives me an opportunity to get back into my usual schedule of blog posts.

Each Friday I like to highlight the features of the bundle or suite I have been showcasing during the week before sharing a Fun Fold Project.

Te Country Woods Suite Collection is such a large collection of products.

This Suite Collection is one that encompasses two Bundles – the Country Birdhouse Bundle and Country Flowers Bundle.

The Country Birdhouse Stamp Set includes six open line images and four further images. There are three sentiments. The open line images are great for a variety of colouring techniques and the other images will add more details to a project. The sentiments use a typewriter-style font alongside a stylish cursive font.

When it comes to the Country Flowers Stamp Set, we can choose from seven open line images and four sentiments. I am ‘treating’ the Flower Market stamp as an image stamp and it has its own font.

This collection of new products also features two Designer Series Paper packs – Country Woods and Country Lace. The colours, across both DSP packs, coordinate perfectly.

There is also an Eyelet 3D Embossing Folder, as well as Basic Gray & Smoky Slate Pearls and Petal Pink & White 1/4″ Diagonal Trim Combo Pack.

Isn’t this such an amazing collection of new products.

Being Friday, I have a Fun Fold Card to share with you. This one is an oldie but a goodie!

I do love making Easel Cards and showing newer crafters how easy they are to make.

For this card I chose a Basic Gray card base and a panel of DSP from the Country Woods pack. It features wood grain coloured in grays and Wild Wheat.

With these colours in mind, I used cardstock in Basic Gray, Basic White, Smoky Slate and Wild Wheat. I attached pieces of Adhesive Sheet to them and then die cut the birdhouse. Introducing newer crafters to Adhesive Sheets is a game changer – no more sticky glue fingers!

After assembling the birdhouse, on the card front, I stamped several birds and fussy cut them. Then I coloured them using the Wild Wheat Stampin’ Blends and Clear Wink of Stella.

The sentiment was stamped onto a strip of Thick Basic White card, trimmed down and adhered with Stampin’ Dimensionals.

I secured a Post It notes bundle inside the card and added some Basic Gray & Smoky Slate Pearls to the front.

Fun Fold projects are always so much fun, especially when they are so easy and versatile.

Tomorrow I have a more sombre project to share with you.

Until then, happy stamping.

If you live in Australia, you can order any of the products I used to make this card by going to my online store. Just click on any of the images below.

Product List
Paper Snips
[103579]
$21.00
Posted on Leave a comment

SHOWCASING THE COUNTRY WOODS SUITE COLLECTION FROM THE STAMPIN’ UP! 2024-2025 ANNUAL CATALOGUE

This is the first card I made, for the Paper Angels Team Day, using a standard cardbase.

I liked this card because it can take newer paper crafters from step-by-step, simpler cards to quick and easy ones that use more tools and techniques.

For this card I introduce more colours, dies and a wider range of products.

The Pool Party cardbase is cut from a piece of A4 cardstock. Some newer crafters may never have used a Paper Trimmer and Bone Folder. This is a great time to share some paper cutting tips and techniques.

TIP: Try to remember that the blades on a paper trimmer are consumables – they do get blunt over time and can leave a cut edge leaving a rough, untidy edge rather than a clean, sharp finish.

I used a smaller Basic White layer because I was going to use so many individual coloured teapots. Each teapot was die cut before stamping the floral image, from the Country Flower Stamp Set, in the same colour. The colours used were Basic Beige, Basic Gray, Crumb Cake, Misty Moonlight, Pecan Pie, Petal Pink, Pool Party, and Wild Wheat.

The flowers were stamped on the main body of the teapot and then a second time on the spout. I adhered all nine teapots across the smaller white layer, using a sheet of grid paper to help me align them evenly.

I die cut and stamped four extra teapots in Basic Gray, Misty Moonlight, Pool Party and Wild Wheat. These were popped up over their matching teapots using Stampin’ Dimensionals. This technique adds an interesting height difference across the cardfront.

The sentiment was stamped, using Misty Moonlight, on a scrap of Thick Basic White card and cut with the new Labeled with Love punch/die. I decided to order both the punch and the set of three dies so that my customers can choose which they prefer. For newer paper crafter, who may not have a Stampin’ Cut & Emboss Machine of either size, a punch is a more convenient option.

The sentiment panel was then placed on the card front using Stampin’ Dimensionals to lift it up over the teapots.

Finally, I took some of the clear Transparent Adhesive-backed Dots and coloured using the dark Misty Moonlight Stampin’ Blend Pen.

I cut and stamped two more Pool Party teapots and added them to the card insert and back of the envelope. By finishing the inside of the card and the envelope, a new project is complete.

This is such a great sentiment that suits a wide range of occasions.

Tomorrow I have another project, from this collection, to share with you tomorrow.

Until then, happy stamping.

If you live in Australia, you can order any of the products I used to make this card by going to my online store. Just click on any of the images below.

Product List
Paper Snips
[103579]
$21.00